The Guadalcanal campaign of WWII featured air, land, and sea battles from August 7th, 1942, until the Japanese evacuated their forces on February 7th, 1943. One of the first actions of the campaign involved United States Marines seizing the Henderson Airfield on Guadalcanal.
United States Robert L Ghormley 11,000 Marines (Initial invasion of Guadalcanal)
Japan Isoroku Yamamoto 1,000 Garrison Defenders
Wargame Bolt Action or other similarly scaled WW2 Game 2 Players US forces 2,000 points, no armour should be taken Japan 1,000 points, with heavy point defense and a free air observer
The US forces must use beach landing forces; all troops should arrive in landing craft, and there should be a beach with an airfield just beyond.
The Japanese should defend the airfield to the last man as is historic; only when the last defender is killed can the US hold the airport. Darkness is in 7 turns; if the battle is not won, Japanese reinforcements may arrive.
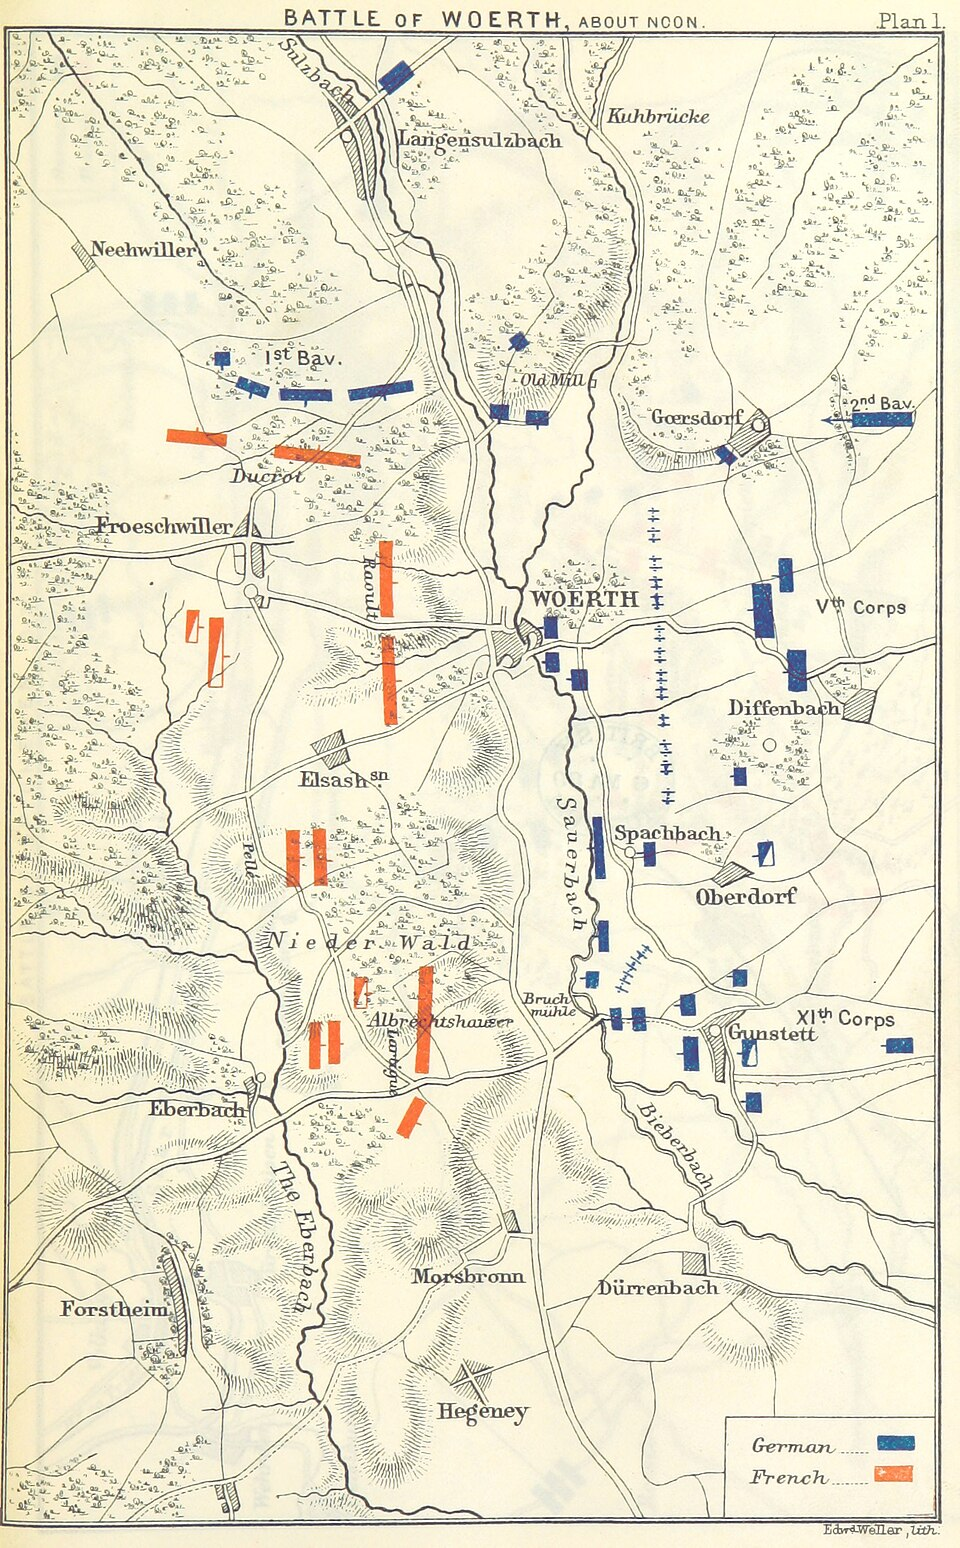
Warfare in the late 1800s differed significantly from that in the early 1800s. The technological advances in explosive artillery, rifling, mass production, and railroads enabled armies to move faster with greater firepower. The battle of Worth resembled a WWI battlefield more than a Napoleonic one.
North German Confederation Frederick William 75,000 Infantry 6,000 Cavalry 300 Guns
France Patrice de Mac-Mahon 32,000 Infantry 5,000 Cavalry 100 Guns
Wargame
Rules for this period are tough to find. Potentially American Civil War rules or Blue Bonnets and Tricornes.
Models Needed 25 Regiments of Germans, 10 Regiments of Cavalry, and 15 Gun Batteries 18 Regiments of French, 10 Regiments of Cavalry, and 5 Gun Batteries
For the Terrain, standard mid German terrain, fields, some boccage, small rivers and creeks, maybe a hill.
The French army should be deployed as one, whereas the Germans should be spread out throughout the area. However, when a German infantry unit is destroyed, then a new unit should be sent in from reserves.
The French should aim to inflict more damage on the Germans, while the Germans must consolidate their forces to achieve victory over the French.
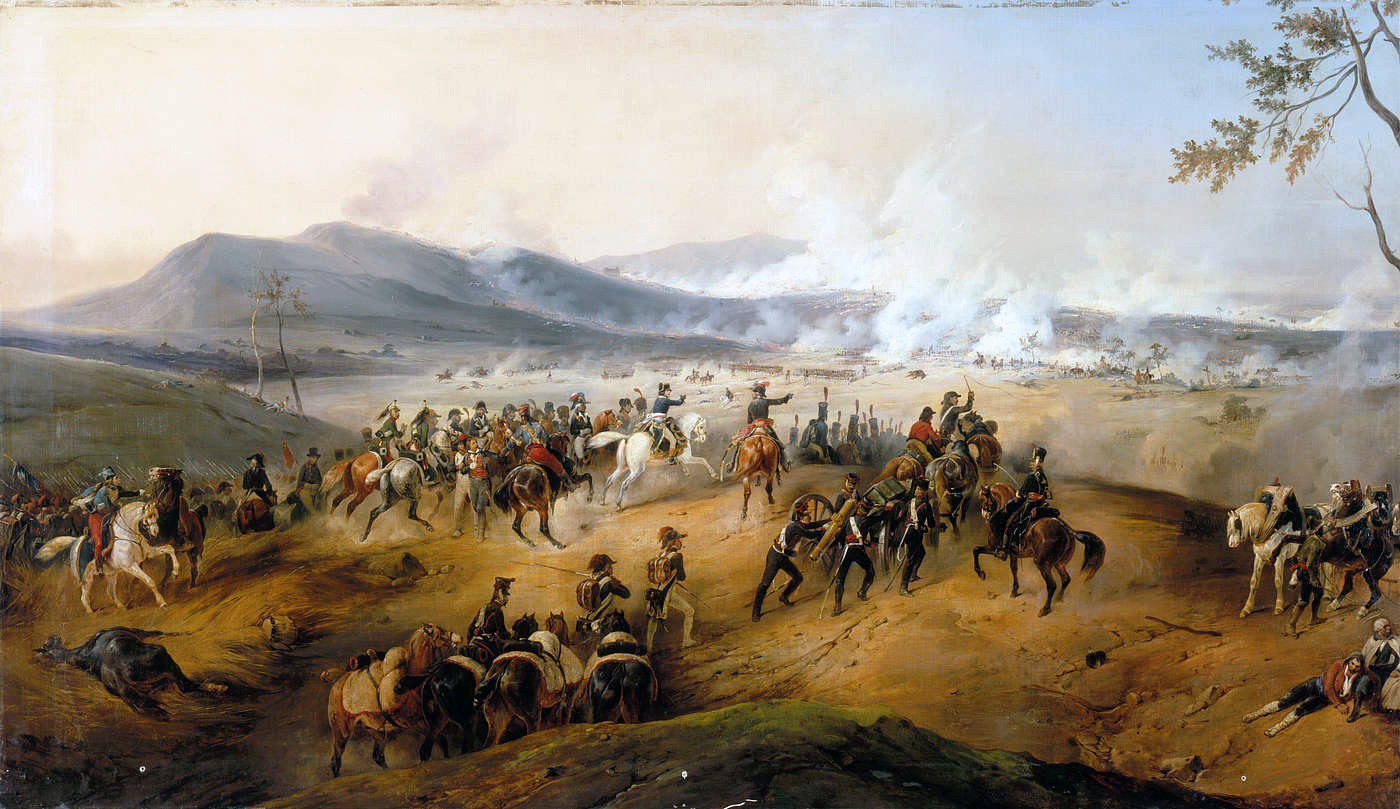
Yesterday, we played with moving forces around to prepare for the main action today. Had the actions of August 3rd and 4th not been successful. The French would have been outnumbered in today’s battle by at least 10,000 soldiers.
France Napoleon Bonaparte 30,000
Austria Dagobert Sigmund von Wurmser 25,000
Wargame 2 Players Use General D’Armee or other Napoleonic ruleset The battlefield had several large hills on the French left flank and a large plain to the center and right. The most intense action took place in the mountains; having a position to overlook the field with artillery would have likely ended the battle.
France, 35 Battalions, 25 Squadrons of Cavalry, 10 Artillery Batteries Austria 30 Battalions, 22 Squadrons, 8 Batteries
Approximately 1 division of French should be left on the table to be brought on the table at a random roll of the dice, maybe a 10+ with 2 D6. This simulates Seruier coming to the flank of the Austrians.
Deployment should be along the long diagonal, with the Austrians having the hills to their right and possessing most of the mountains.
The French win if they seize the mountains and establish artillery positions. The Austrians win if they successfully withdraw without losing more than 20% of their force, or hold the hills.
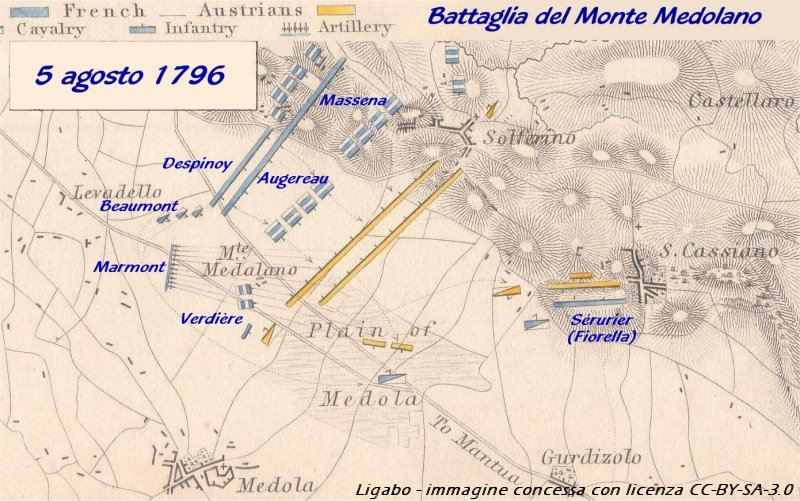
From August 3rd to 5th, it was a crucial week of action for Napoleon in Northern Italy. Nearly a dozen actions were fought, and at Lonato, Napoleon was almost captured. On August 4th, Napoleon was positioned near the rear with approximately 1,200 men. Austrian forces were moving to reinforce their positions when 3,000 stumbled upon Napoleon’s position. With a successful ruse, Napoleon forced the Austrians to surrender.
The actions of August 3rd and 4th allowed Napoleon to put his full force of 30,000 against the smaller Austrian force of 25,000.
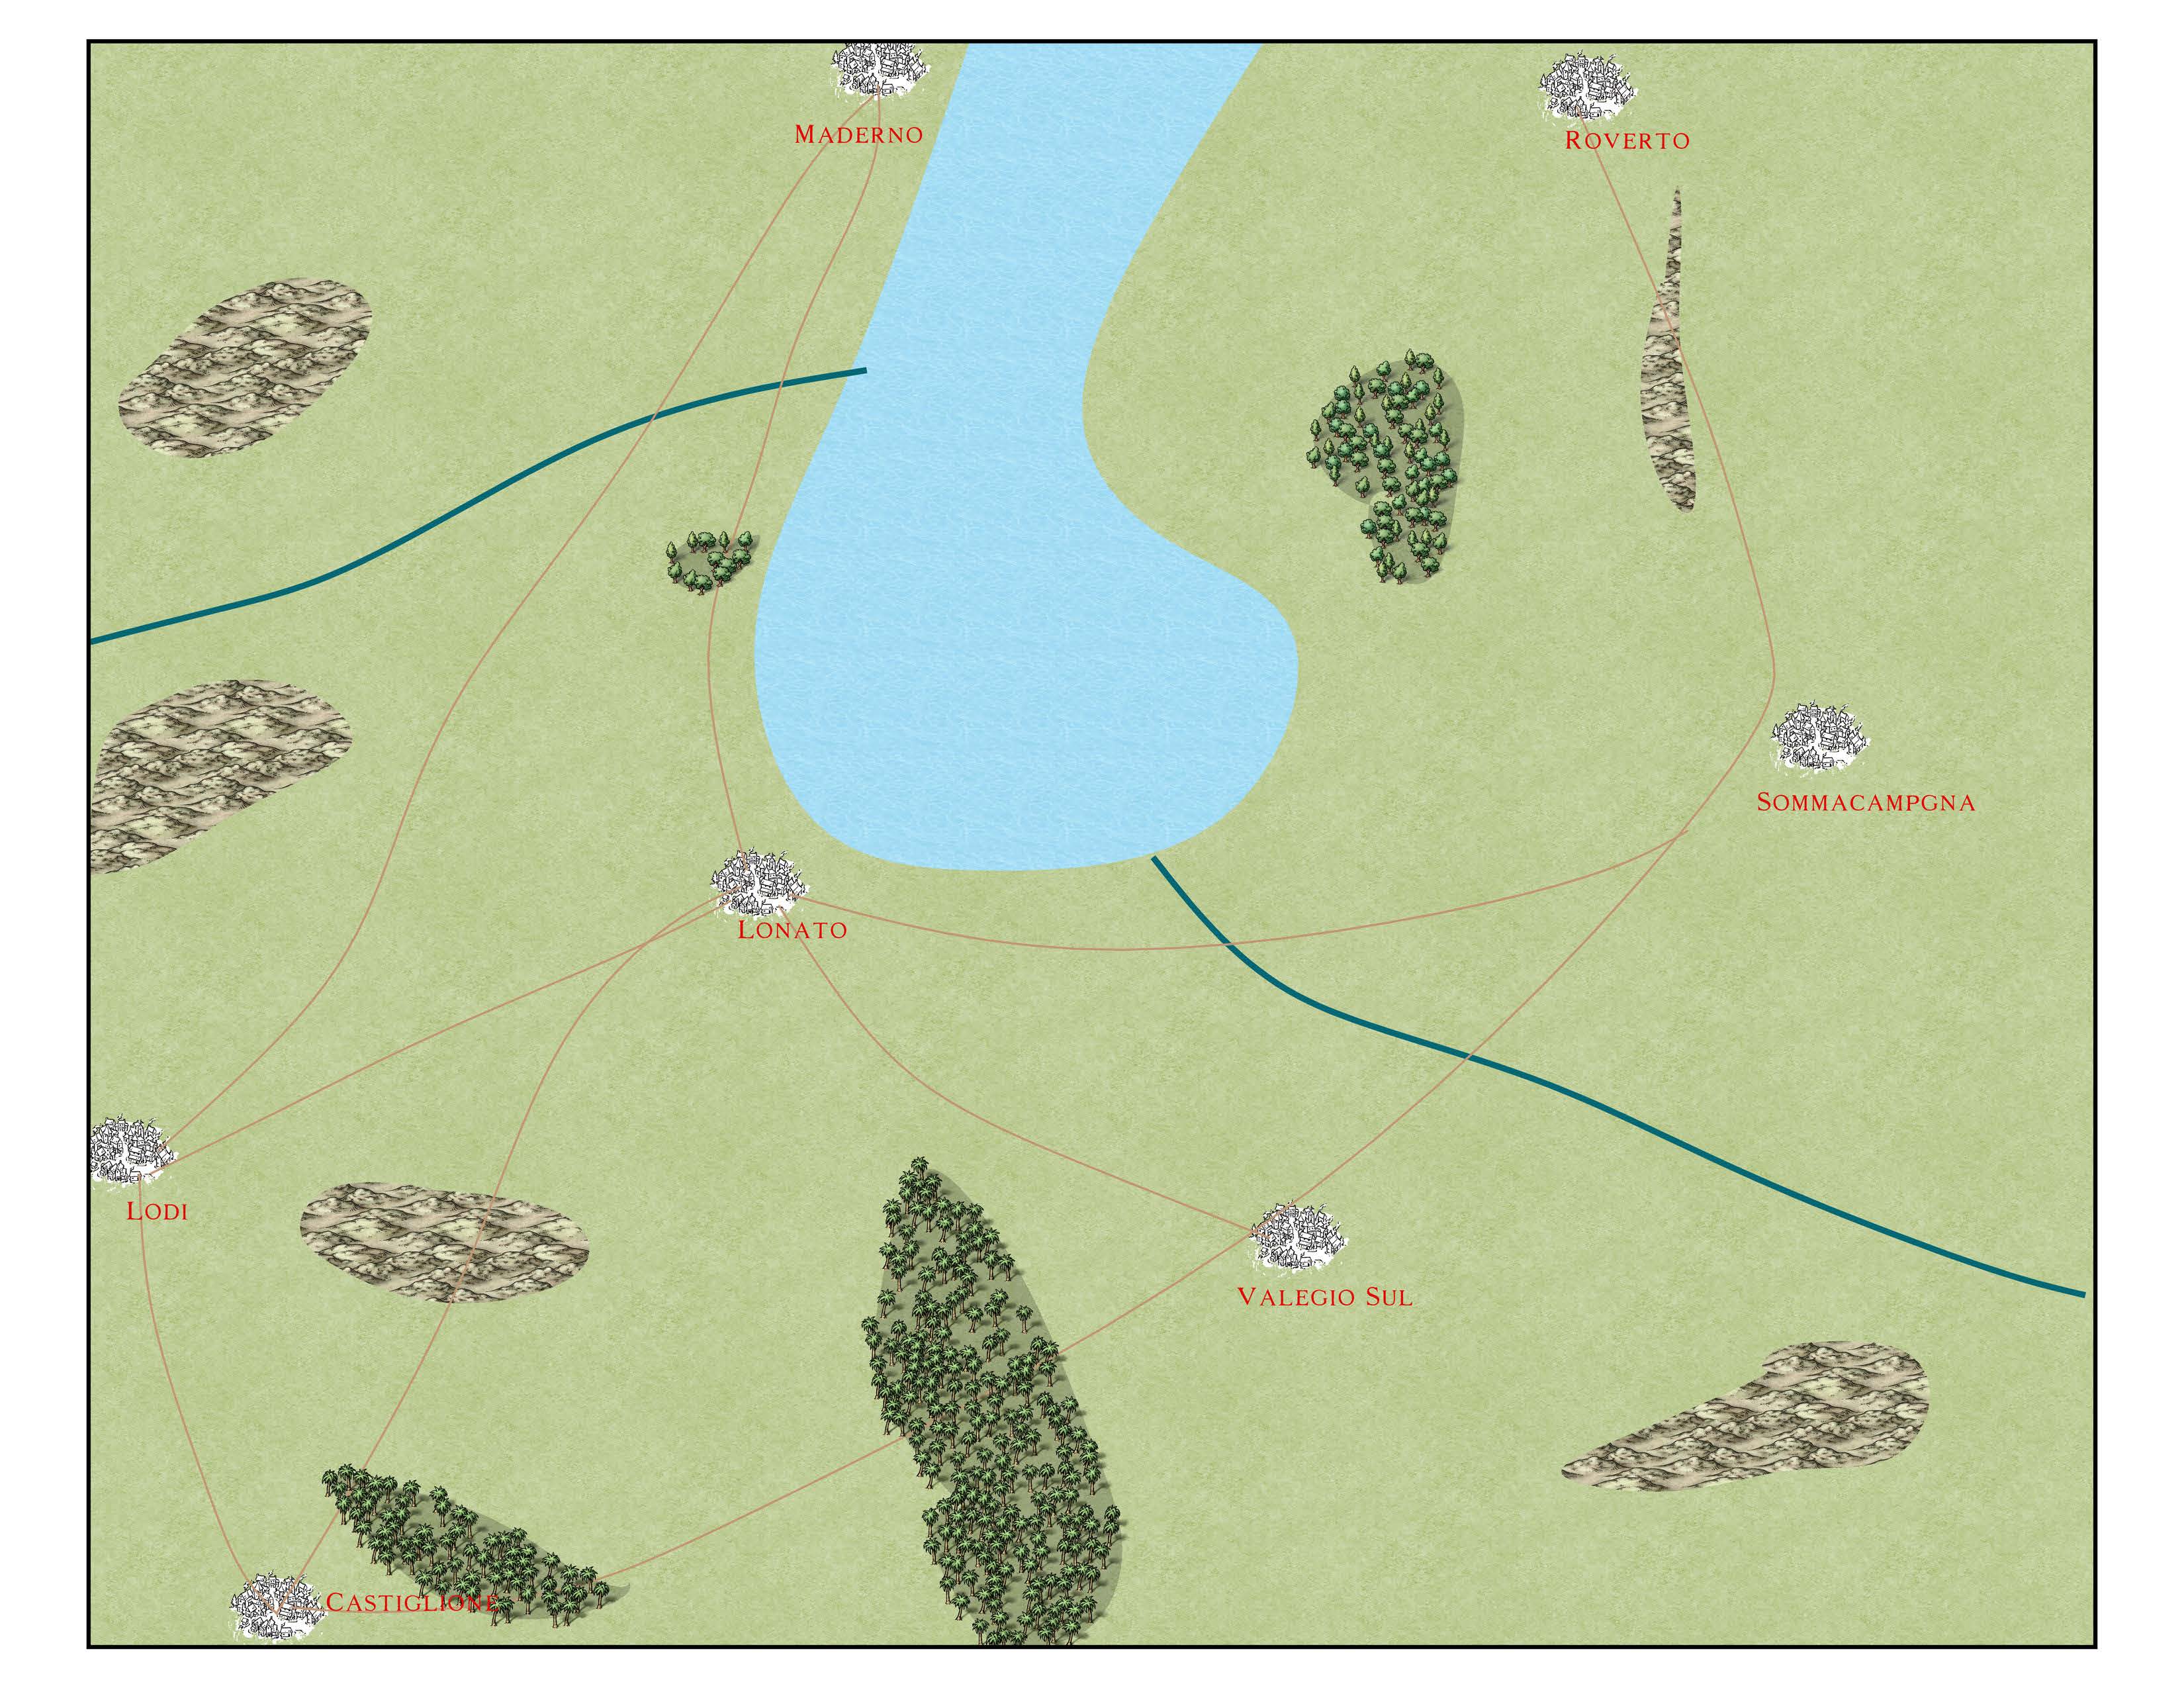
France Napoleon Bonaparte 20,000
Austira Peter Quasdanovich 15,000
The actions at Lonato were spread over several miles, with divisions facing divisions rather than the whole Corps.
The purpose of this battle is to know which objectives to secure or which to abandon. The map above is how the table should be set. There are 7 cities on the map; France must own 5 to win the battle and consolidate its forces for tomorrow’s battle.
The table should feel substantial, and it should be a challenge for different brigades to support each other on both sides.
I had two good options for August 3rd. There was the battle of Nordingen in 1645, but I felt like that would just be another Pike and Shot style battle. Instead, we went with the Battle of Saucourt-en-Vimeu. A fight between the Franks and Louis the Younger vs Viking invaders. The battle was memorialized in an old poem called Ludwigslied. The battle was one of the few pitched battles fought by the Vikings of that era, and according to sources, 9,000 Vikings were killed.
Phase 1: The Raids We are unsure of the number of the battle, but I think a Saga Age of Vikings game would work nicely here. Set up your French village/countryside, complete with residents whom the raiders are terrorizing.
Balance the two forces evenly.
Objectives The Vikings are raiders attempting to steal the goods/women from the town. The Franks are trying to prevent the theft. The Vikings must reach a home or a resident to seize the valuables, then retreat to the edge of the table.
Phase 2: Due to the Viking raiders, the Franks established an army to counter the invaders.
For this phase, use Hail Caesar or other DMBB wargame Rules The terrain has heavy woods. Then set up a river with several longships that the Vikings must defend.
Establish two equally sized armies. The shield wall was the tactic of the day. The Vikings must defend their longships, the Franks must destroy them.
Before Alexander the Great took the ancient world. The Macedonian empire was already beginning to expand. Alexander’s predecessor, Philip II, grew to dominate ancient Greece. In one of his final battles, Philip faced off against an alliance of Athens and Thebes for the freedom of Greece.
The battle was decisive; the forces of Thebes and Athens were destroyed, and the war came to an end.
Macedonia Philip II 30,000 Infantry 2,000 Cavalry
Athens/Thebes Demosthenes 35,000 Infantry
Wargame The Game is simple: use DBMM or another similarly balanced wargame. For the game, Alexander should take charge of the left flank with all of his companions deployed there, and Philip should have the right.
I built the Greeks with two principal commanders, one for each wing, as they had historically. The Athenians should take up the left, while the Thebans should take up the right.
DMBB Book 2 Alexandrian Macedonian
400
C-in-C RegKn(F) (Philip)
31
Sub-General RegKn(F) (Alexander)
31
Companions RegKn(F) x6
66
Prodromoi RegLH(O) x2
10
Thracians IrrLM(O) x2
10
Pezetairoi RegPk (O) x40
160
Pezetairoi W/ Javelines Reg Ax (O) x12
48
Greek Allie Hoplites Reg Sp (I) x7
28
Greek Peltasts Reg Ax (O) x4
16
DBMM Book 2 Later Hoplite Greek
400
Theban Reg Sp (S)
27
Athenian Reg Sp (O)
25
Hoplites IrrSp(O) x 70
280
Javelinmen IrrPs (I) x30
30
Slingers IrrPs(O) x5
10
Sacred Band RegSp(S) x4
28
Use the DBMM rules for terrain; however, the left flank of the Macedonians should have a river.
The United States knows it as the French and Indian War. Europe calls it the Seven Years’ War. From 1756 to 1763, a global conflict with battles fought across Europe, Asia, South America, Africa, and North America. The conflict pitted Britain, Prussia, Portugal, and Russia against France, the Holy Roman Empire, Spain, and Sweden. Both sides had over 1 million soldiers involved in the conflict.
The Battle of Minden wasn’t the largest, but it was pivotal in determining the victor of the war. Before the battle, France was in control of Hannover, and Prussia, along with the rest of their coalition, was on the brink of surrender. If Minden doesn’t happen, the world would be a much different place.
Great Britain Hanover Led By Prince Ferdinand 37,000
France Led By Louis de Contades 44,000
Our wargame will focus on the center of the battle. During the actual fight, six British regiments (14 battalions) advanced on the main line of French Cavalry. Our wargame will cover this action.
Models Needed British 14 Battalions, 2 should be light infantry, 2 should be grenadiers French 6 Units of Hussars, 3 Units of Dragoons, 2 Units of Curiassiers
Wargame 2 Players I used General D’ Armee The British should not be allowed to form a square Terrain, open flat ground with small hills
Objectives Both sides, rout or destroy 50% of the opponents forces
On July 31st, 1917, the Allies made a Western Front push to seize the city of Ypres in West Flanders. The first part of the offensive was the Battle of Pilckem Ridge.
British Empire Douglas Haig 13 Divisions
Germany Erich Ludendorff 7 Divisions
Wargame I would use a skirmish game, Through the Mud and the Blood, for a skirmish-level battle. For a large-scale Great War Spearhead
Models needed – this depends on your collection, but ensure you have approximately twice as many British attackers as German defenders.
Terrain- Standard WWI Terrain with trenches, gun emplacements, no man’s land, barbed wire, muddy ground, building ruins, and rubble.
Table- 6×4 or 8×4
Scenario
The Germans have a small hill filled with defensive emplacements as a defensive line. The defenses have several layers. Place your British force on one table edge and the German trenches about the middle of the table. The German Trenches should have layers.
The British must seize the German defenses. The Germans should counterattack at any and all oppurtunity.
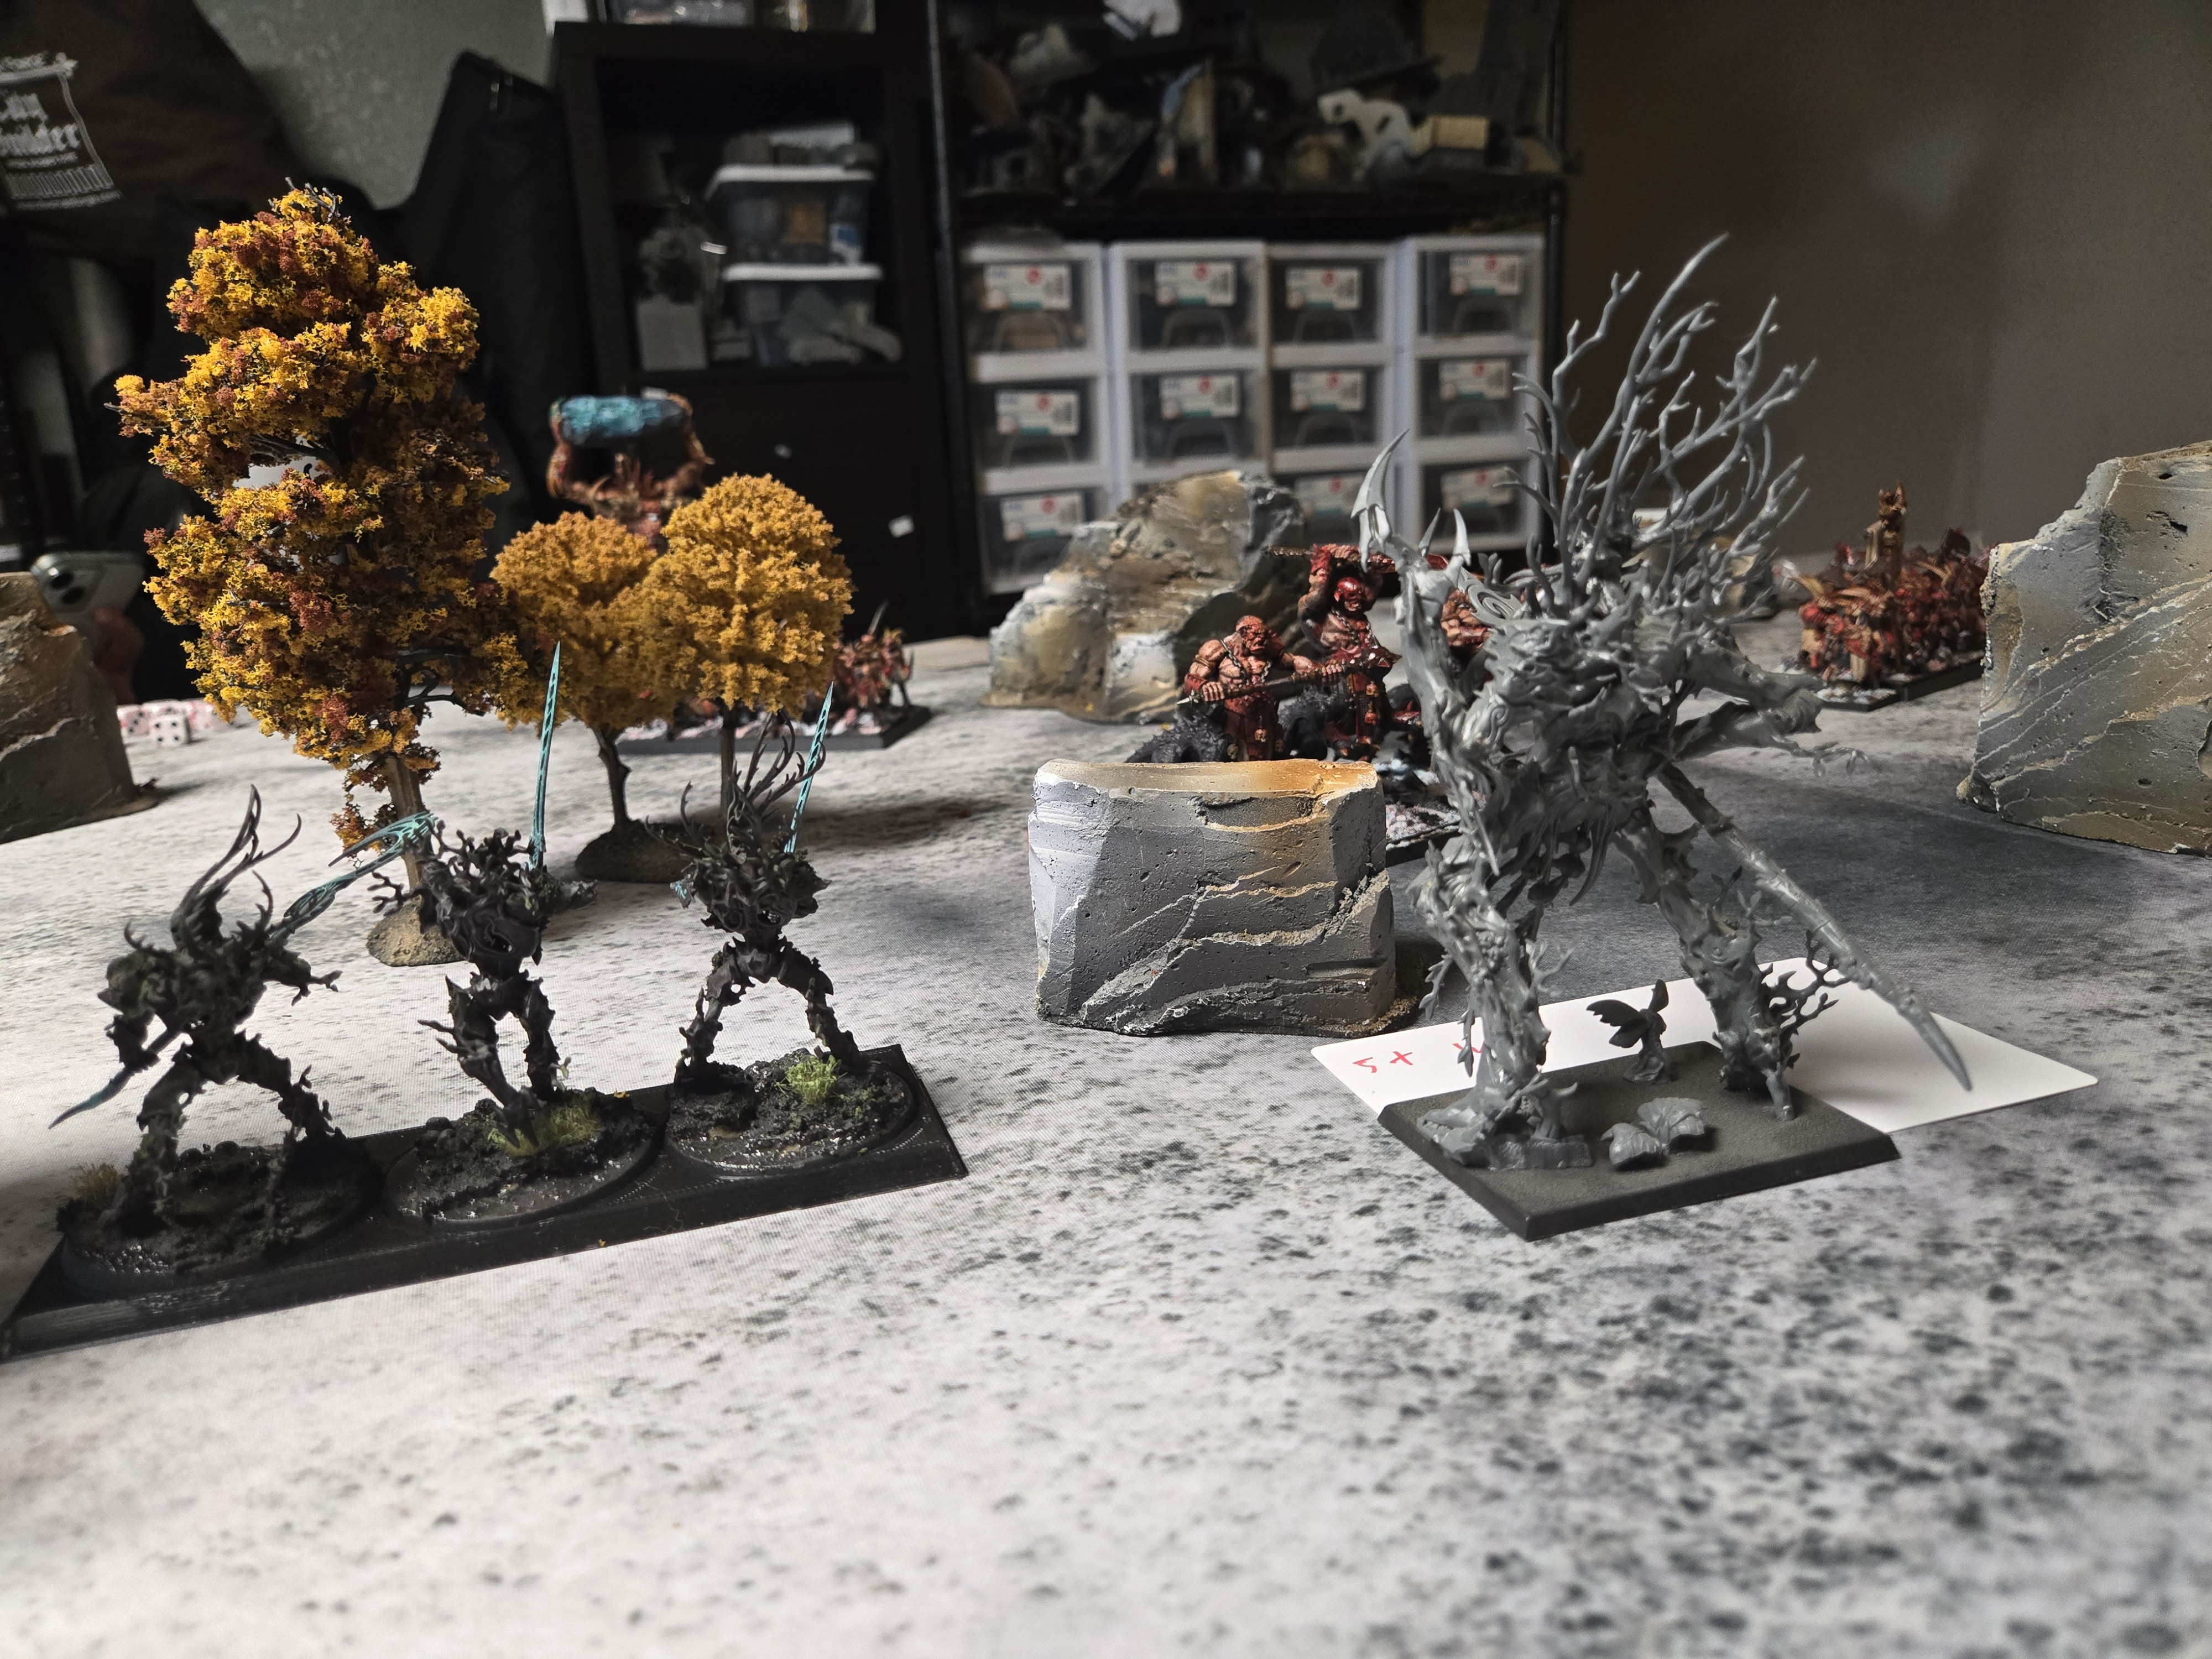
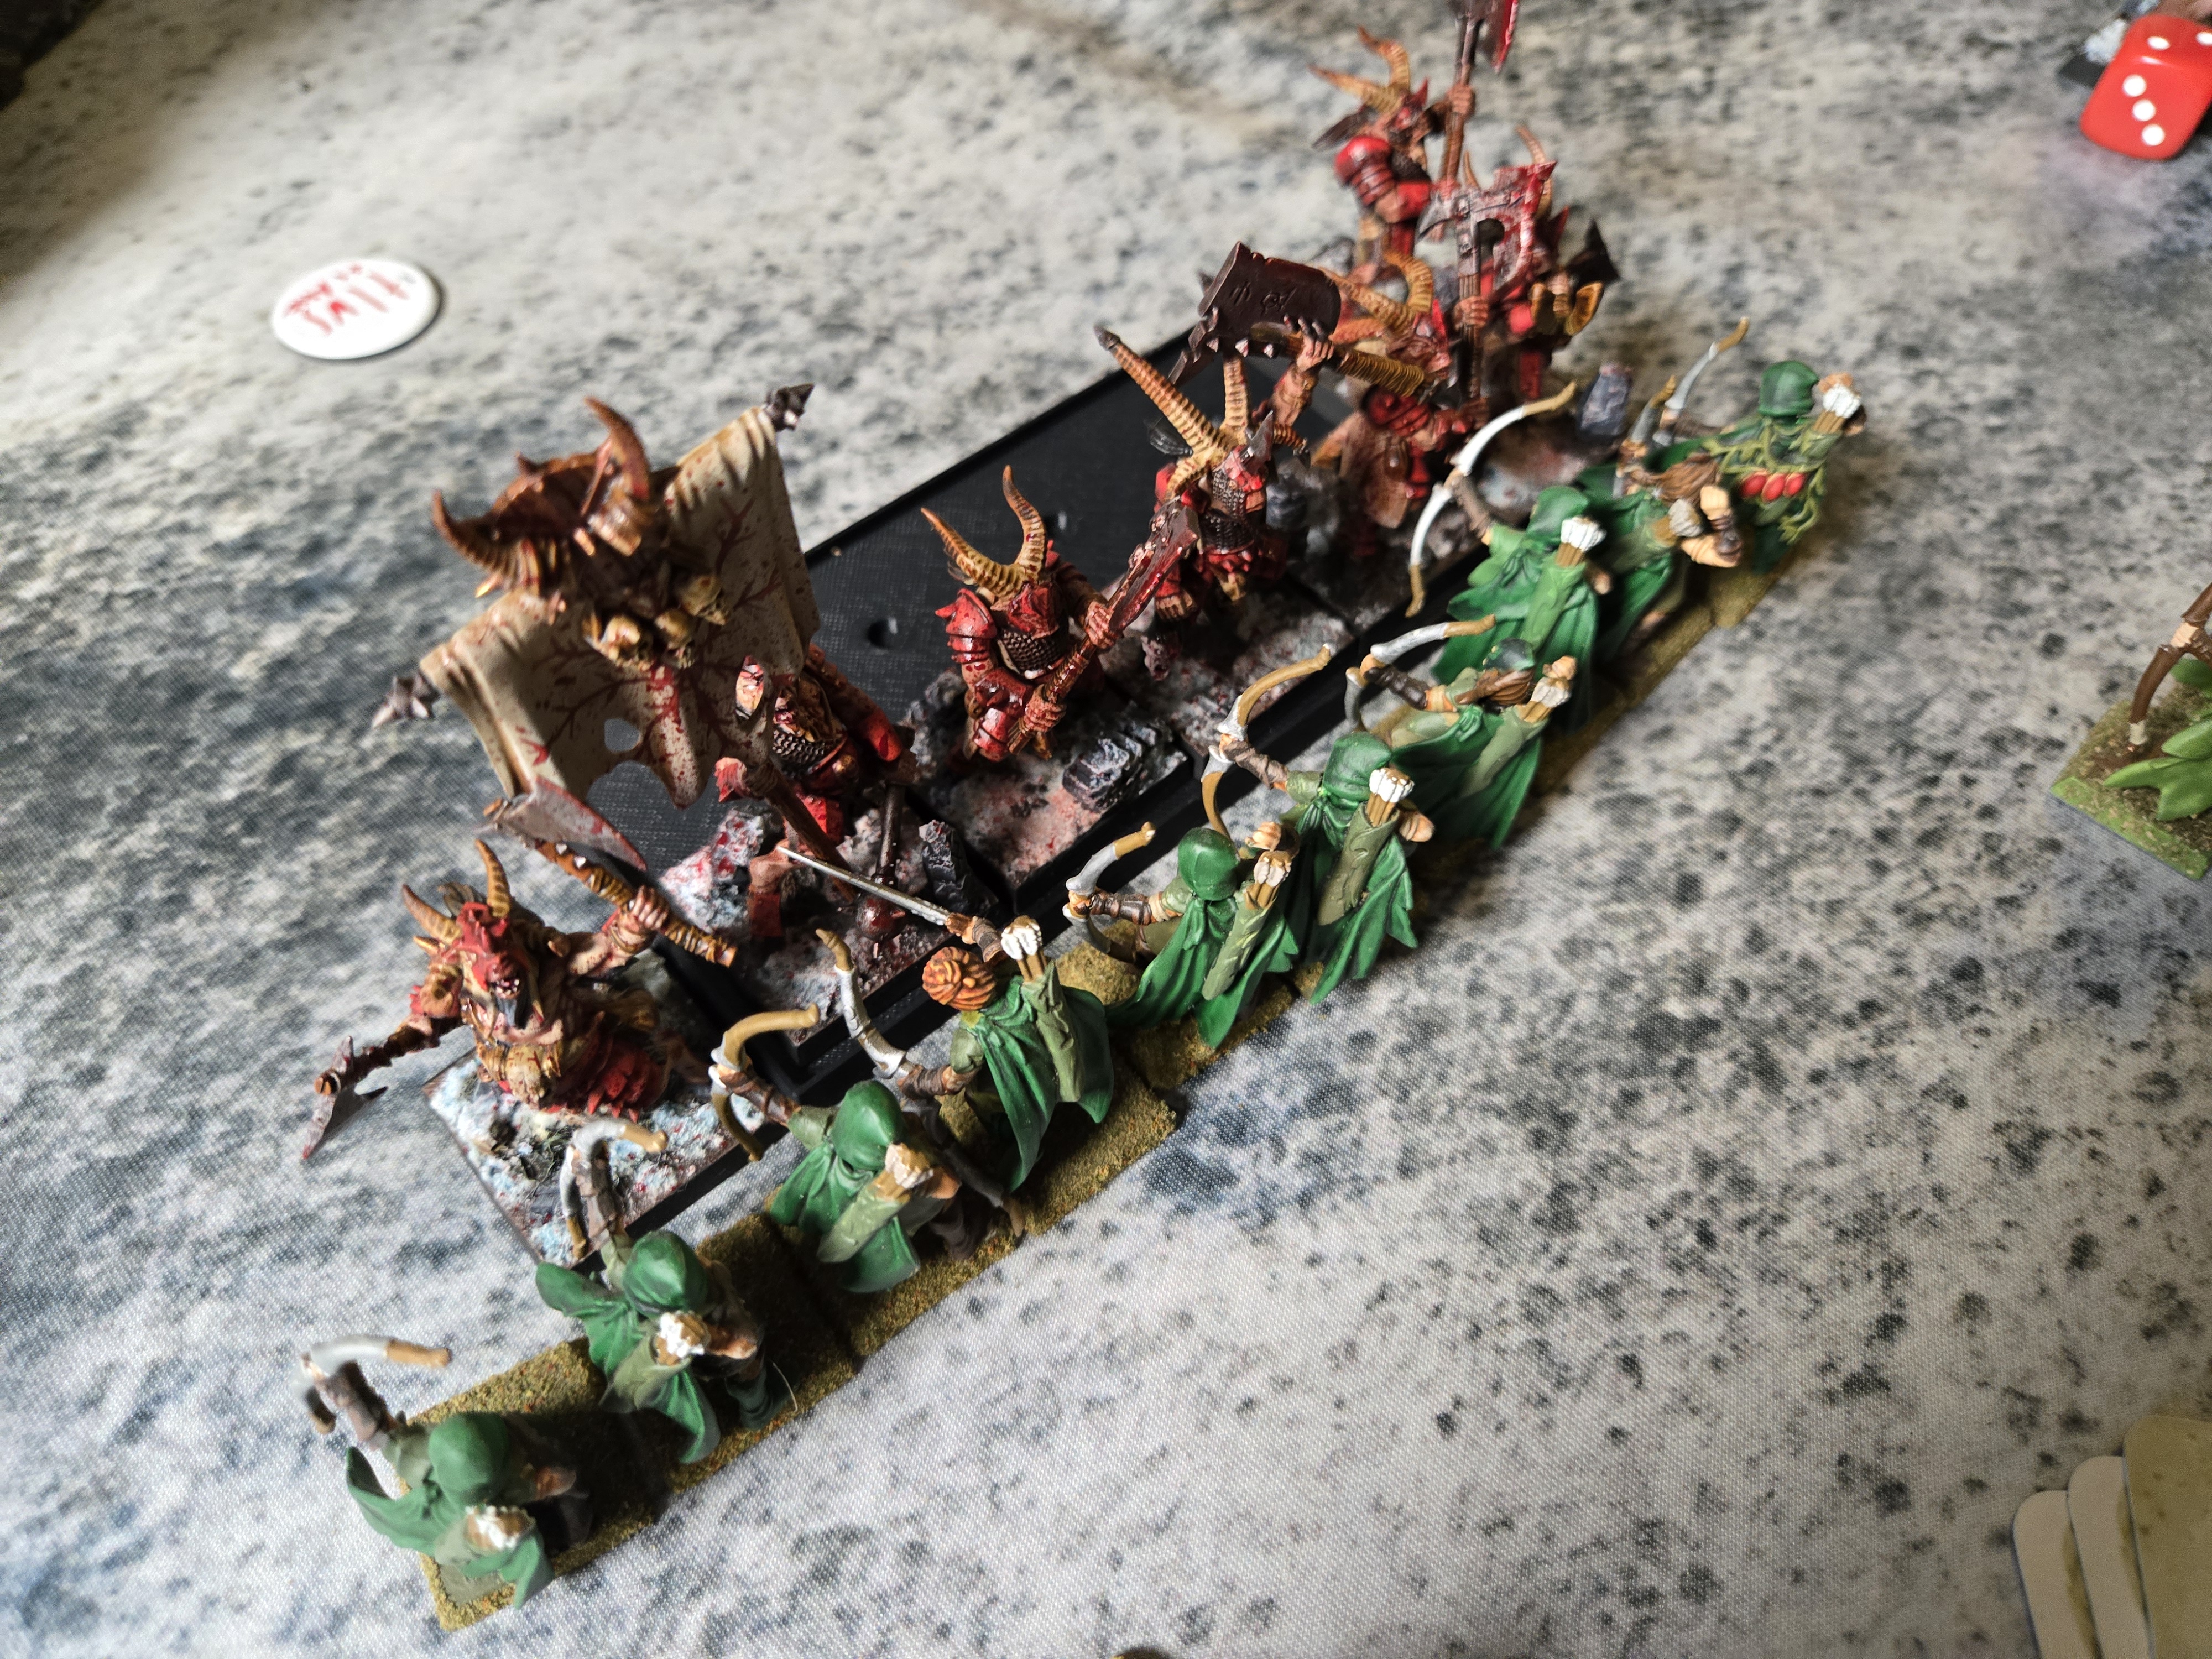
The other day, my friend came over and we had a good old-fashioned brawl with our Old World armies. I brought 2500 points of Wood Elves, and they got 2500 Beastmen.
Conclusion
The game was very close. I think the entire game hinged on turn 3 combat. One crucial item is that I turned to flee with my Wild Riders when charged by the Ghorgon. However, I didn’t flee far enough, and the entire unit was run down and destroyed with not a peep. I also didn’t prioritize my shooting well, and I forgot my hagbane arrows, which did much damage. I also didn’t utilize my forest sprites or my spells effectively. Live and learn.
I was happy with my Glade Guard and Glade Riders. The treekin did ok, and the eagles, I think, are essential to screen troubling units. I would have rather had another unit of the Guard rather than the Sisters of Thorn.
The game mat is by FLG, and the terrain was made by Greenleaf
Beastment
272 – Beastlord, Additional Hand Weapon, Heavy Armour, Many-limbed Fiend, Gouge-tusks, General, The Black Maul, The Fur of Sharggu 330 – Great Bray-Shaman, Gnarled Hide, Pelt of Midnight, Wizard Level 4, Dark Magic, Scimitar of Skultar, Full Plate Chaos Armour, Horn of the Great Hunt 210 – 10 Bestigor Herds, Stubborn, Veteran, Gouge-horn, Standard Bearer, The Beast Banner, Musician 177 – 15 Gor Herds, Additional Hand Weapon, True-horn, Great Weapon, Scimitar of Skultar, Standard Bearer, Magic Standard, Vitriolic Totem, Musician 177 – 15 Gor Herds, Additional Hand Weapon, True-horn, Great Weapon, Scimitar of Skultar, Standard Bearer, Magic Standard, Vitriolic Totem, Musician 85 – Tuskgor Chariots 77 – 10 Ungor Herds, Shield, Throwing Spear, Half-horn, Standard Bearer, Musician 77 – 12 Ungor Herds, Shortbow, Half-horn, Standard Bearer, Musician 205 – 3 Dragon Ogres, Heavy Armour, Great Weapon, Shartak 100 – Herdstone 329 – 6 Minotaur Herds • 1x Minotaur, Great Weapon, Musician • 1x Minotaur, Great Weapon, Bloodkine, Burning Blade • 1x Minotaur, Great Weapon, Standard Bearer • 1x Minotaur, Great Weapon • 2x Minotaur, Great Weapon 215 – Cygor 245 – Ghorgon
WoodElves
Glade Lord w/ Cav Spear, Forest Dragon, Hail of Doom Arrow
449
Spellweaver, Level 4 Wizard, Elven Steed, Heartwood Pendant, Lore of the Wilds
214
Treeman Ancient
265
Glade Captain, Battle Standard Bearer, Elven Steed
113
4×10 Units of Glade Guard with Hagbane Tips
130×4 520
10 Glade Guard with Moonfire Shot
120
10 Dryads
130
5 Glade Riders with Trueflight Arrows
95
5 Sisters of Thorn with Handmaiden
128
5 Wild Riders with Standard
142
4 Tree Kin
204
2x Great Eagle
2×60 120
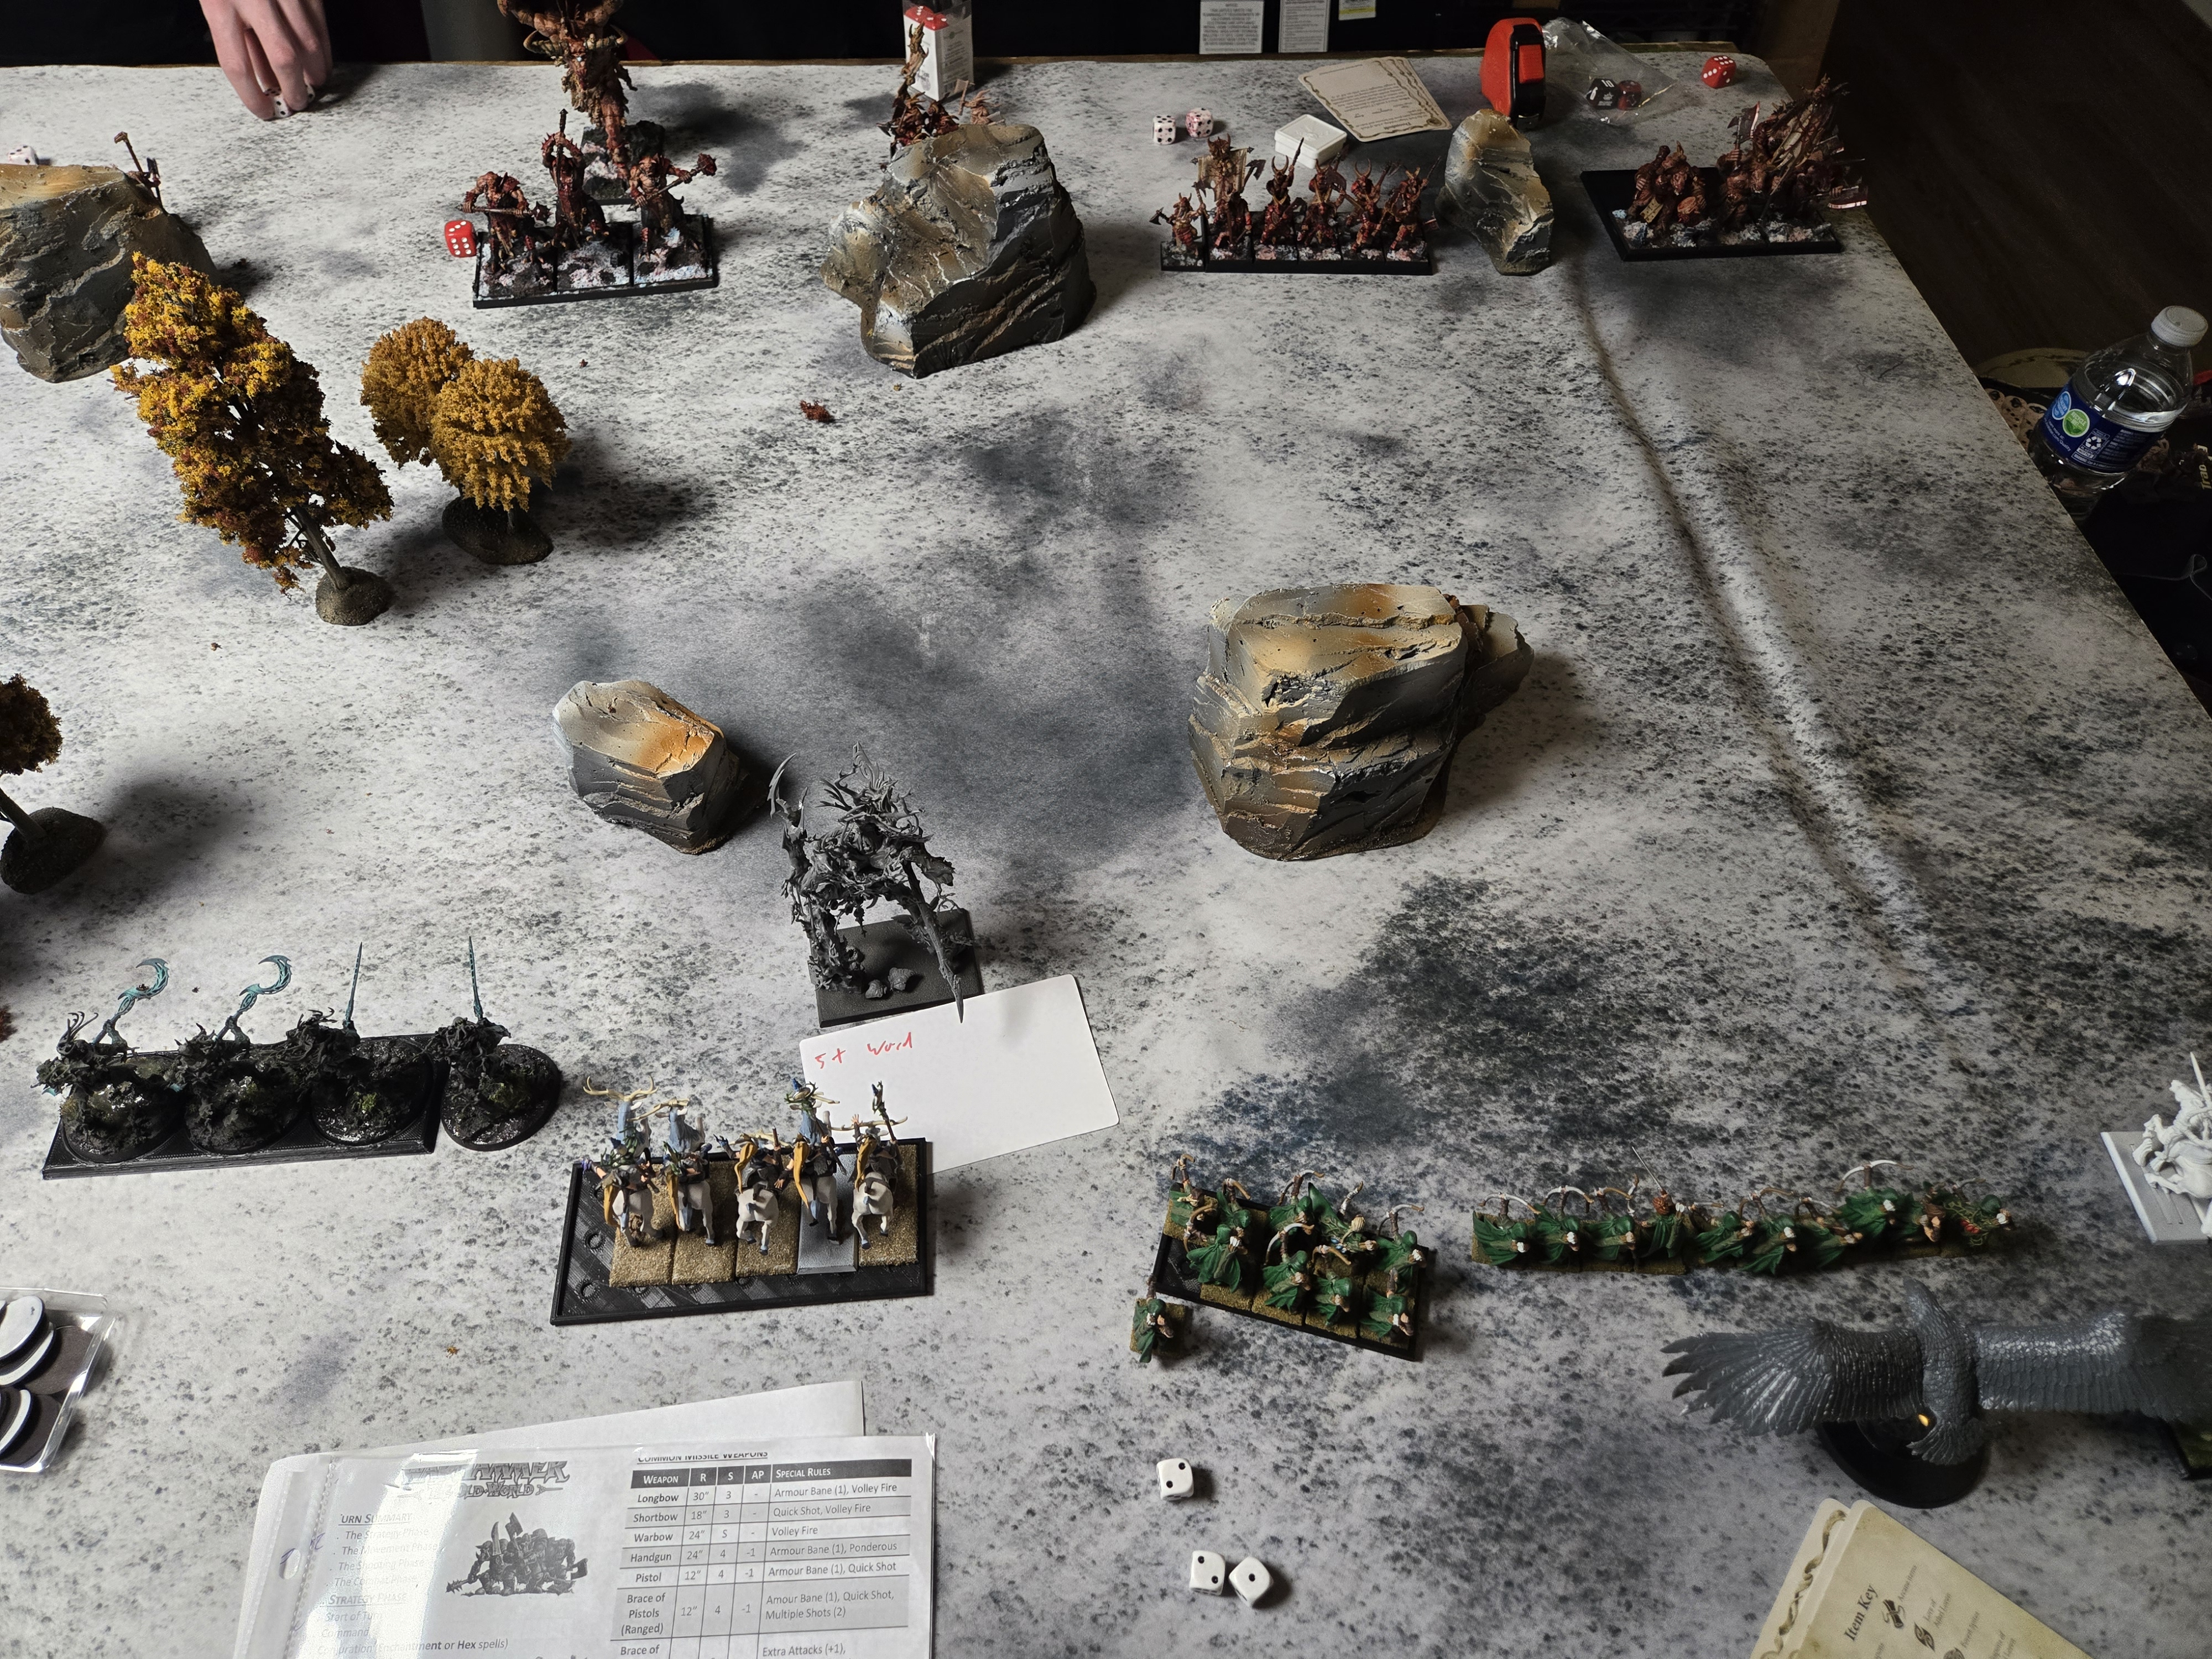
Our initial deployment and round 1. Minimal movement and lots of shooting. The Storm giant in the middle of the picture is my vortex spell.
The right flank looked rough, with me facing down the enemy minotaurs and dragon ogres. I was able to kill 2 minotaurs in the first round of shooting.
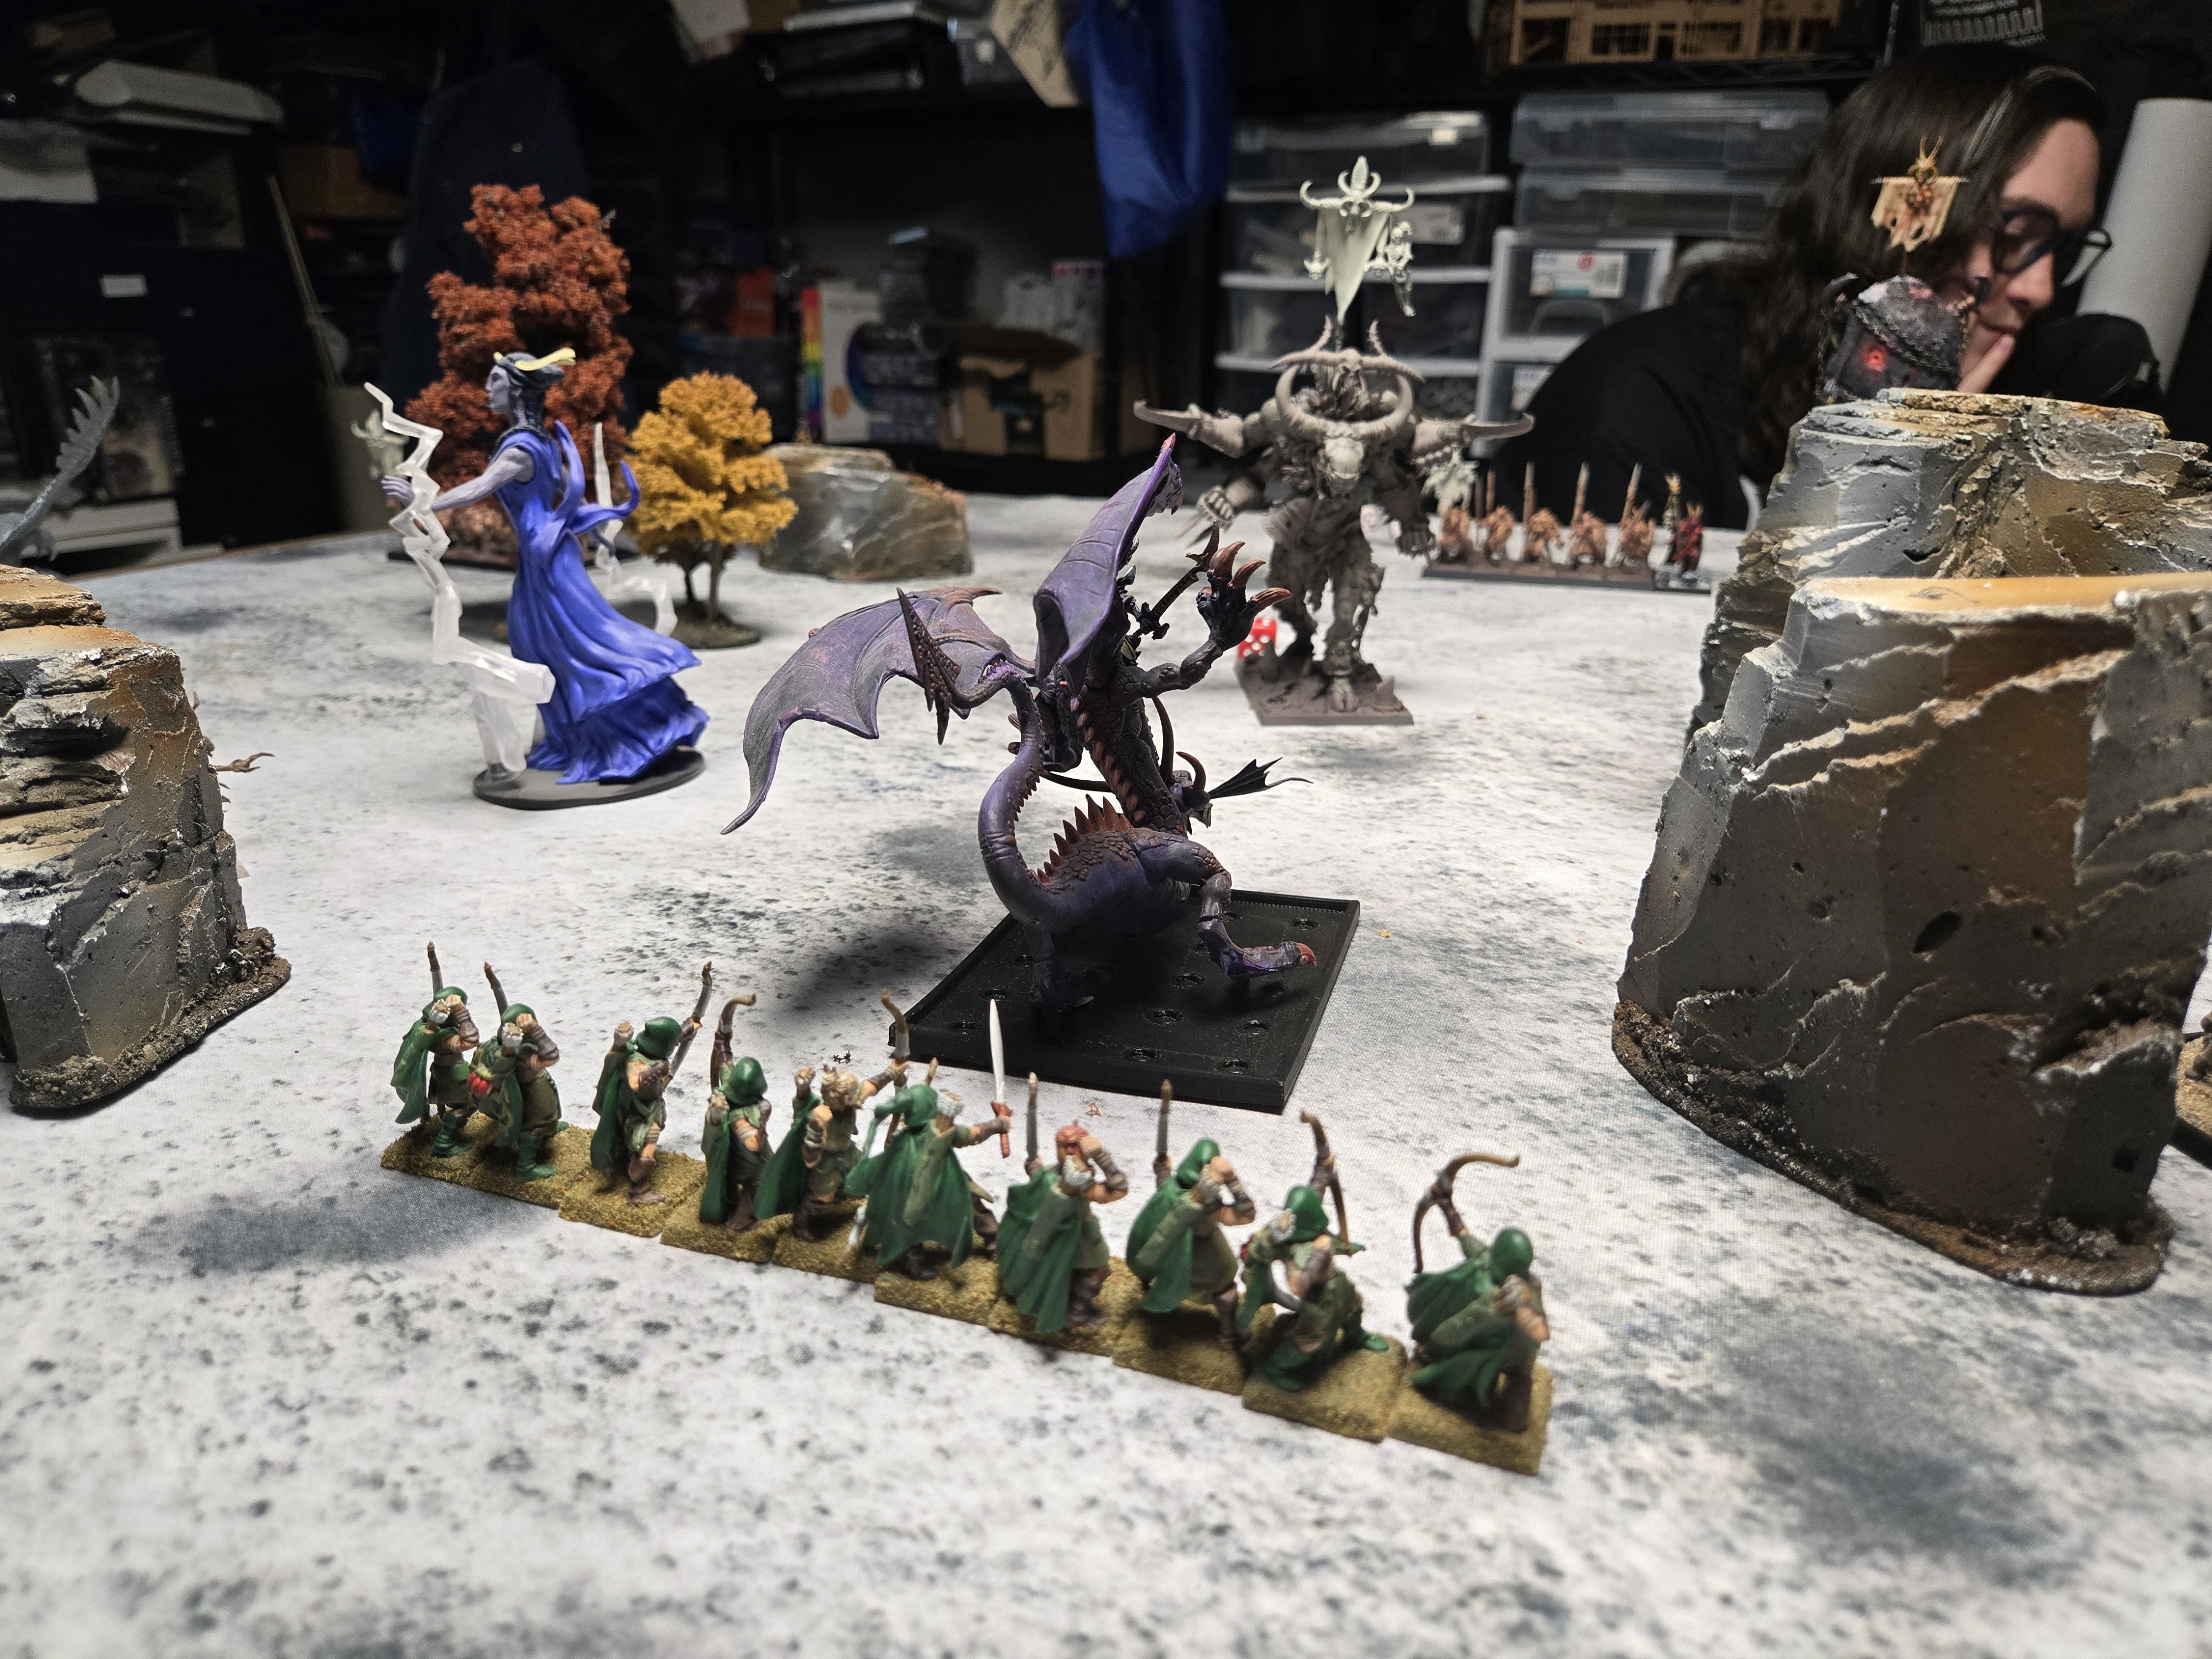
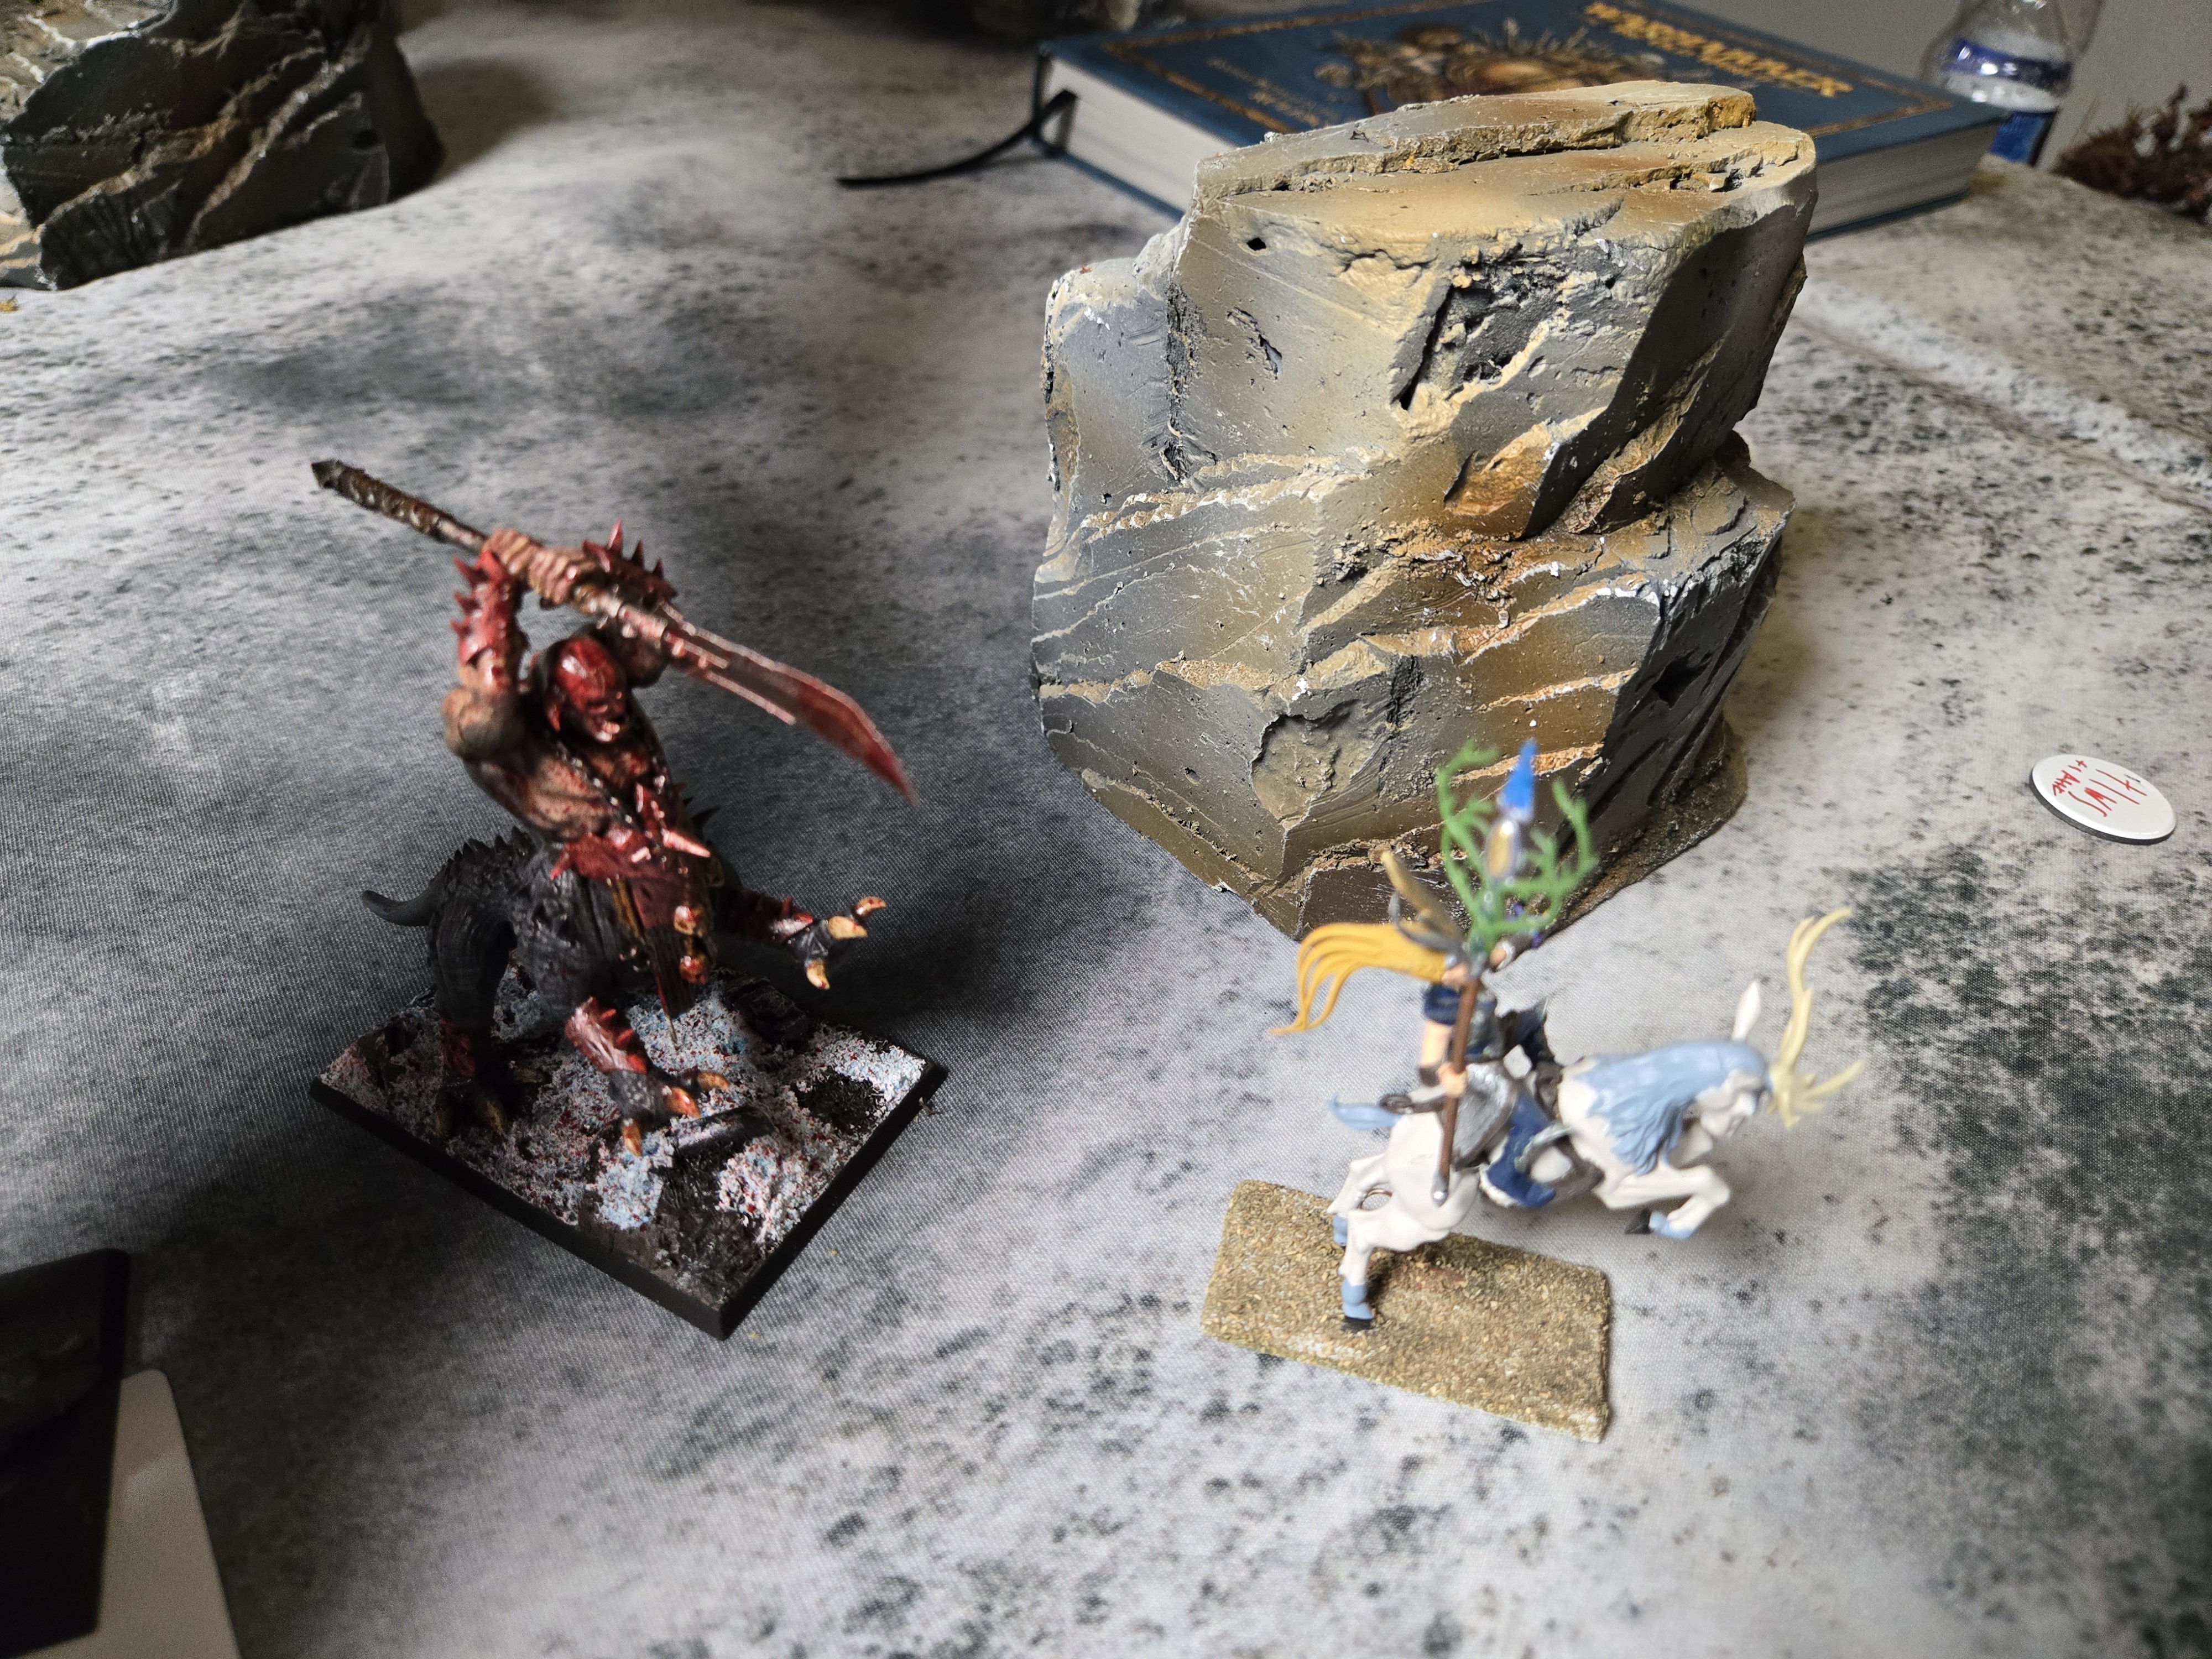
Round 3 resulted in the Ghorgon taking on the Woodelf Dragon. Unfortunately, the single six that was rolled into another six meant the monster slayer, Ghorgon, killed my general.
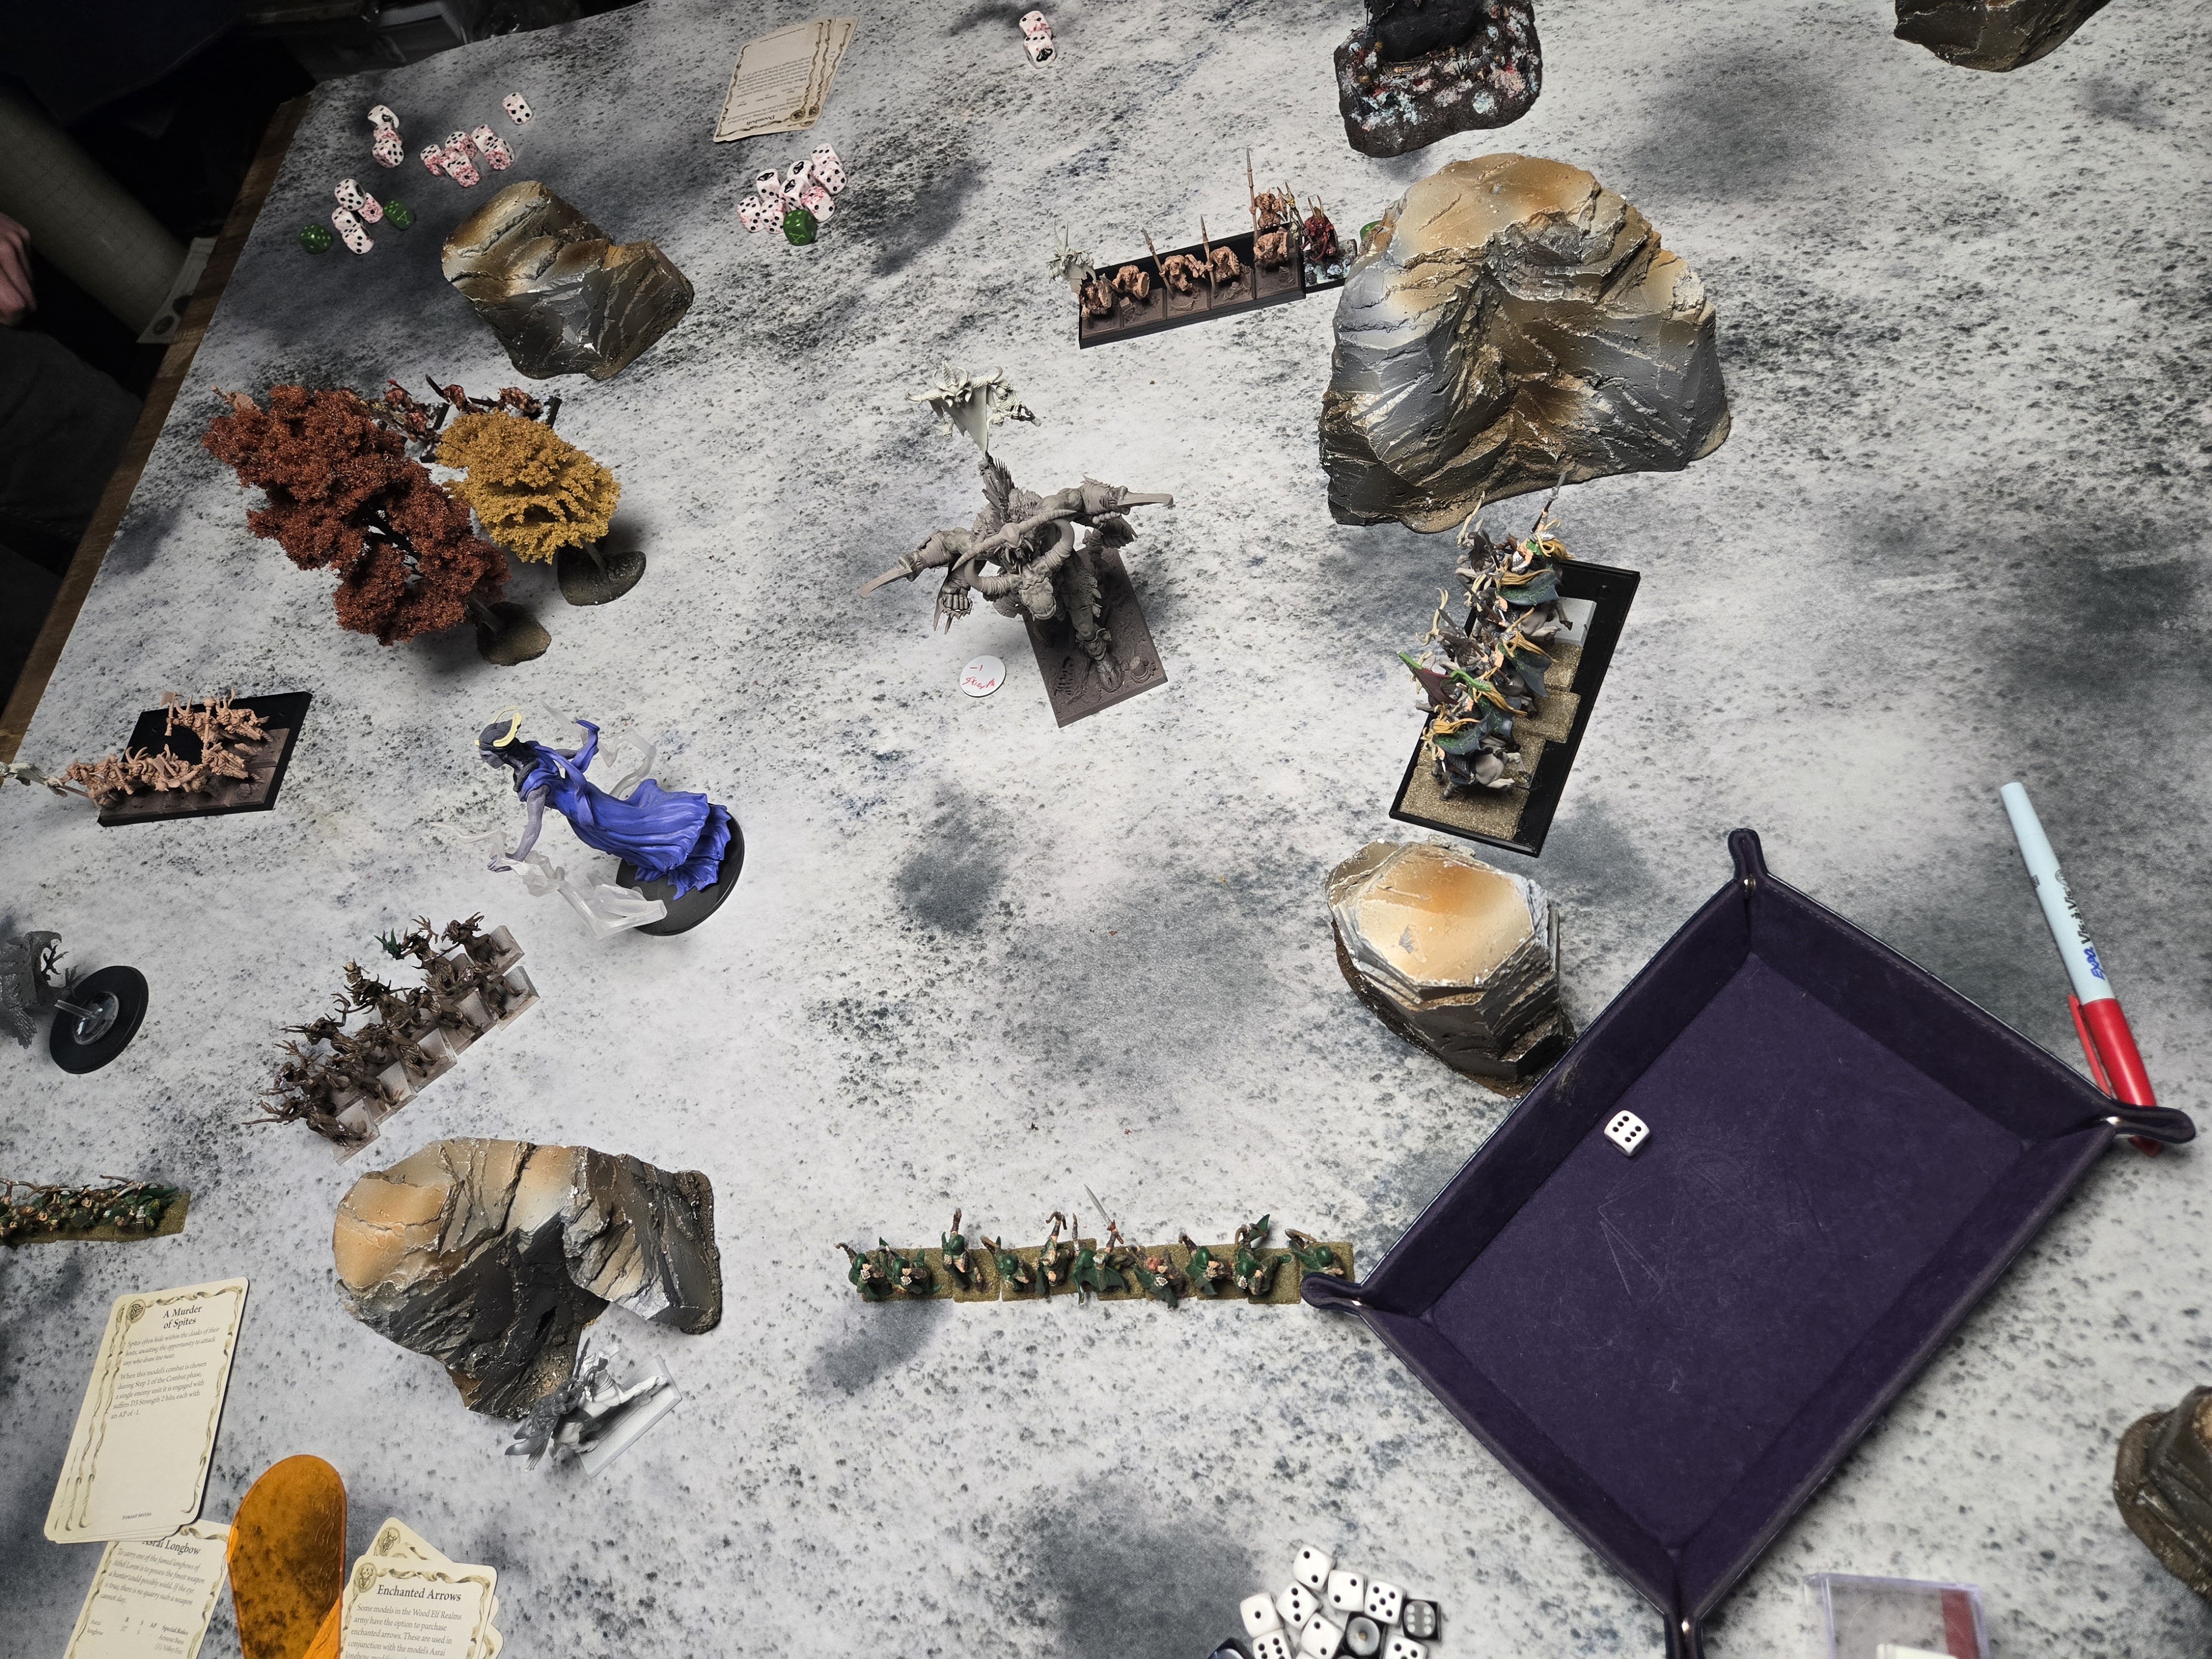
Center of the board after the turn 3 onslaught. My wildriders missed their charge.
Turn 5 meant their main lines could finally get to my bladeguard. It wasn’t pretty.
A rather funny image of his final dragon ogre chasing my final sister of the thorn.
Most people are unaware of the brutal battles that occurred in North America during the height of the fur trade. Europeans exploited Native Americans across the continent to hunt, trap, and export valuable furs across the ocean. Various European countries allied with different tribes, providing them with weapons and armour to make war against one another.
The Beaver Wars were a series of skirmishes that occurred over approximately 100 years in the Great Lakes region. It pitted the English-backed Iroquois League against the French and Huron.
Wargame Scenario
I would use A Few Acres of Snow, Sharp Practice, One Brain Cell Rules, Blood and Steel
Set up, create a 4×4 board with 7 or 8 models per side. Fill the board with trees, lakes, ponds, rivers, streams, a cabin or two, and place fur markers or objectives around the map.
Models, Warlord has some native American skirmishers to paint and such. You can also use the generic plastic native american models you get from the dollar store.
Each side must identify the objectives and escort them off the table. You could randomly assign a value to each objective, and whoever wins the most value wins the scenario.