P3 Master Series Paints Review

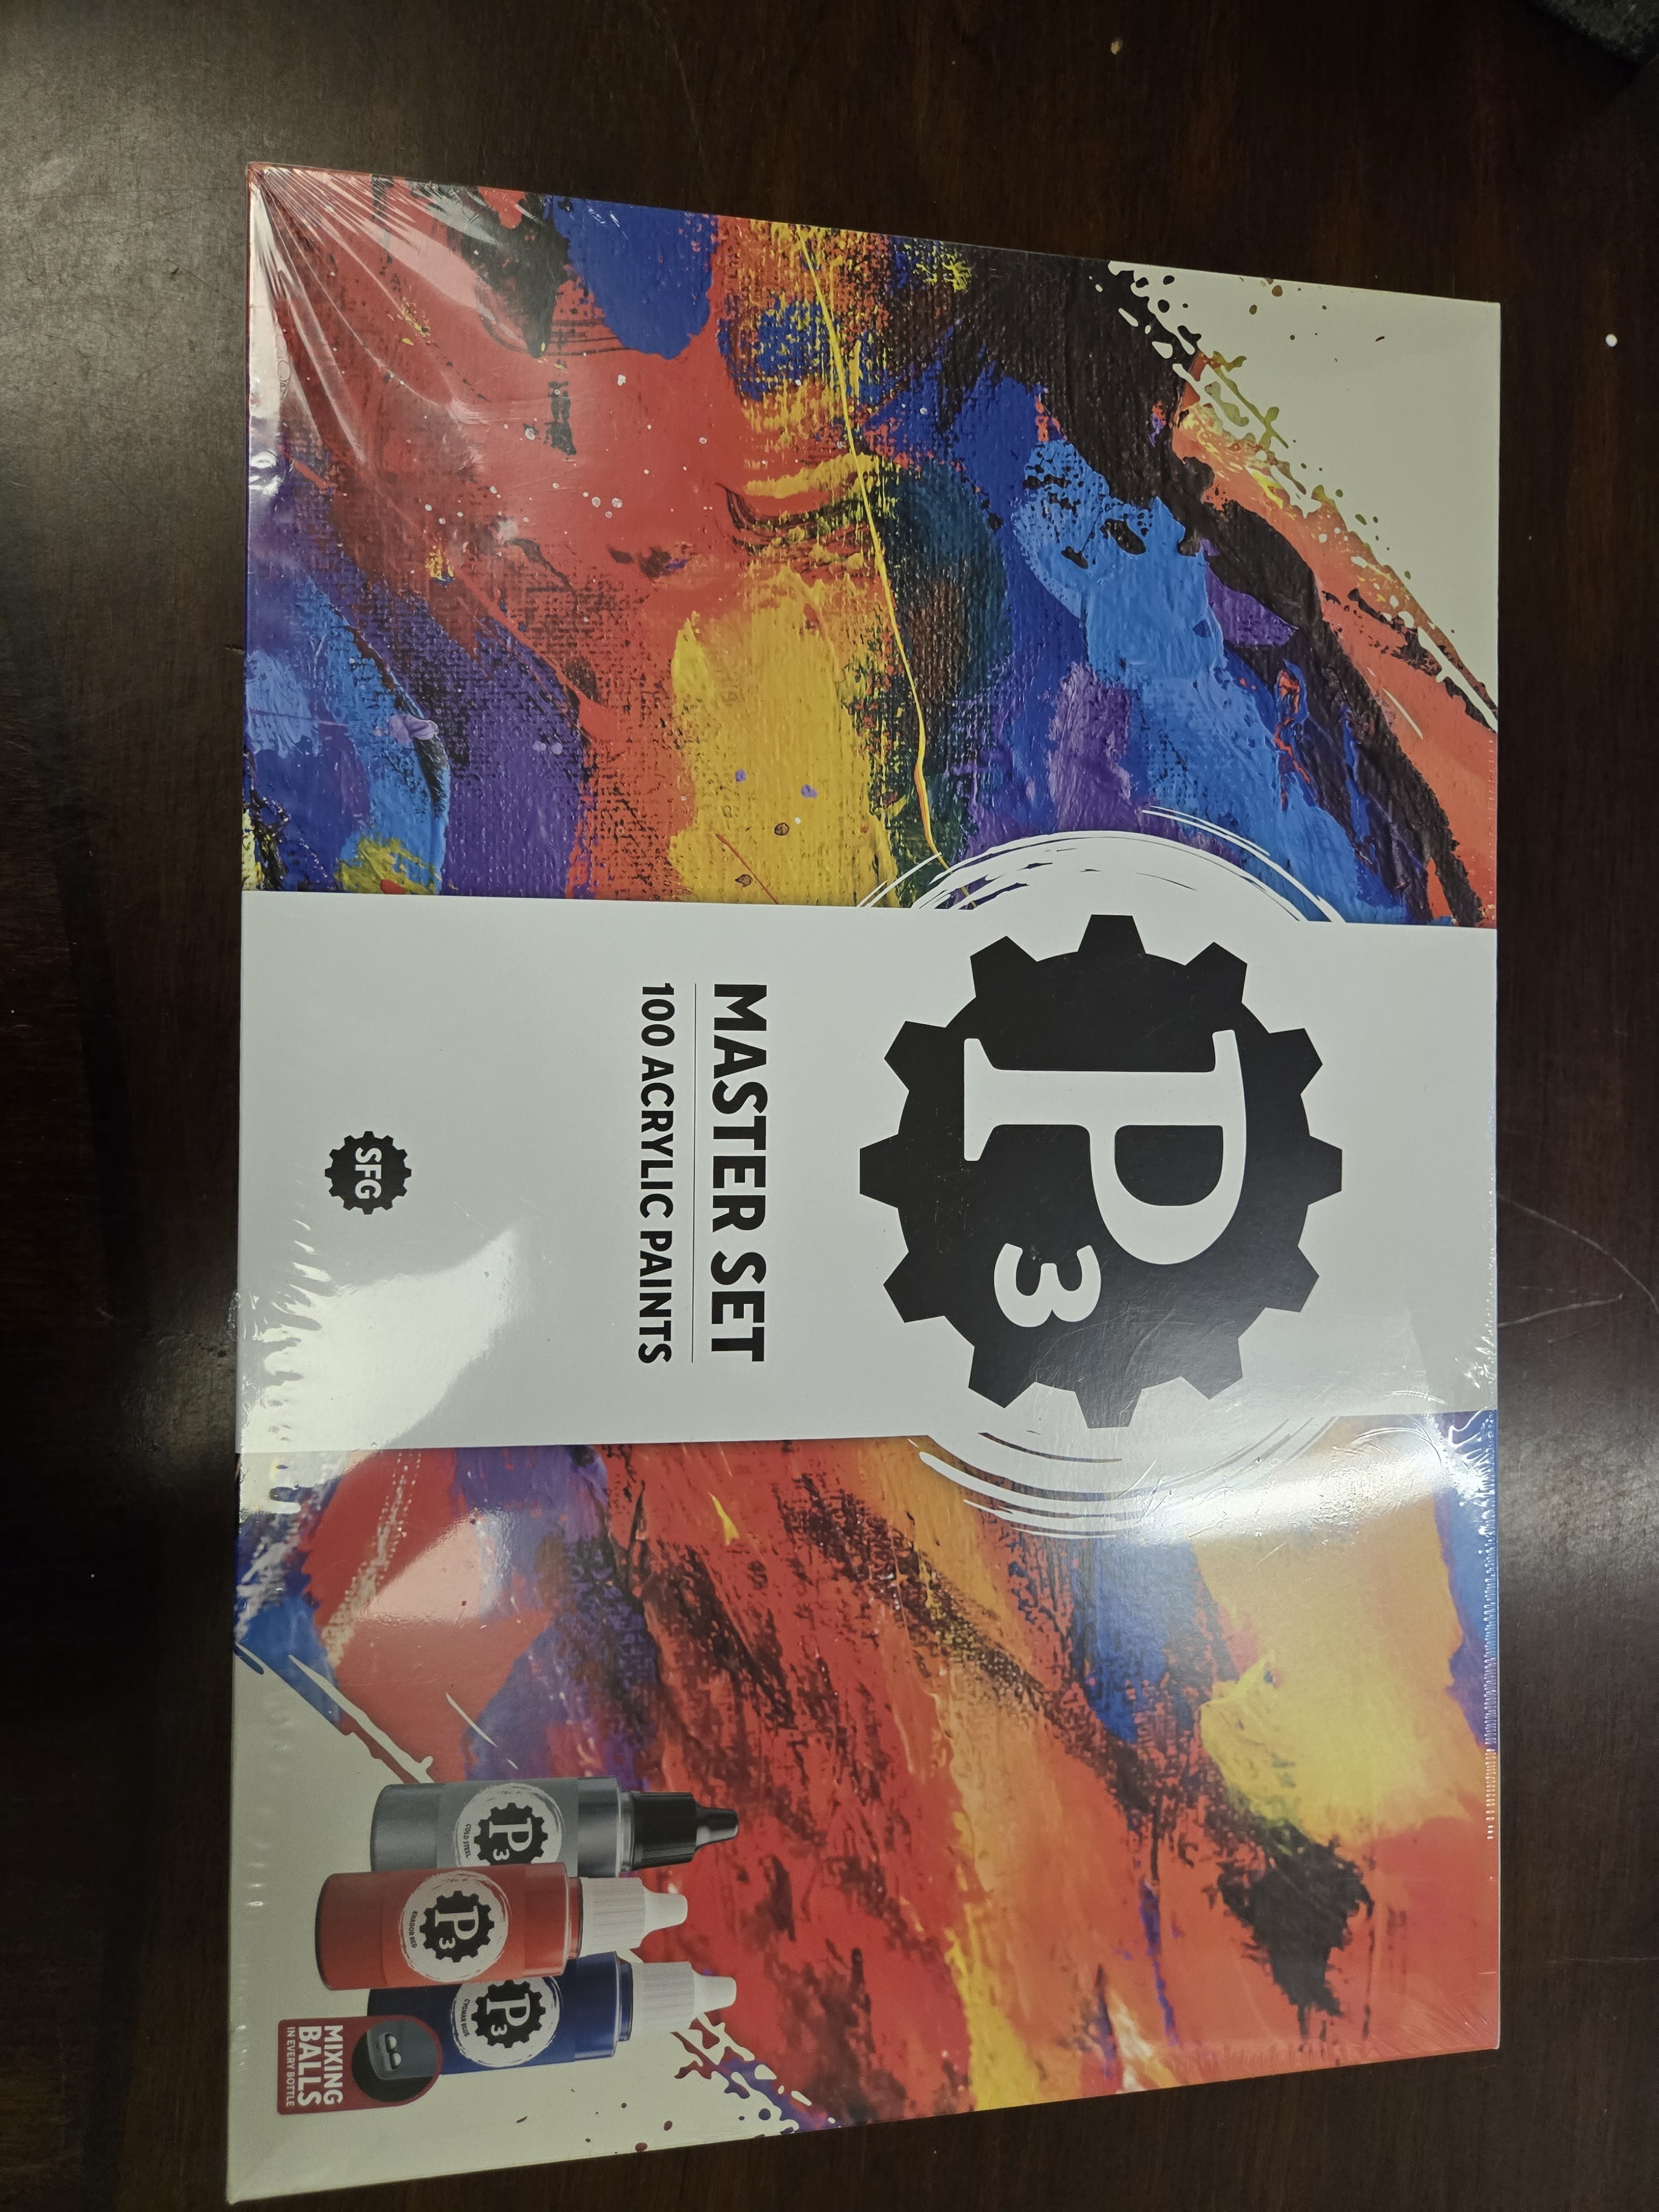
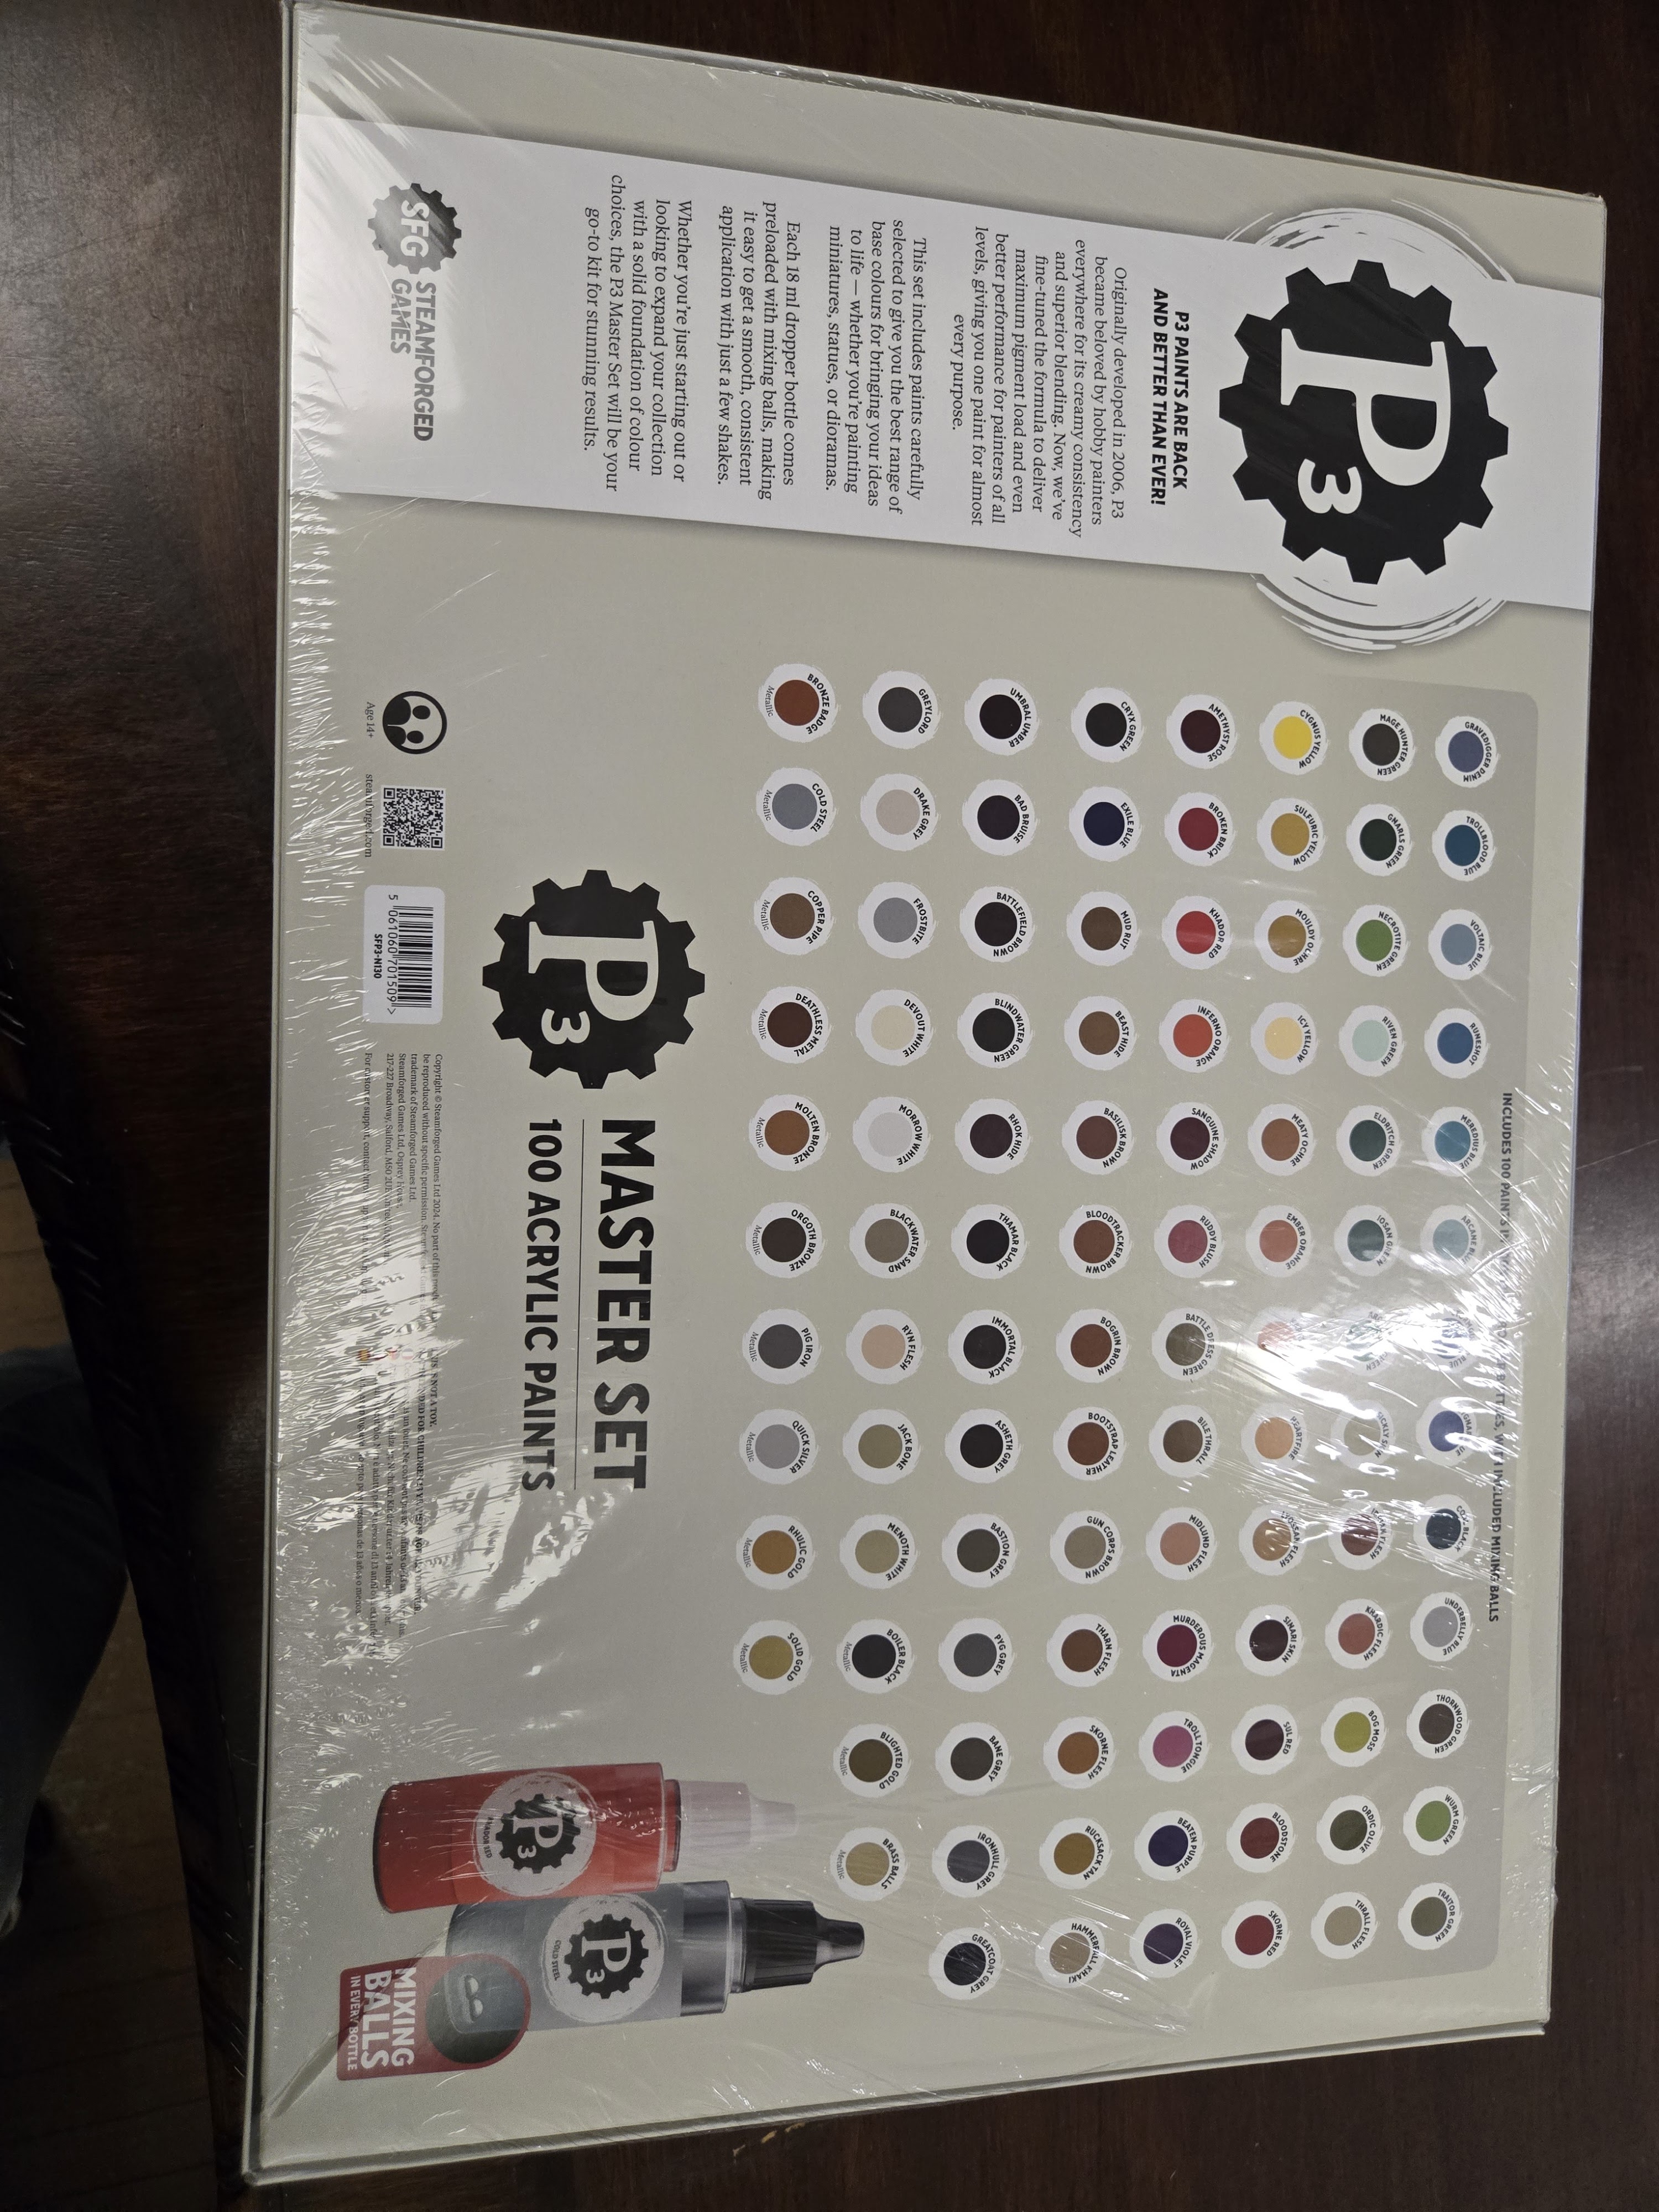
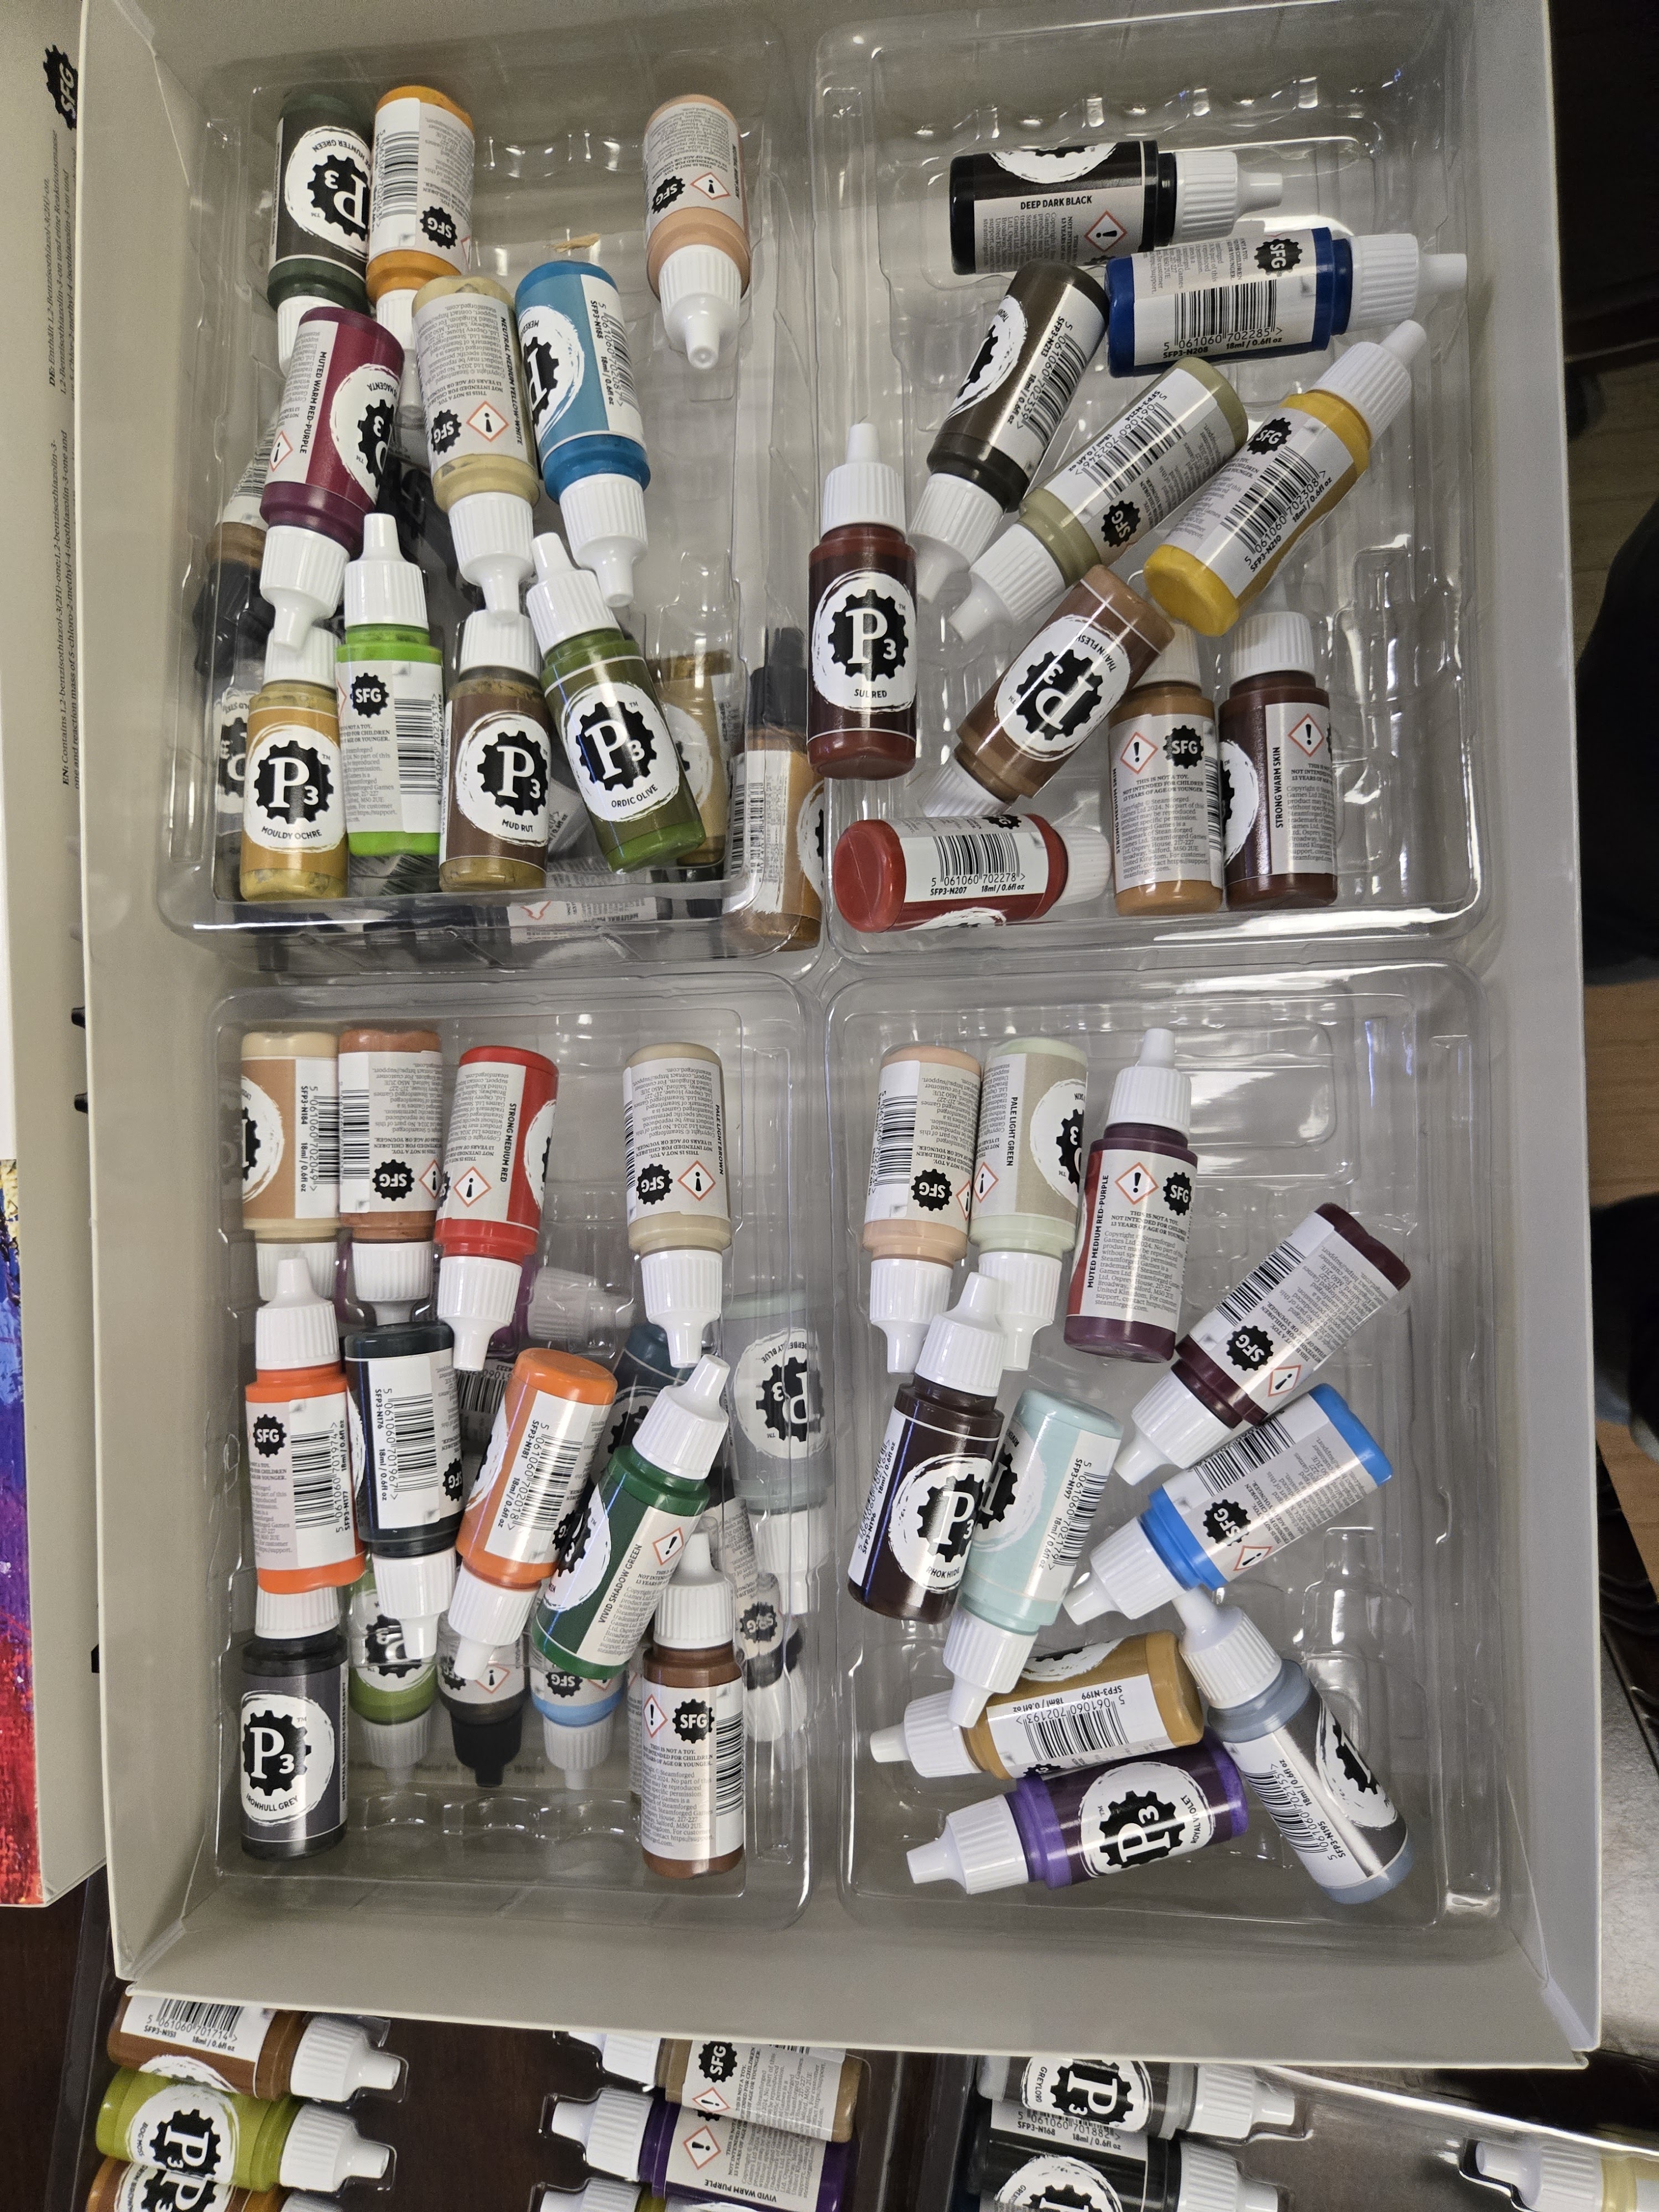
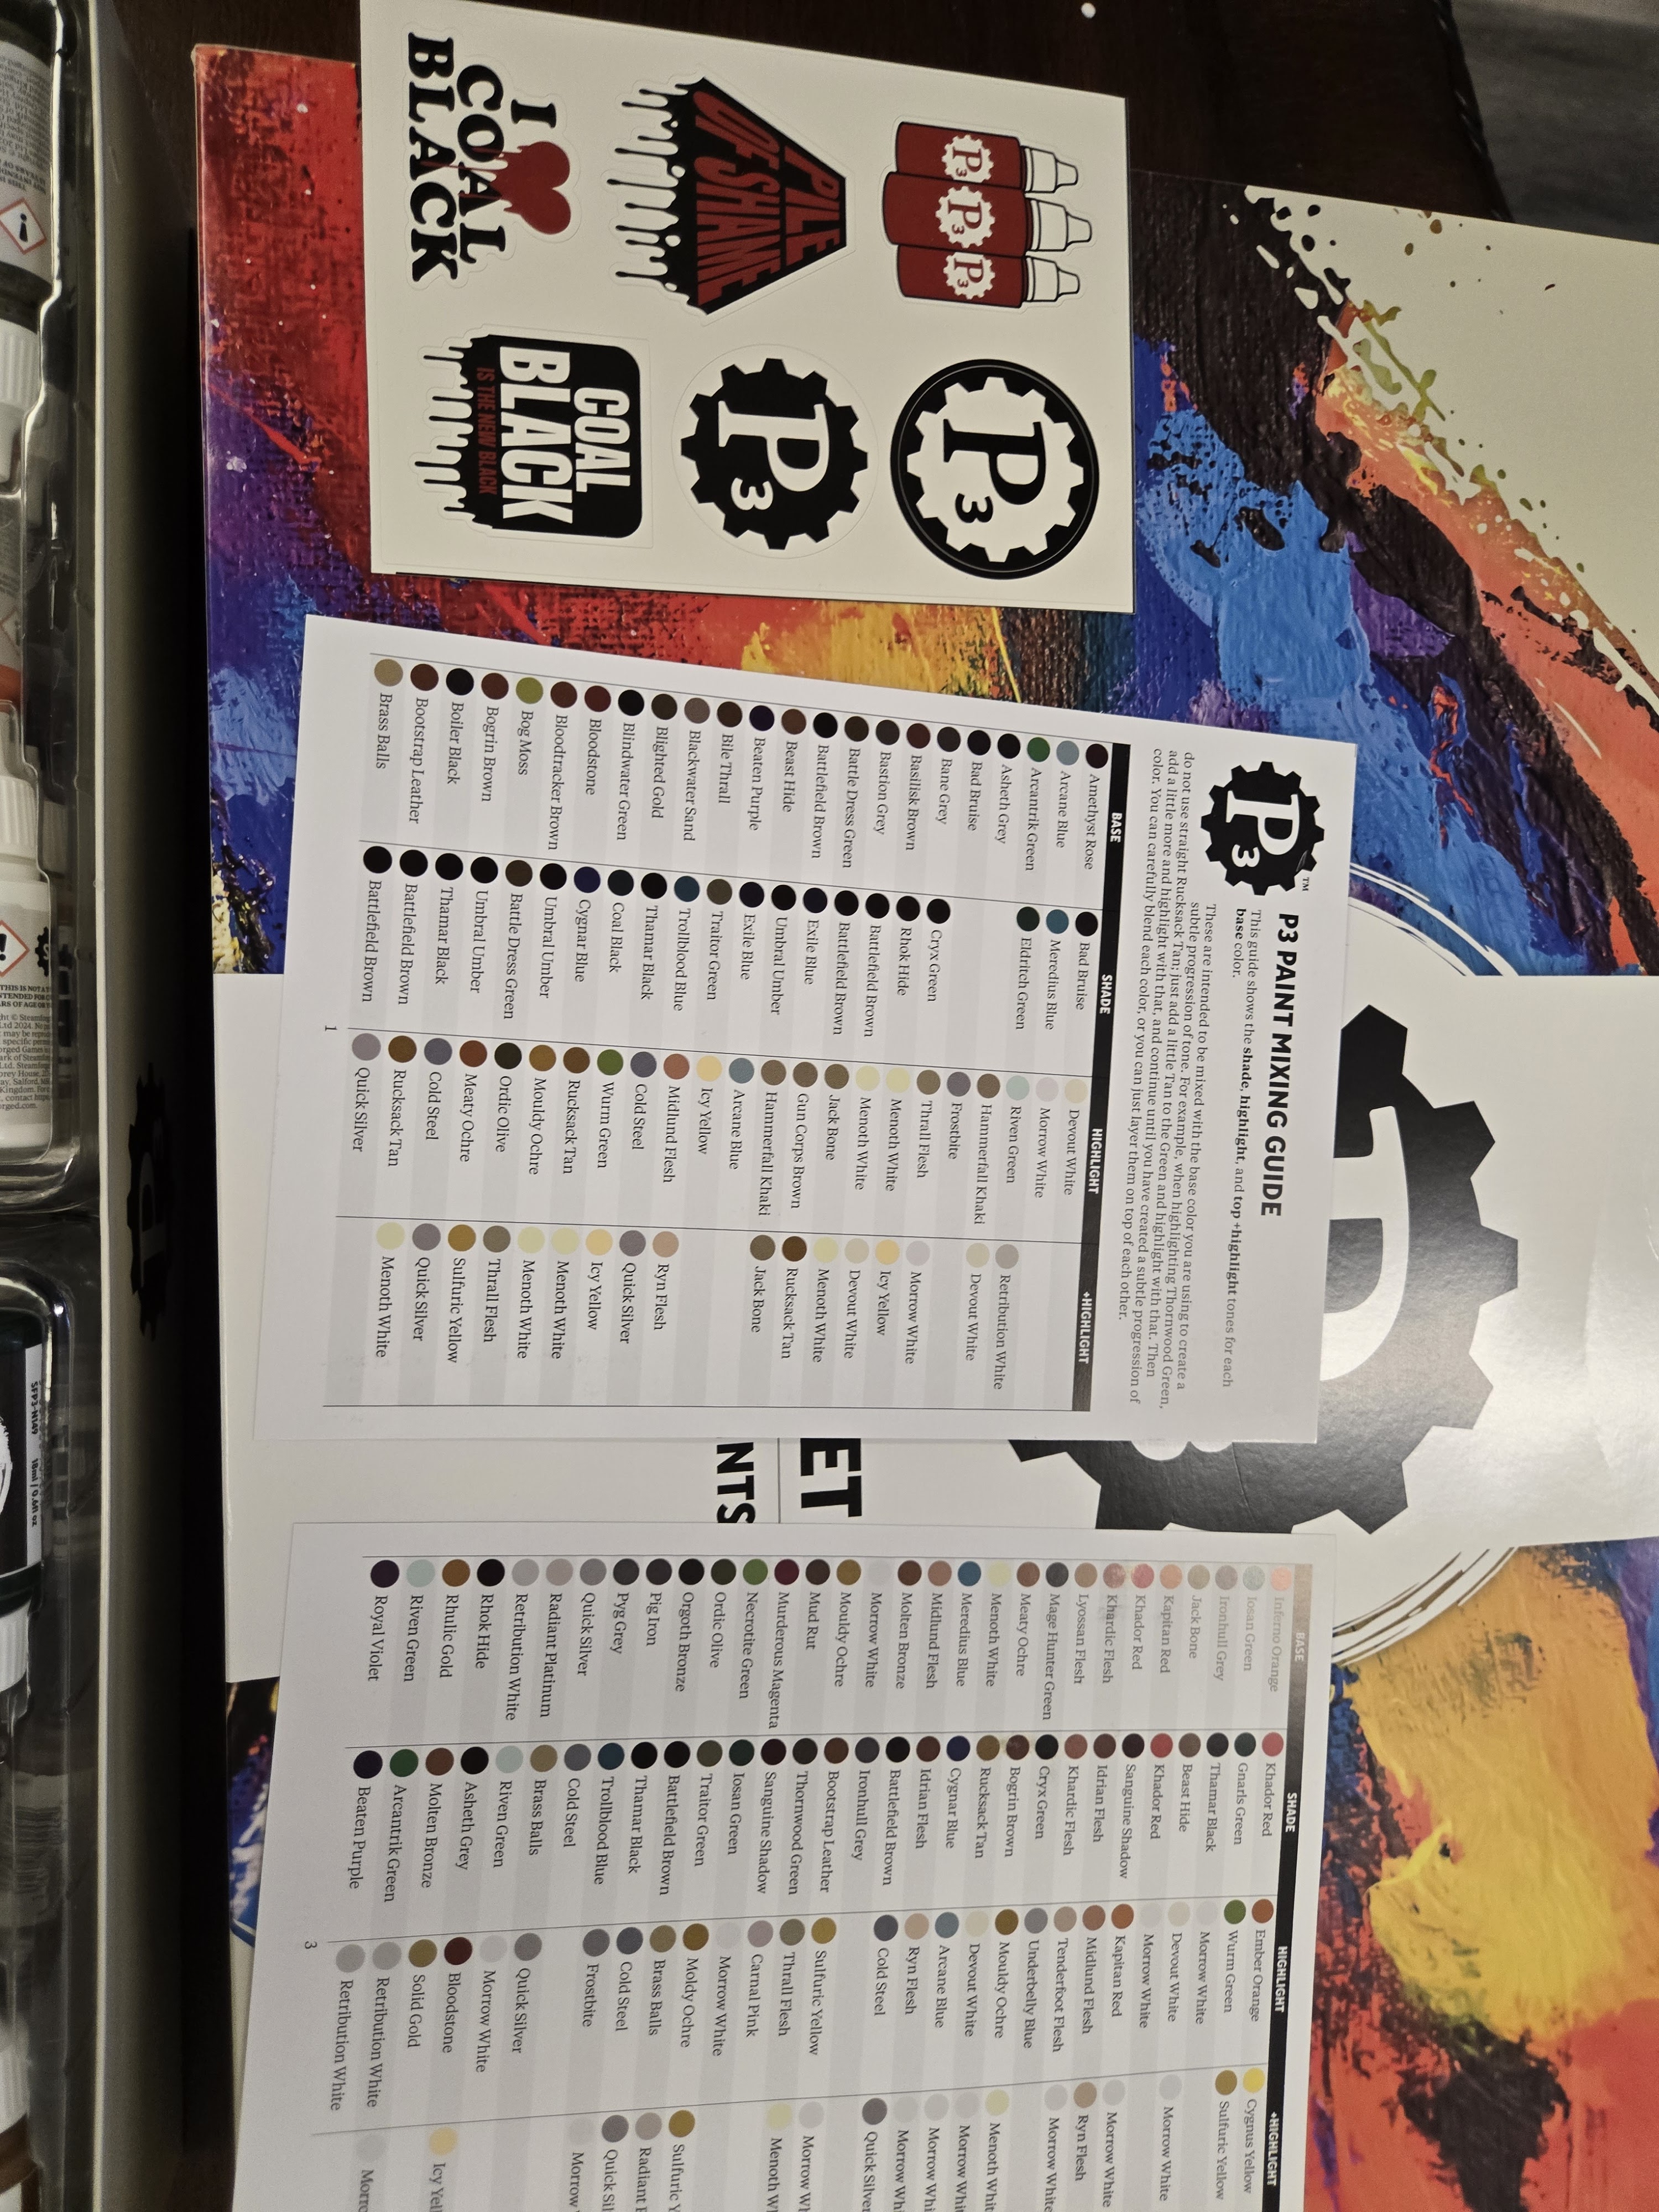
I recently received the P3 Master Series Paint Set. My box opening is available here.

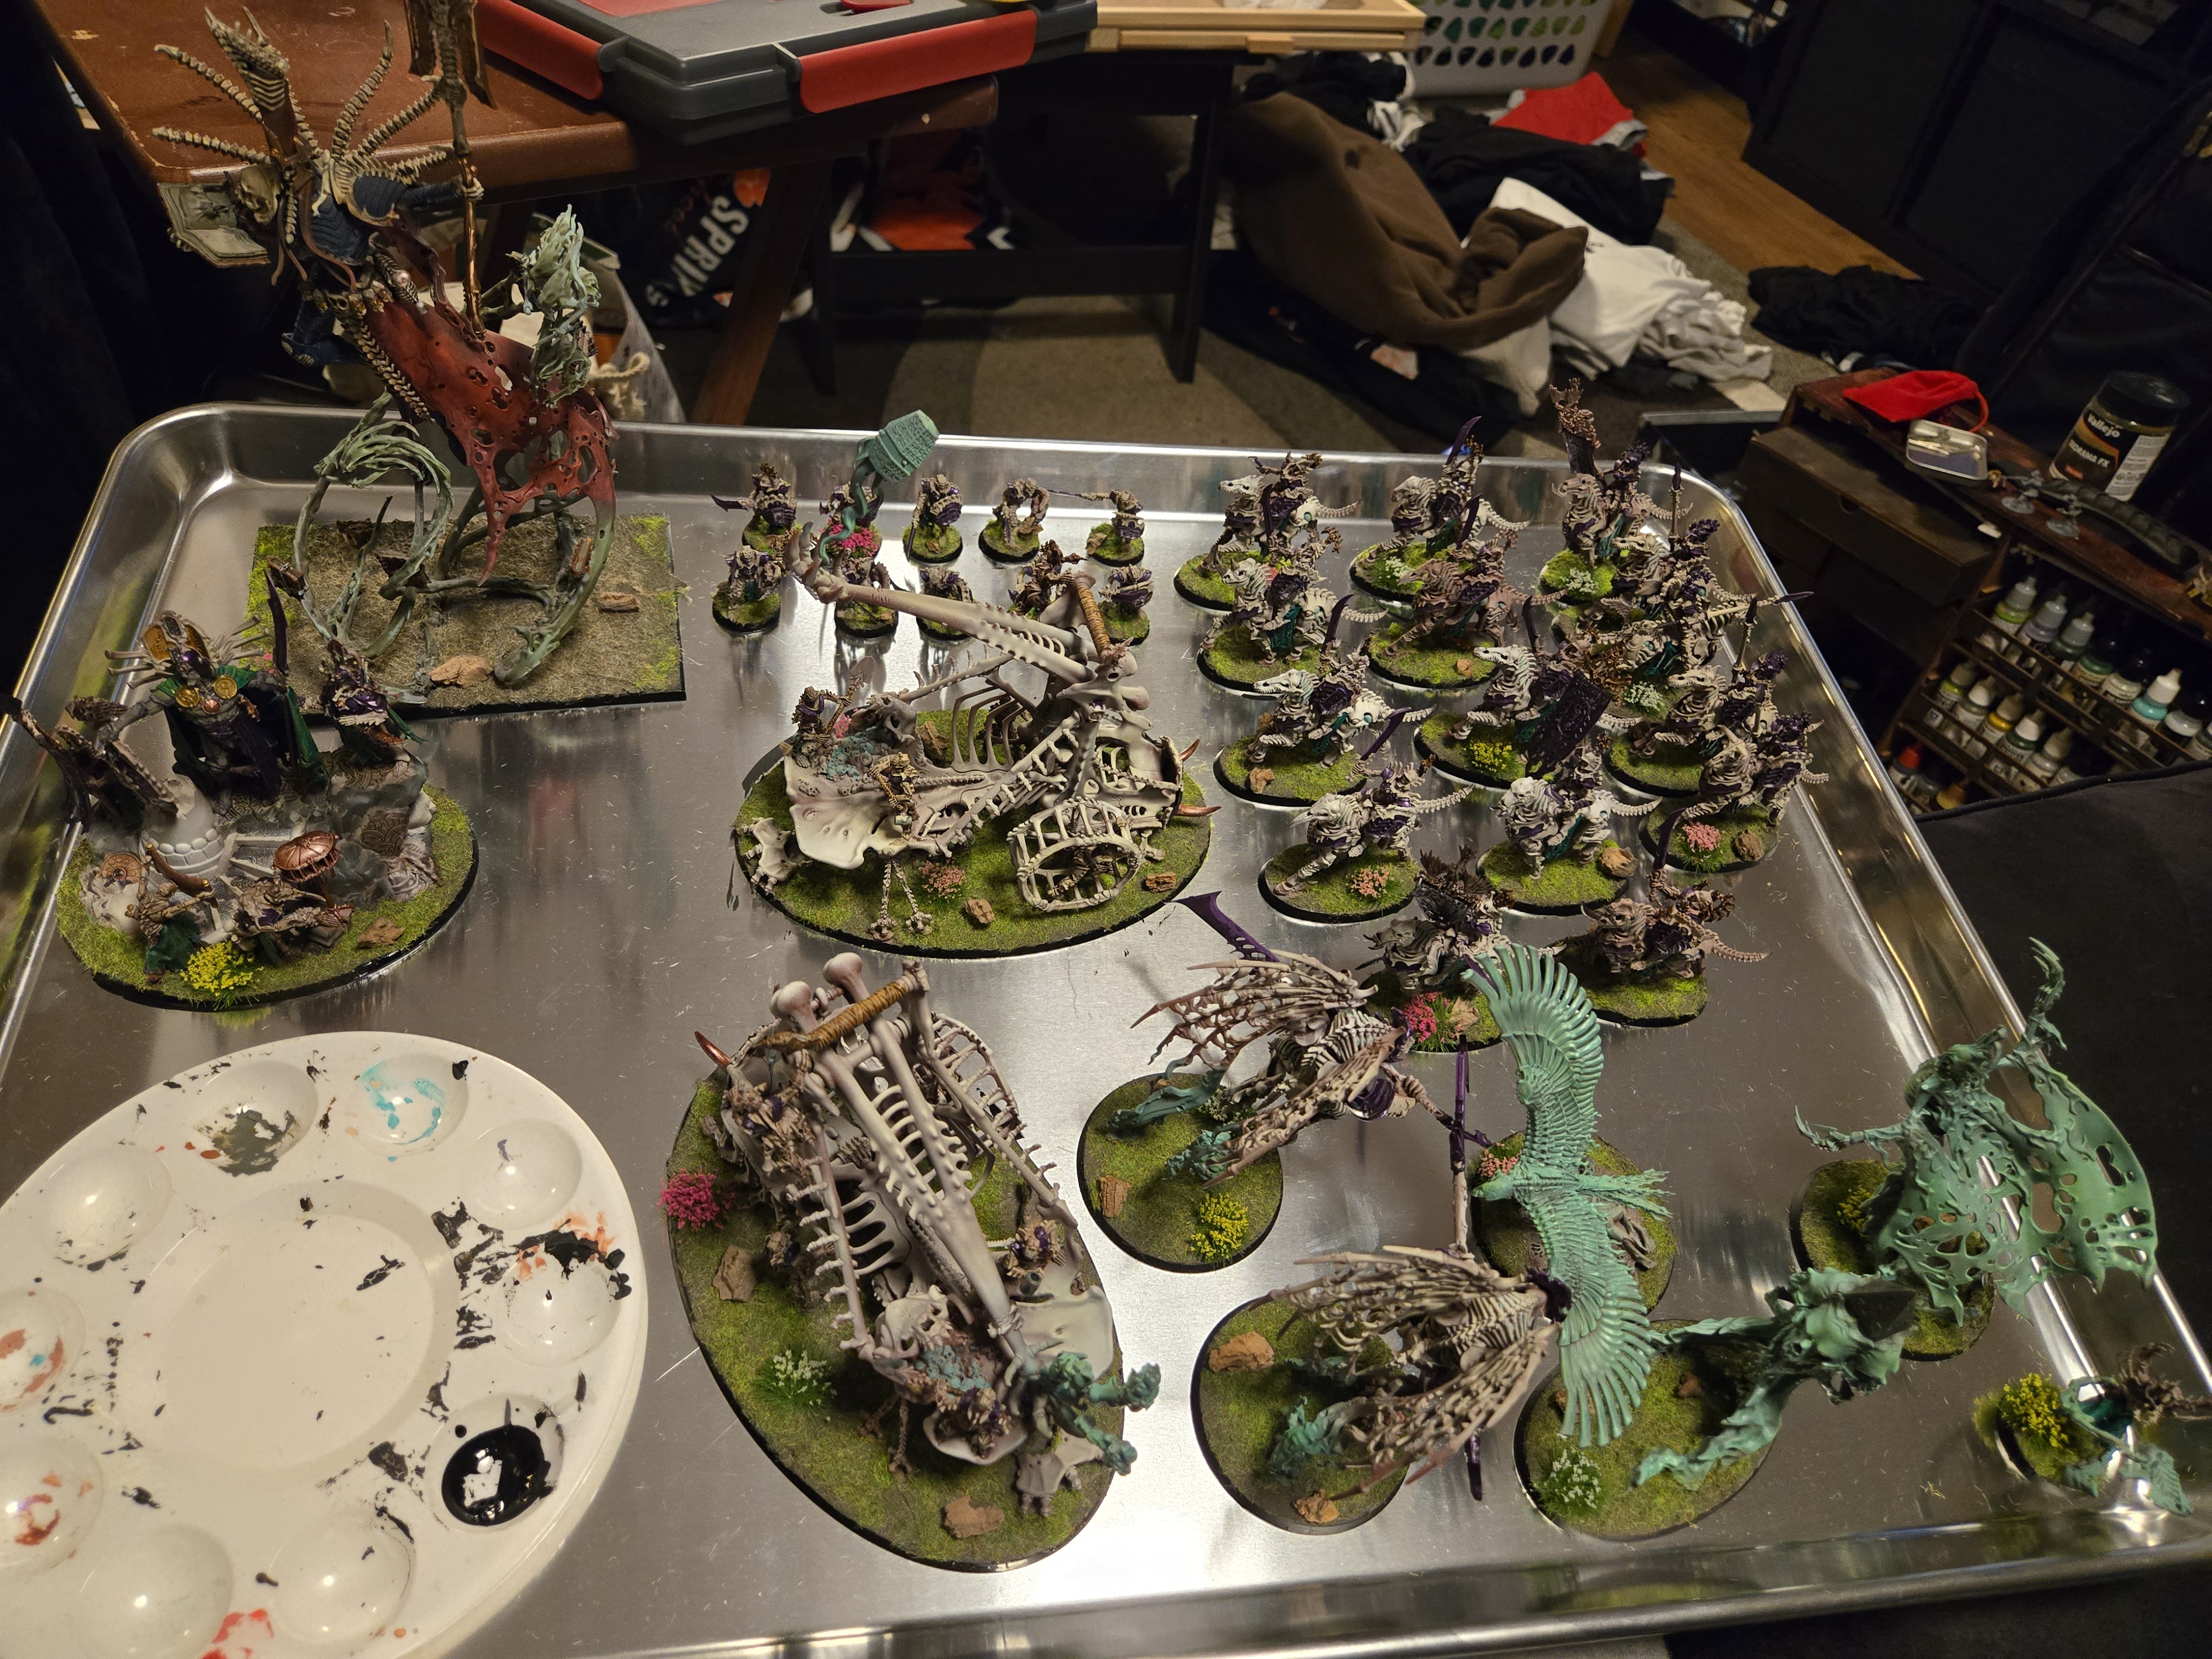
I have been working with the paints for about two weeks and have painted 30 or so models using the paints. I did a variety of models, such as Star Wars Legion, Reaper Bones, Warhammer, Marvel Crisis Protocol, Lord of the Rings, 3D prints, and some Flames of War. I used the paints in several ways, direct from the bottle, thinned, airbrushed, and as glazes. I also used wet blending, layering, edge highlights, base coating, etc. There were no scientific comparisons, color matching, or very professional items; I just wanted to give my thoughts on the set.

When I started my hobby, I was almost mystified by the quality of the P3 paints and how hard they were to get. Professional painters swore by the paints. I had to have the Kickstarter to see what all the fuss was about.

Conclusion

As an amateur painter, I did not think these paints were for me. I would pass on rebuying them. I think I could see the appeal for a professional painter, but I don’t have the skill to maximize their potential.

As I stated in the unboxing, there were no mixing mediums, primers, or washes, so I would expect to come with a set like this.

The paints themselves were pretty thick. I mixed every paint in the bottle using a vortex mixer for about 45 seconds before using. Many paints broke on my wet palette after 15 or 20 minutes. When the paints were thinned too much, instead of just being thin and needing a second layer, the brush strokes were obvious and hard to hide, especially when wet blending.

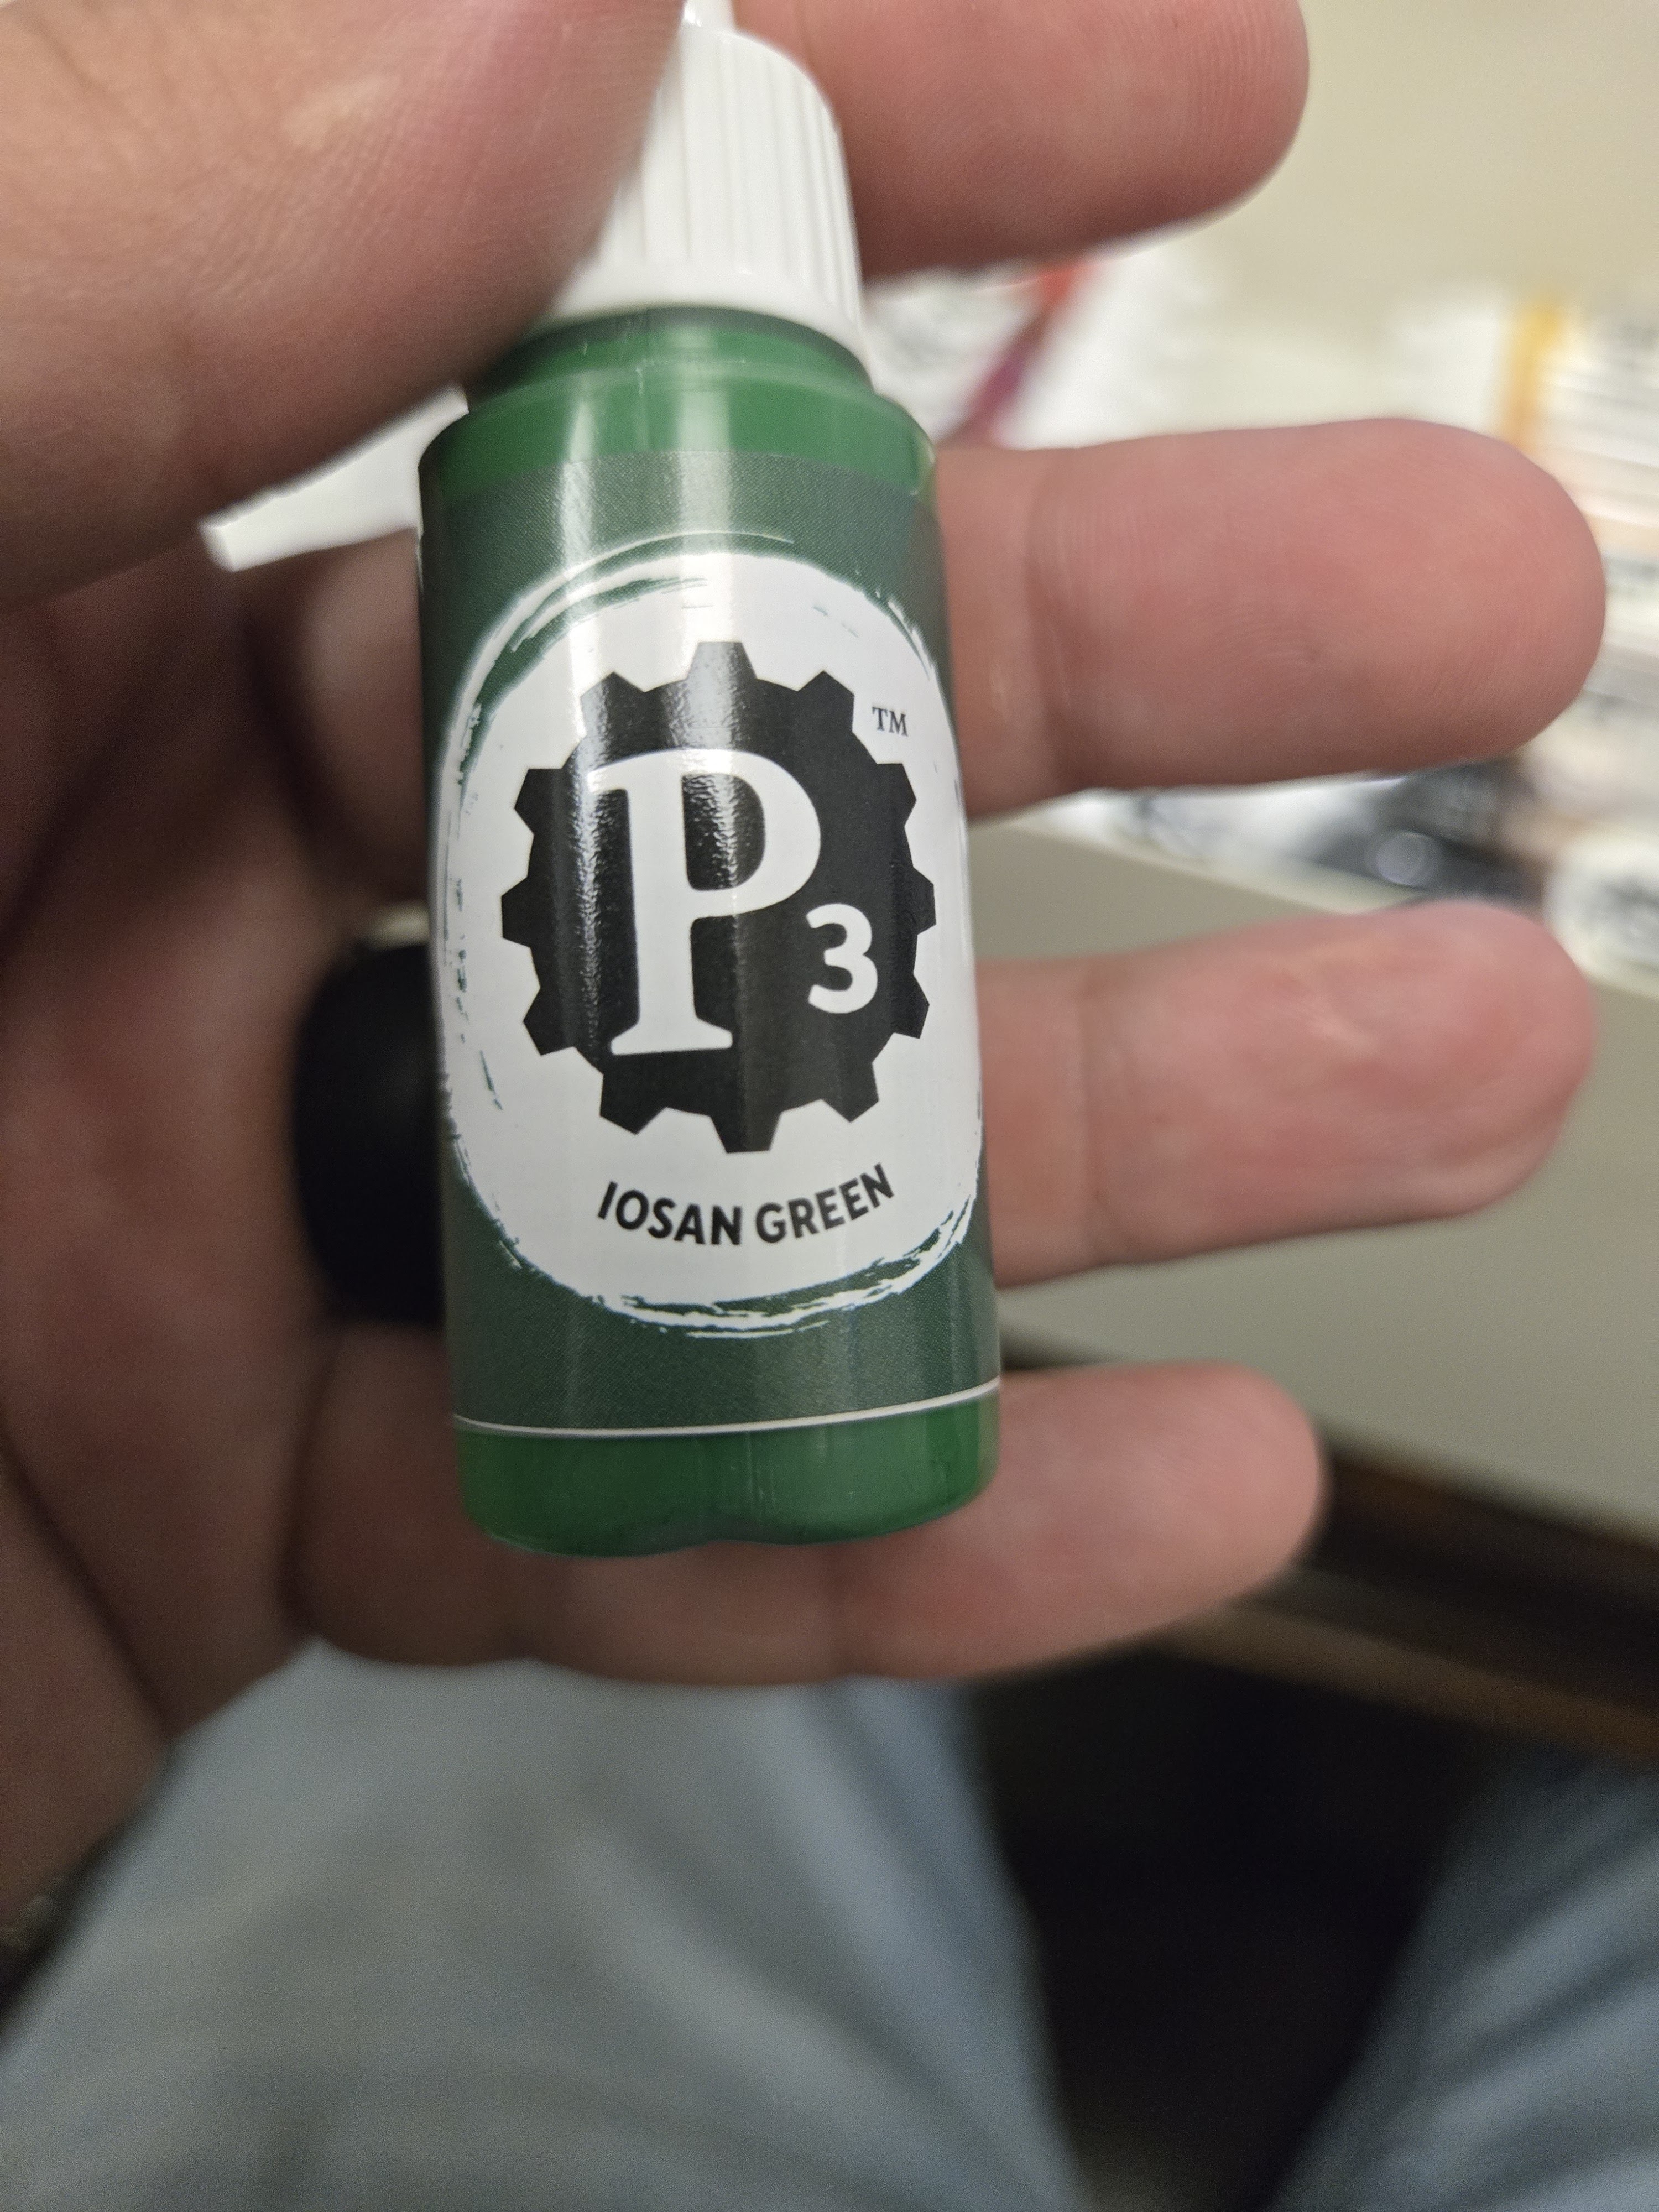
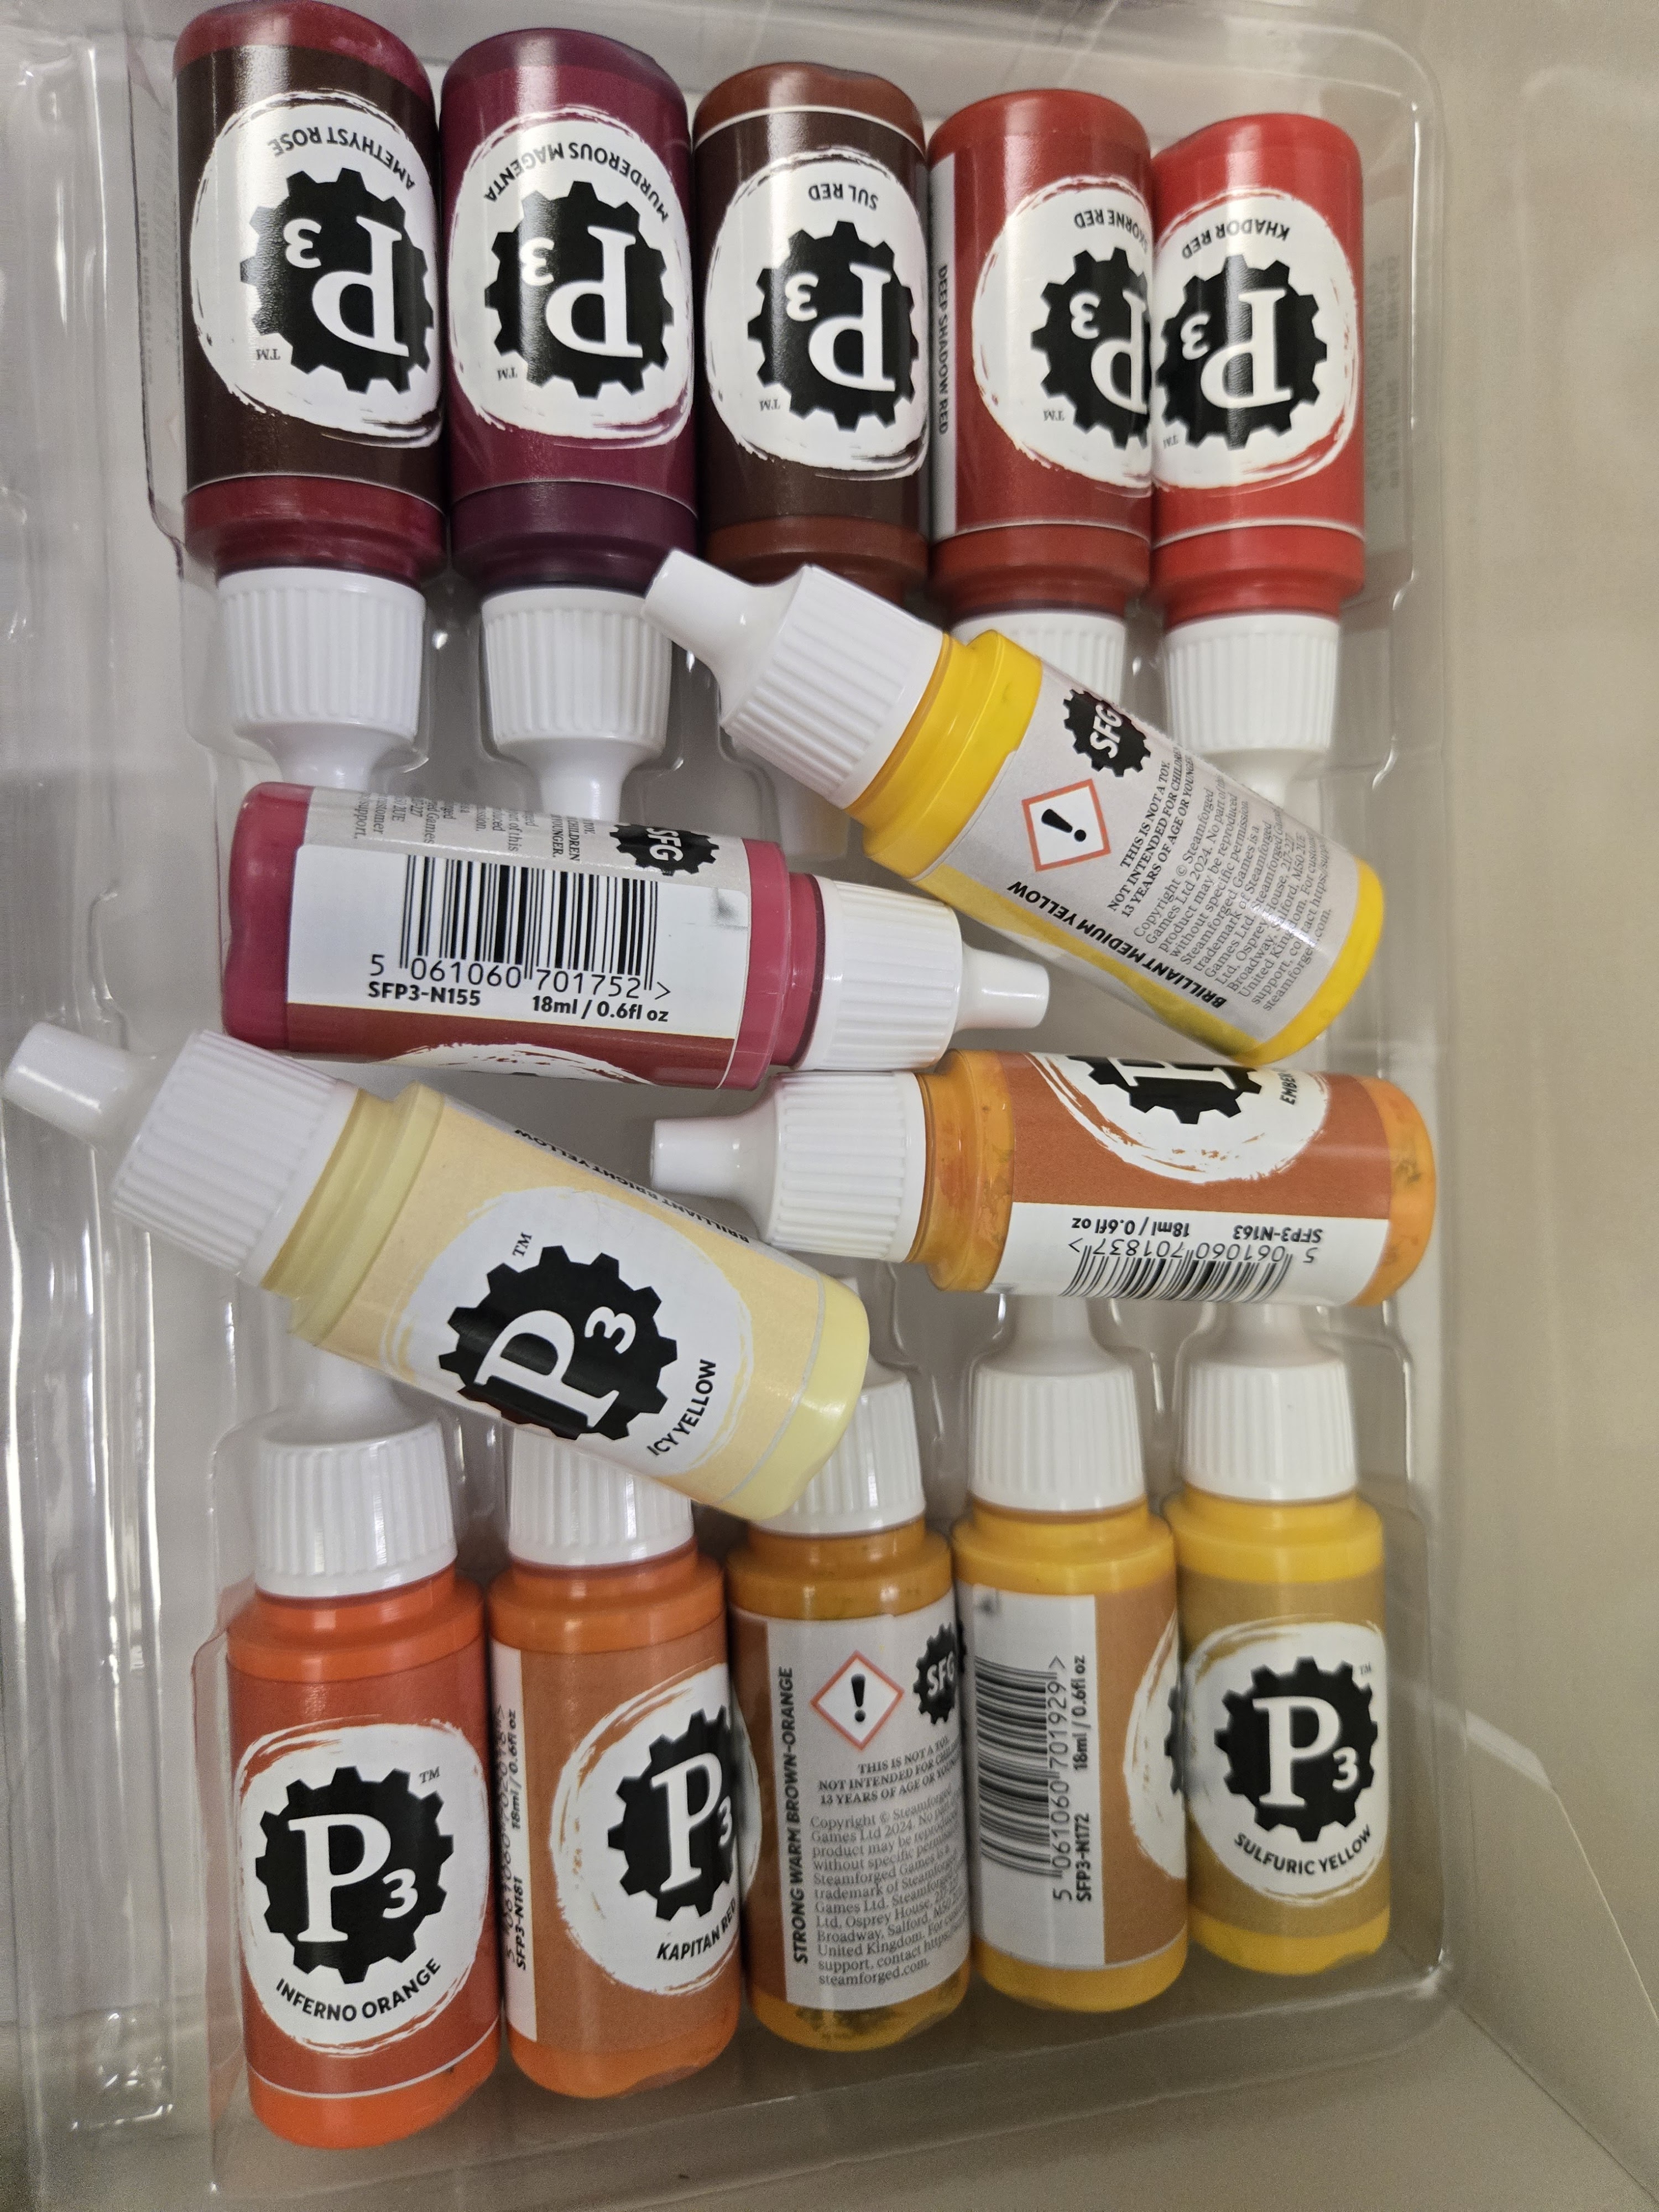
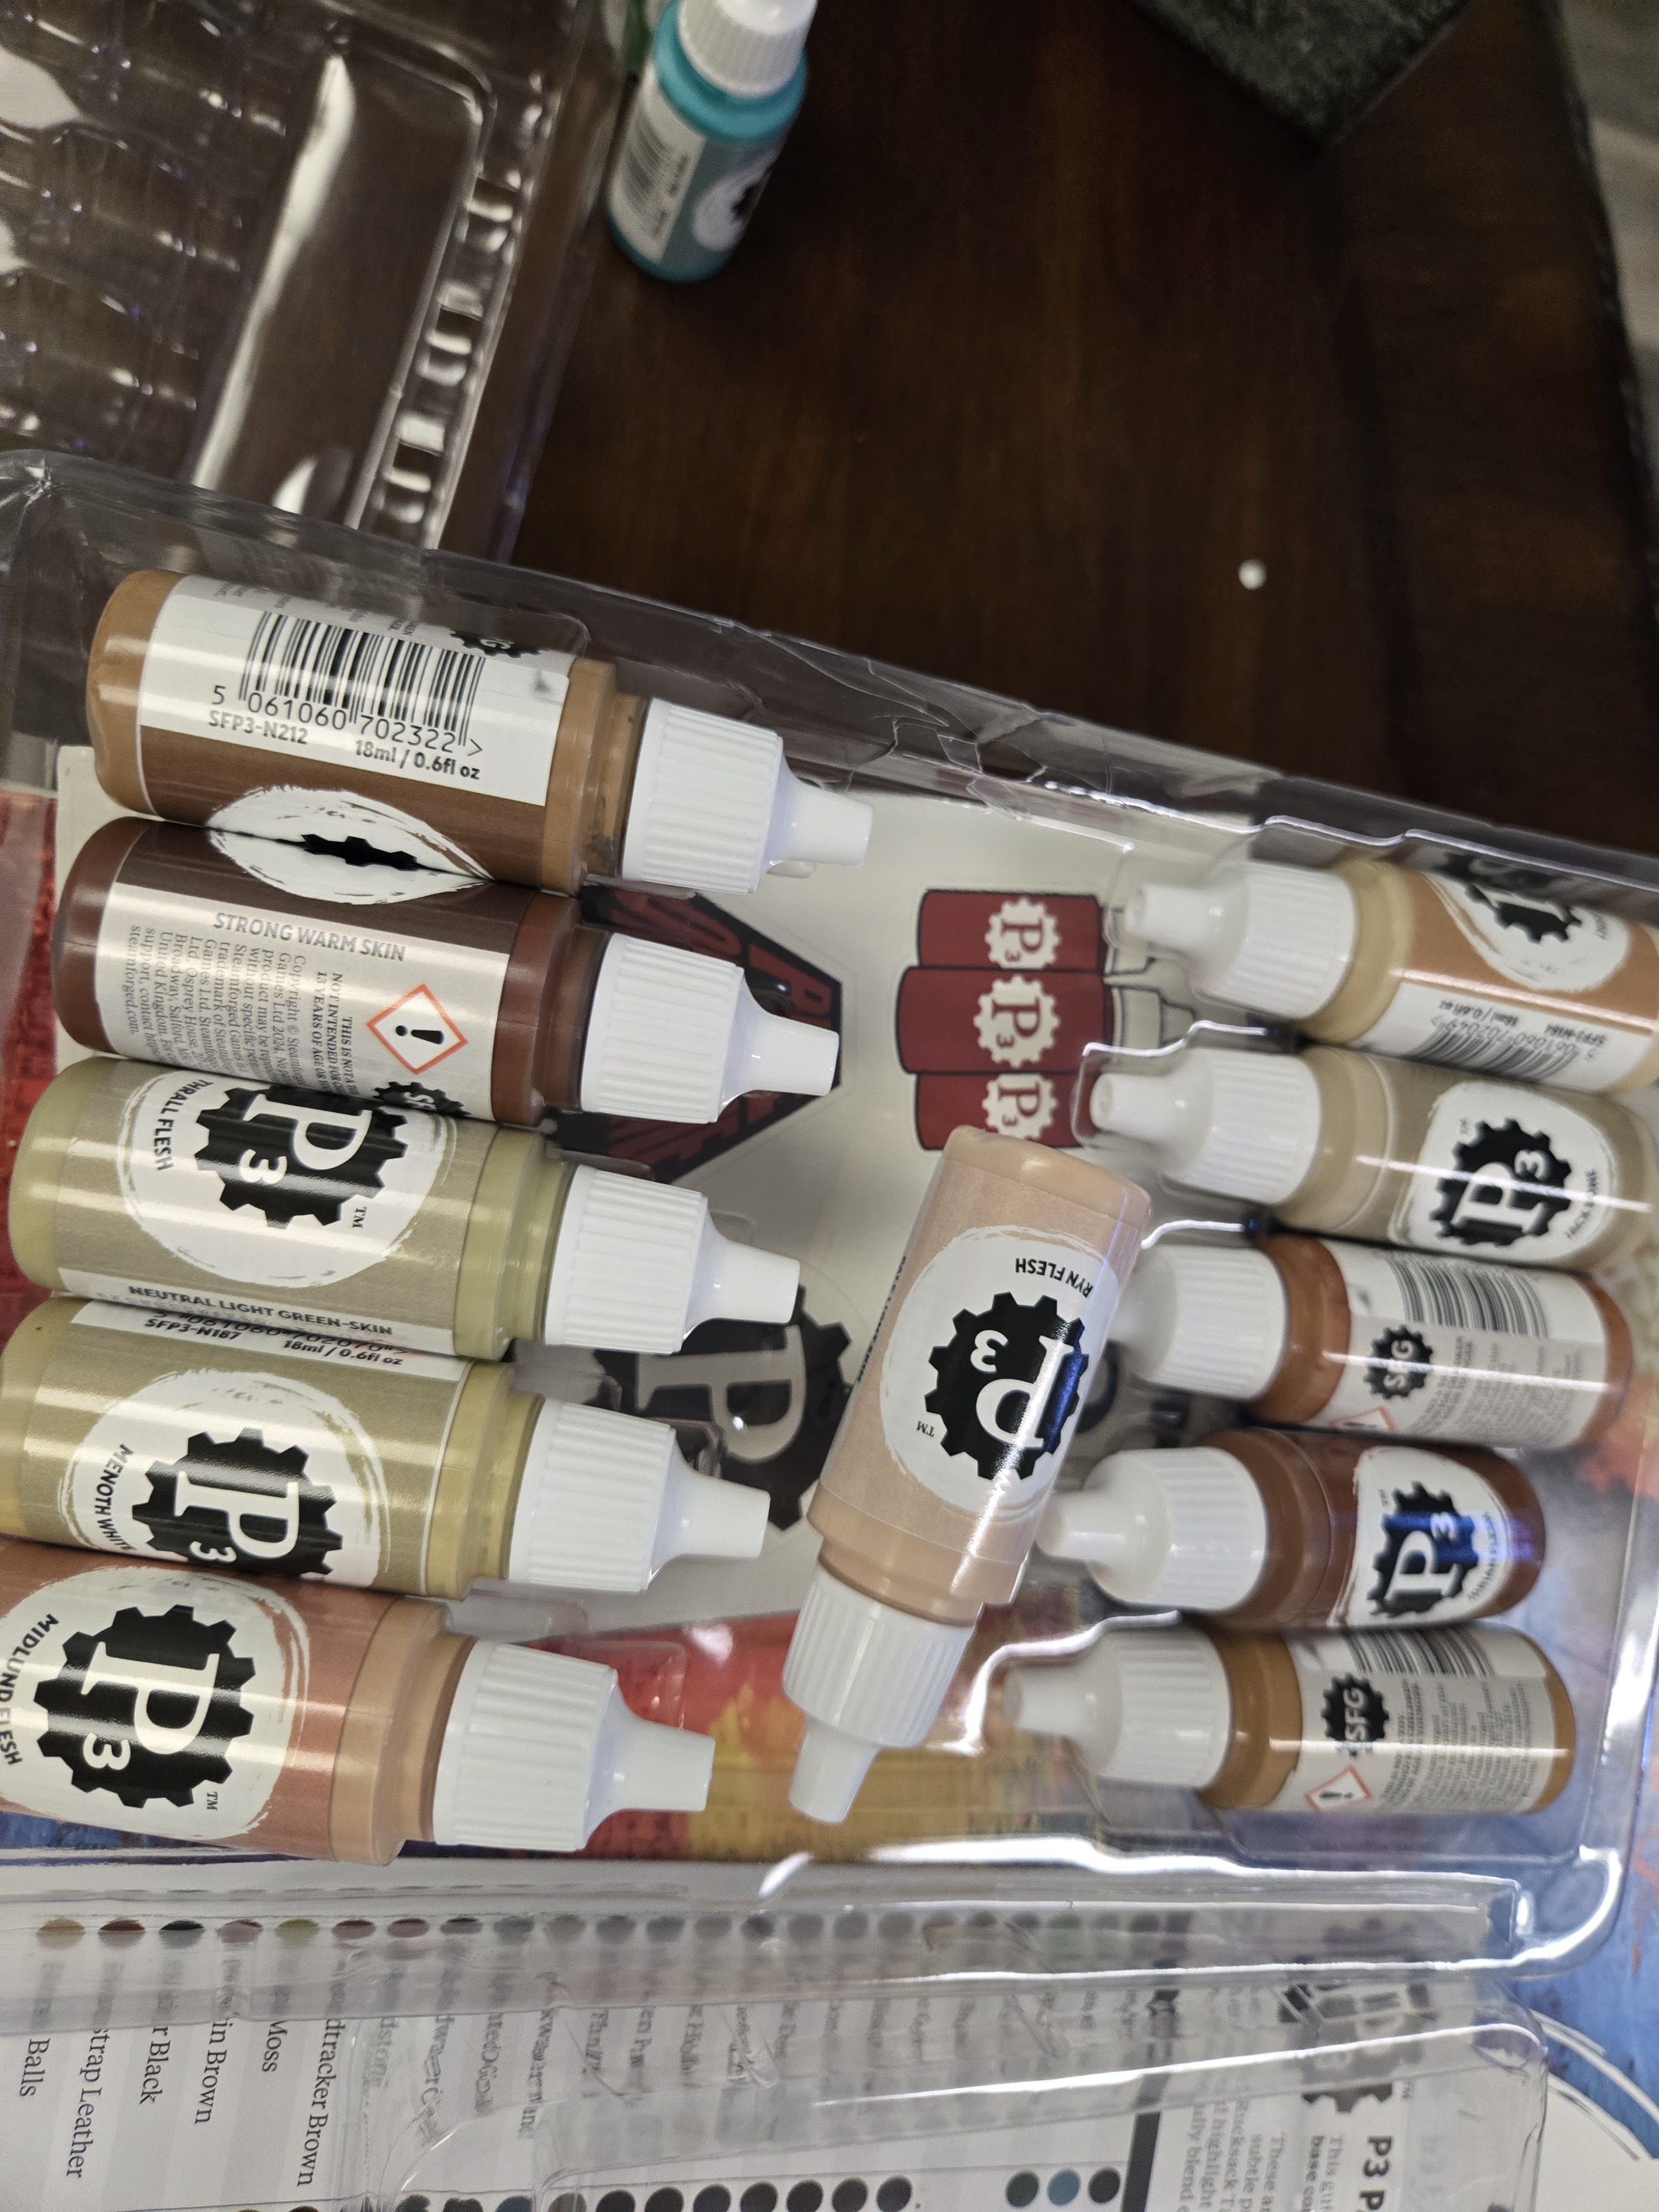
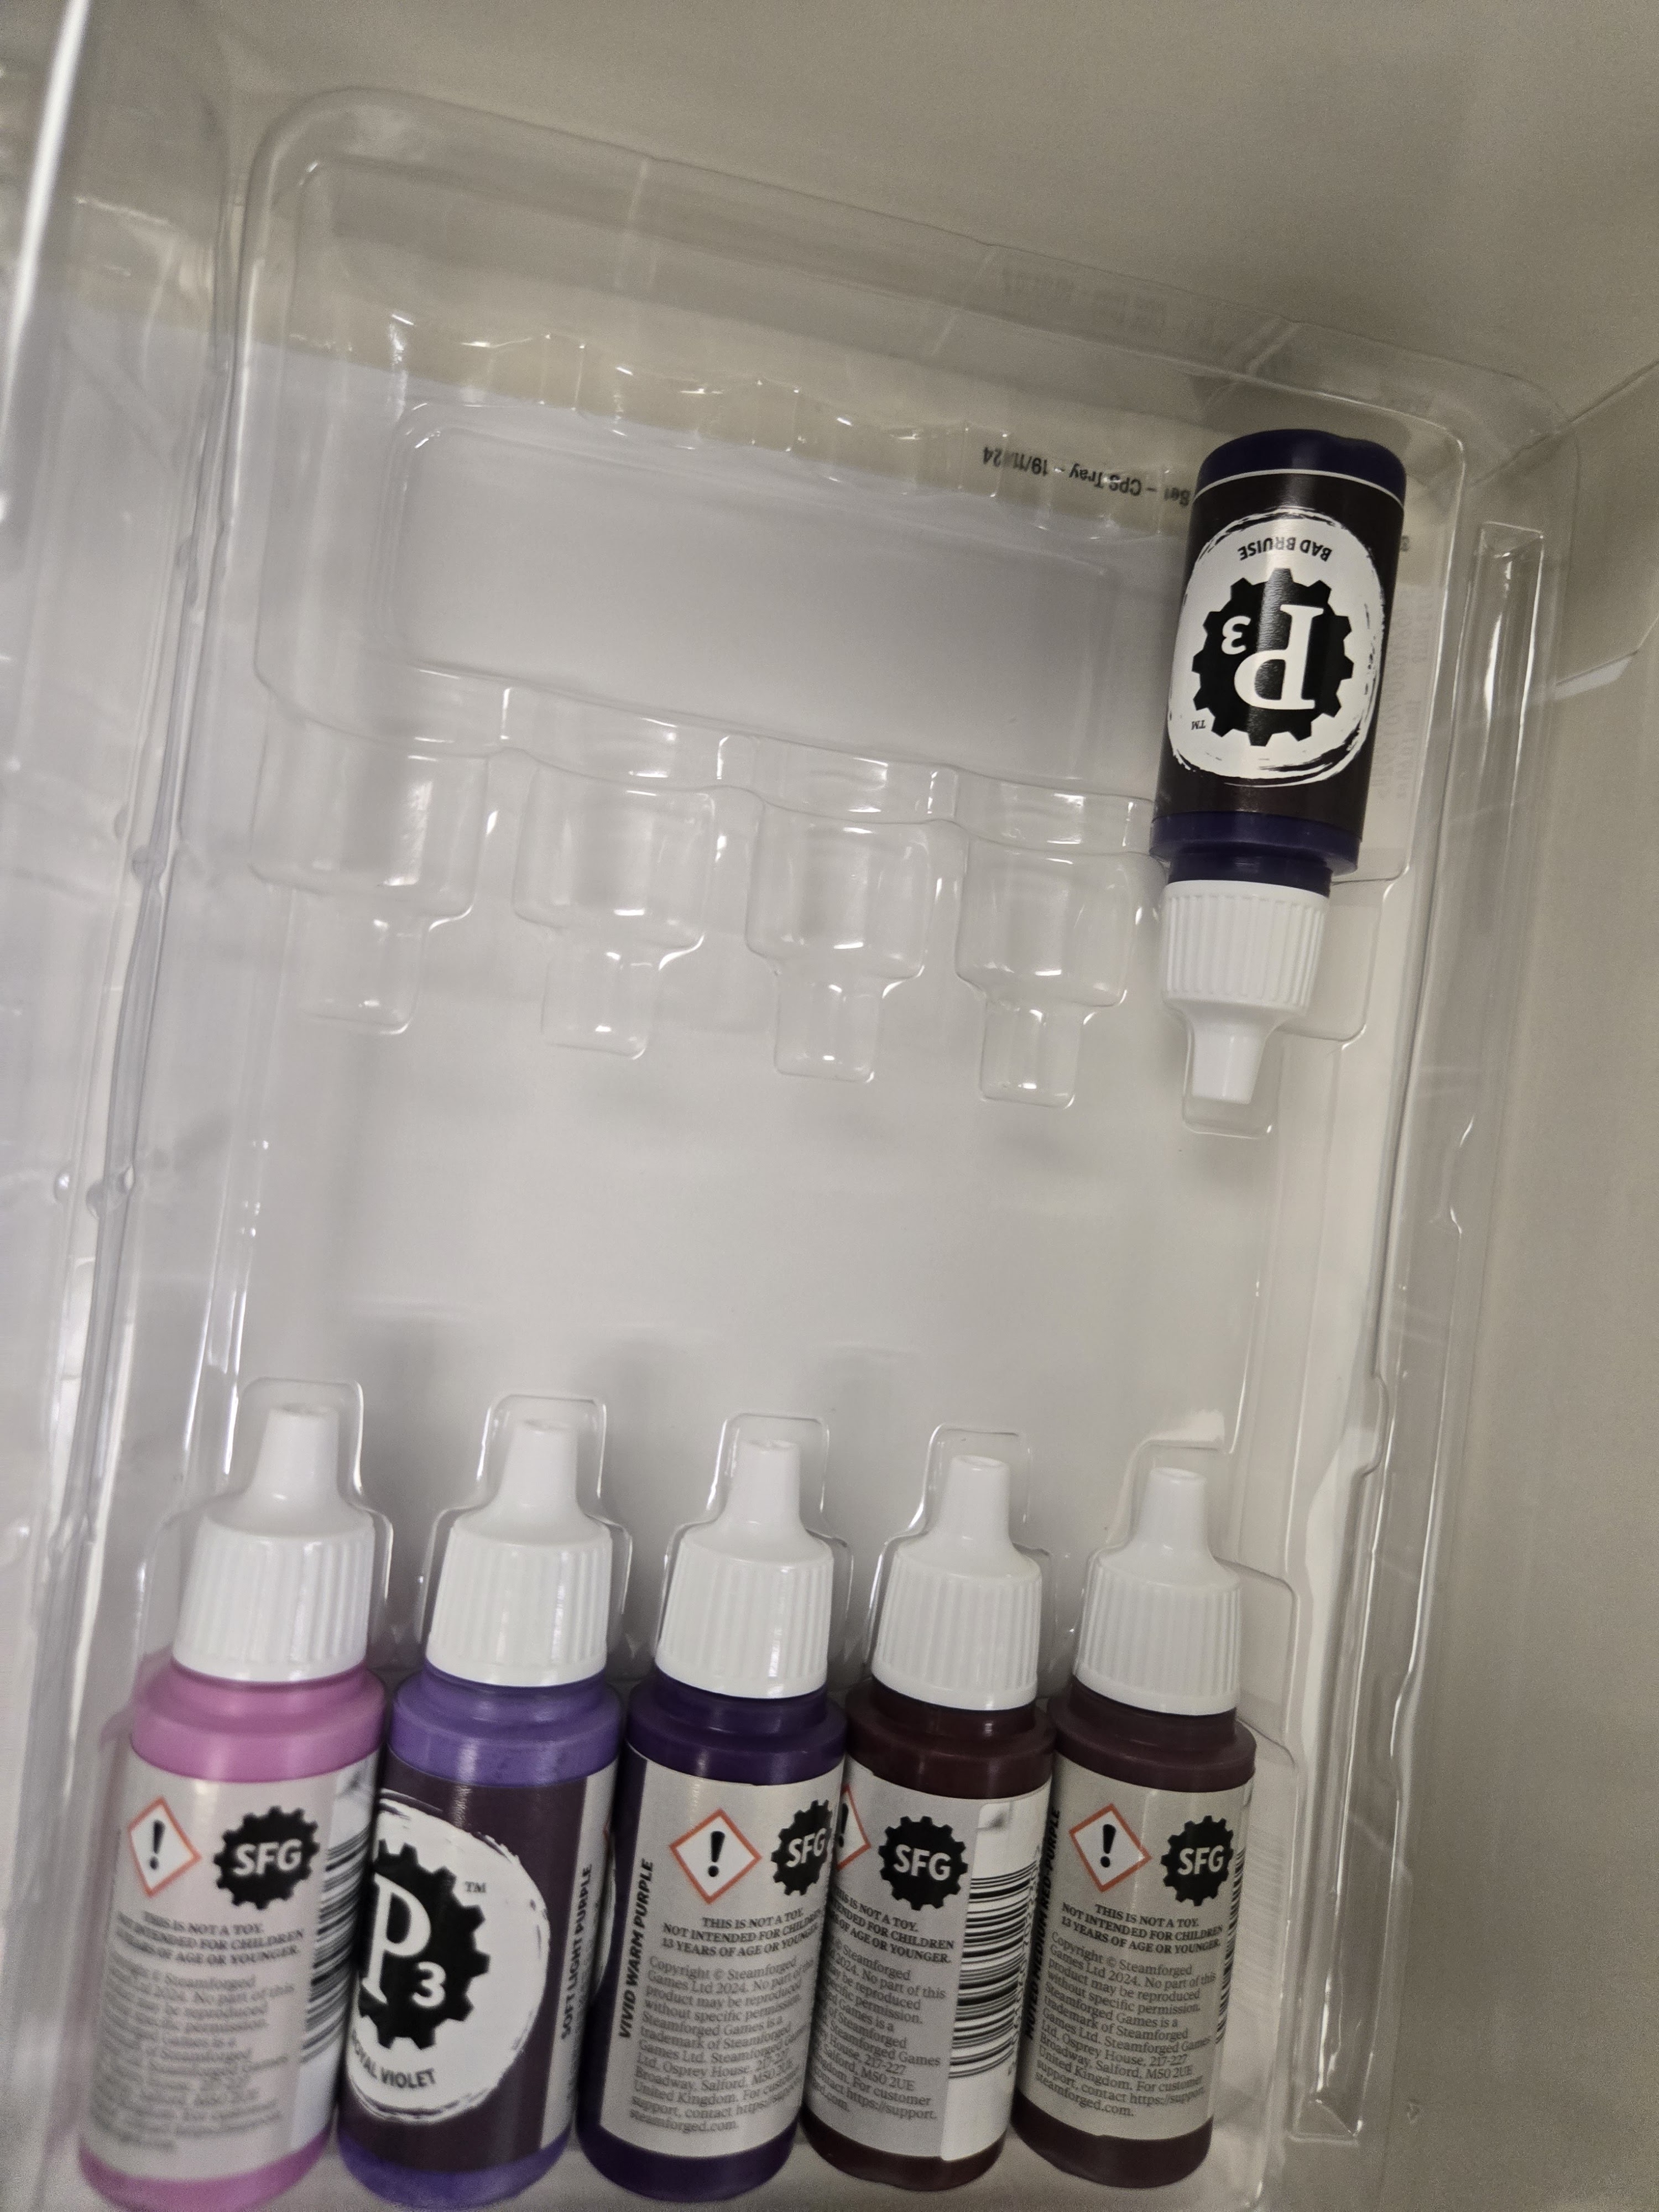
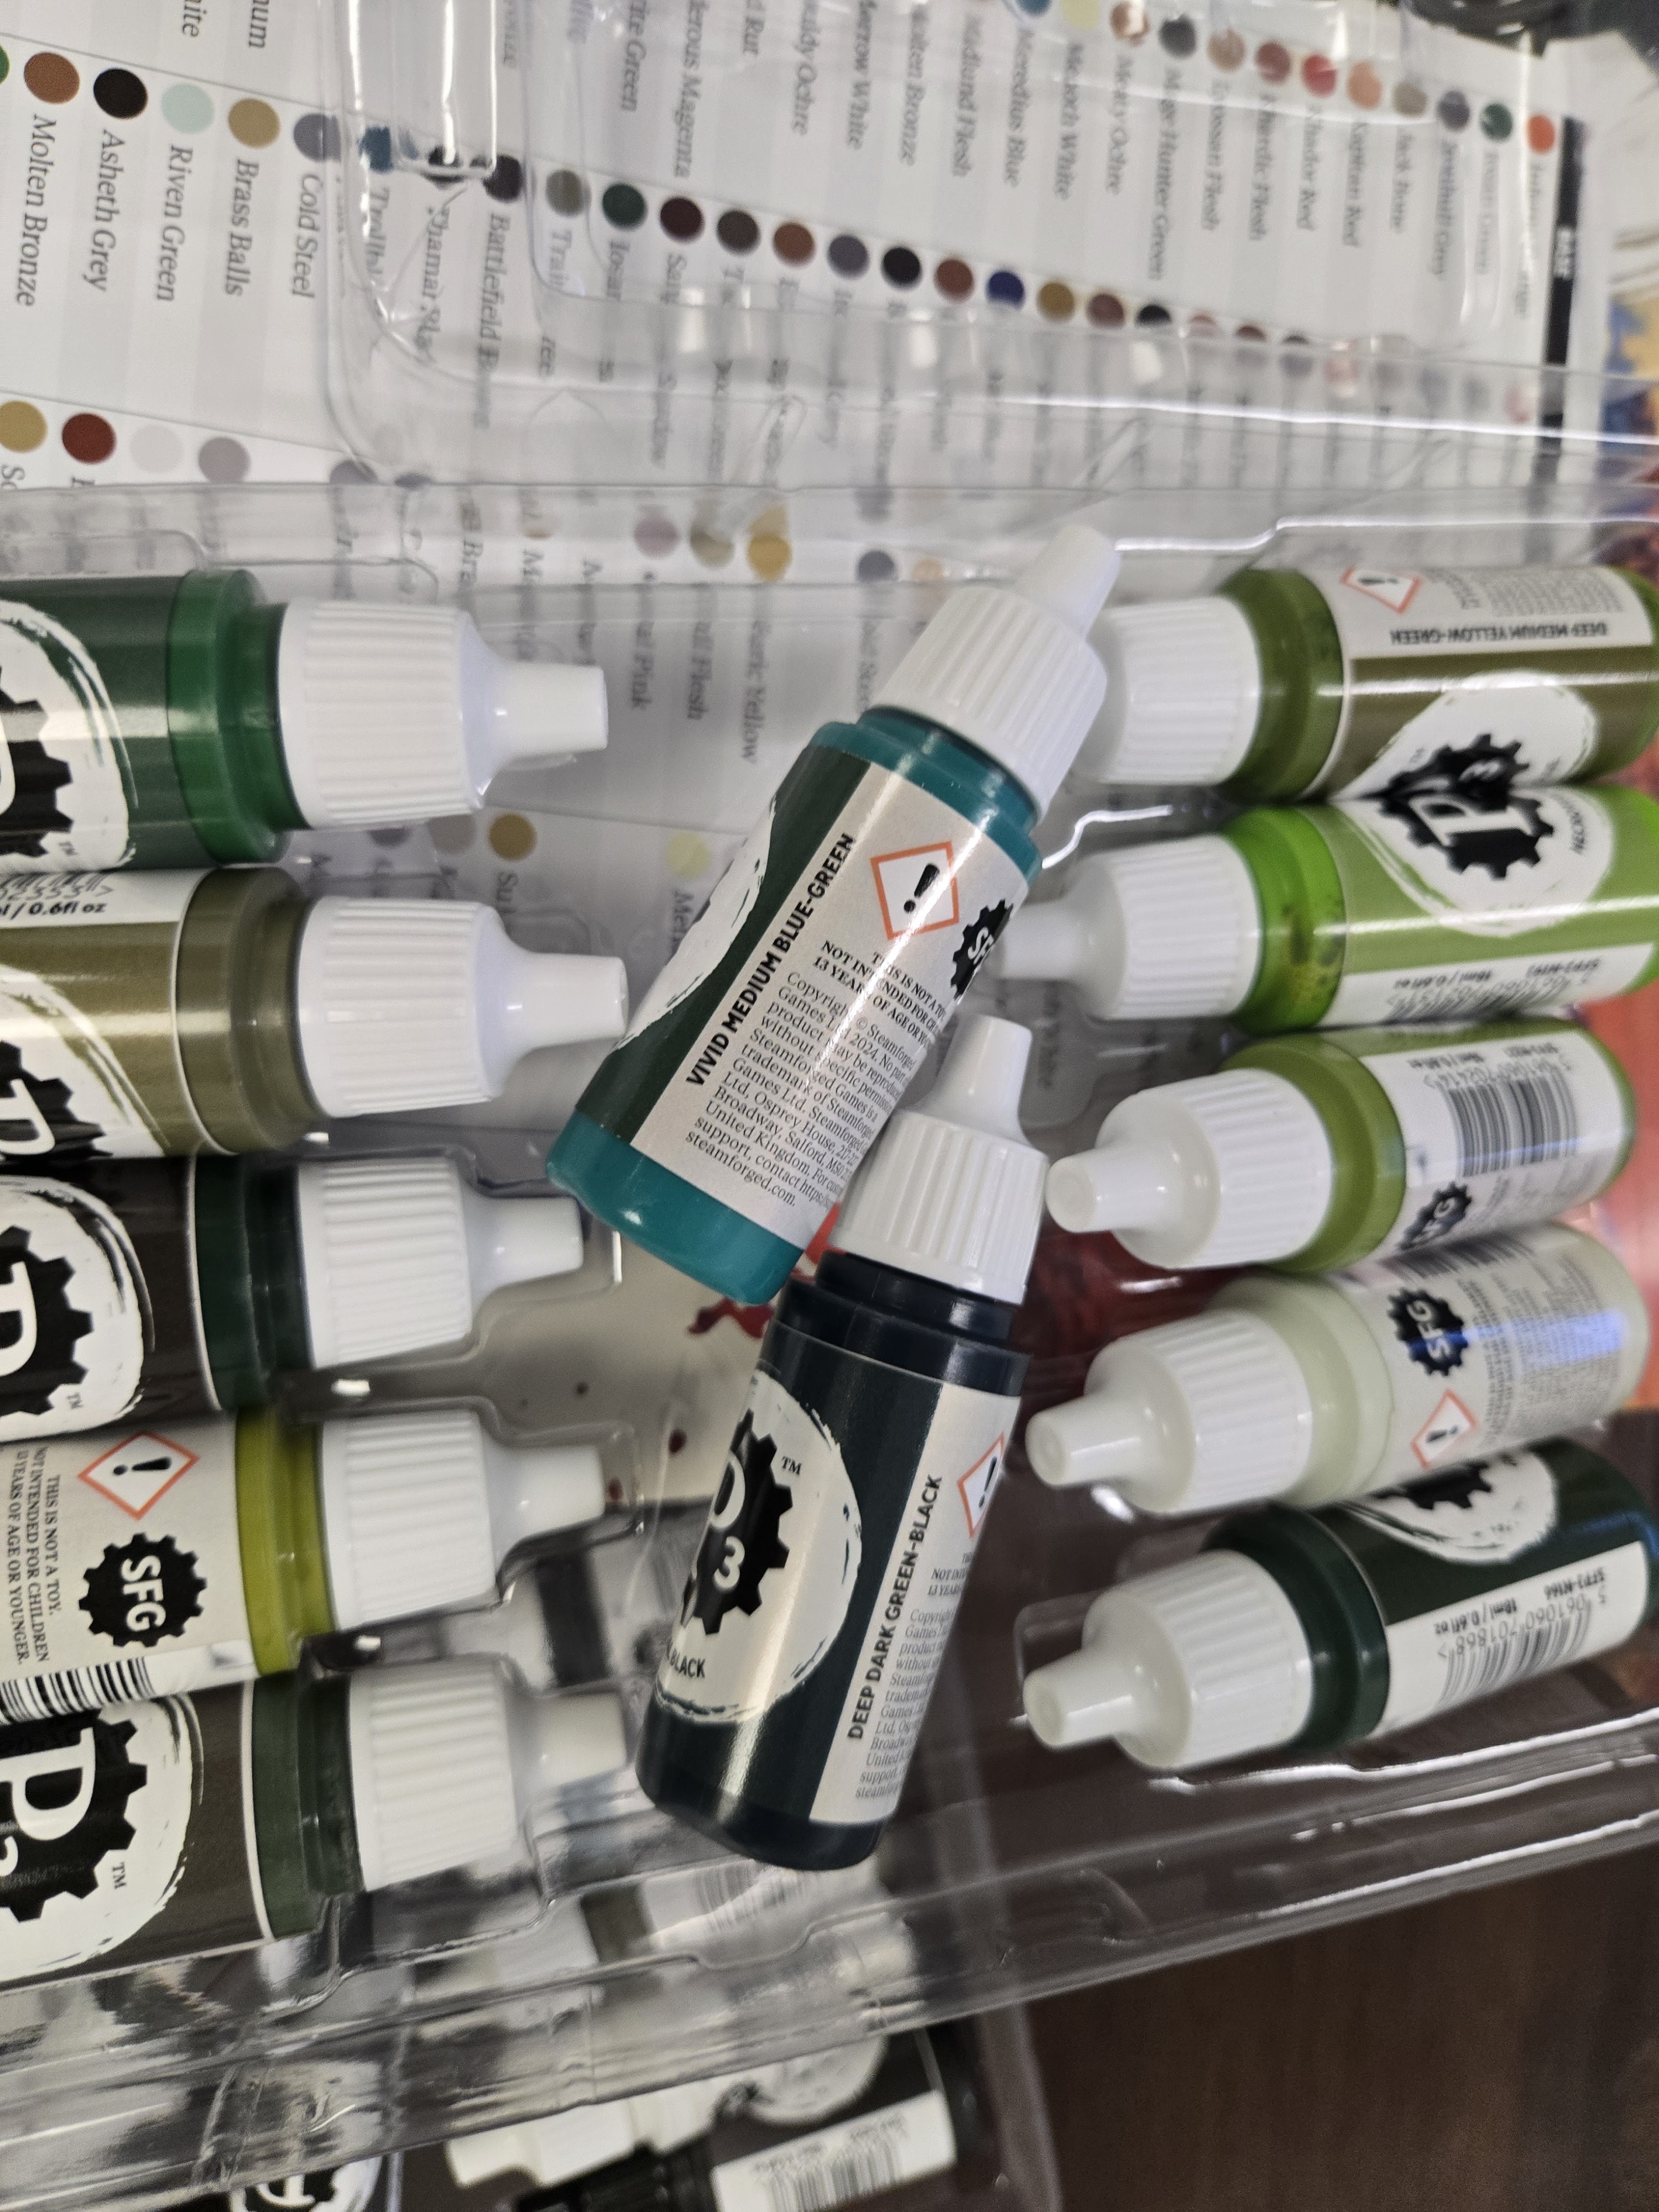
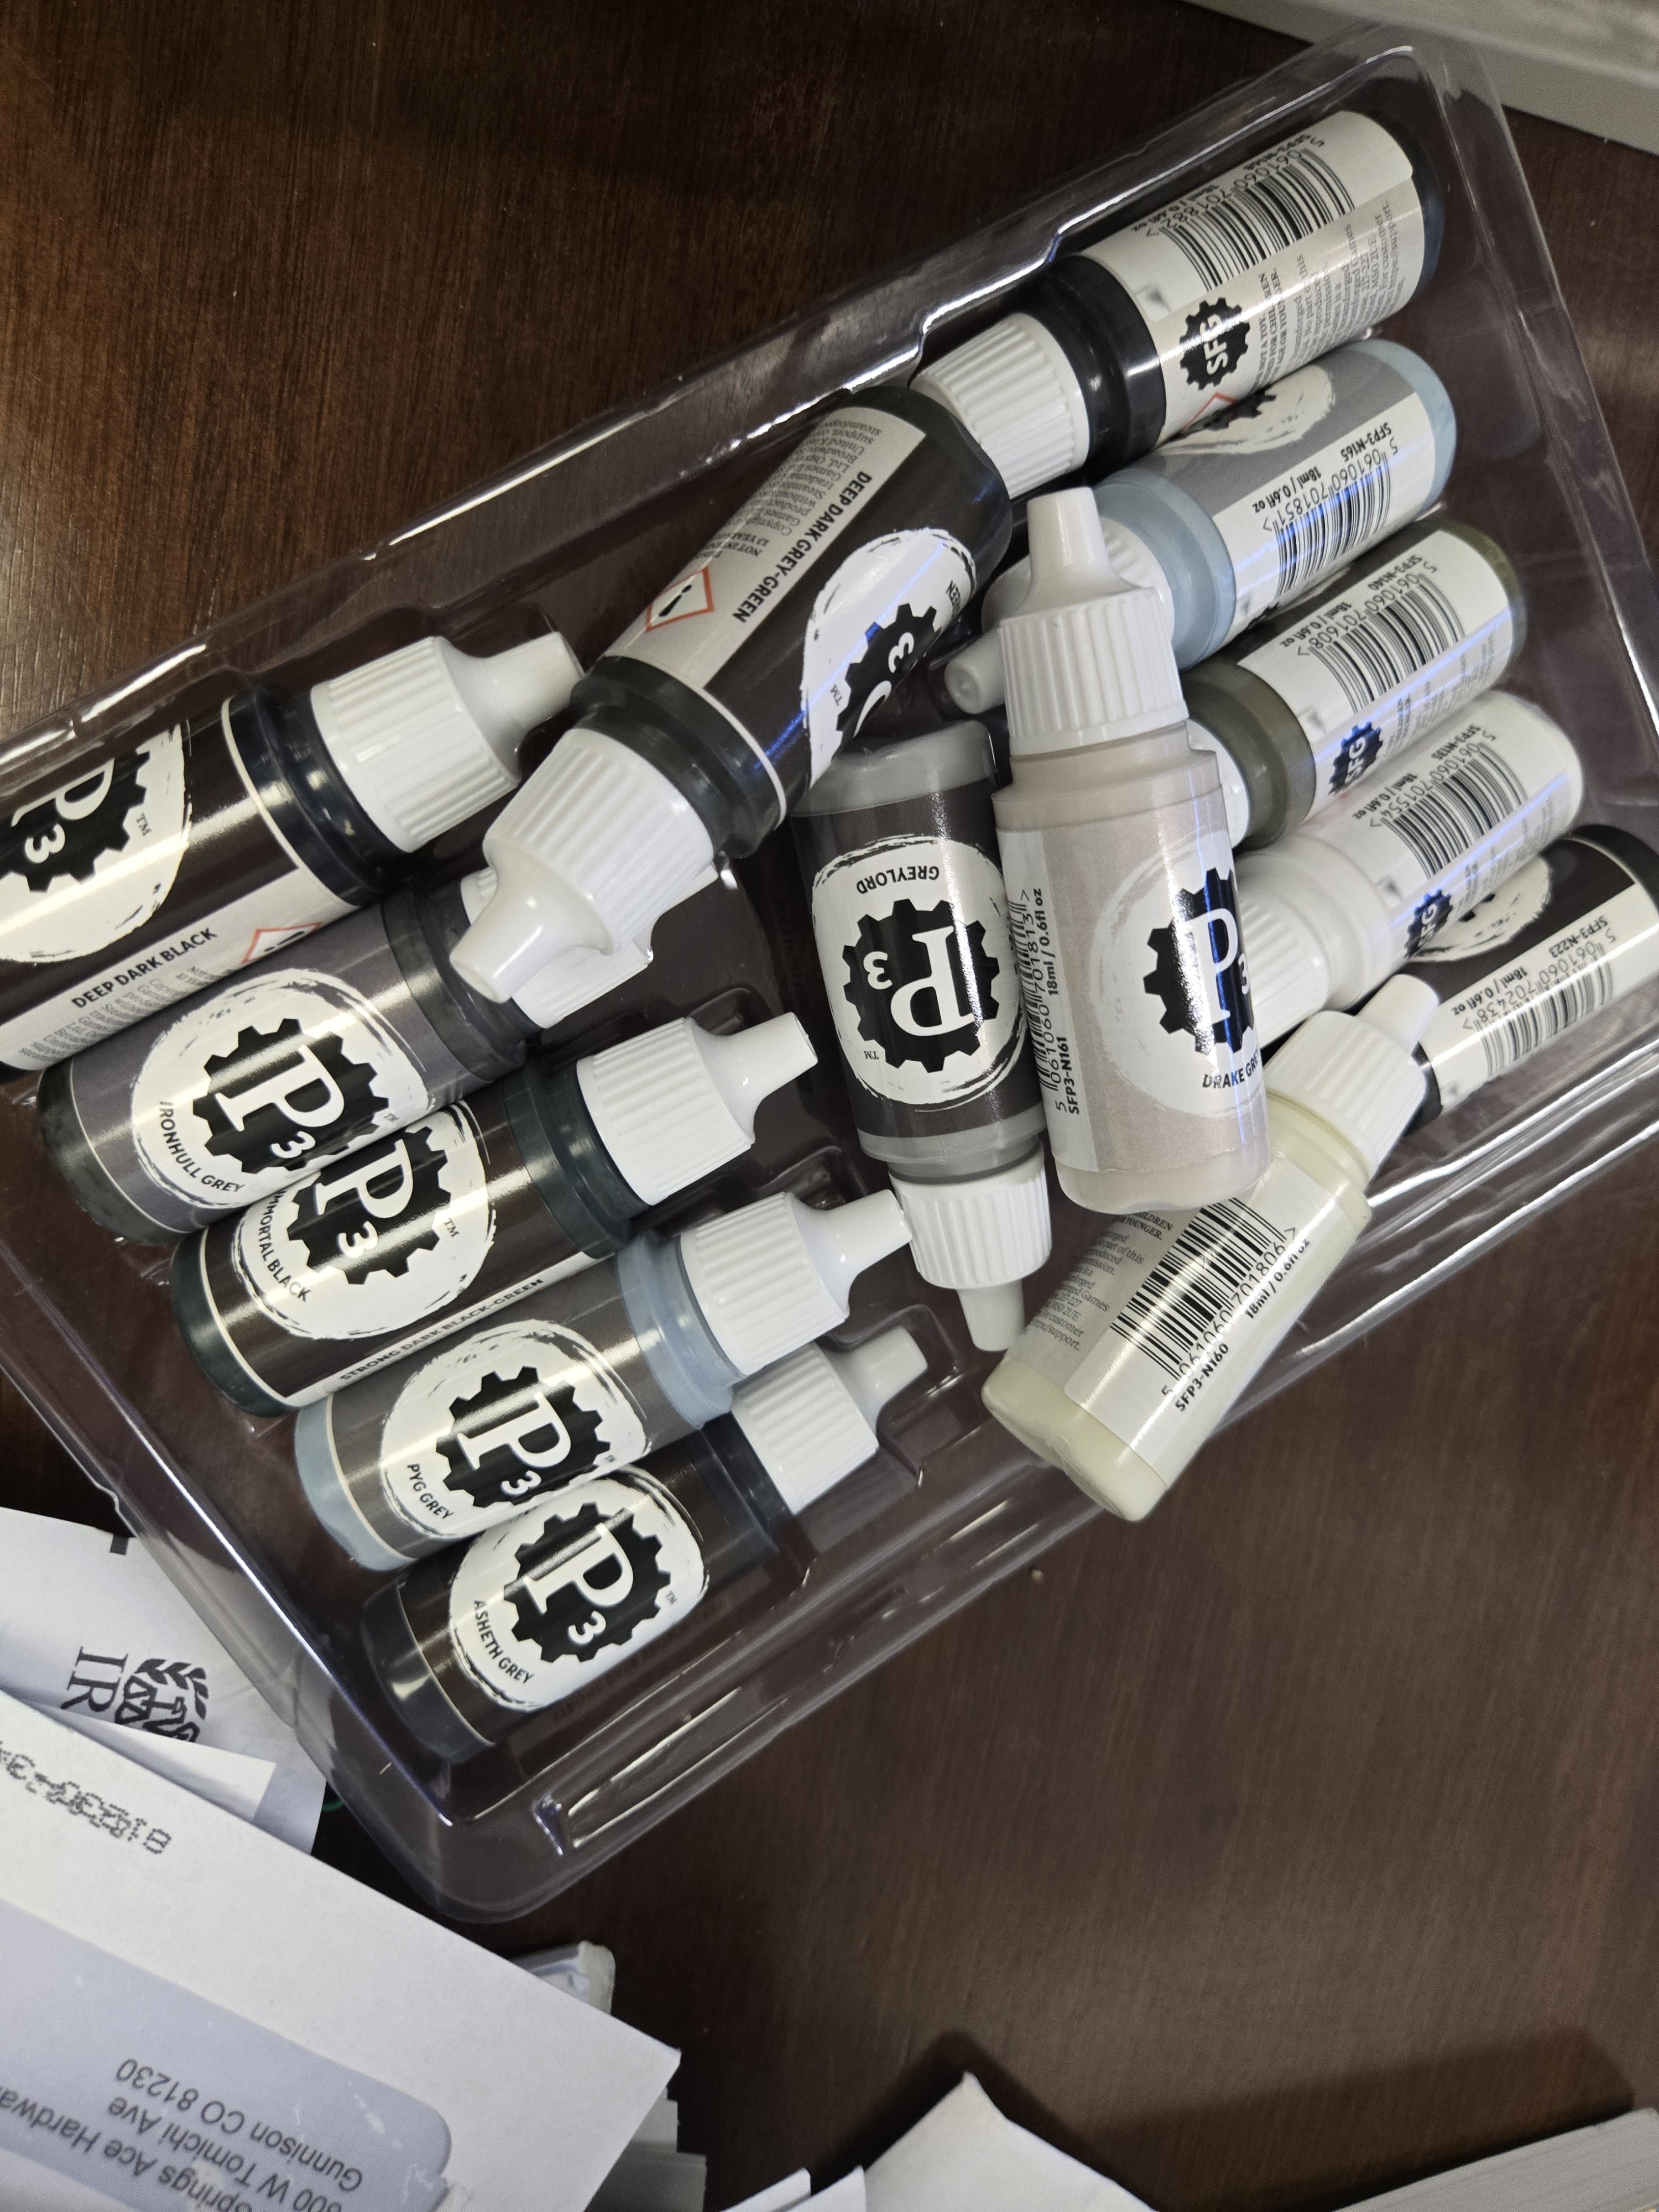
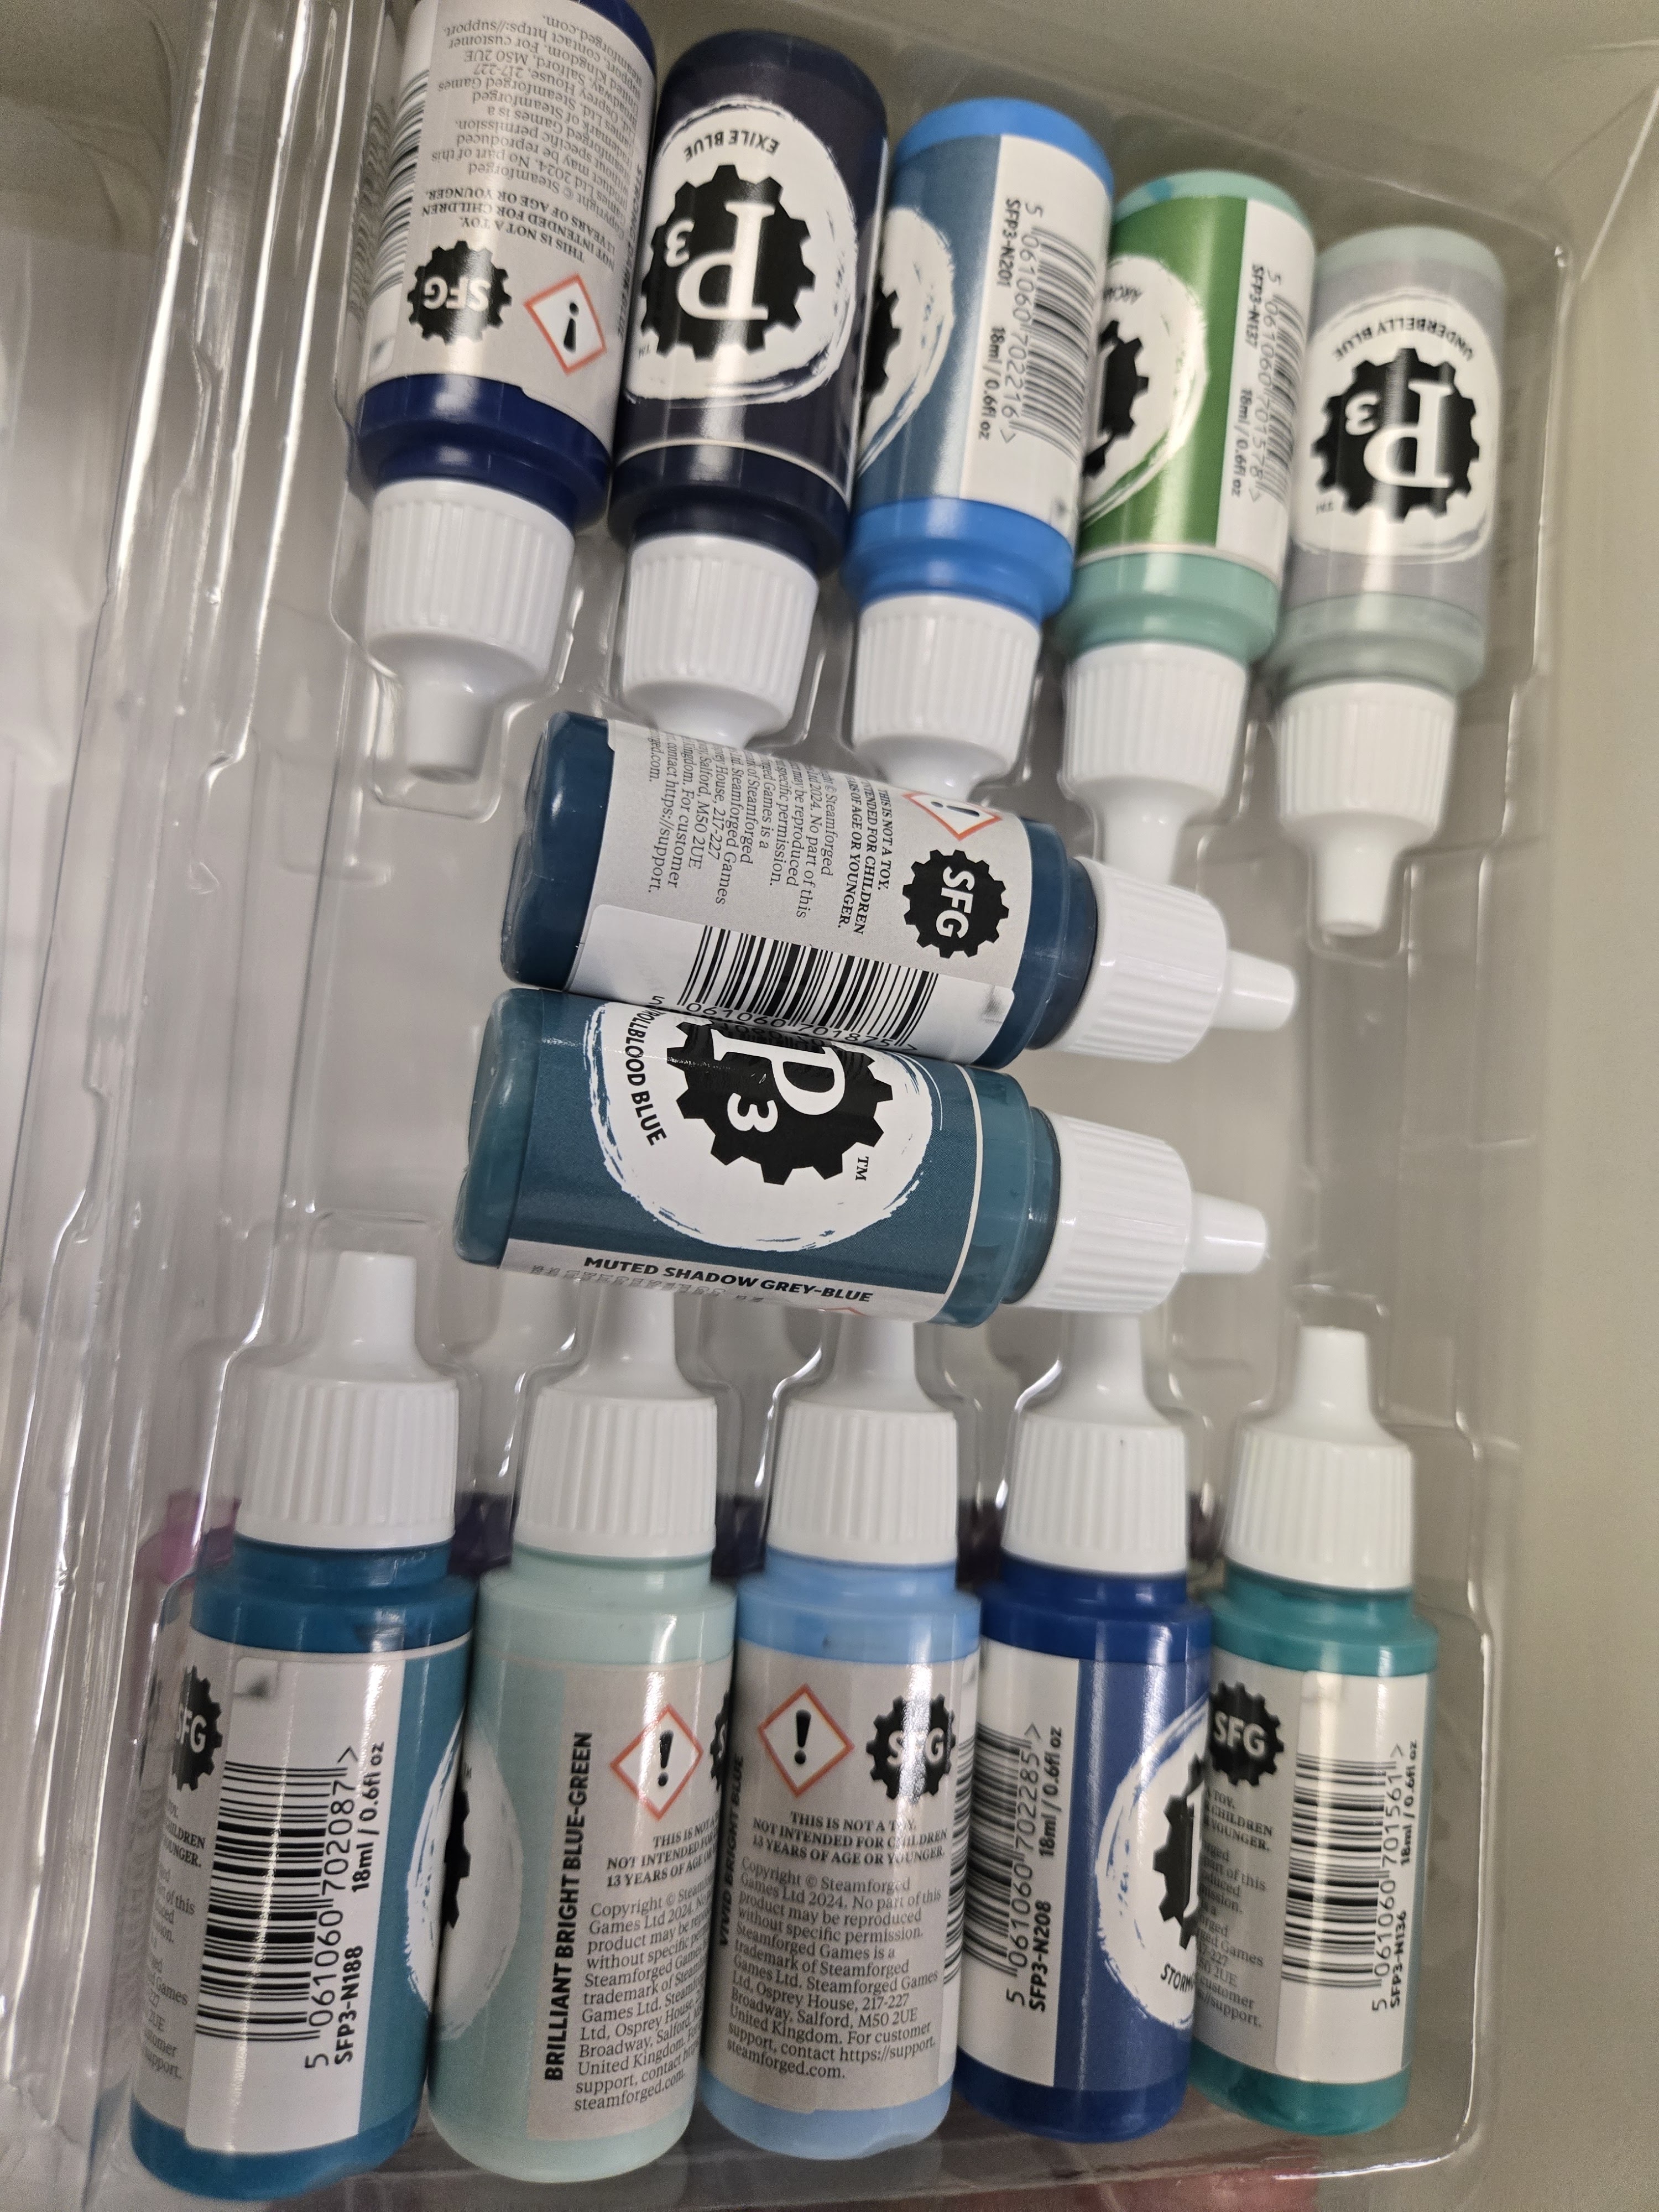
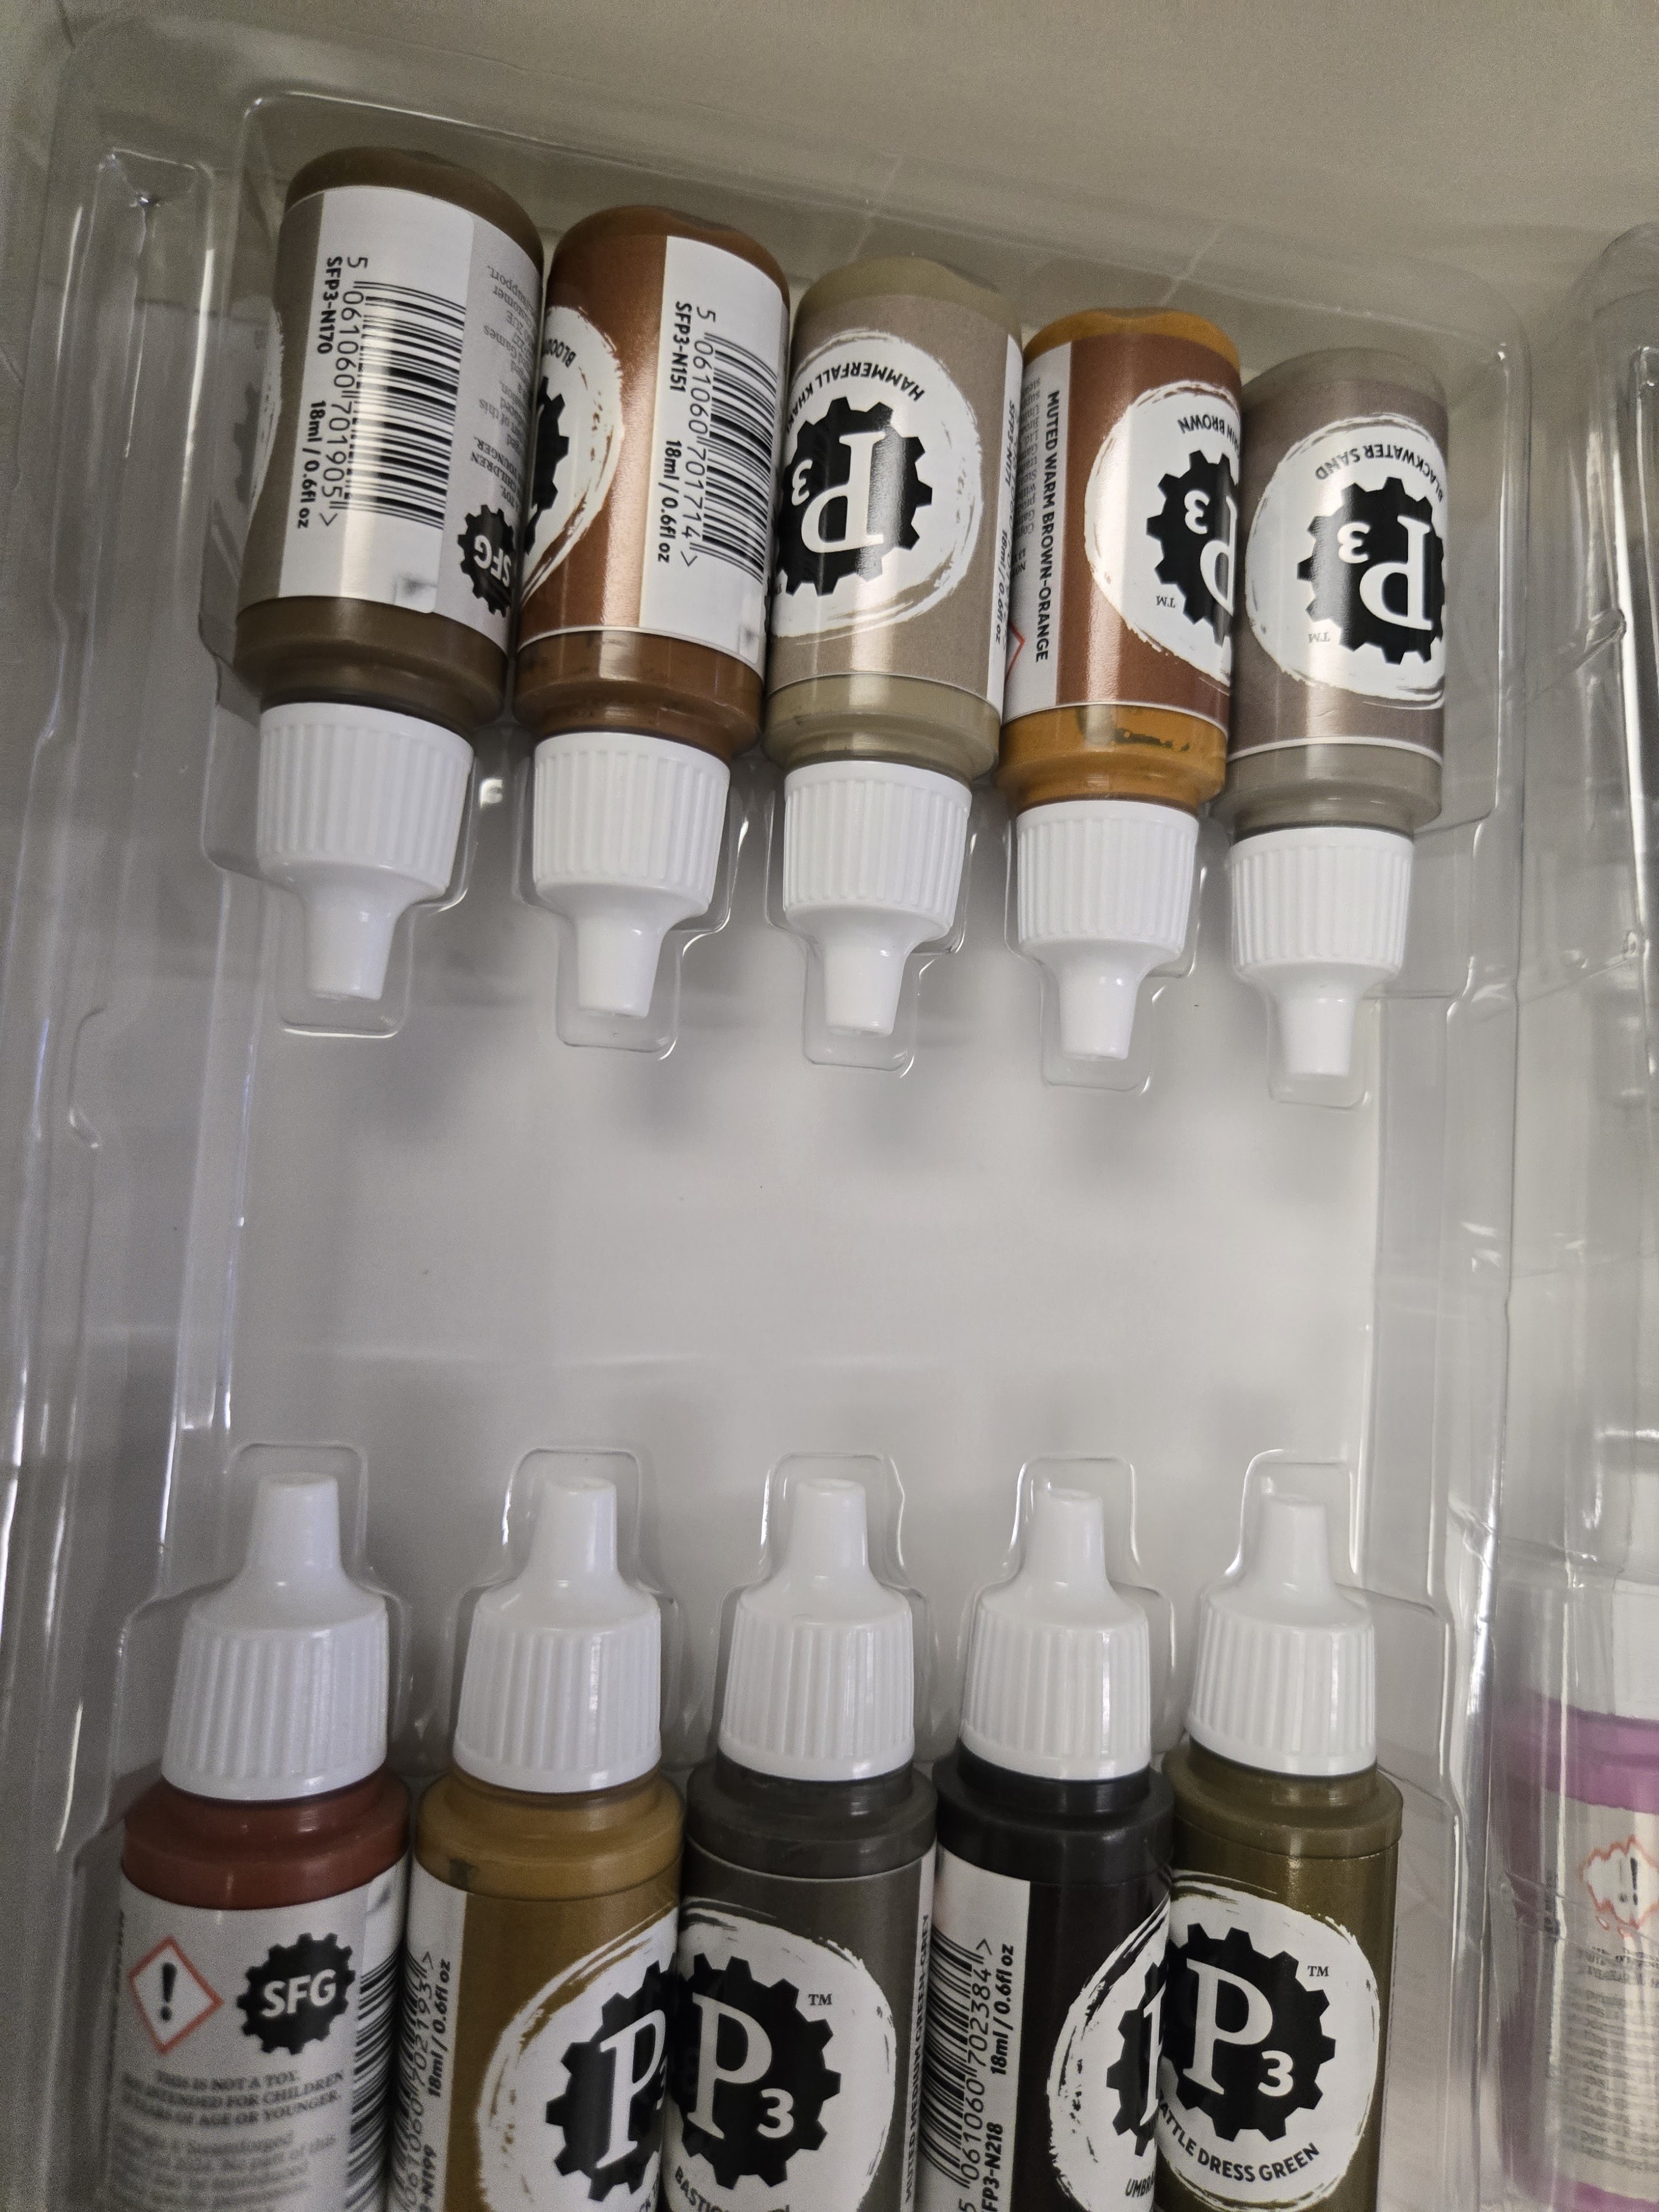
I tried about 70 of the colors included in the box. They all had a lovely, rich hue and good coverage when appropriately thinned. The ratio to thin the paints differed with every color, and it took four or five tries to get the correct ratio. Many of the paints finished with a semi-gloss sheen. I prefer my paints to finish matte, but I could be incorrectly using them.

The P3 paints are a step below Army Painter and Vallejo, but a step up from Reaper and two steps higher than Citadel. I would still consider Two Thin Coats the top brand for amateur use.

First Experience

I first tried a DND Reaper Bones model I had already primed. I wanted to see what the paints could do directly from the bottle—no thinning, no wet palette, just paint.

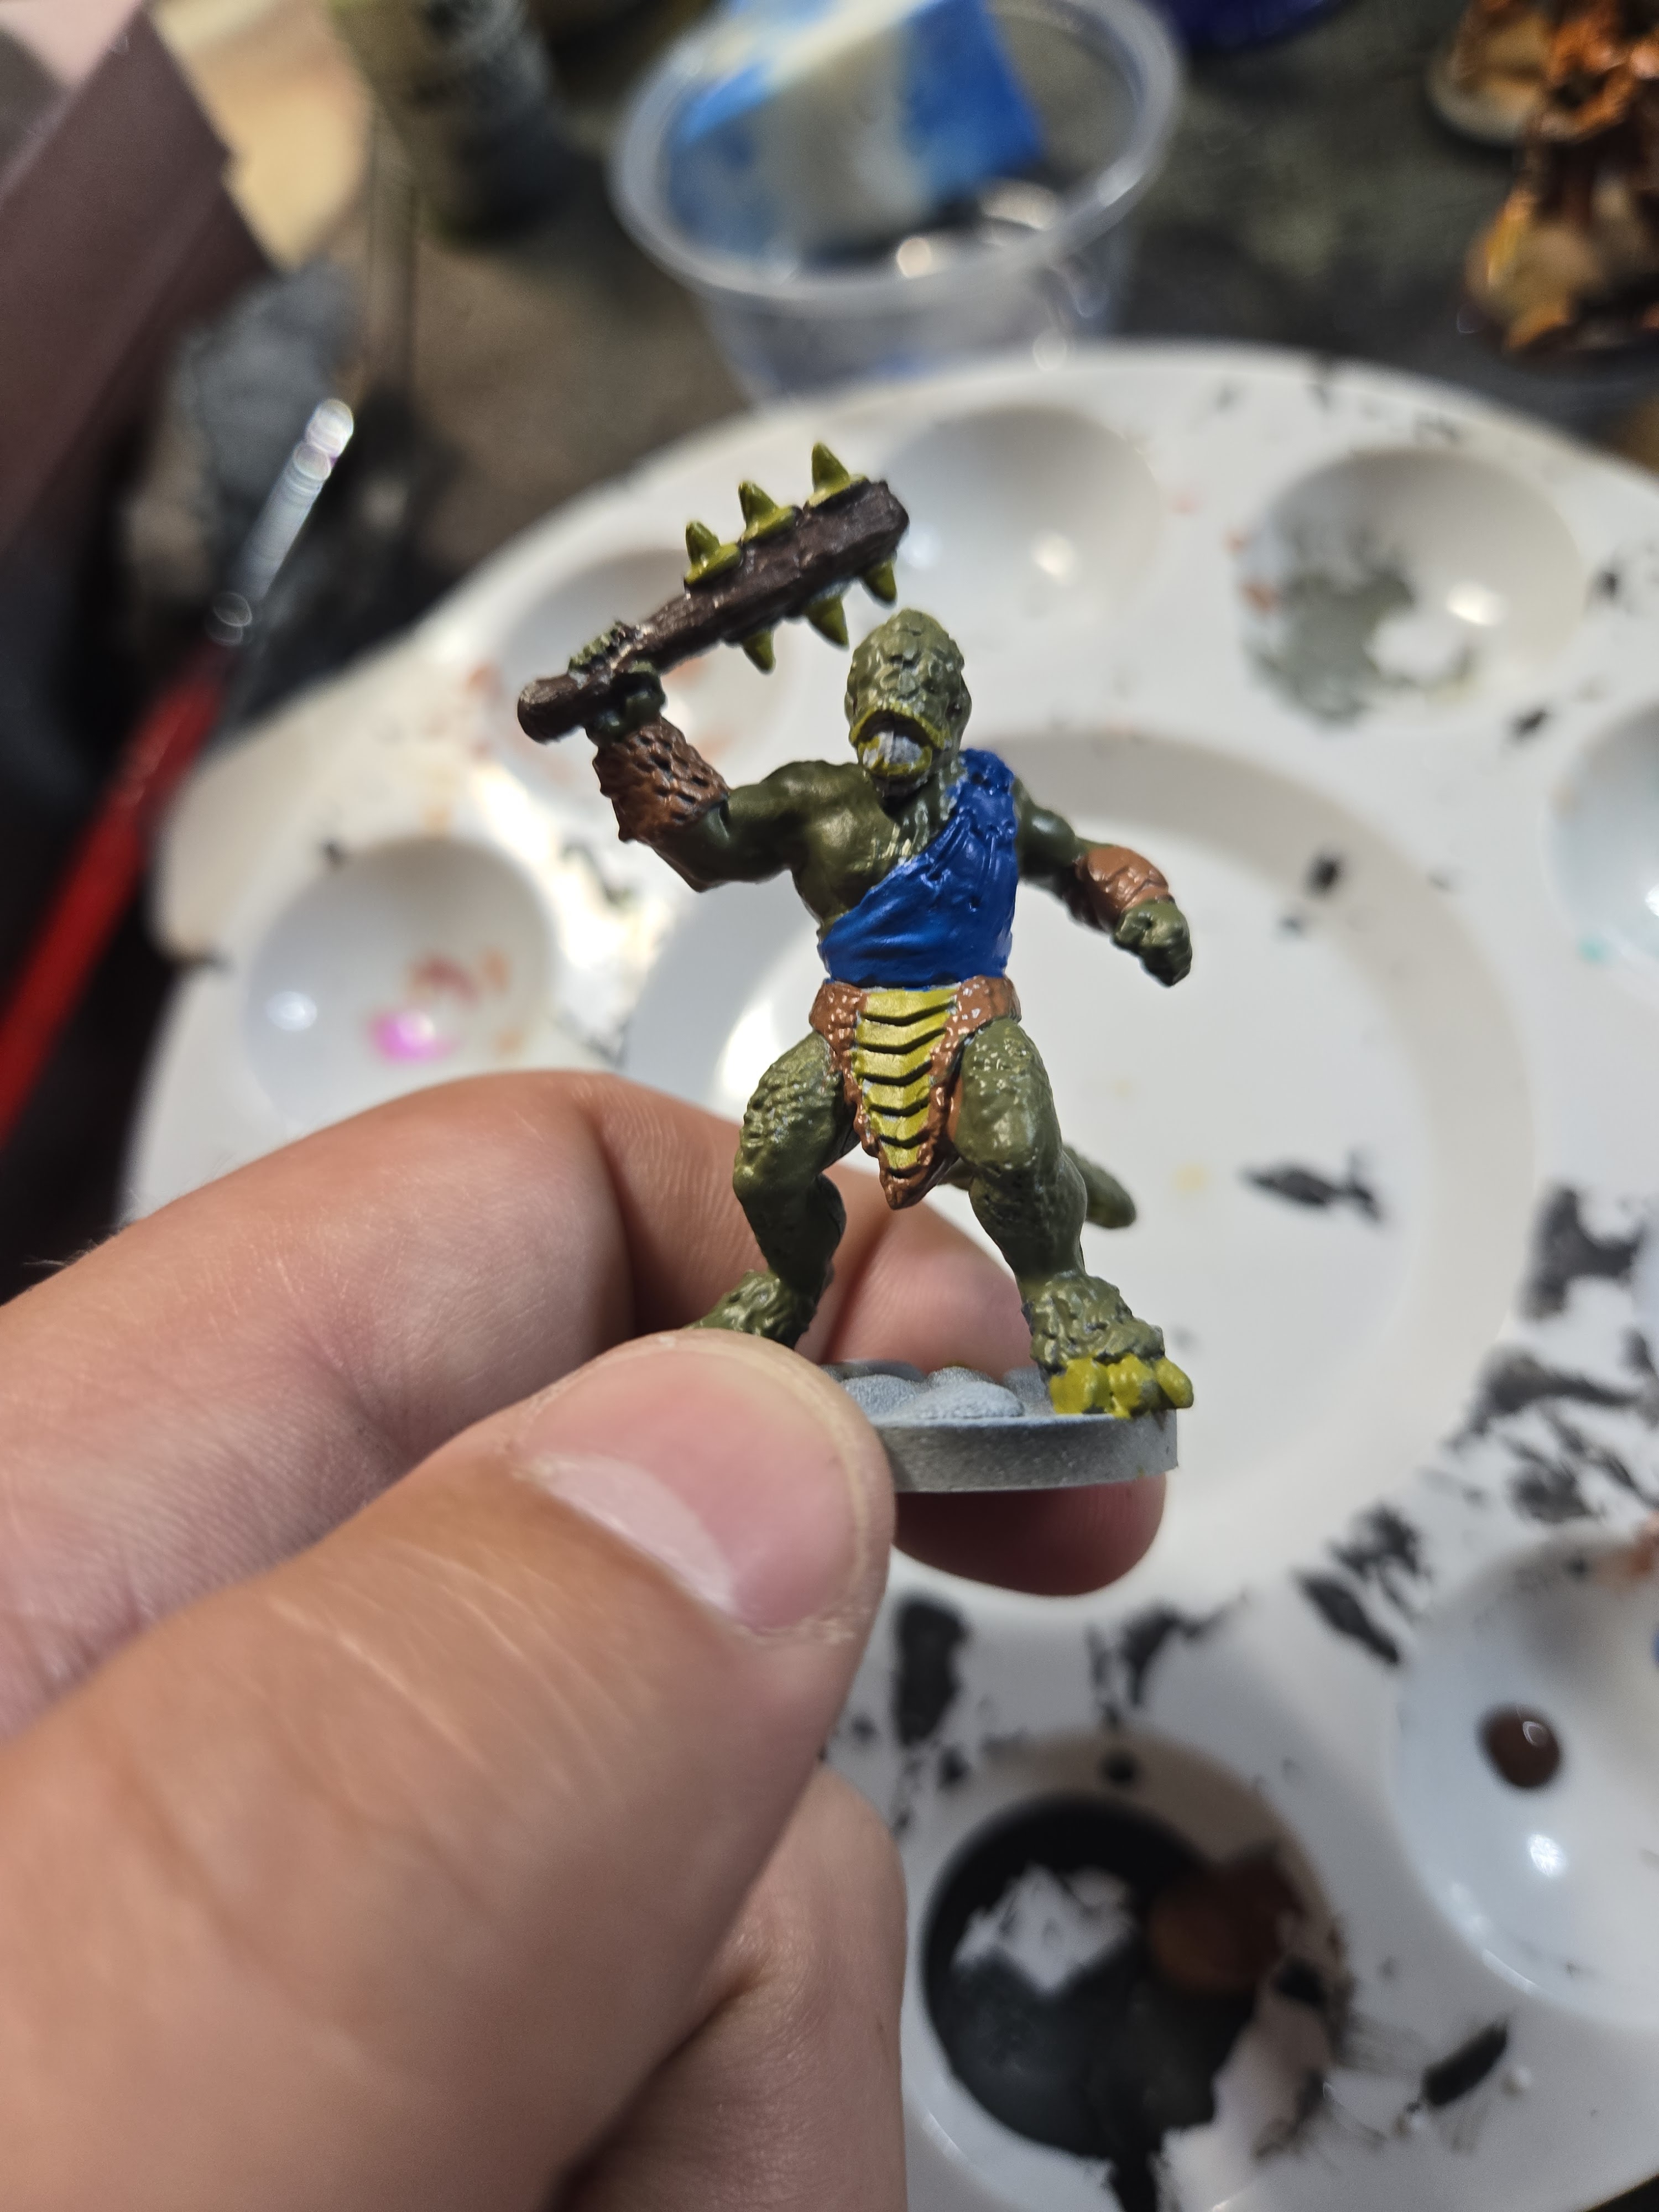
You can see the rich color and bright hues, but you can also see how thick the paint was when it came from the bottle and how it muddled many details.

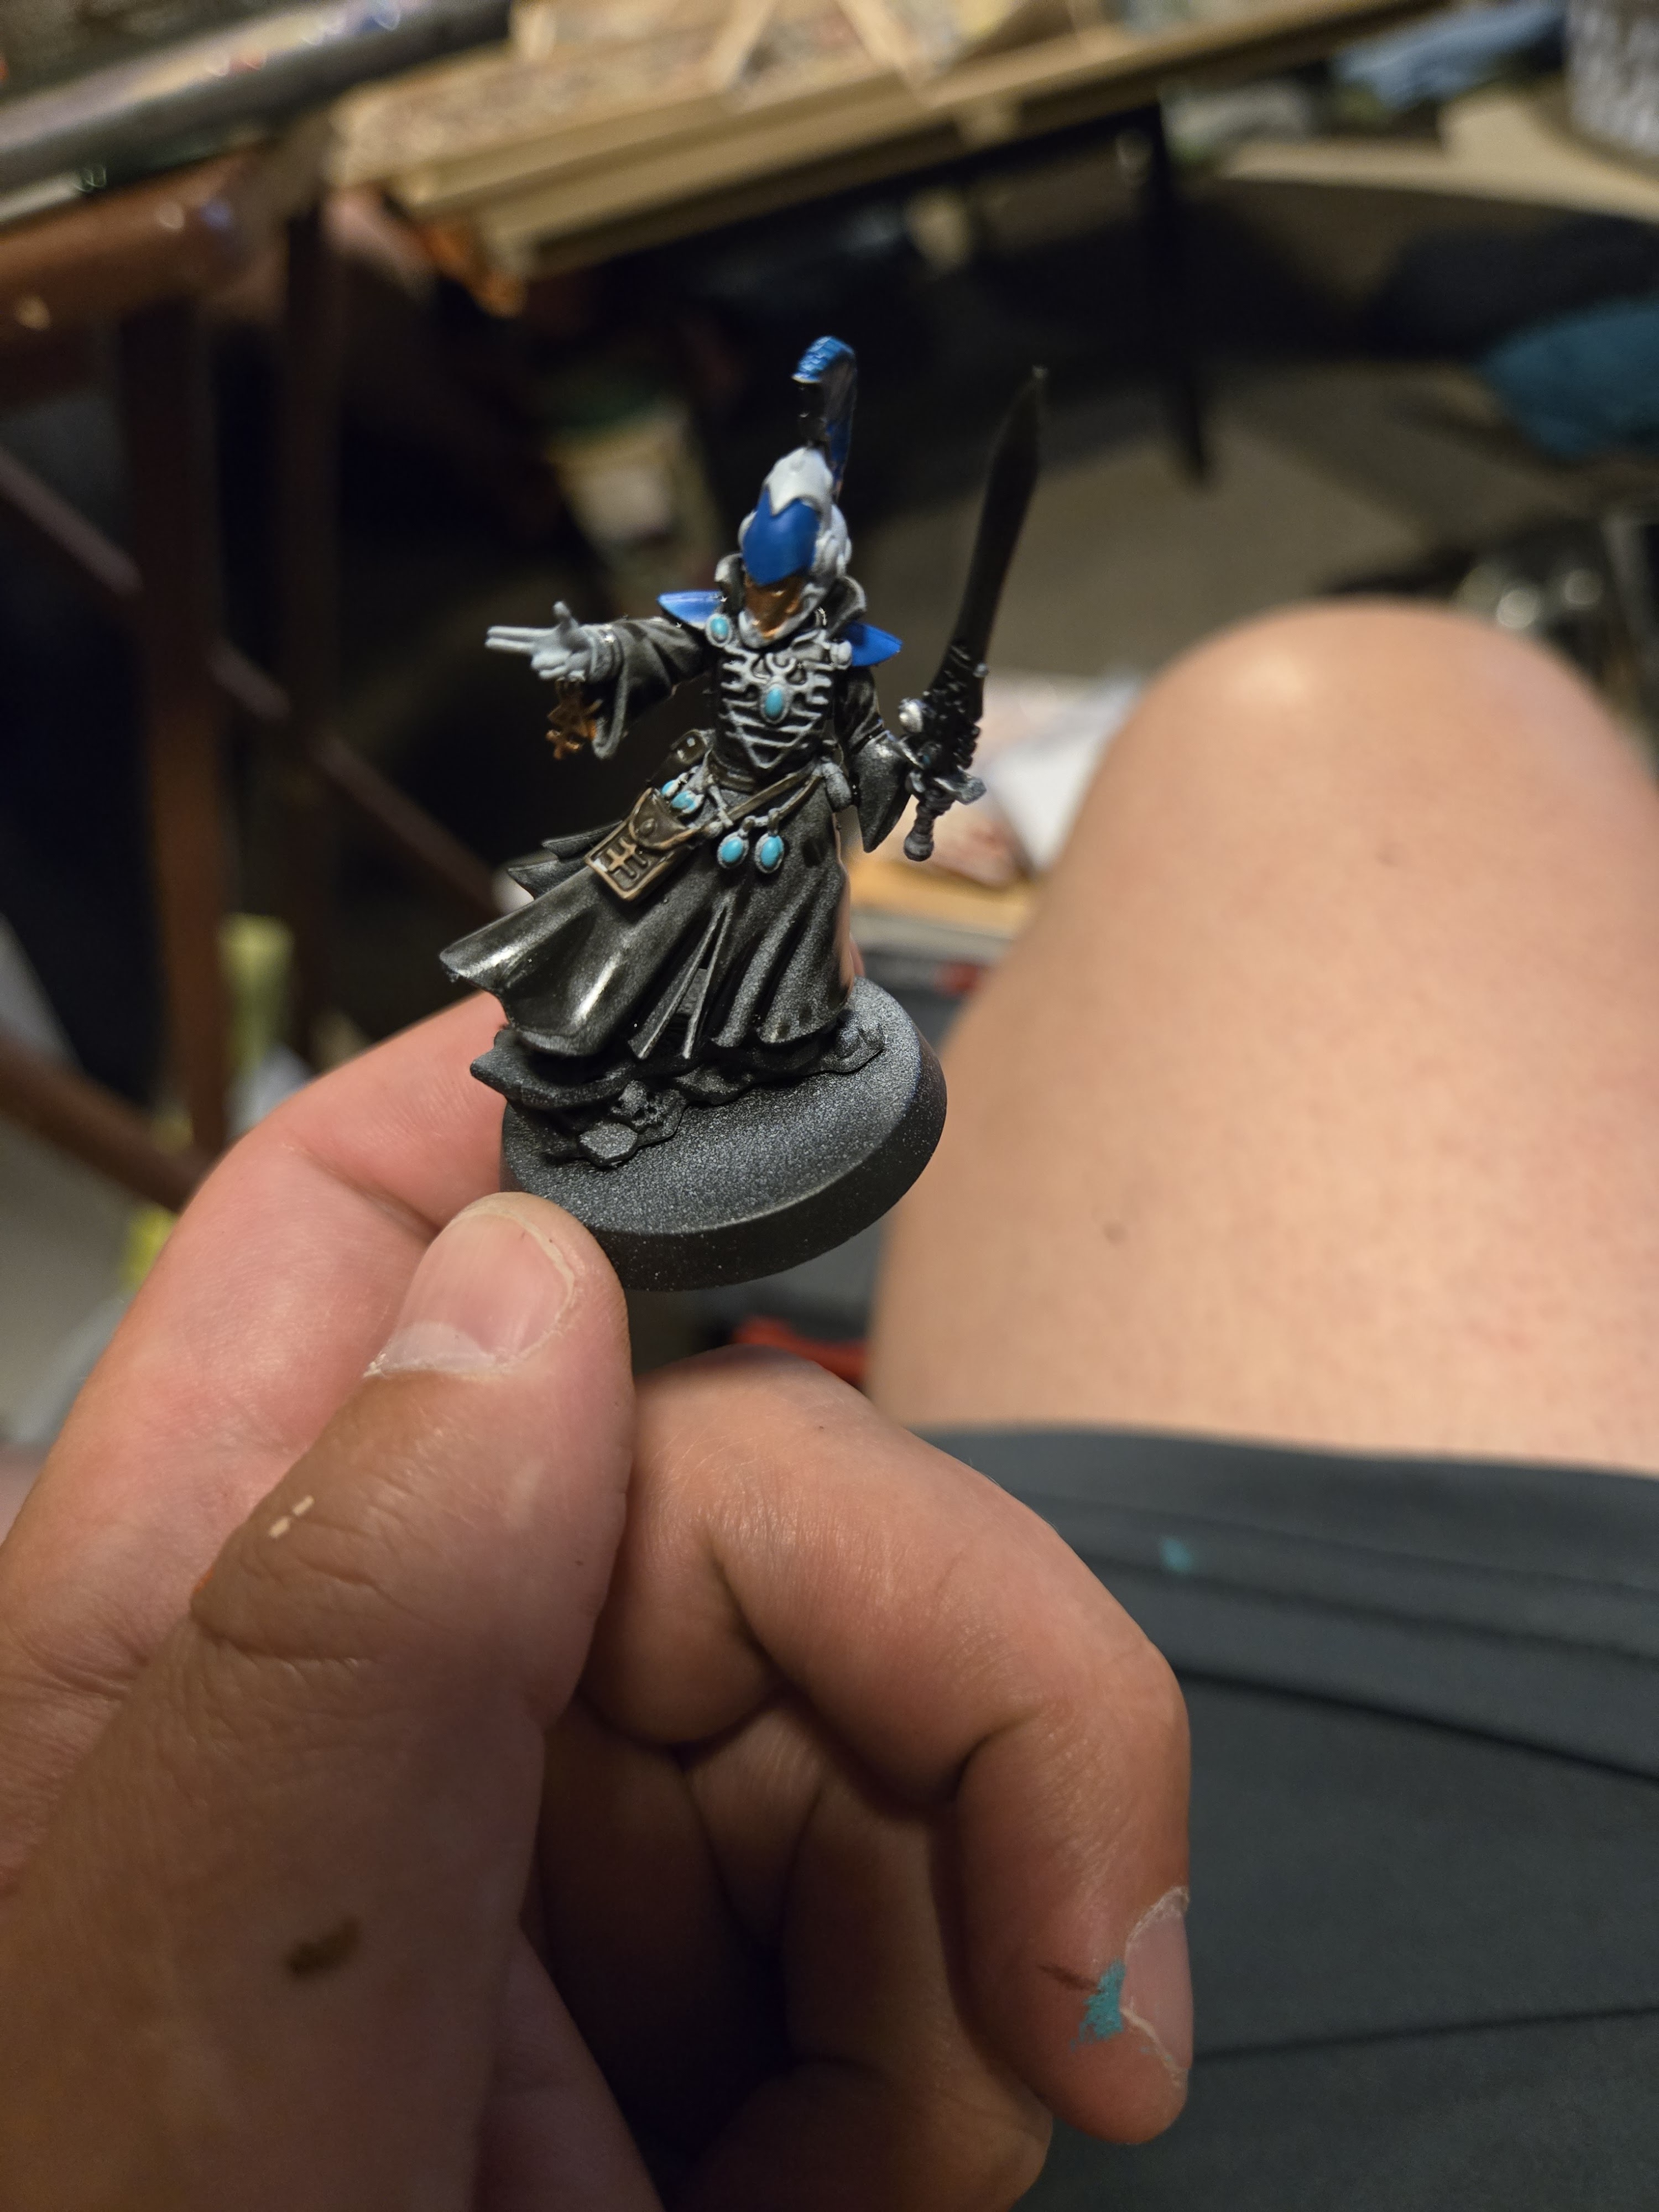
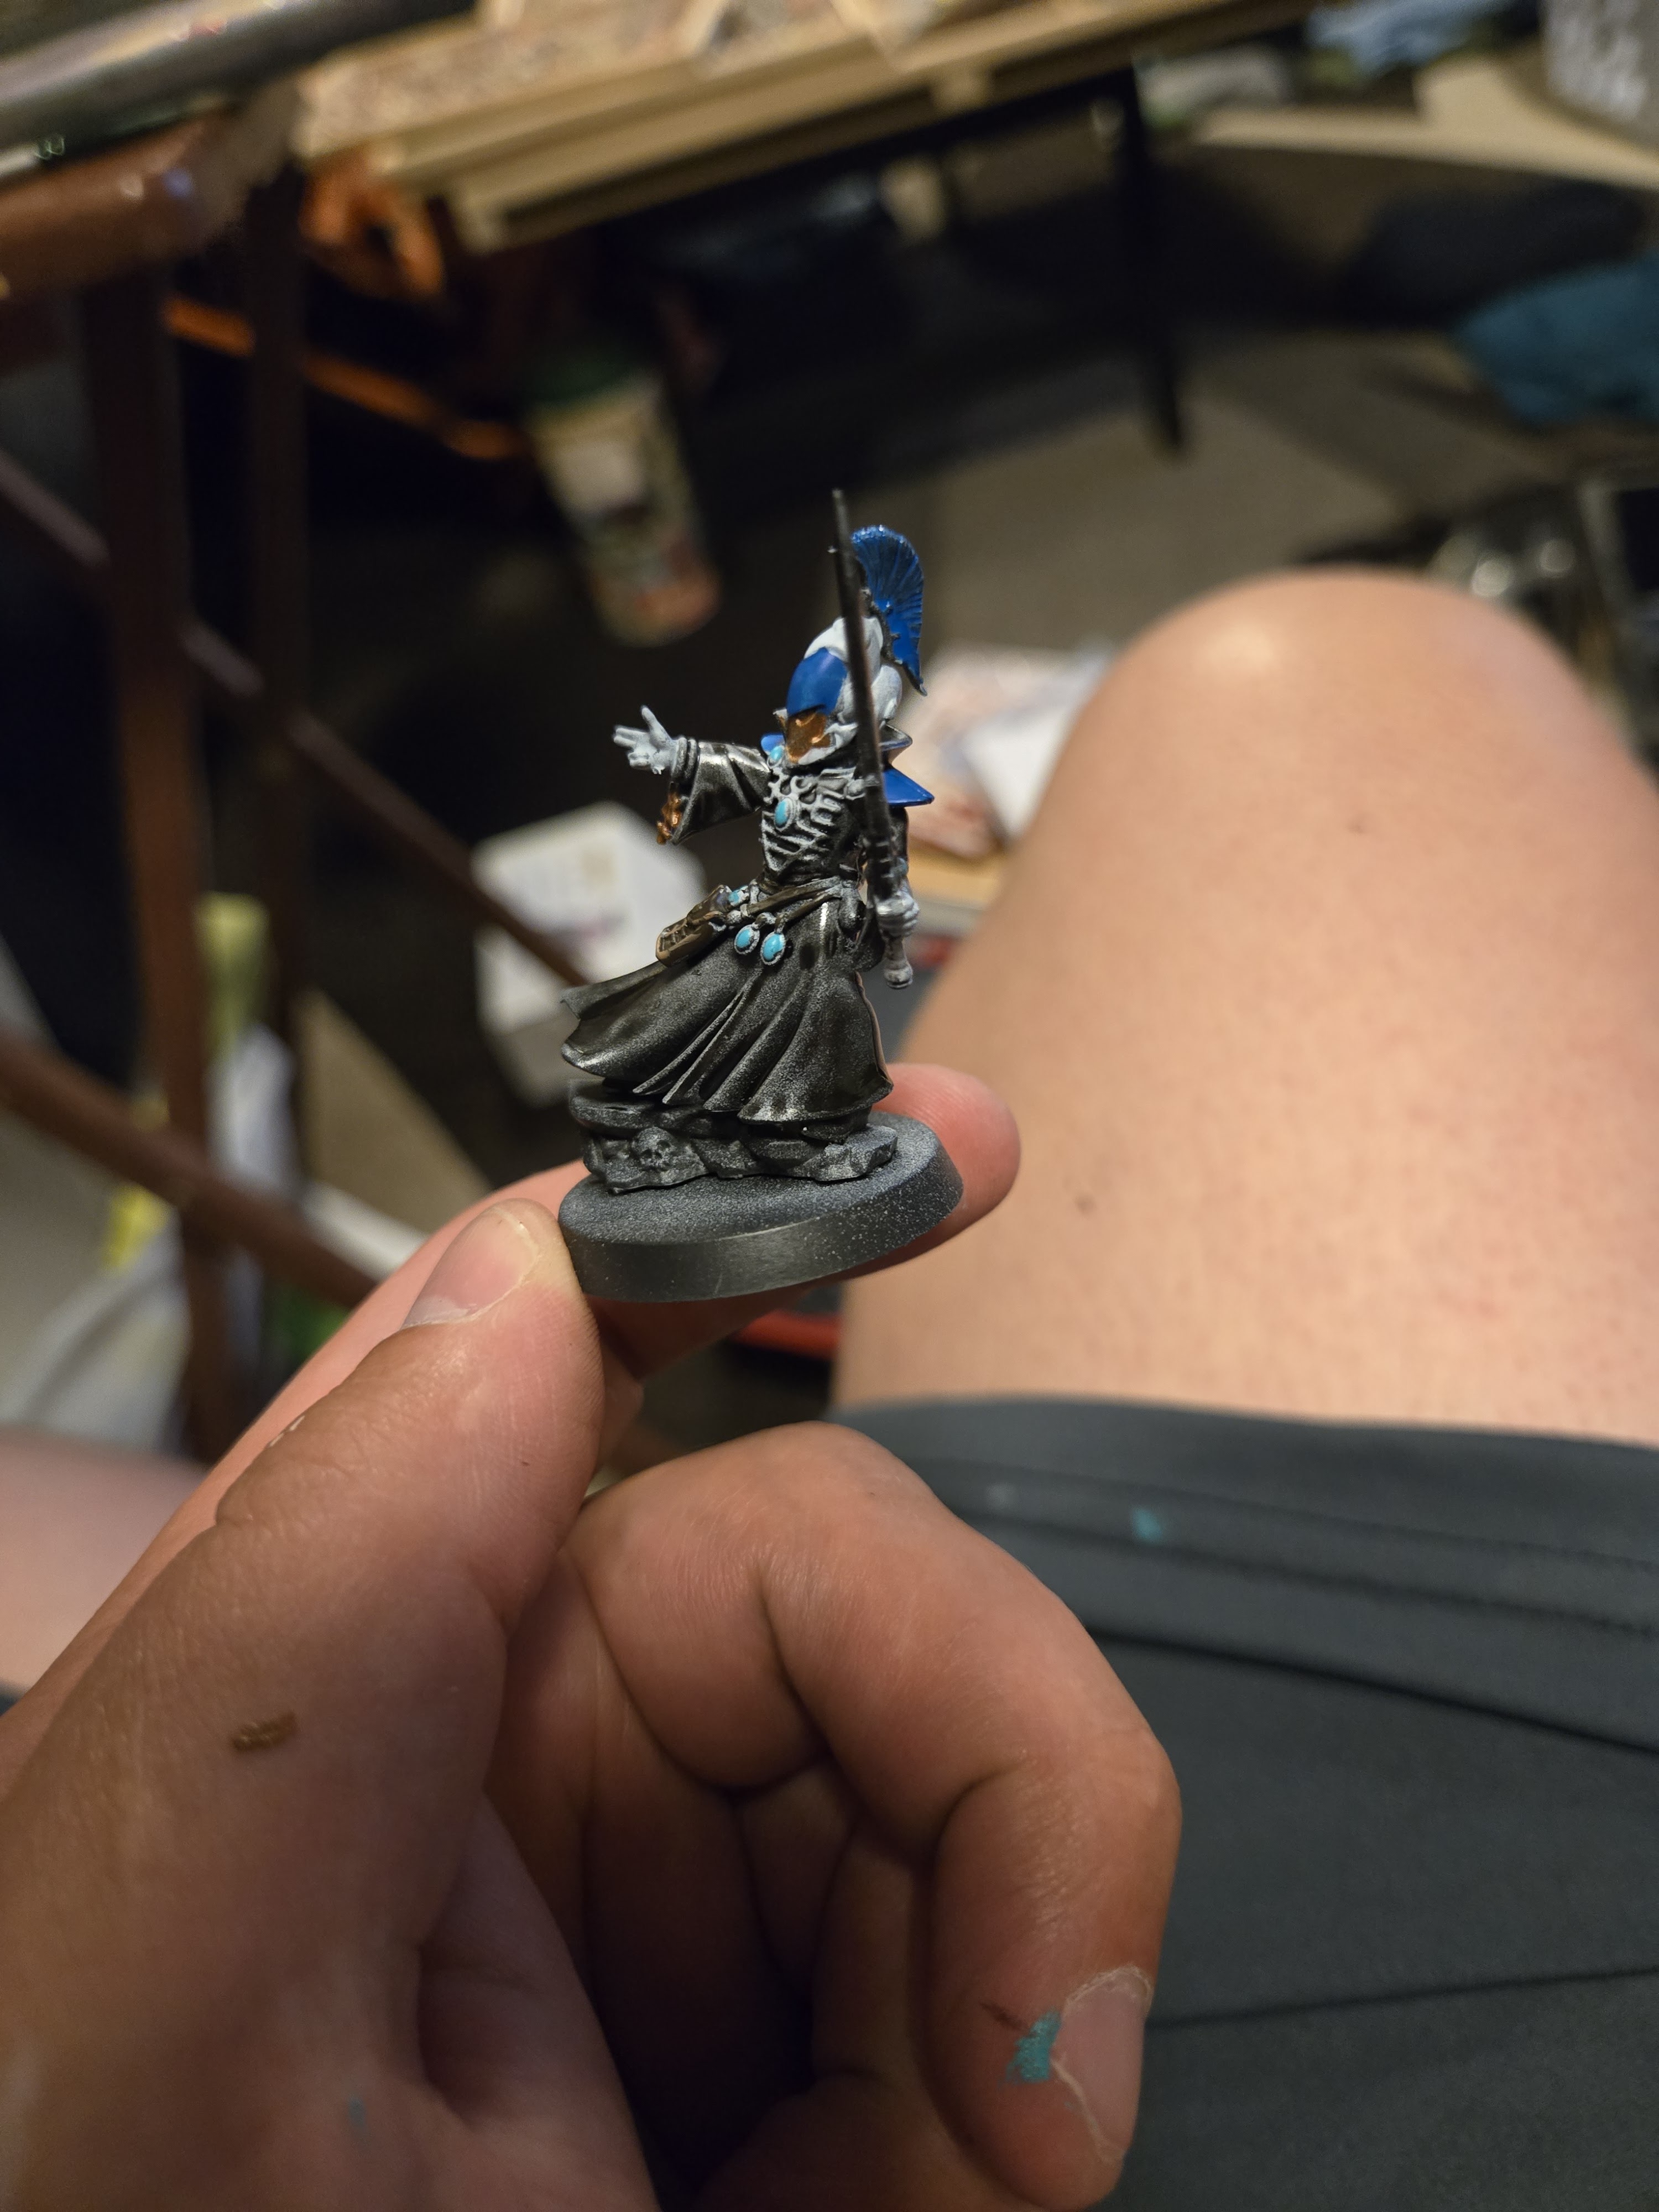
My next model was a simple Aeldari Warlock. This time, I thinned the paints and used the black as a glaze for the bottom robe, which turned out nicely. The unthinned paint made a very nice edge highlight. You can see it on the satchel and the model’s chest piece. The metallic visor didn’t work well; it was gloppy and hard to control.

You can see the stark difference between the unthinned and thinned paint. I don’t see much difference between thinned and unthinned in my usual paints like Reaper, Armypainter Air, and Vallejo Air. This was a big step in seeing so much difference.

My next model was Fulgrim, also for the Aeldari. (I am in a league and picked Aeldari as my army.) I had already done some airbrush work on the model, which you can see below. For my P3 test, I simply did detailed work.

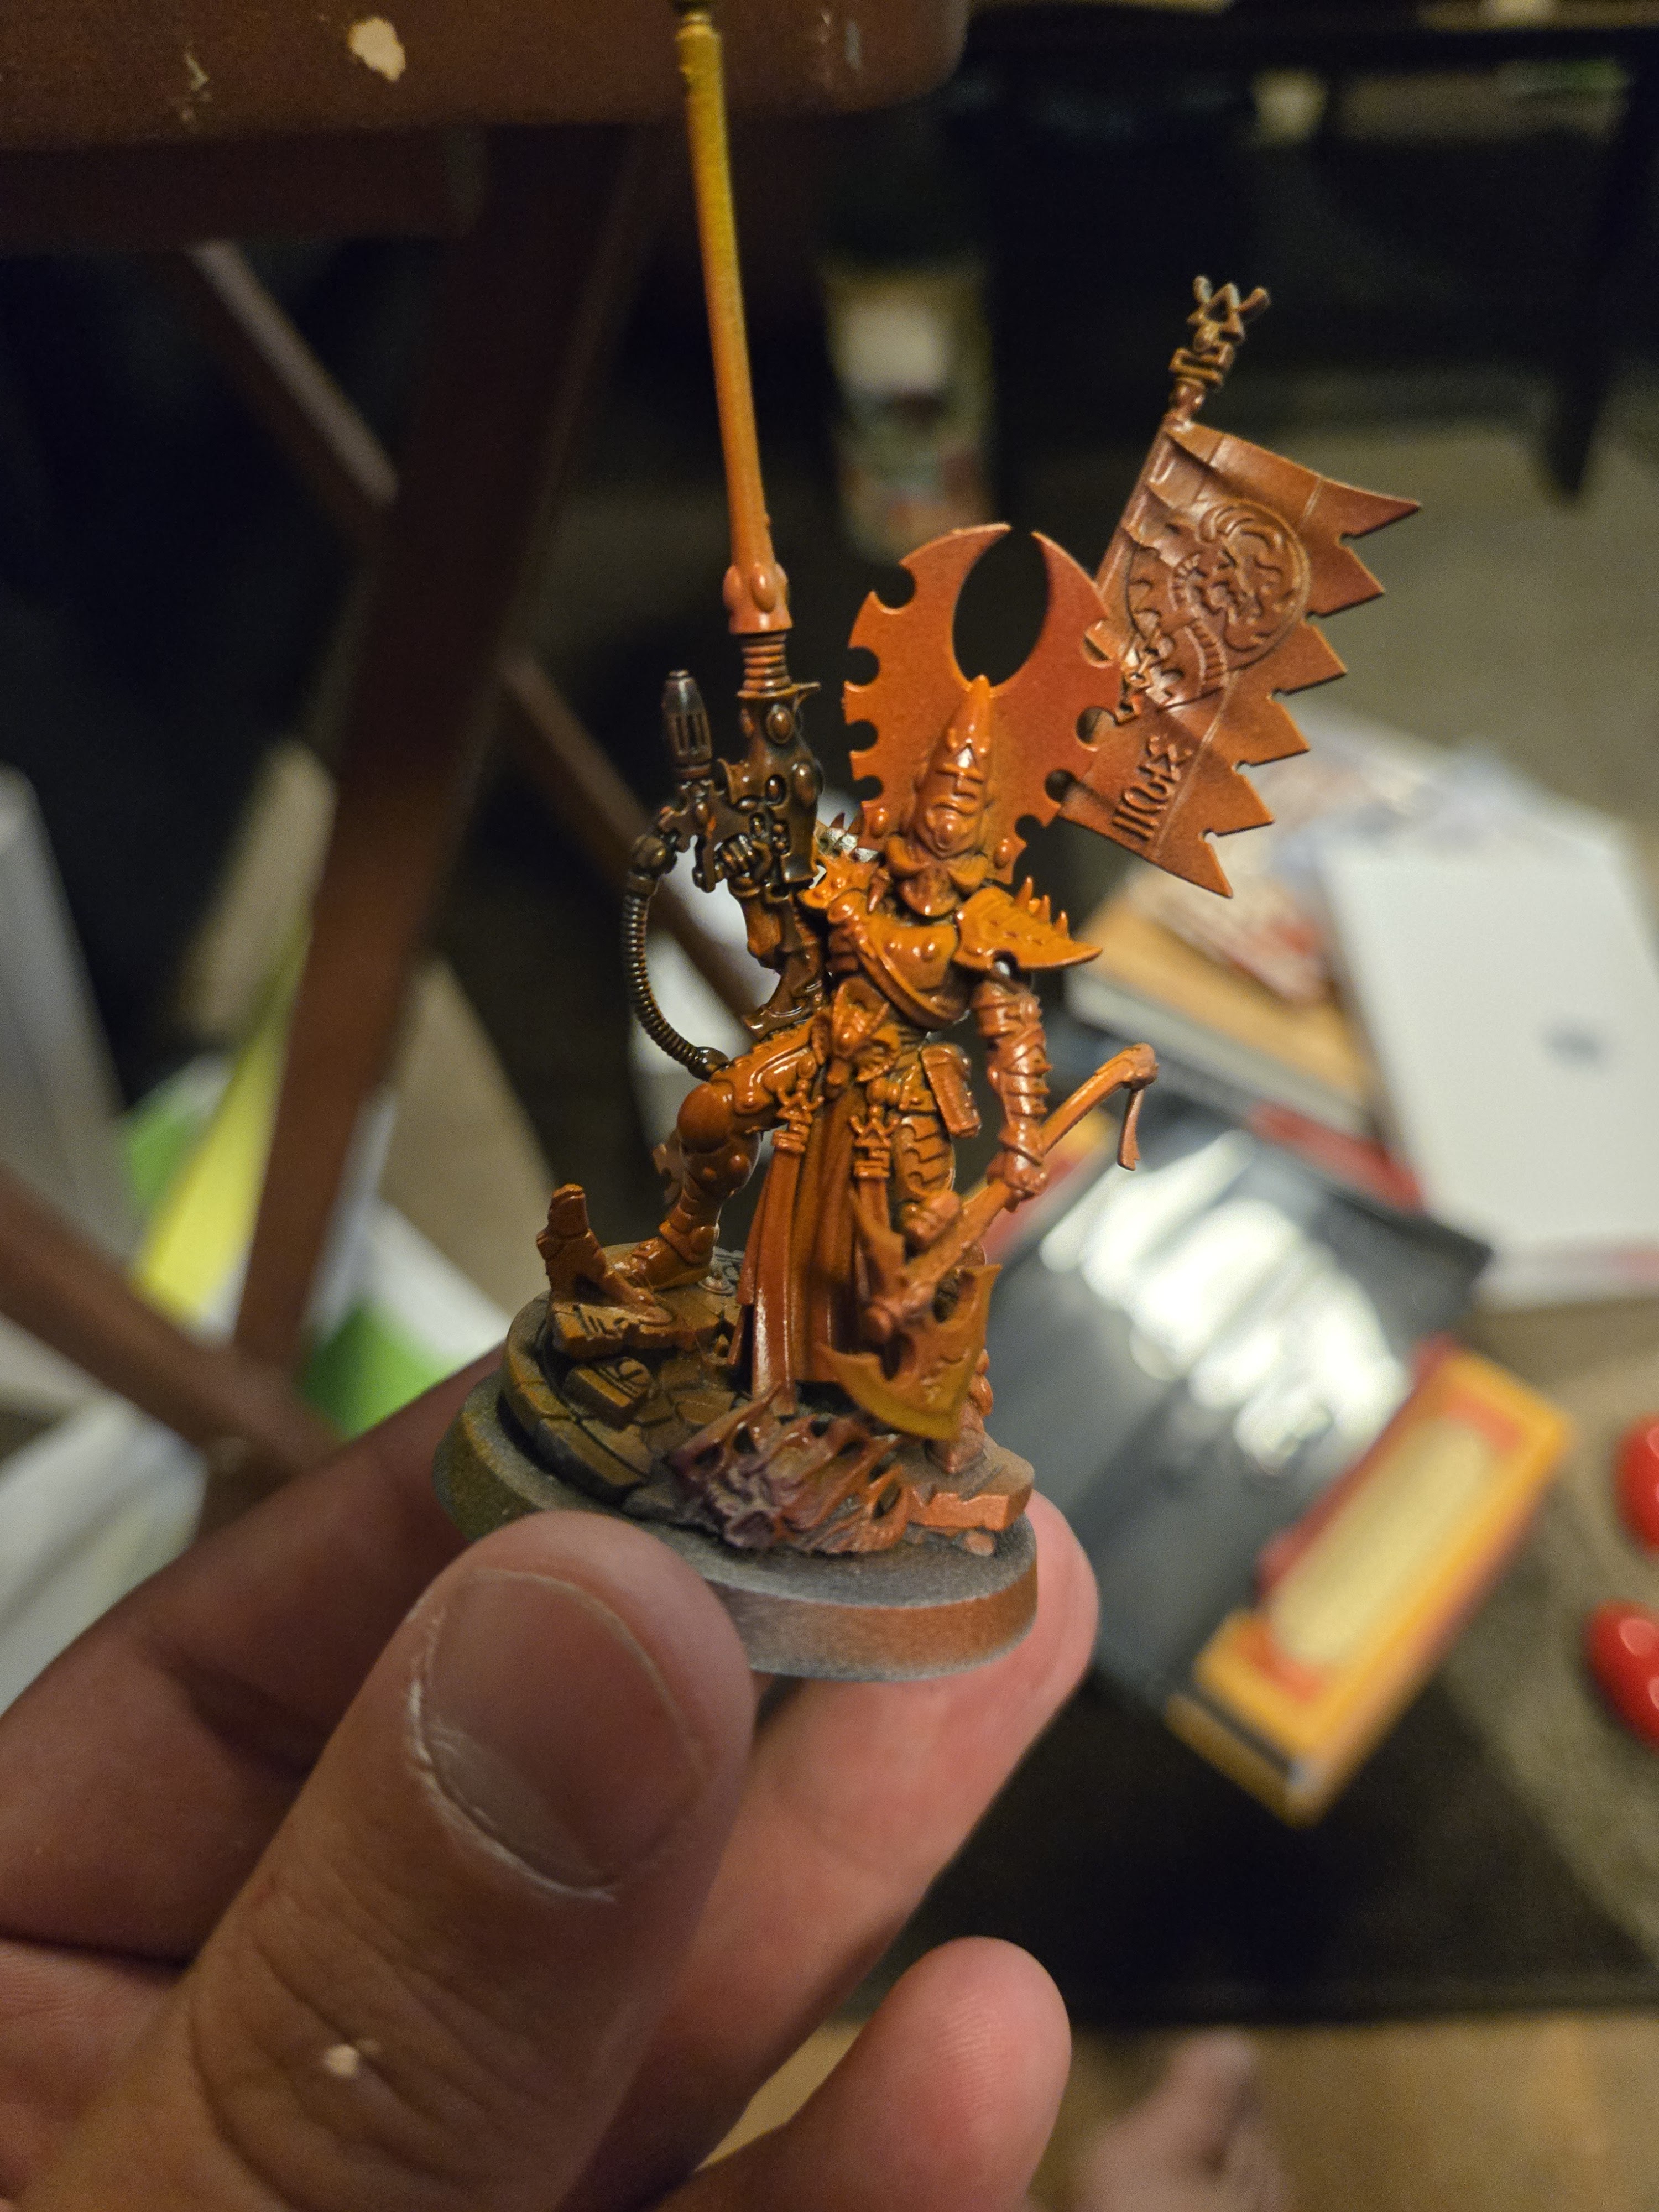
Below is the finished product after my detailed work. I won’t do bases until all models are ready.

The paints were difficult to control in tight areas unless the mix was perfect, especially in the face area. This is just something to be aware of as an amateur painter.

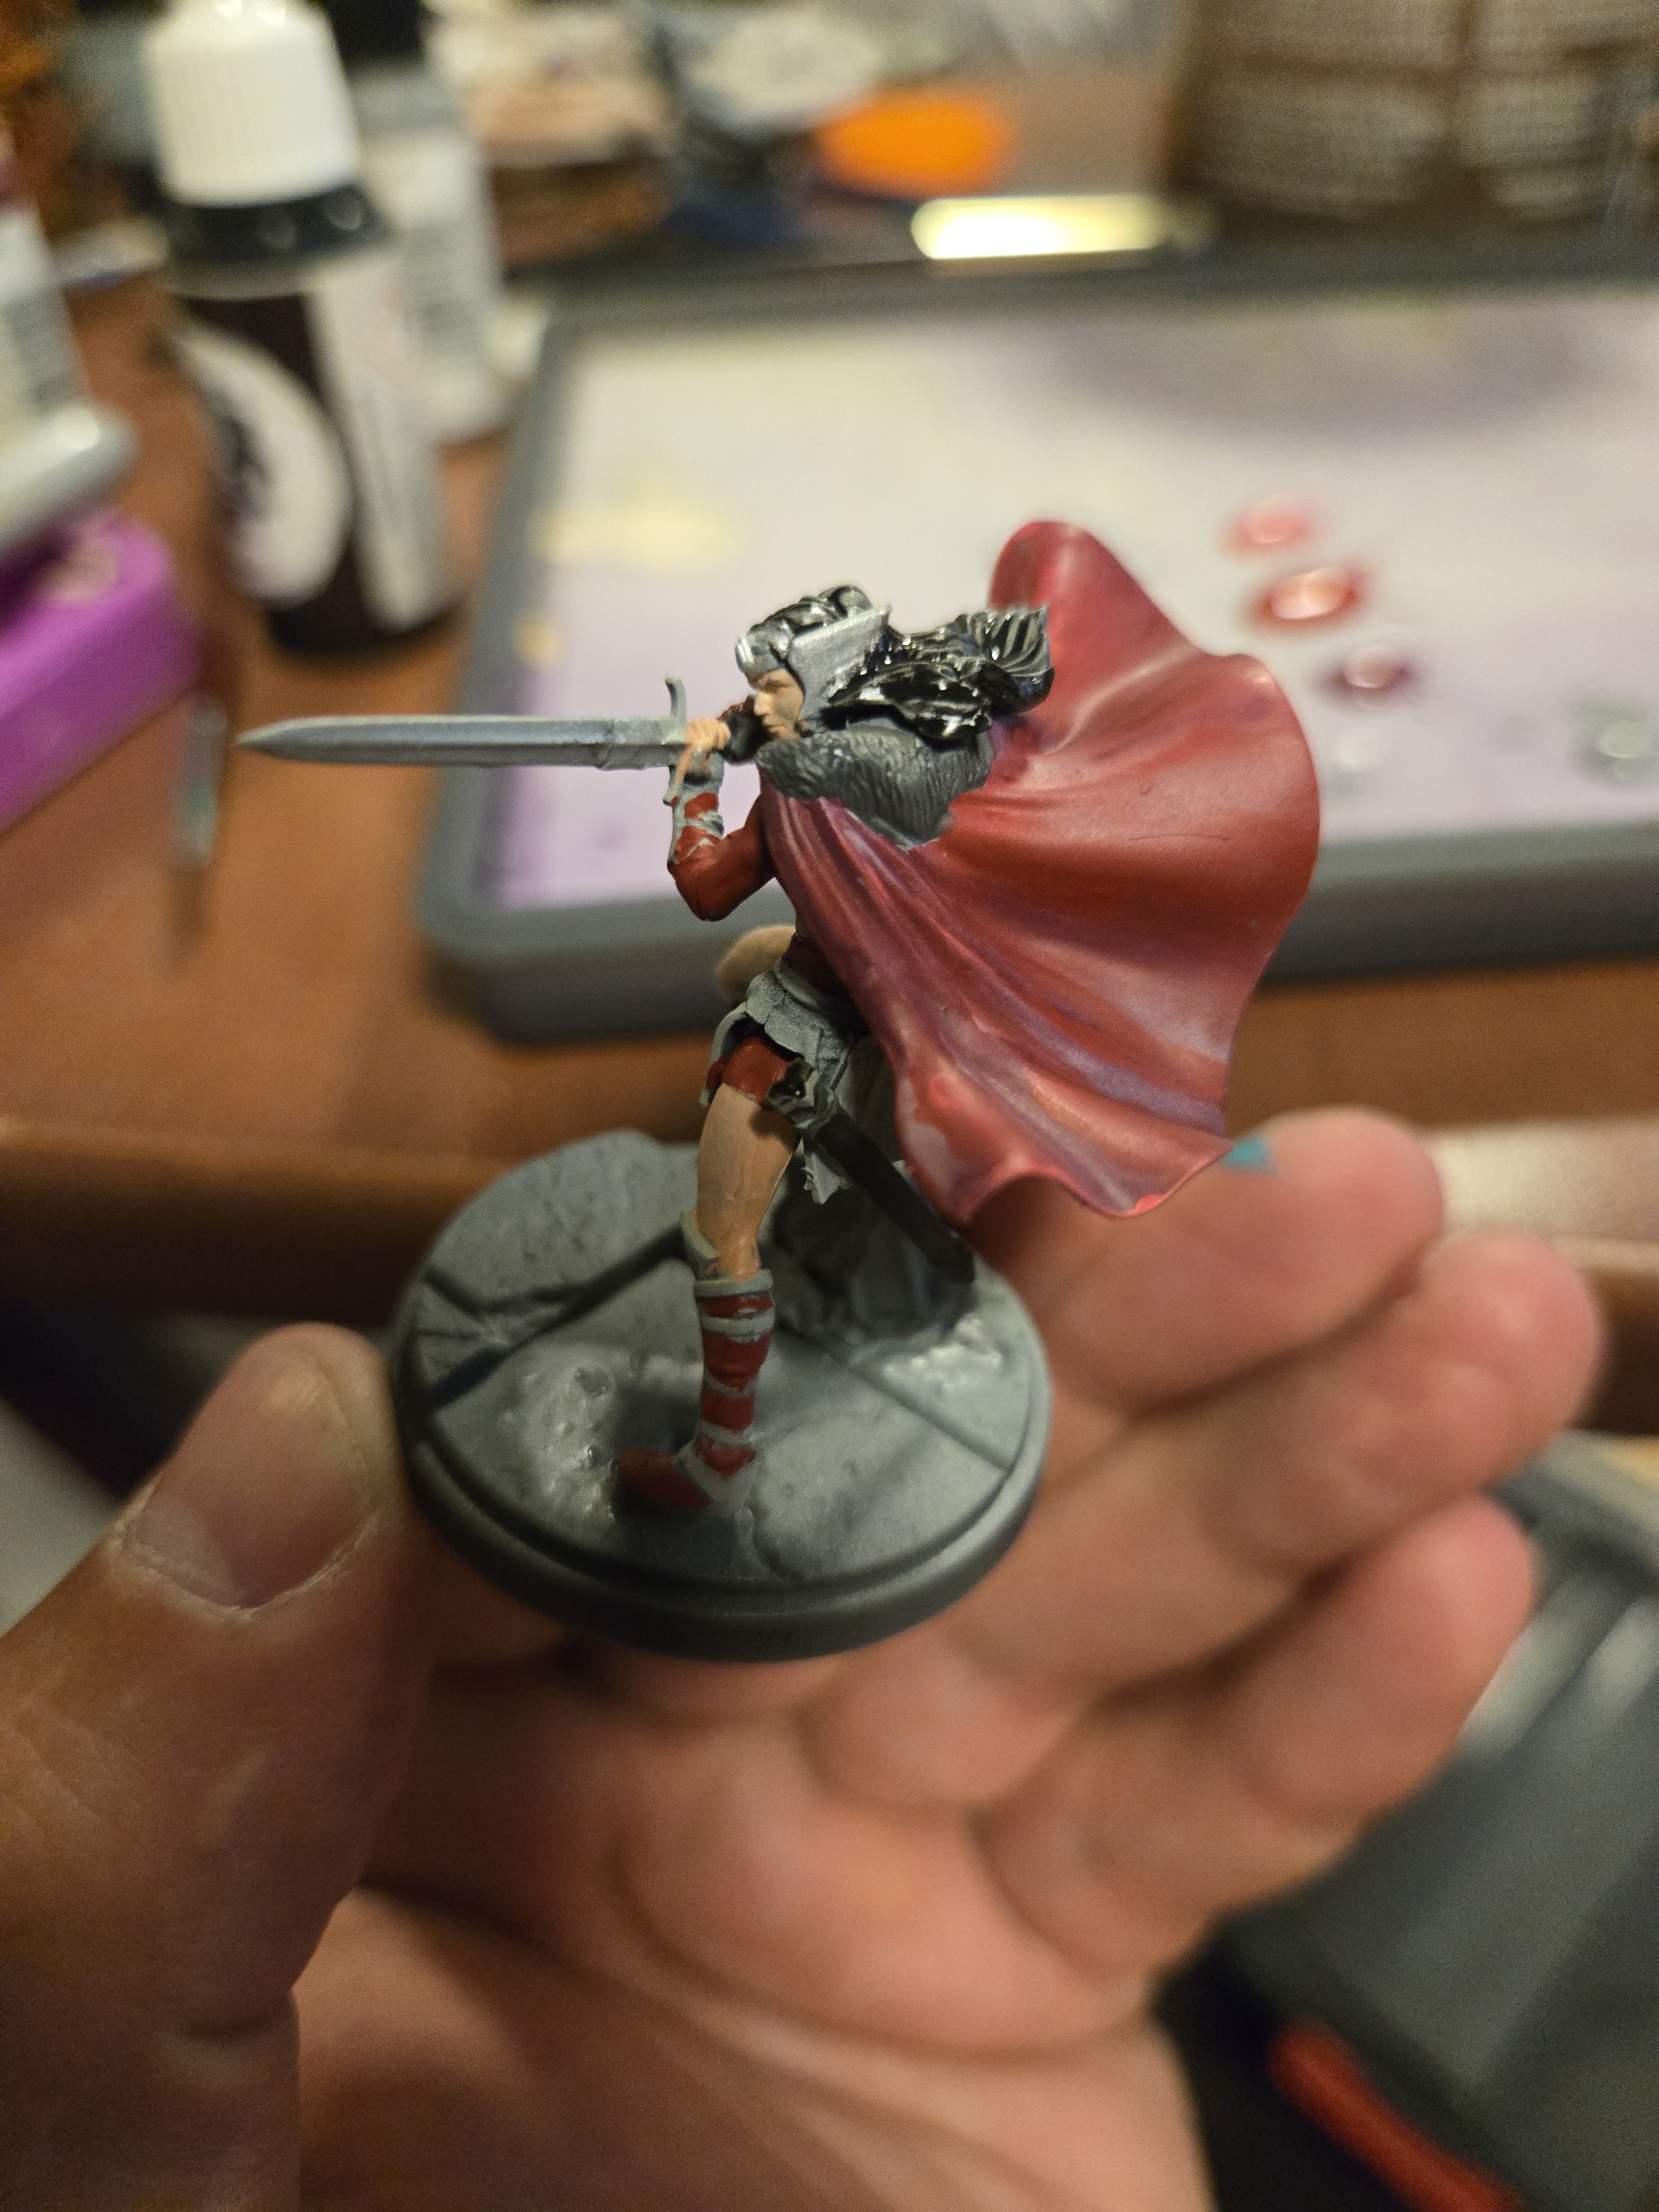
Marvel Crisis Protocol Lady Sif. Thinned paints, just base coated. I struggled to wet-blend the cloak. I will say I am not a good wet blender.

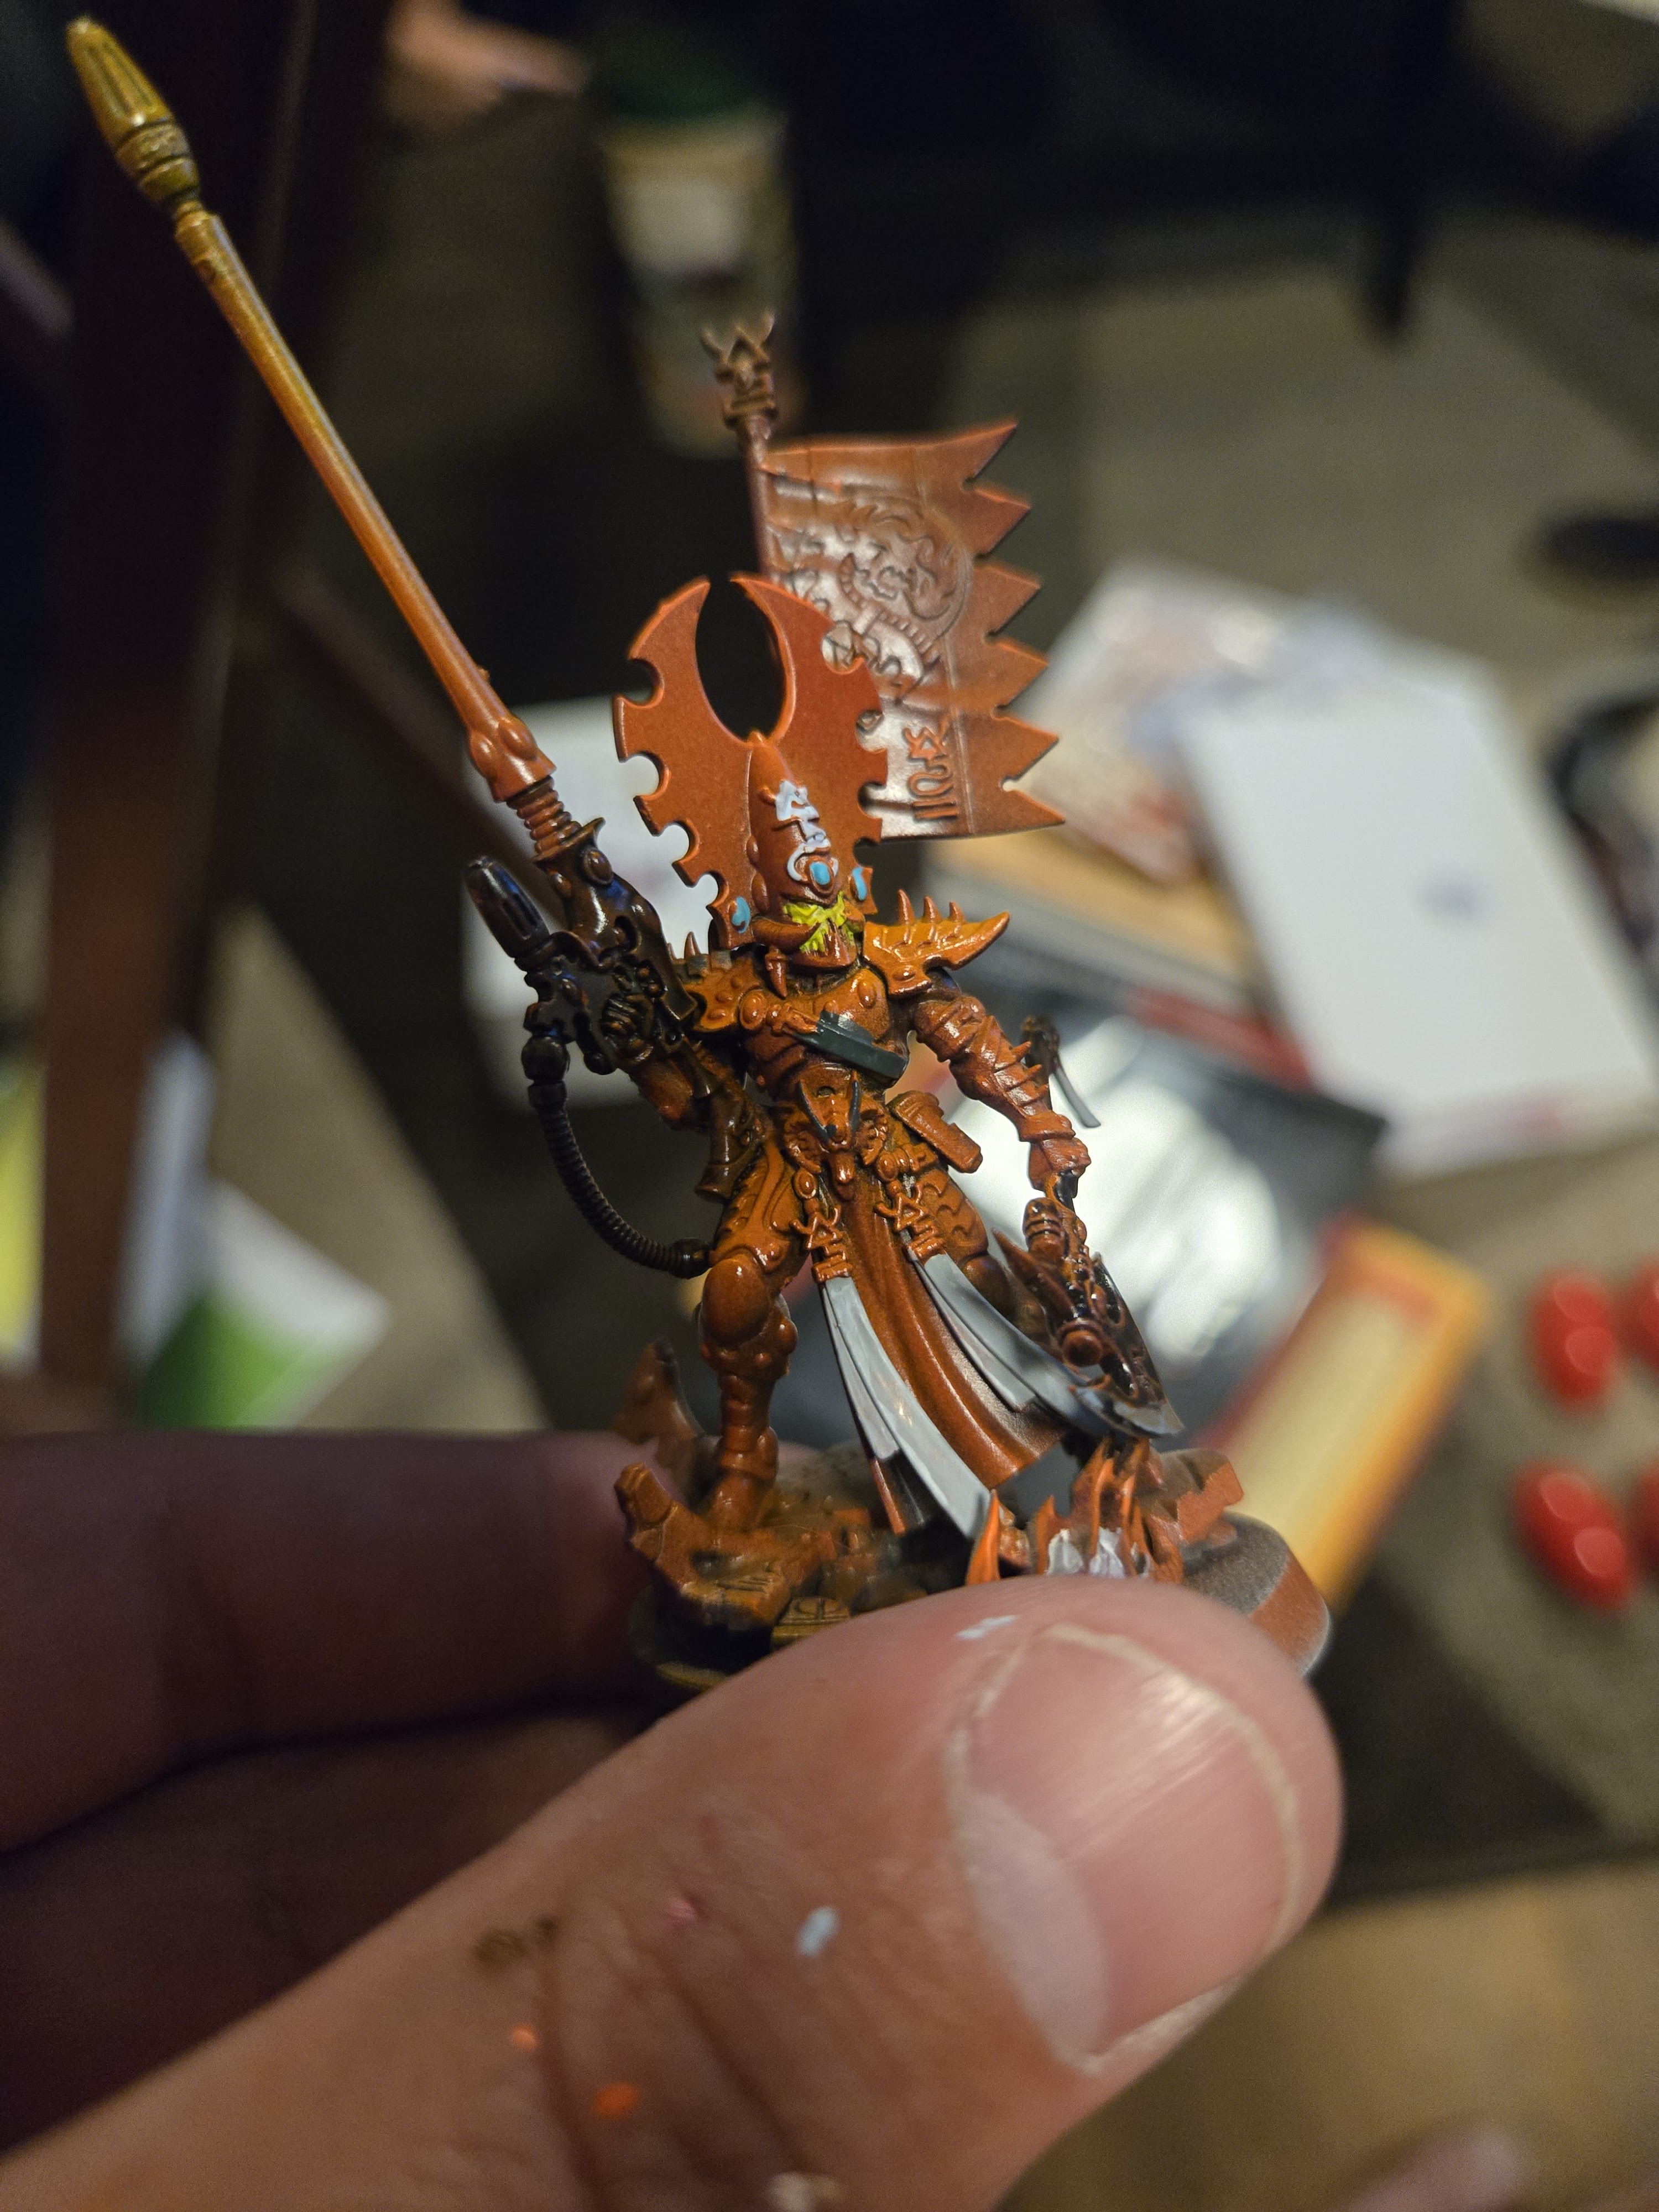
A zenithal primed phoenix guard captain.

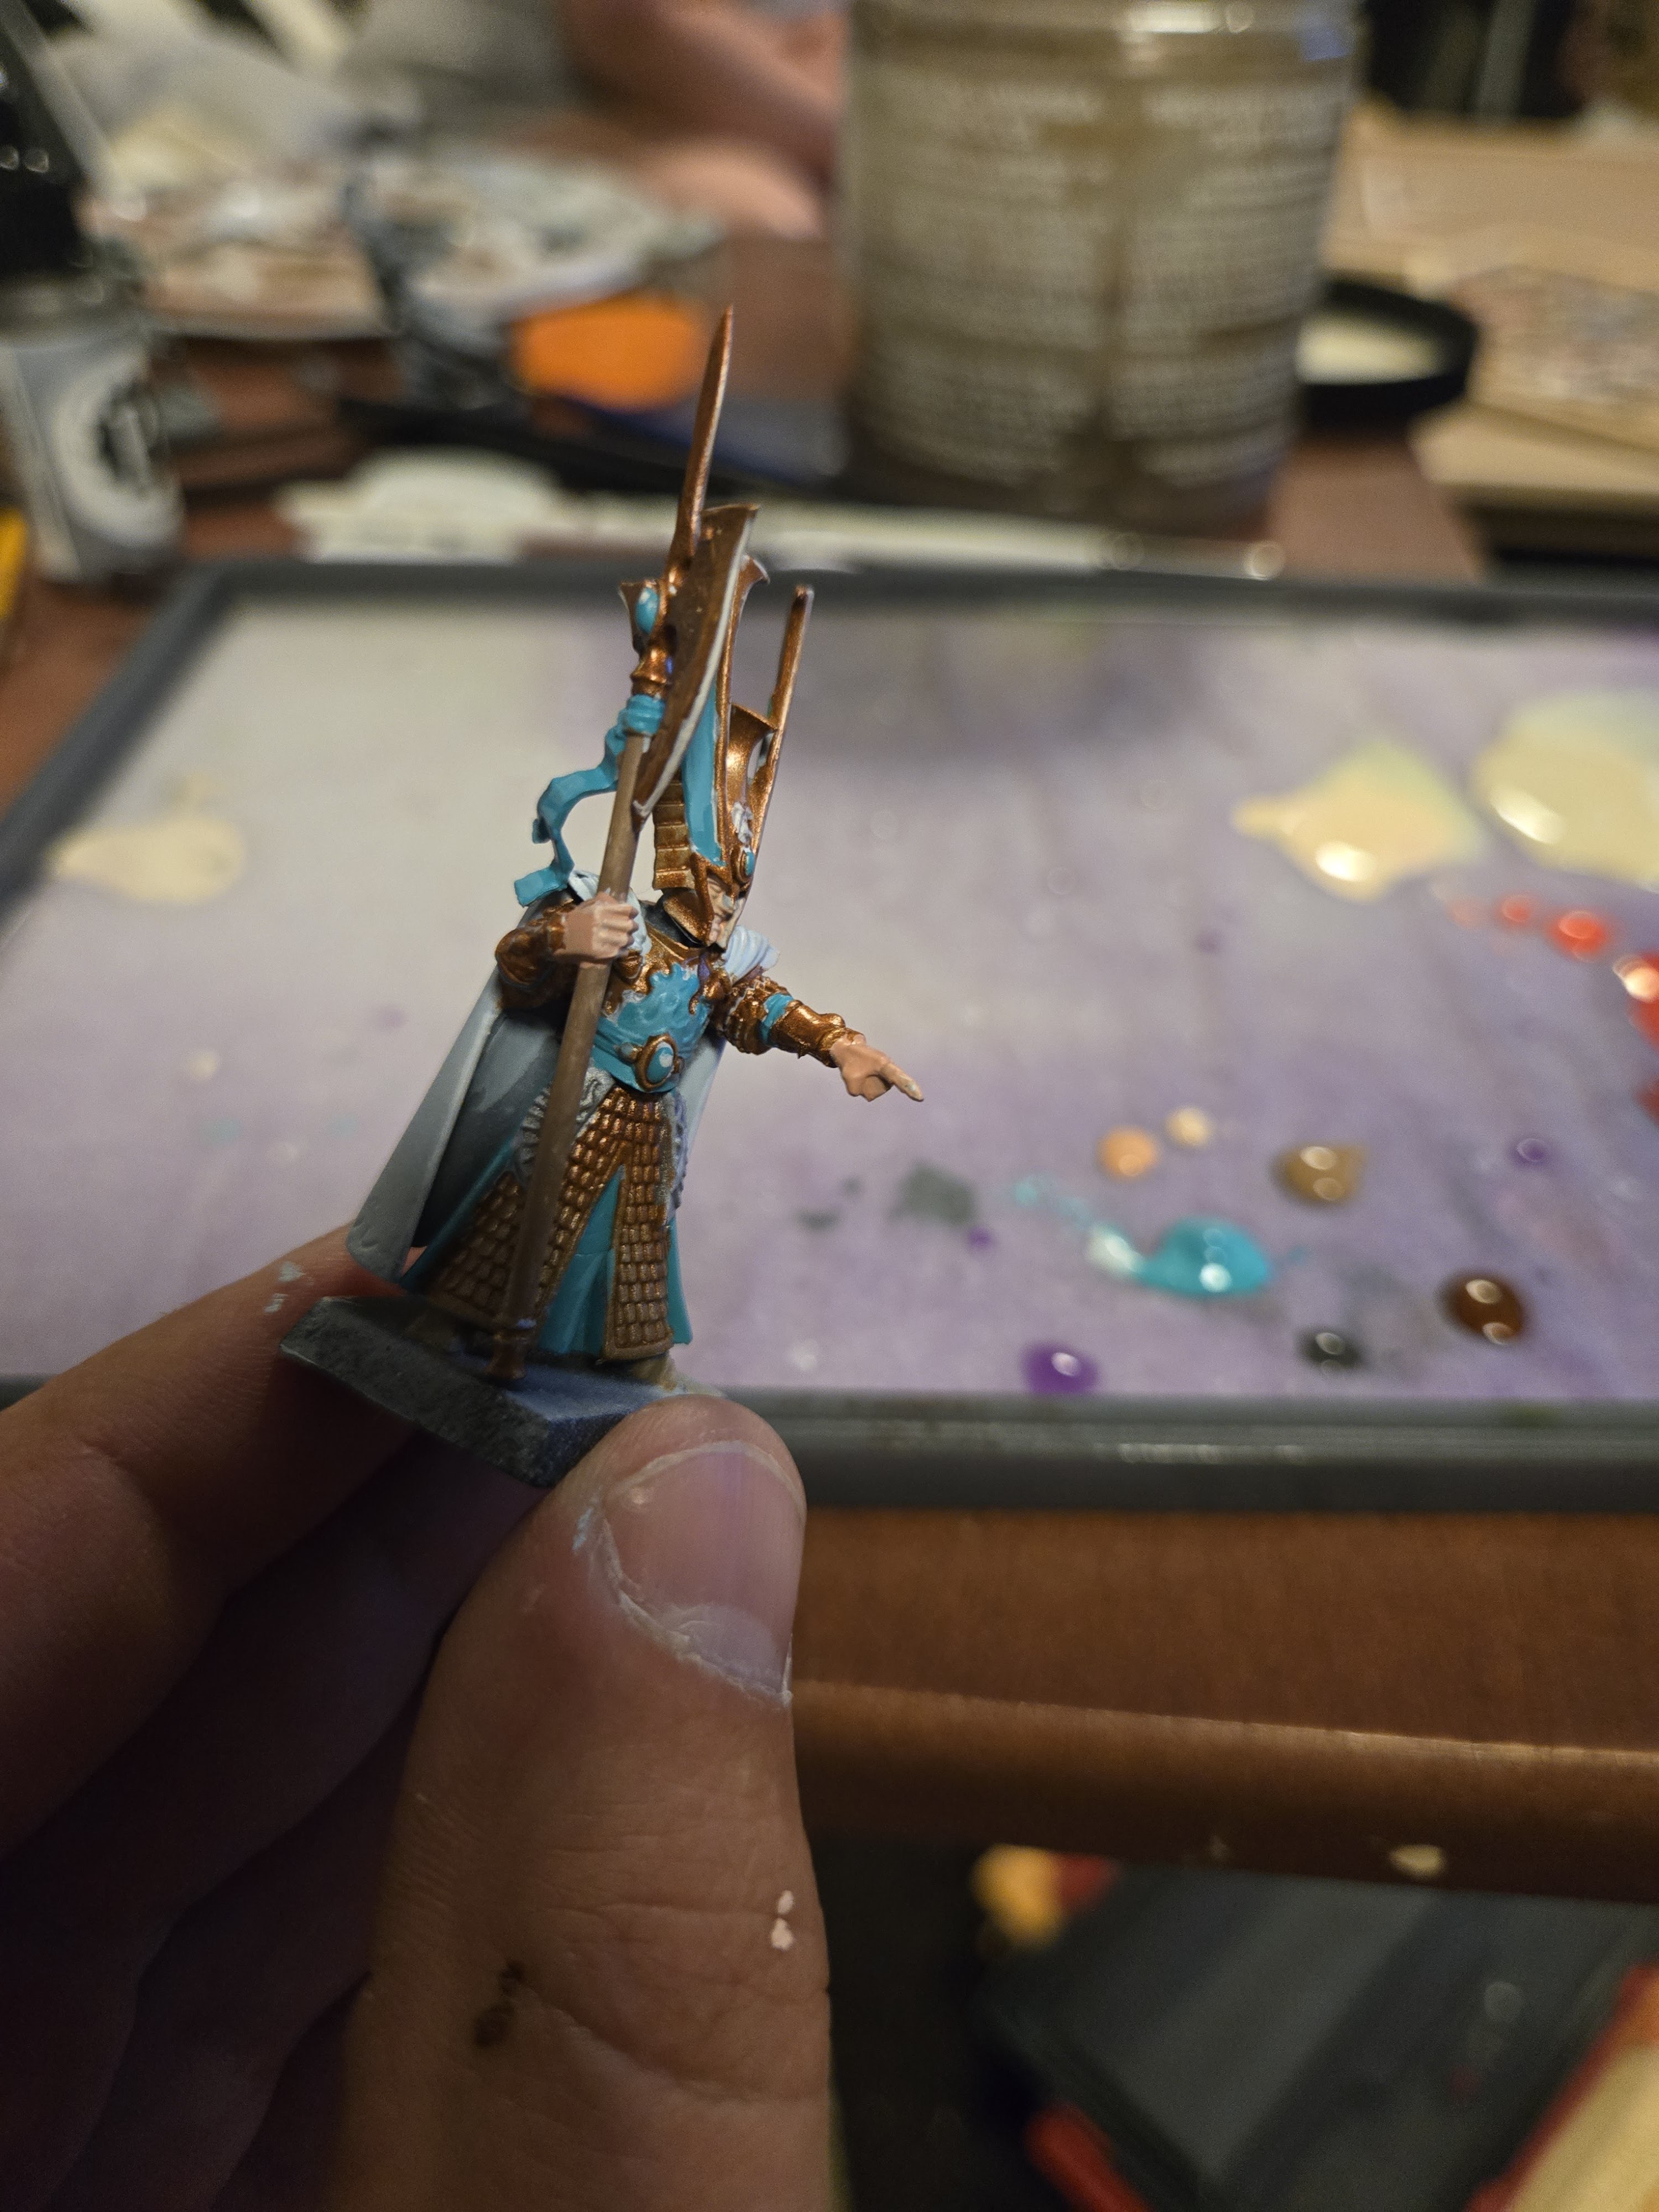
It is crazy how terrible a paint job can look zoomed in. At 3′ distance, I was happy with this model. The paints at times flowed too well, notably the flesh color around the hands. The metallic bronze and the blue did not flow nearly as well. You can clearly see the unpainted areas of the model in the zoomed-in photo.

My last test was a fully airbrushed Incredible Hulk for Marvel Crisis Protocol.

When properly thinned and mixed with an airbrush flow improver, the paints performed better than expected. In fact, I think they performed better than Citadel paints. They gave a nice, even flow with minimal pixelation. The pigments covered nicely; overall, they created a nice model with sound effects.

You can clearly see the folds in the trousers and many details. Again, this model was fully airbrushed. I only used a brush for the eyes and the nails.

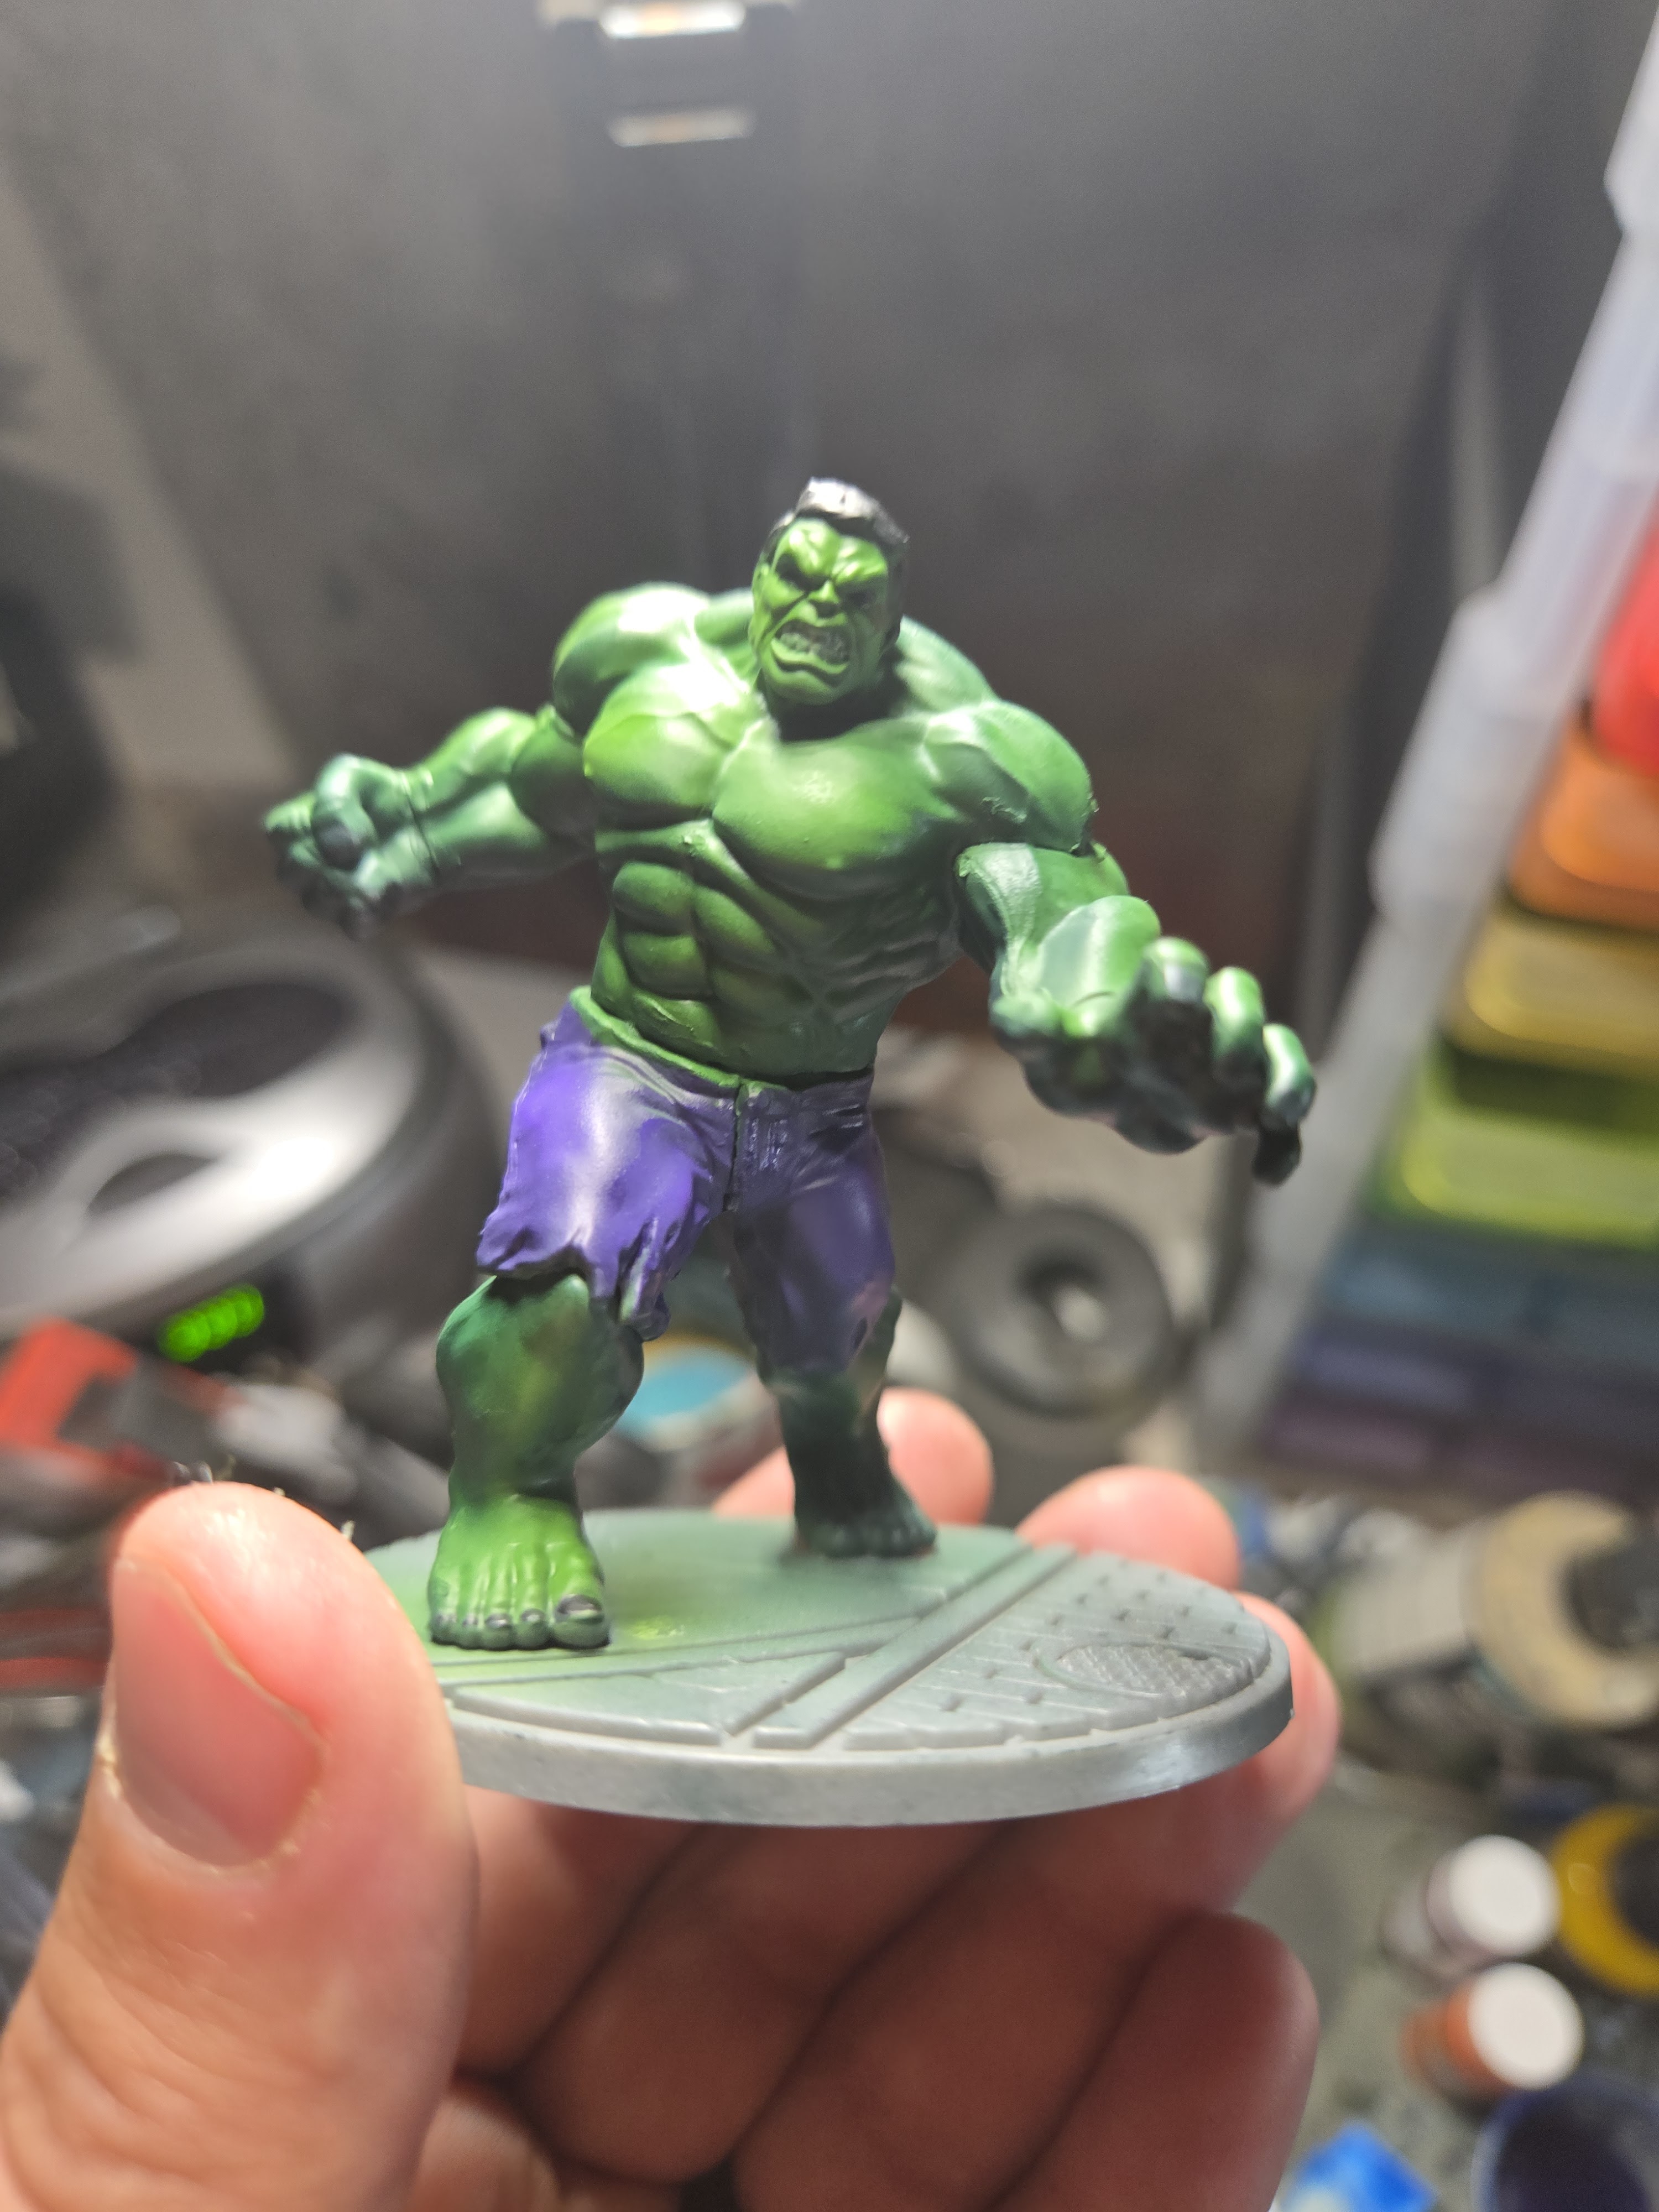
There are clearly defined shadows and highlights. My lines weren’t super clean. Again, I’m happy with how the paints were done with the airbrush. You can also see that there isn’t any spidering or splatter.

P3 Paints Master Set Acrylic Paints 100 Set Box Opening

The other day, I received a new set of paints from P3. I backed the Early Bird Kickstarter campaign, and purchasing the complete set cost me 256 BPD with shipping.

Conclusion

The P3 Master set is a decent paint set. It has an okay mix of colors. I think it’s a little heavy on the browns and potentially missing two reds, two greens, and a blue or two. You will be missing some items you would expect from Army Painter or Vallejo, where a brush, washes, thinner, primer, and paint mediums are often included with the set.

As I wrote this, I have not tested any of the paints, nor have I ever used P3 paints in the past. Based on reputation, they were the top paints on the market other than Coat d’ Arms. However, with Army Painter and Duncan Rhodes upping the game for paint quality, we will see if P3 can pass the test.

This set cost me 256 BPD, or $347 with shipping. The Army Painter Fanatic Wargamers costs about $300, and a Vallejo set with 76 paints costs $255, so this set is a little expensive. The Reaper set costs $154 and has 52 paints. It is cheaper than Dunca Rhodes Line, which costs $225 for 60 paints.

The Opening

I wanted to do a box opening of the Master Set. The box was a good value, but I haven’t tried the paints yet. That will take me a couple of weeks. I’d like to paint 10 or 12 models to see how they hold up and compare to other familiar brands like Vallejo, Duncan Rhodes, and Citadel.
There was one higher level on Kickstarter, which came with 10 paints and a paint stand. I didn’t feel like it was worth another $75.

The box is very colourful, and the back clearly shows the paints and colours you will get. I like the organization of the color chart on the back. However, the box itself felt a little flimsy, and I wouldn’t recommend it as a long-term storage solution.

As is typical with paint sets like this, when I opened the box, the paints were no longer in their plastic organizers.

Nothing was damaged or spilled. The box also contained some stickers and a couple of handy charts for paint mixtures and correct layering, which has become typical with brands like Reaper, Duncan Rhodes, and Army Painter.

Each paint label was solidly applied, and you could easily see the tone of the paint through the bottle. The mixing balls weren’t obvious except with some vigorous shaking.

There is a nice variety of colors in the box. However, there were no mixers, such as medium or thinner, primers, or shade paints. Those items are a bit of a miss and are expected in most paint sets I have purchased.

The box contained 12 metallics, 14 oranges and reds, 11 flesh tones, 6 violets, 12 Greens, 14 greys and whites, 12 blues, and a whopping 19 browns, for a total of 100 paints.

Bonereapers Painting Project

My local gaming store wanted us to do an Age of Sigmar league. One of my goals for the year was to get more Sigmar models on the table and painted. This was a prime opportunity to move on from some of my pile of shame. Many of my armies have 500-1000 points; some even have 2k points. The Bonereapers were 100% grey.

This project has been fun to work on. I plan to bring a different 2k list for each round. Just to give me more opportunity to fill out the model selection.

All models started with a prime of Vallejo Primer German Red Brown. I then zenithaled with a desert tan.

I am happy so far. I wanted to follow Kenny Bouche and take it up to 11 with the airbrush. After one batch of Deathriders, I decided that the bone didn’t pop enough. So, I took all the bone I could and mixed half desert tan and half white to brighten the effect. After that, I just applied a dab of white ink to most of the models from directly above.

You can see a little difference here where I hit the models with the white vs. just leaving them desert tan.

Many of the models have cloth that hangs off the saddle or dangles between their legs. I wanted a contrasting color but didn’t want to spend much time on it, so I used contrast paint Aeldari Emerald with a dry brush of Talisman Green.

Between the bones, I just dabbed a bit of Citadel Nihil Oxide. It’s the same color on my night haunt, and I appreciated the spooky effect.

I wanted to take my time on the purple. I haven’t ever enjoyed layering or edge highlighting and these seemed like lovely models to try it on. All purple used the Two Thin Coats. Shadow Von Evil Purple, mid-tones were Emperors Purple and edged using Spectral Purple. The colors gave a nice metallic finish.

For basing I wanted the models to look like they were running through a meadow.

Simple mud texture paste, some flowers and cork rocks and flocked with a strong green grass. The only model I didn’t do this for was Nagash. I took a circle around his model and used a dead flock, and then on the edges of the circle, it was green.

Very happy with Katakros.

This image shows the difference the white highlight made on the bones. Look at the cavalry at the top right.

On the crawlers, I actually washed the skeletons that were manning the catapult just to give them an obviously different color, and help them stand out.

The endless spells were 100% airbrushed. Not sure of the recipe, but absolutely love how they turned out.

Terrain Progress Bridge Over the River Don

My terrain has always been an Achilles’ heel. I can get an army on the tabletop, no problem. The idea of taking 2 hours to airbrush and detail a building is daunting.

My first campaign battle is mostly taken care of for terrain. In fact, I have literally 2 pieces of terrain to make. The field is 6×4 with a river running 2′ from one of the short edges. On the small side of the river, there is a village with about 10 buildings. On the long side, there are some hills. A large bridge over the river.

I will use my Kallistra Hexes as the base of the 6×4 table. The simple grass flock. Easily my most used piece of terrain, and I highly recommend it. I will also use their hill pieces on the long side of the field. Kallistra makes several styles, and I will review my collection to decide what is best.

For the village, I will use several of my buildings. I have a few fully painted MDF, some Dwarven Forge, and I will probably paint a 3D-printed church. I also have some 3D-printed hedges and walls that will take no time at all to paint and some neoprene roads.

My crafting is going to be the river and bridge. Both items come from tabletopworld and are absolutely stunning. I have already painted, drybrushed and detailed the bridge. There is a small house attached to the bridge that I need to paint as well. I want to add some green algae effects to the bottom.

The river pieces themselves are slightly raised. They should fit really well into the Kallistra hexes. I want to paint the bottom. Add some river rocks, then fill them with a blue resin. This river will be used in 5 of the 22 campaign battles, and I want it to stand out. I have never worked with resin before. I purchased several large C-Clamps to hold wood against the edges. Wish me luck.