DBMM 500 Pts Rome vs Carthage

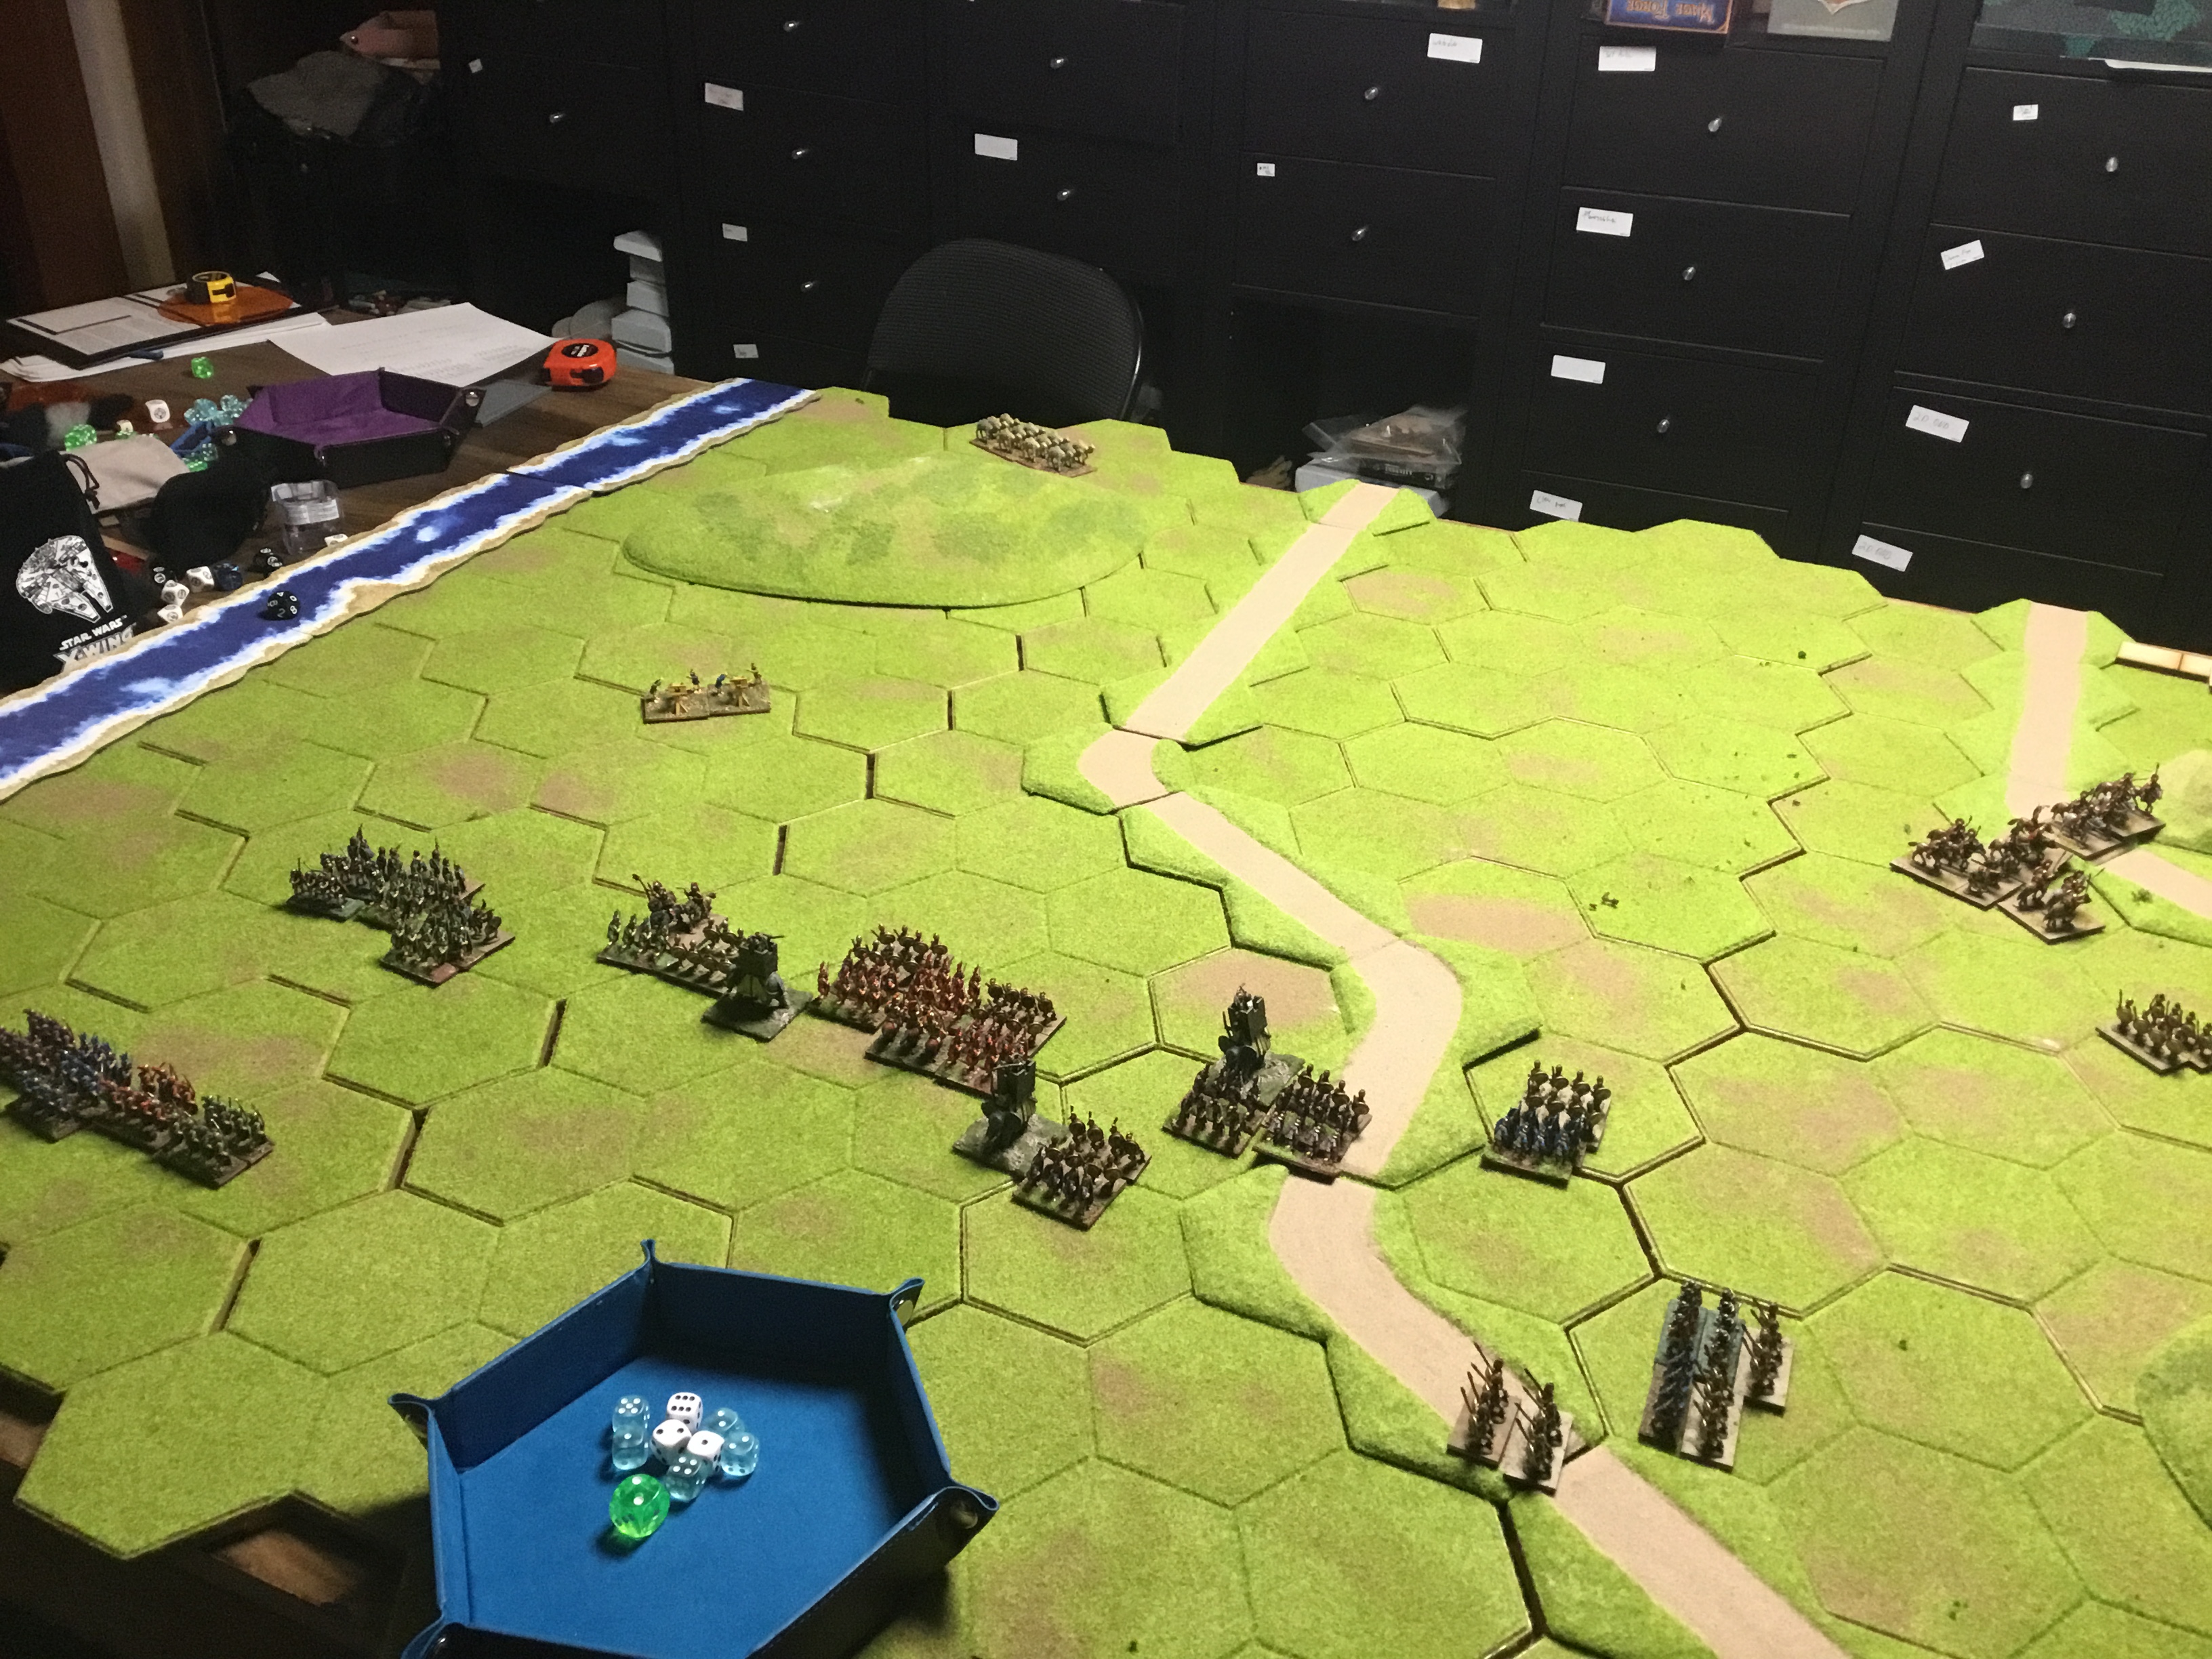
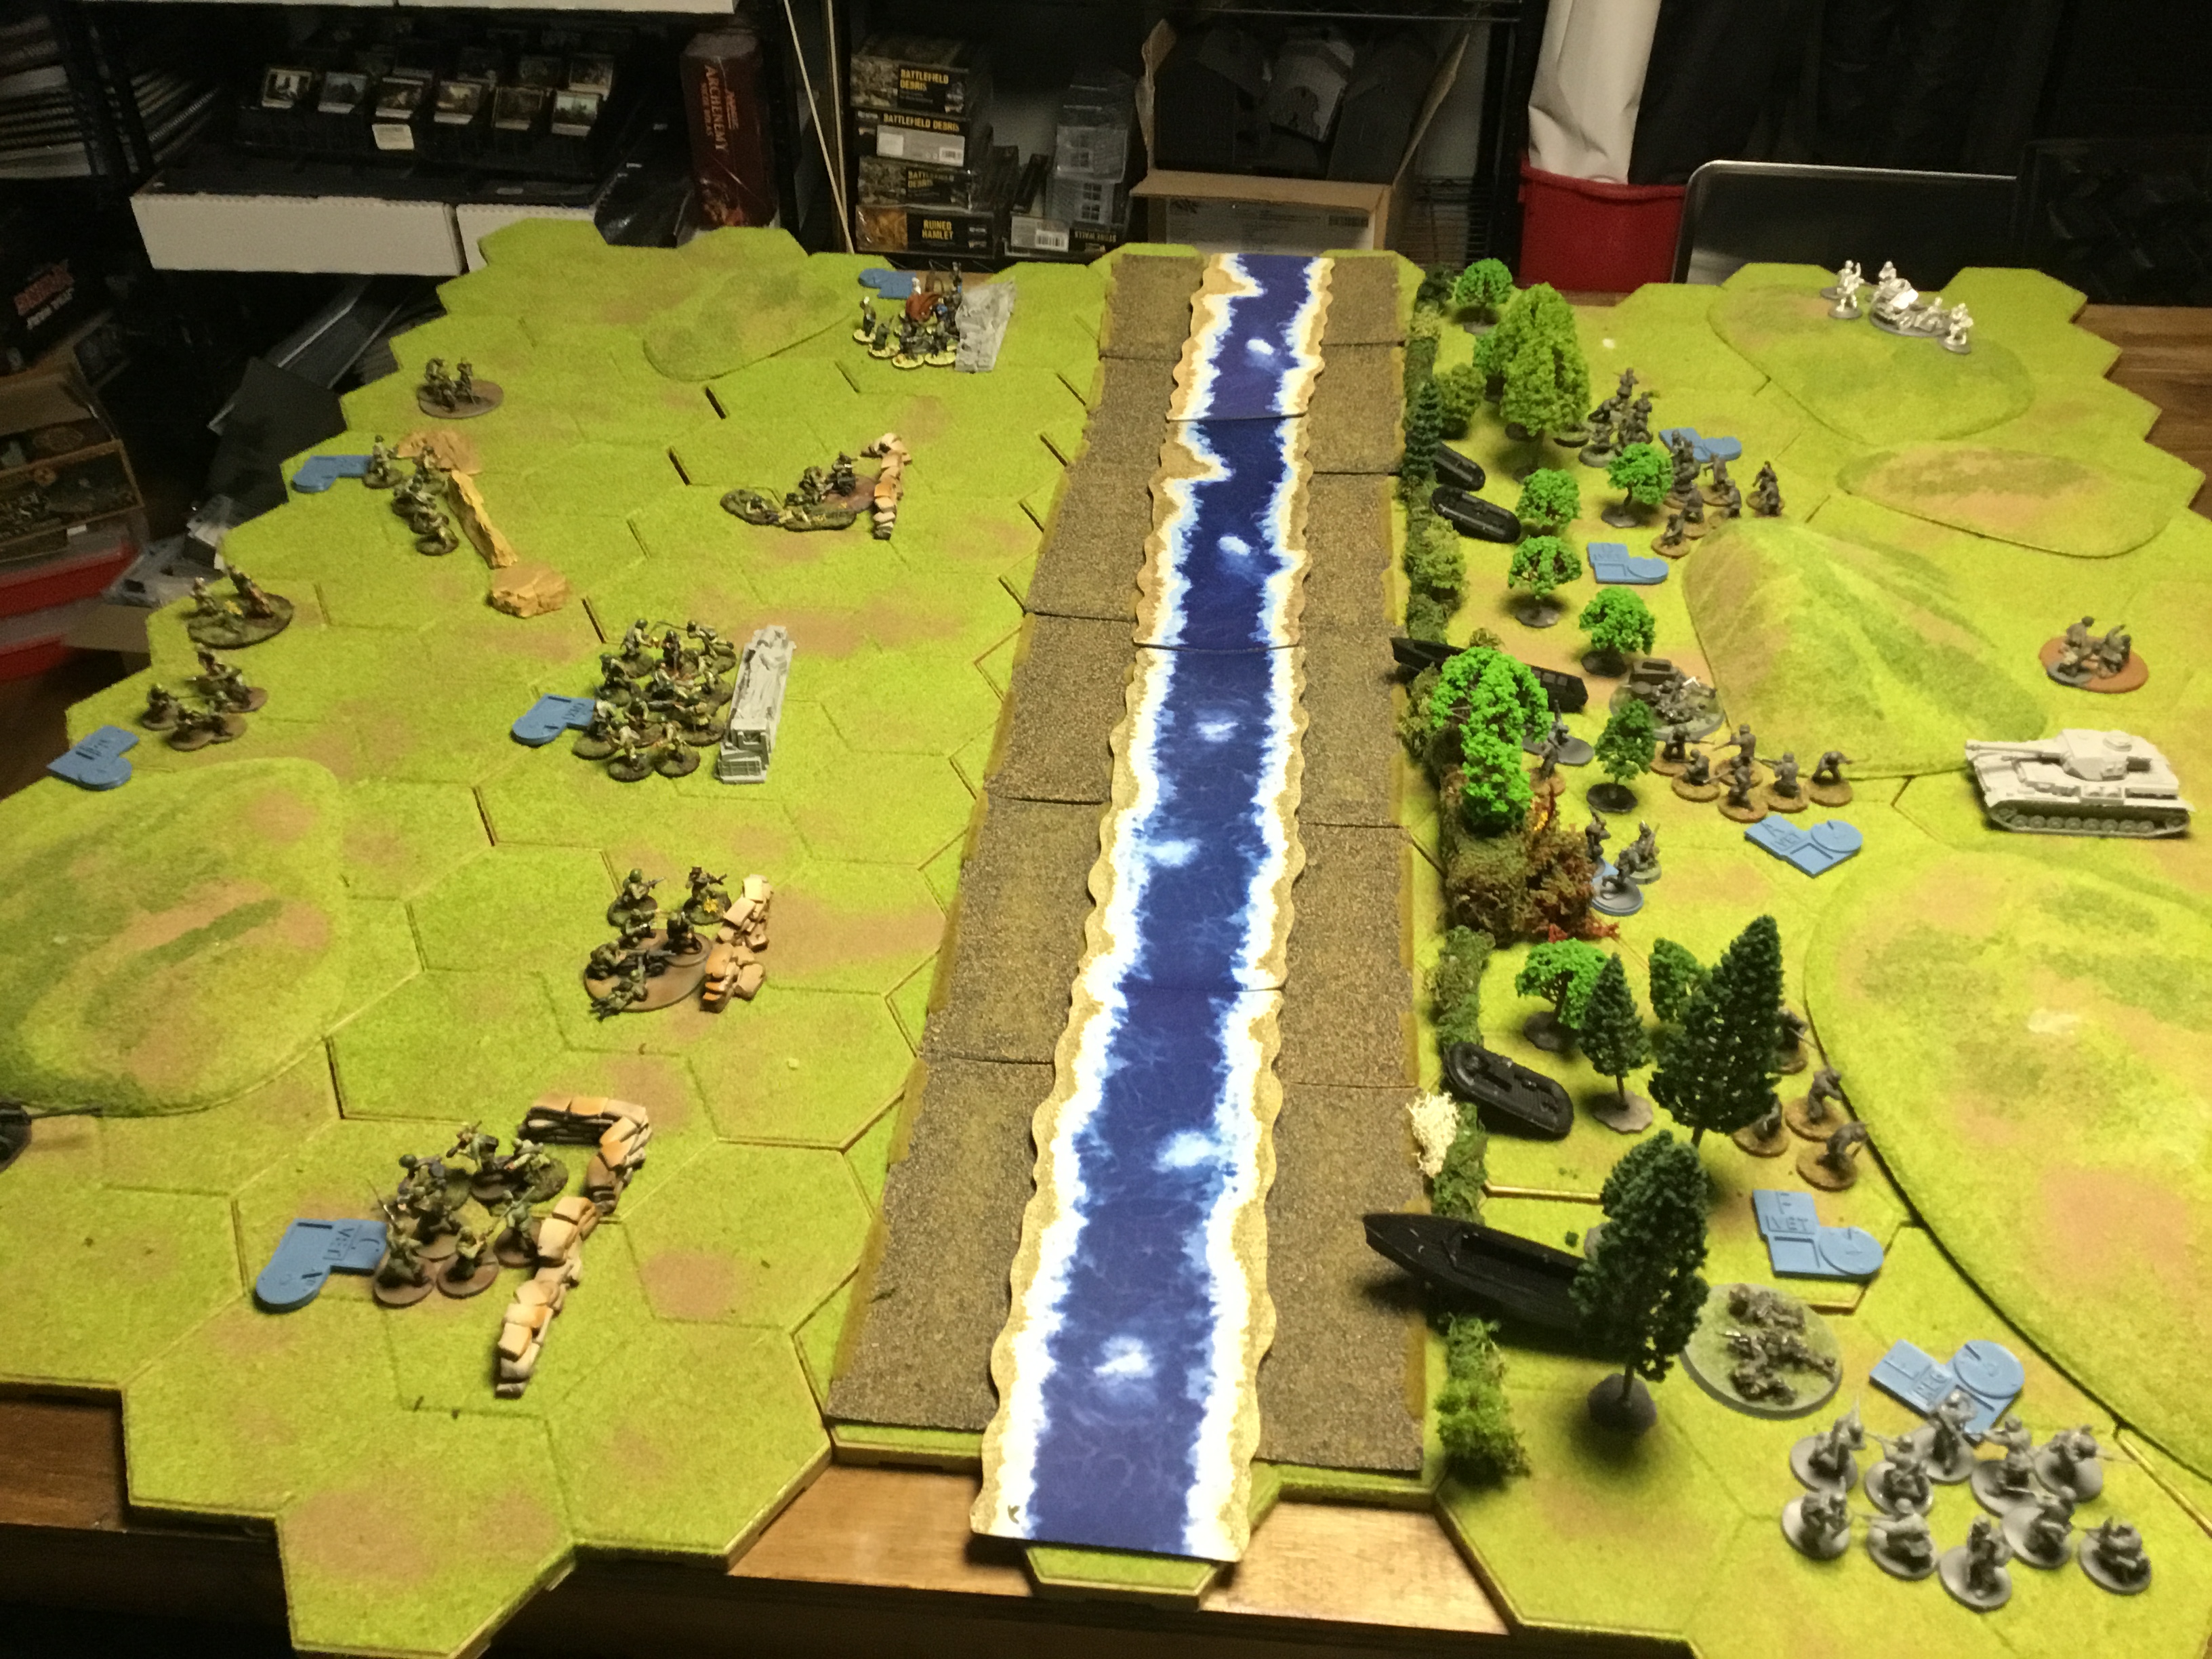
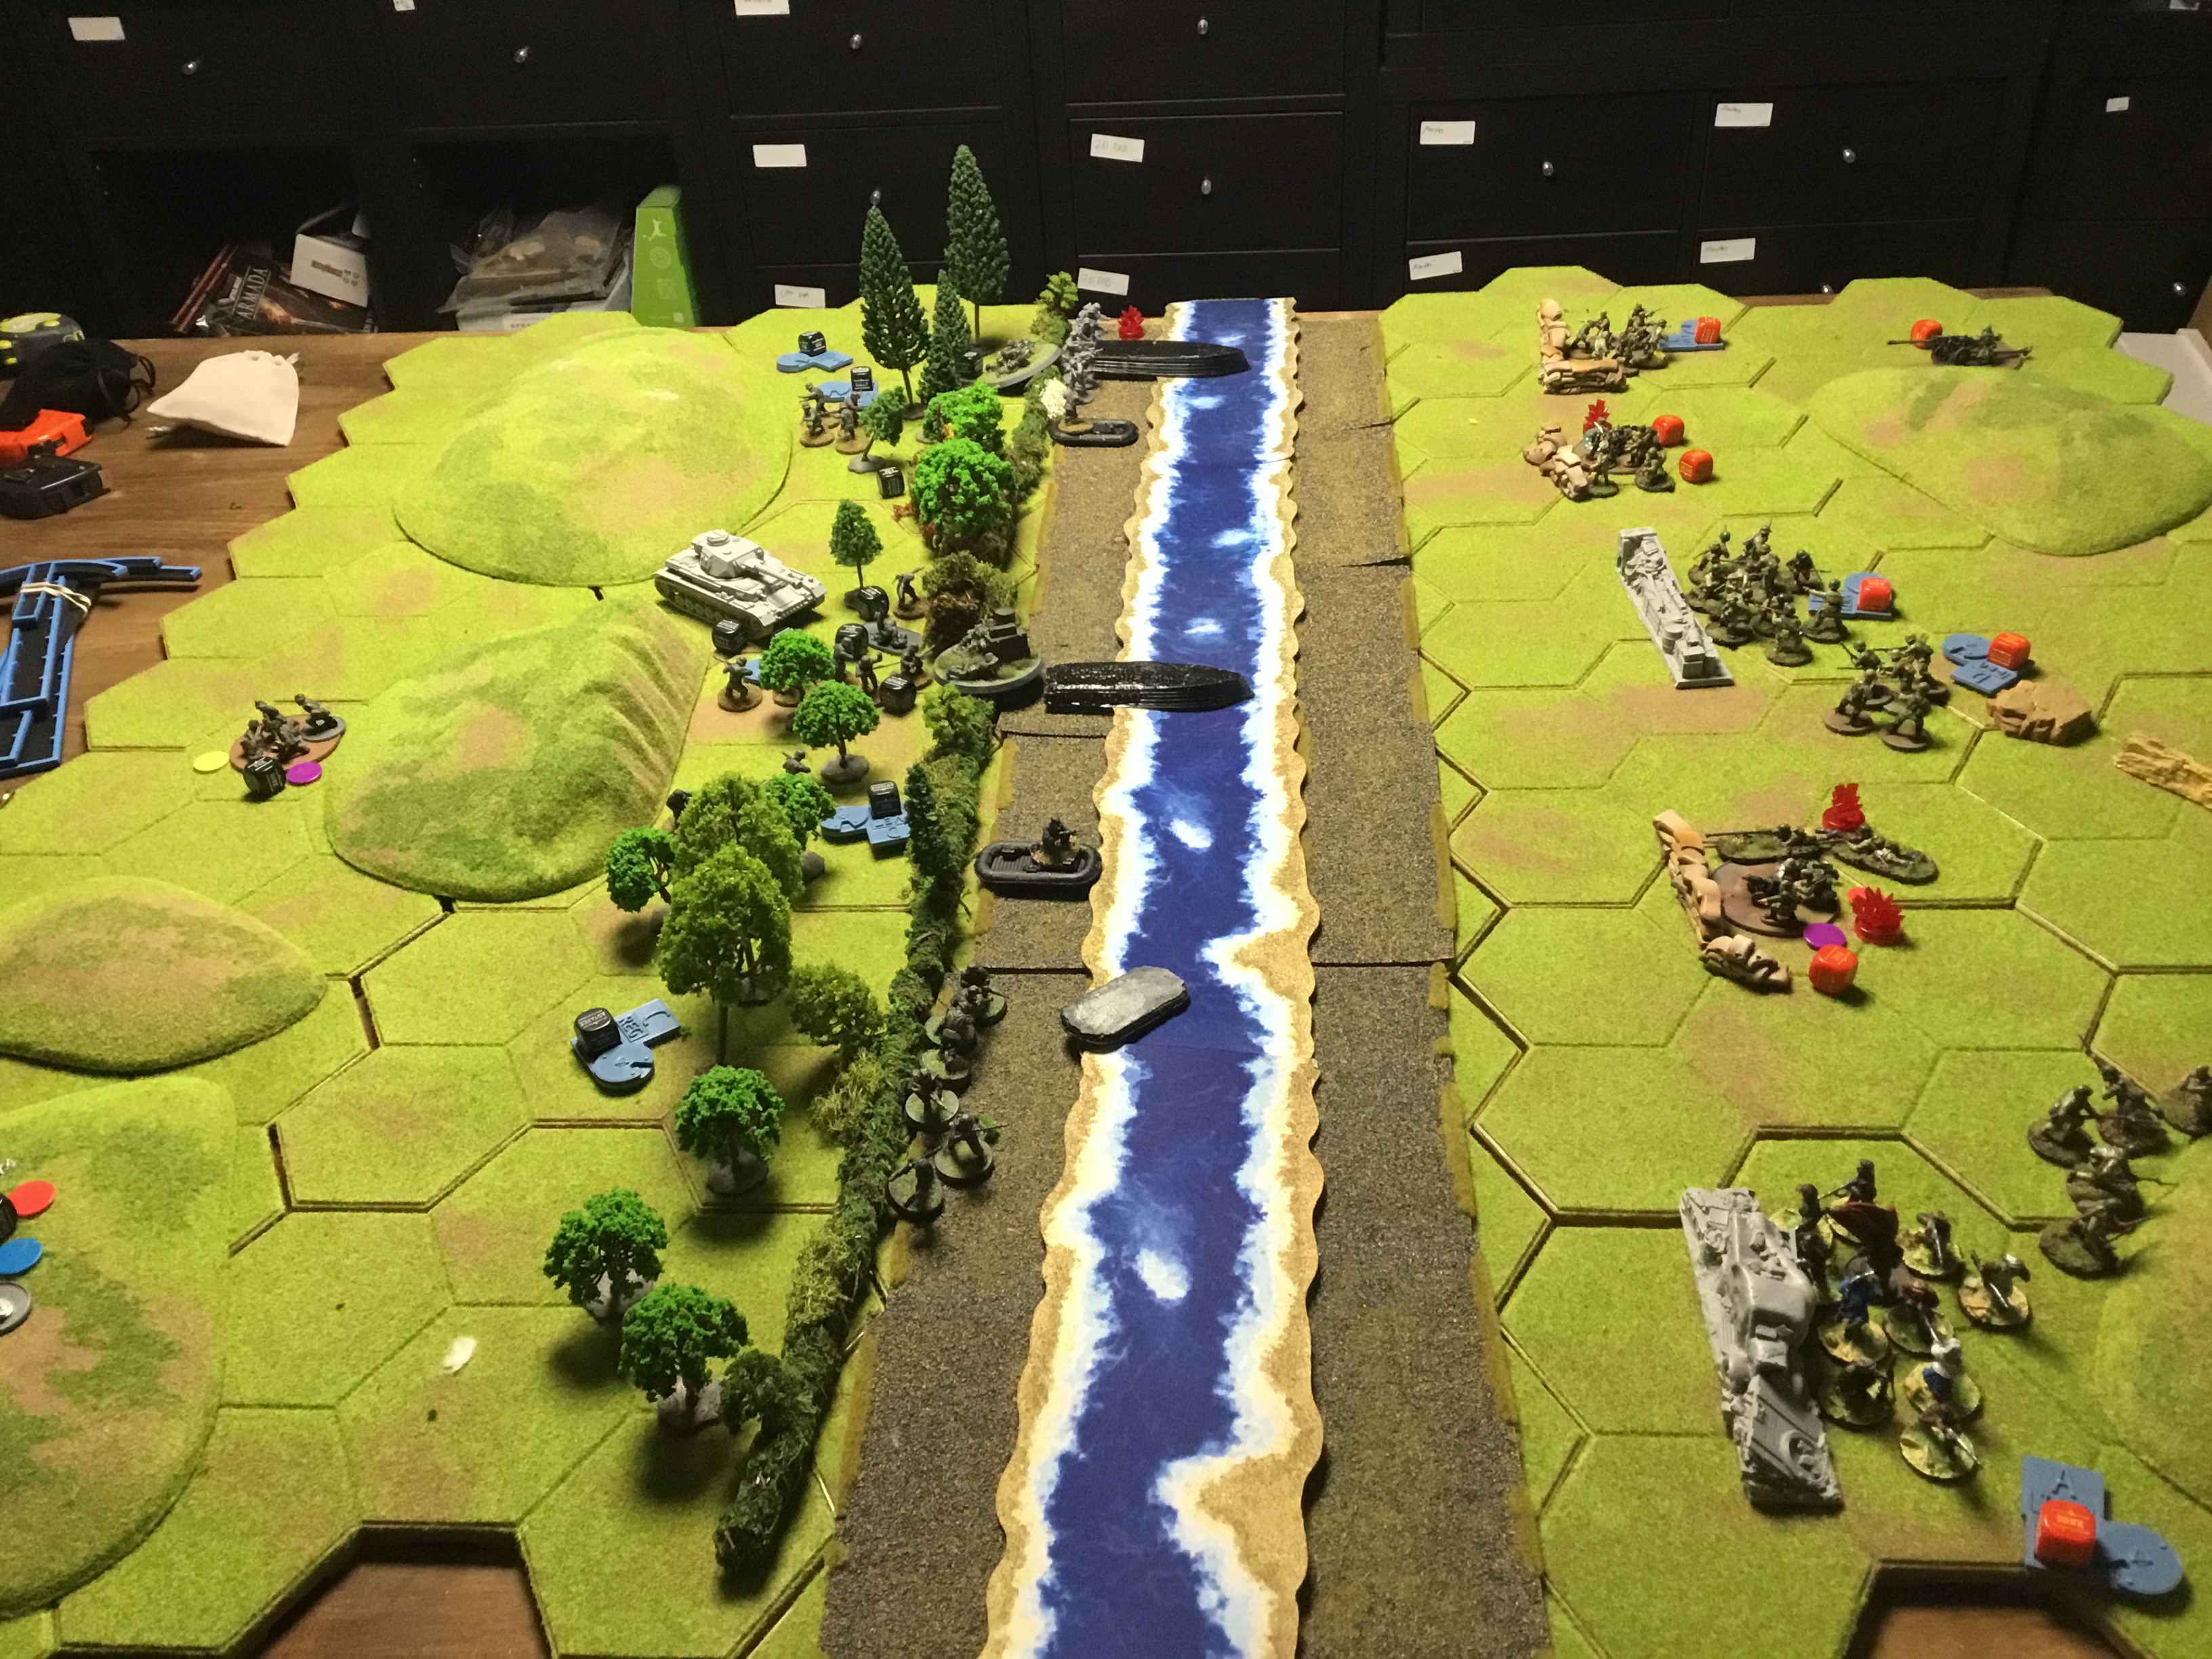
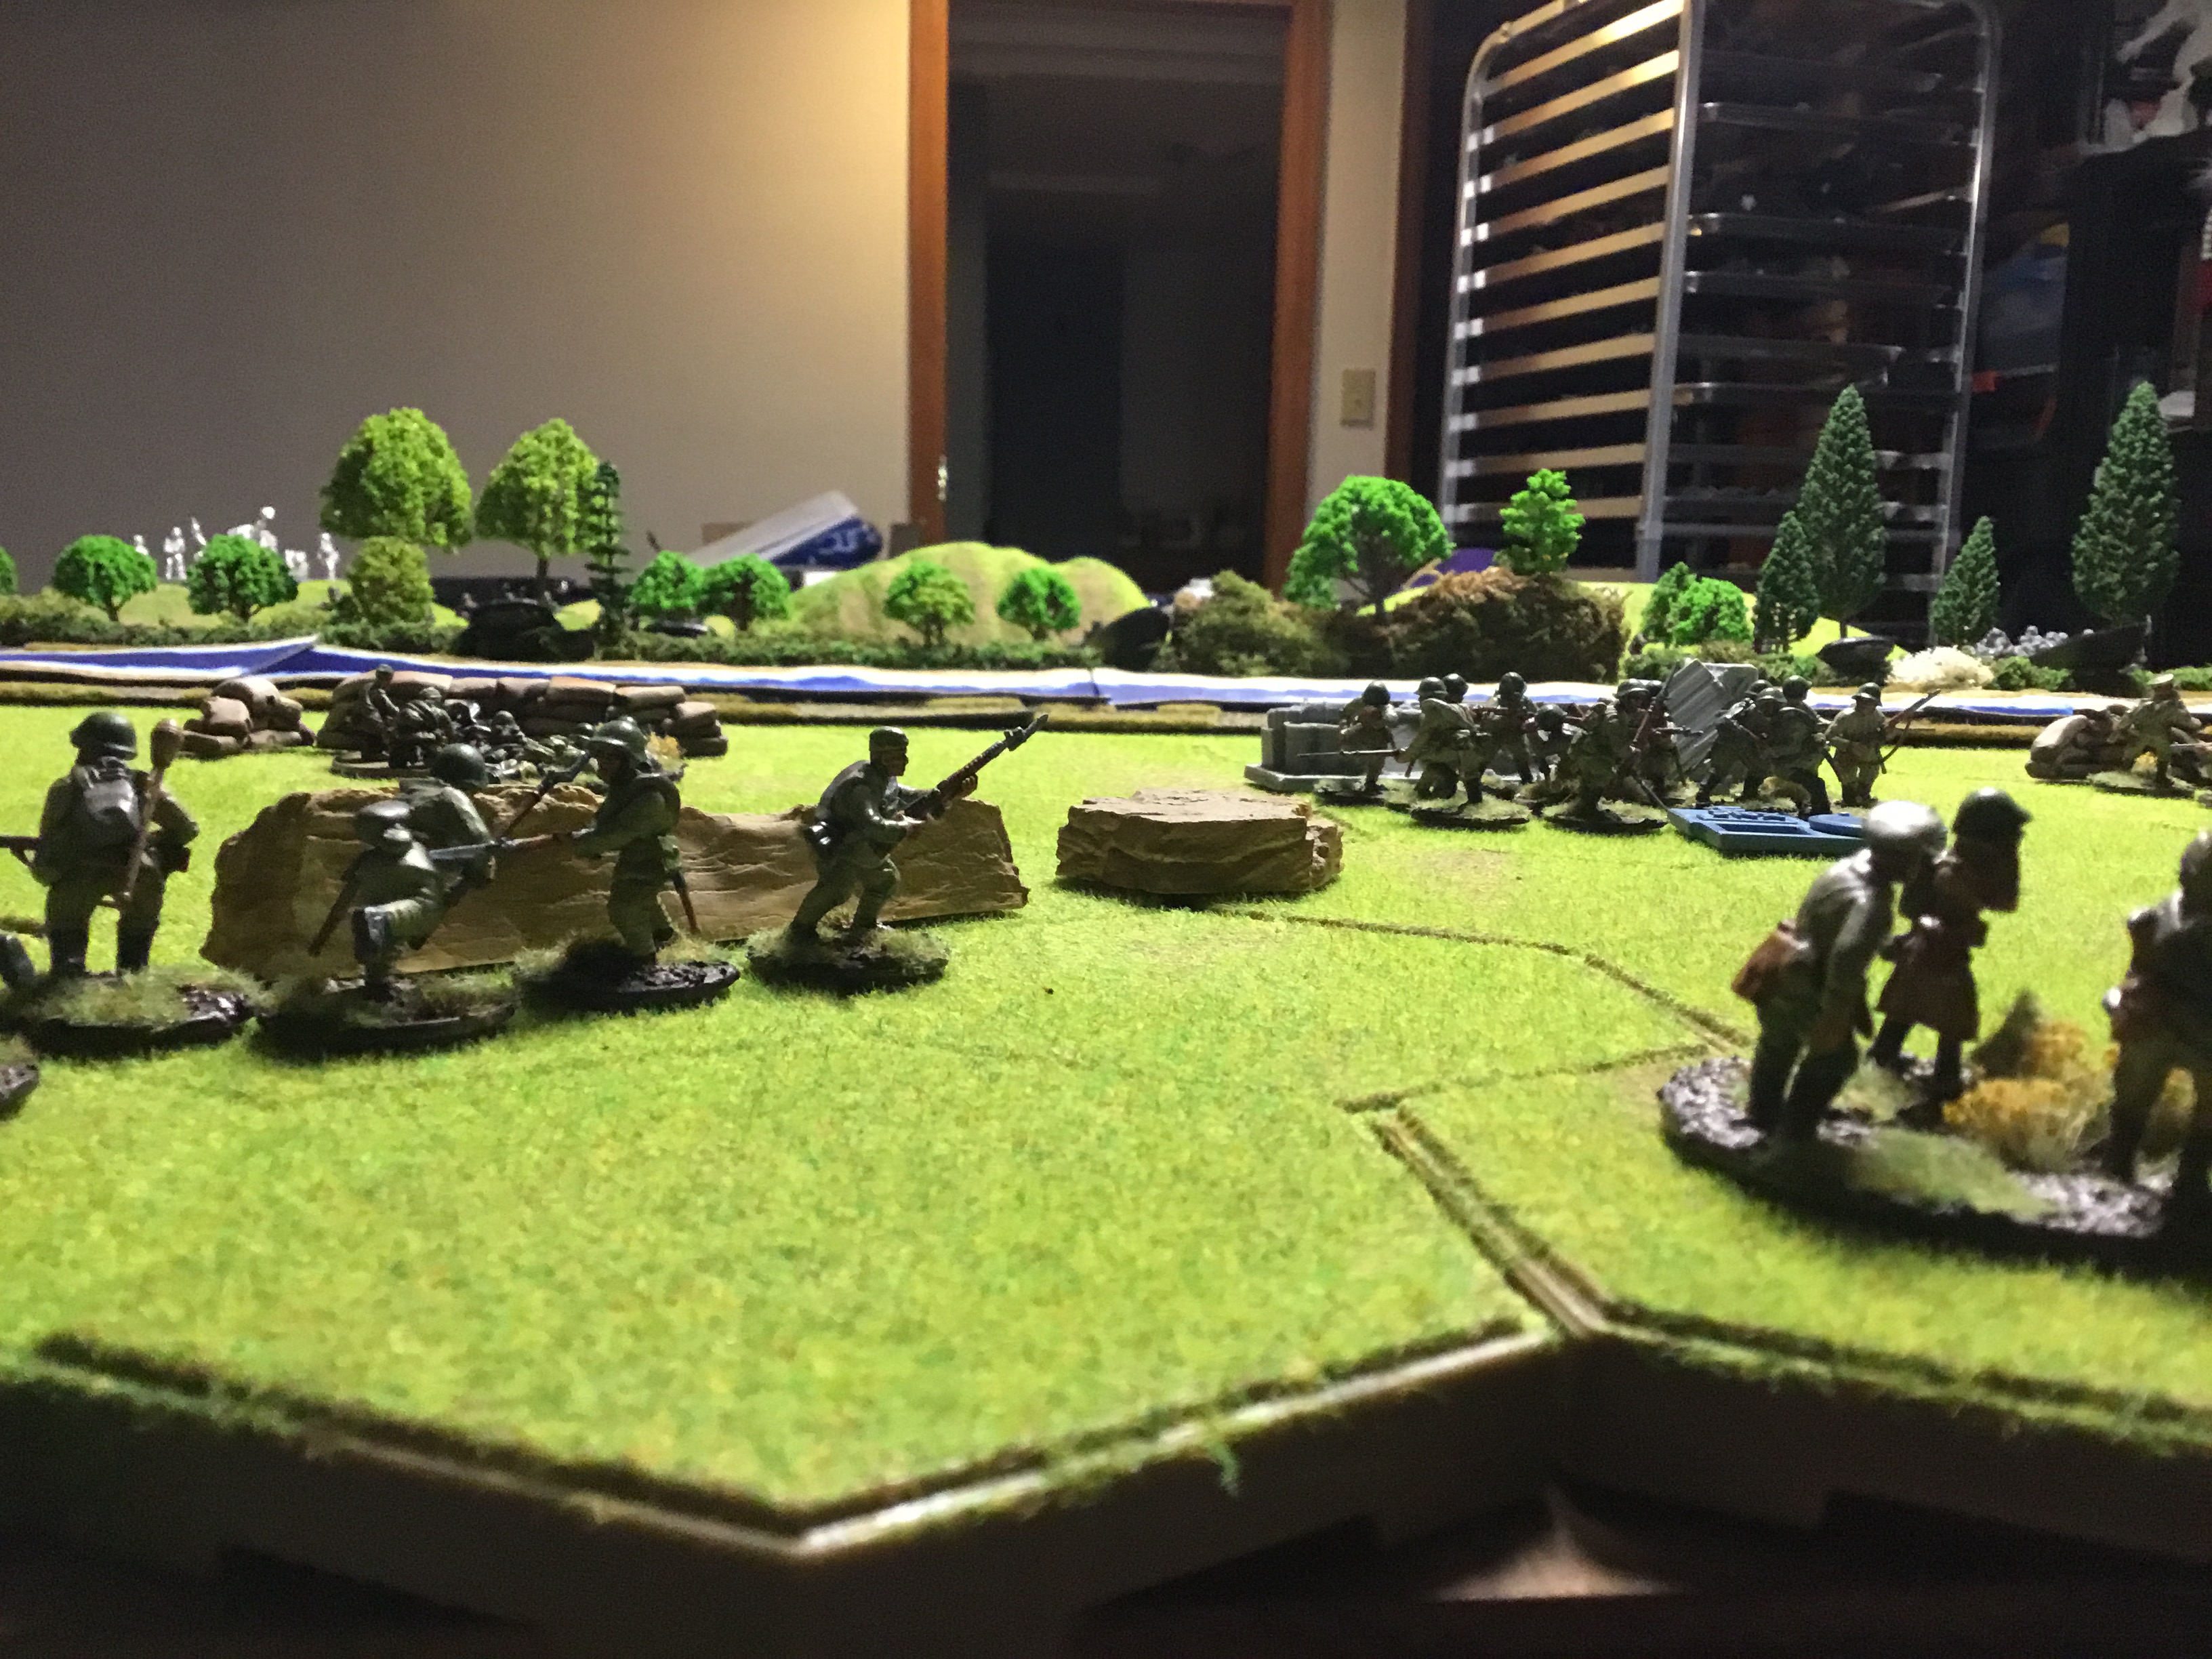
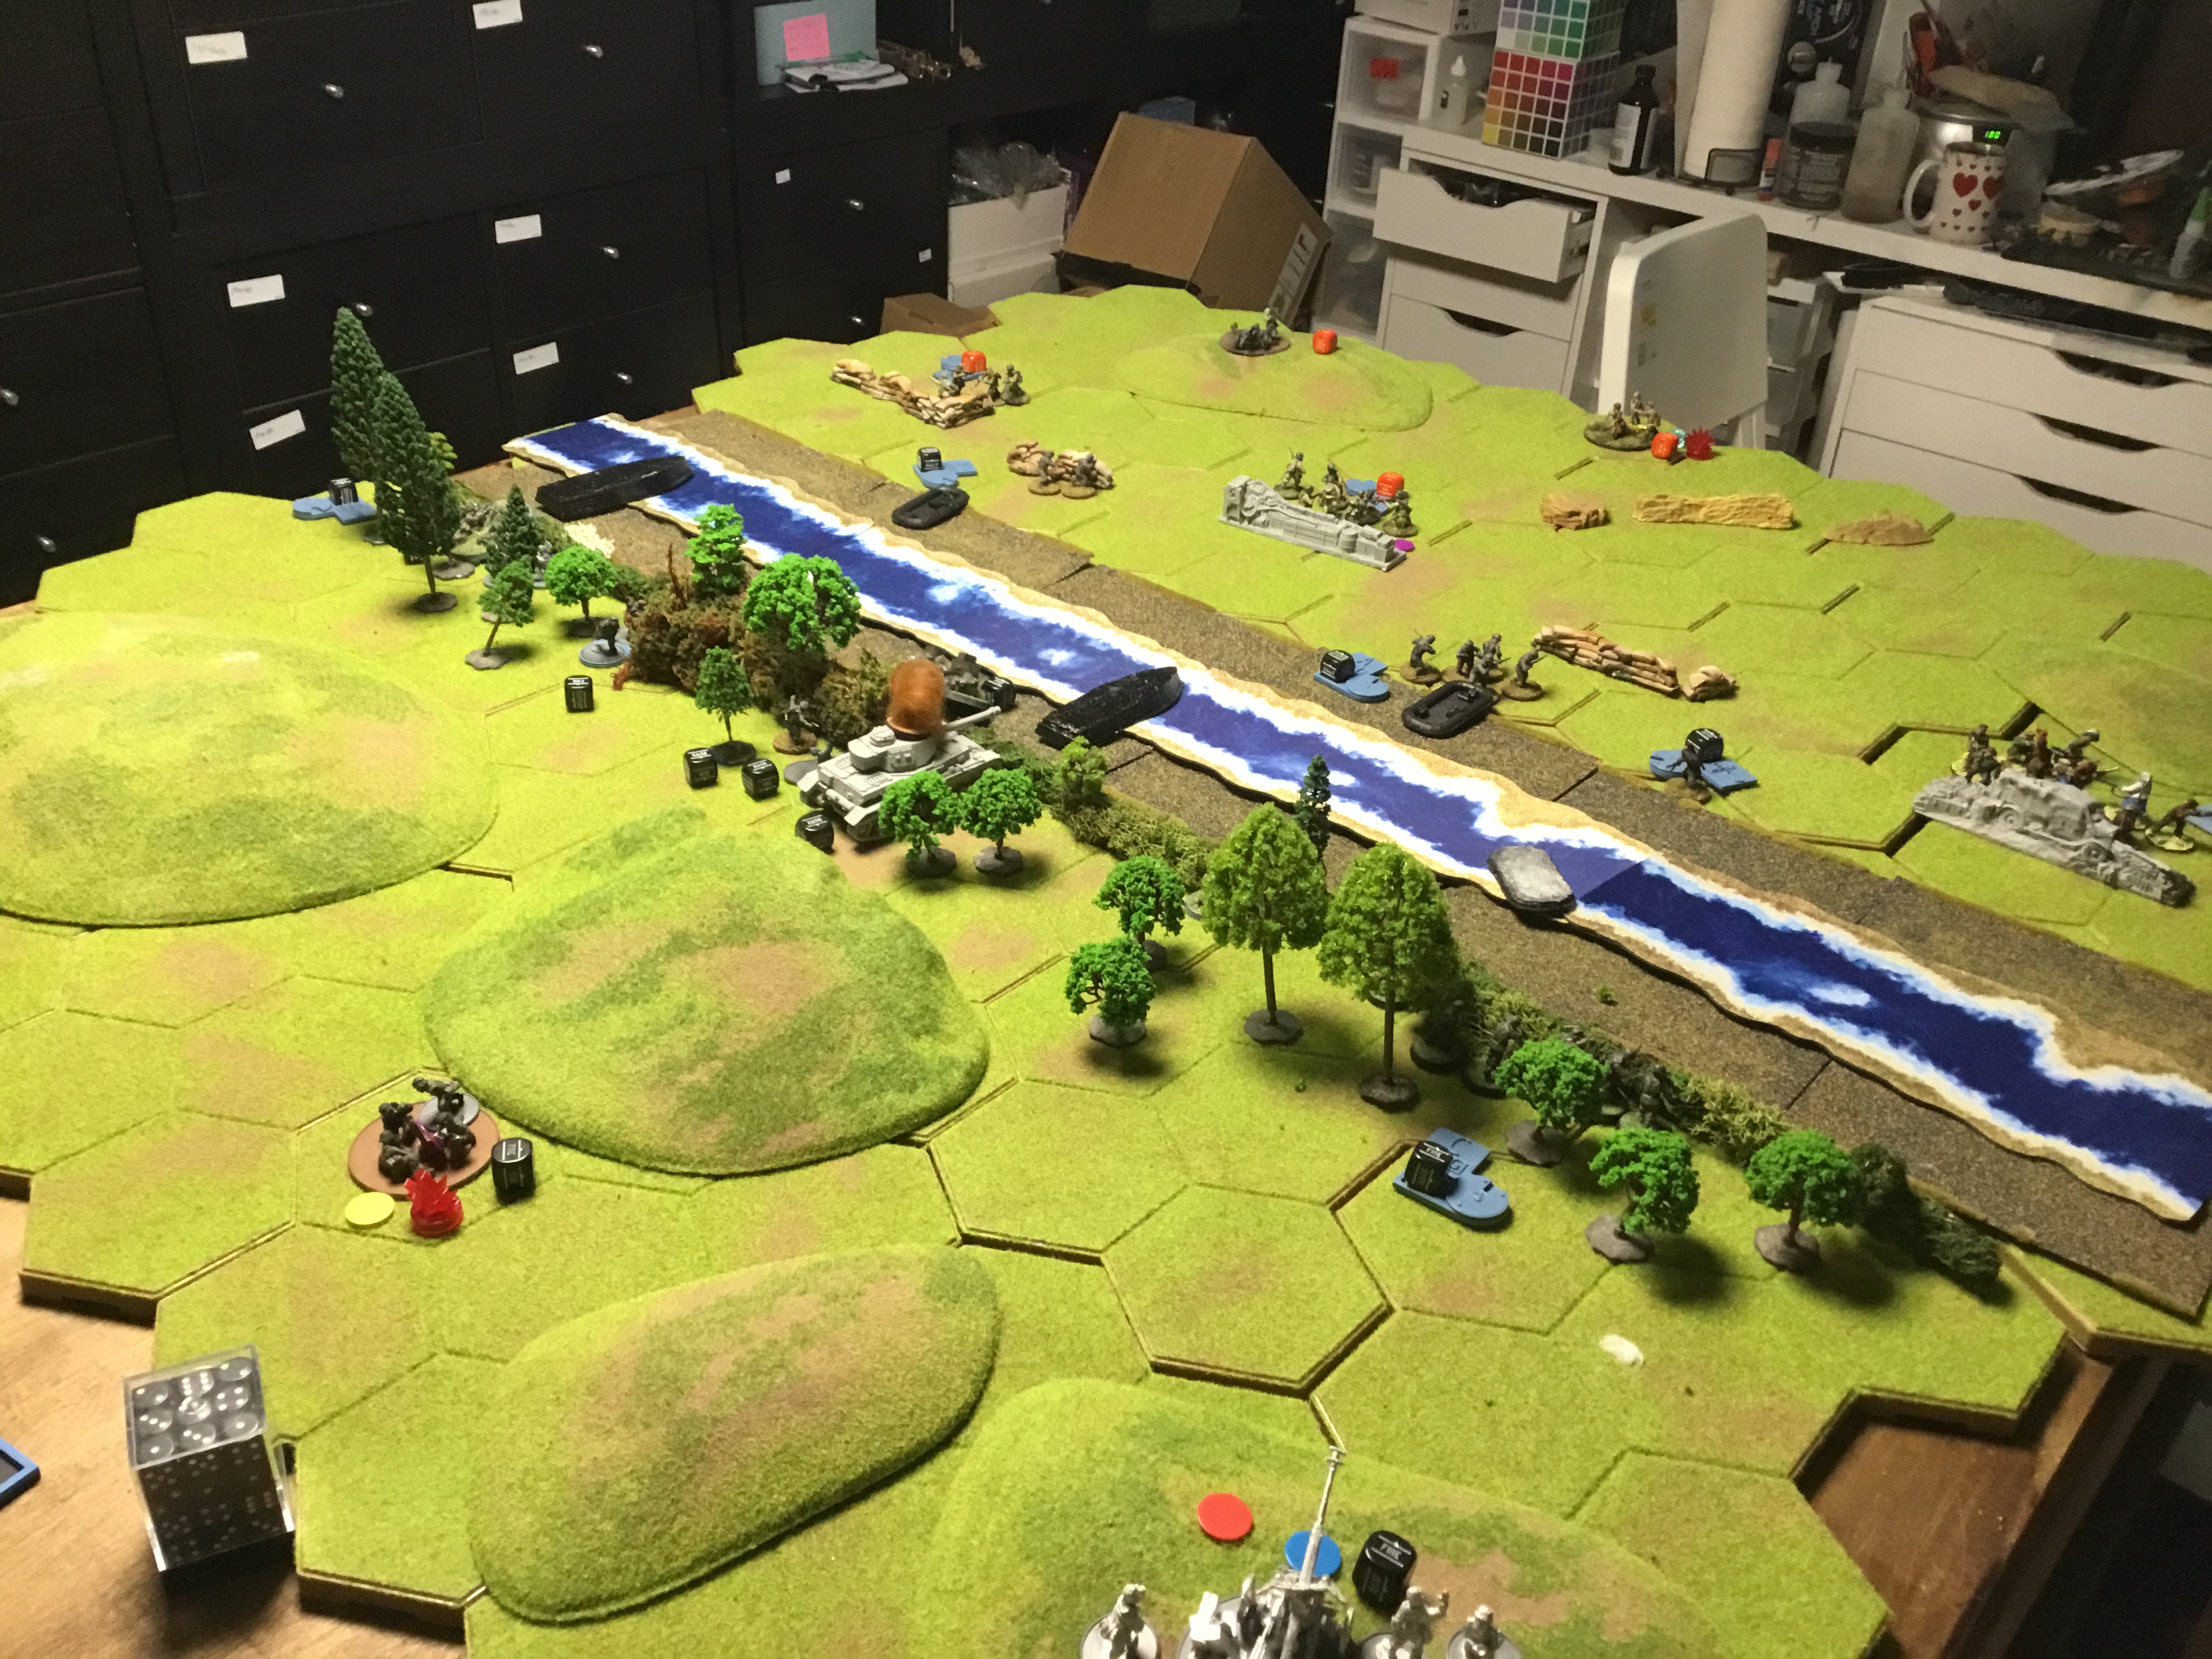
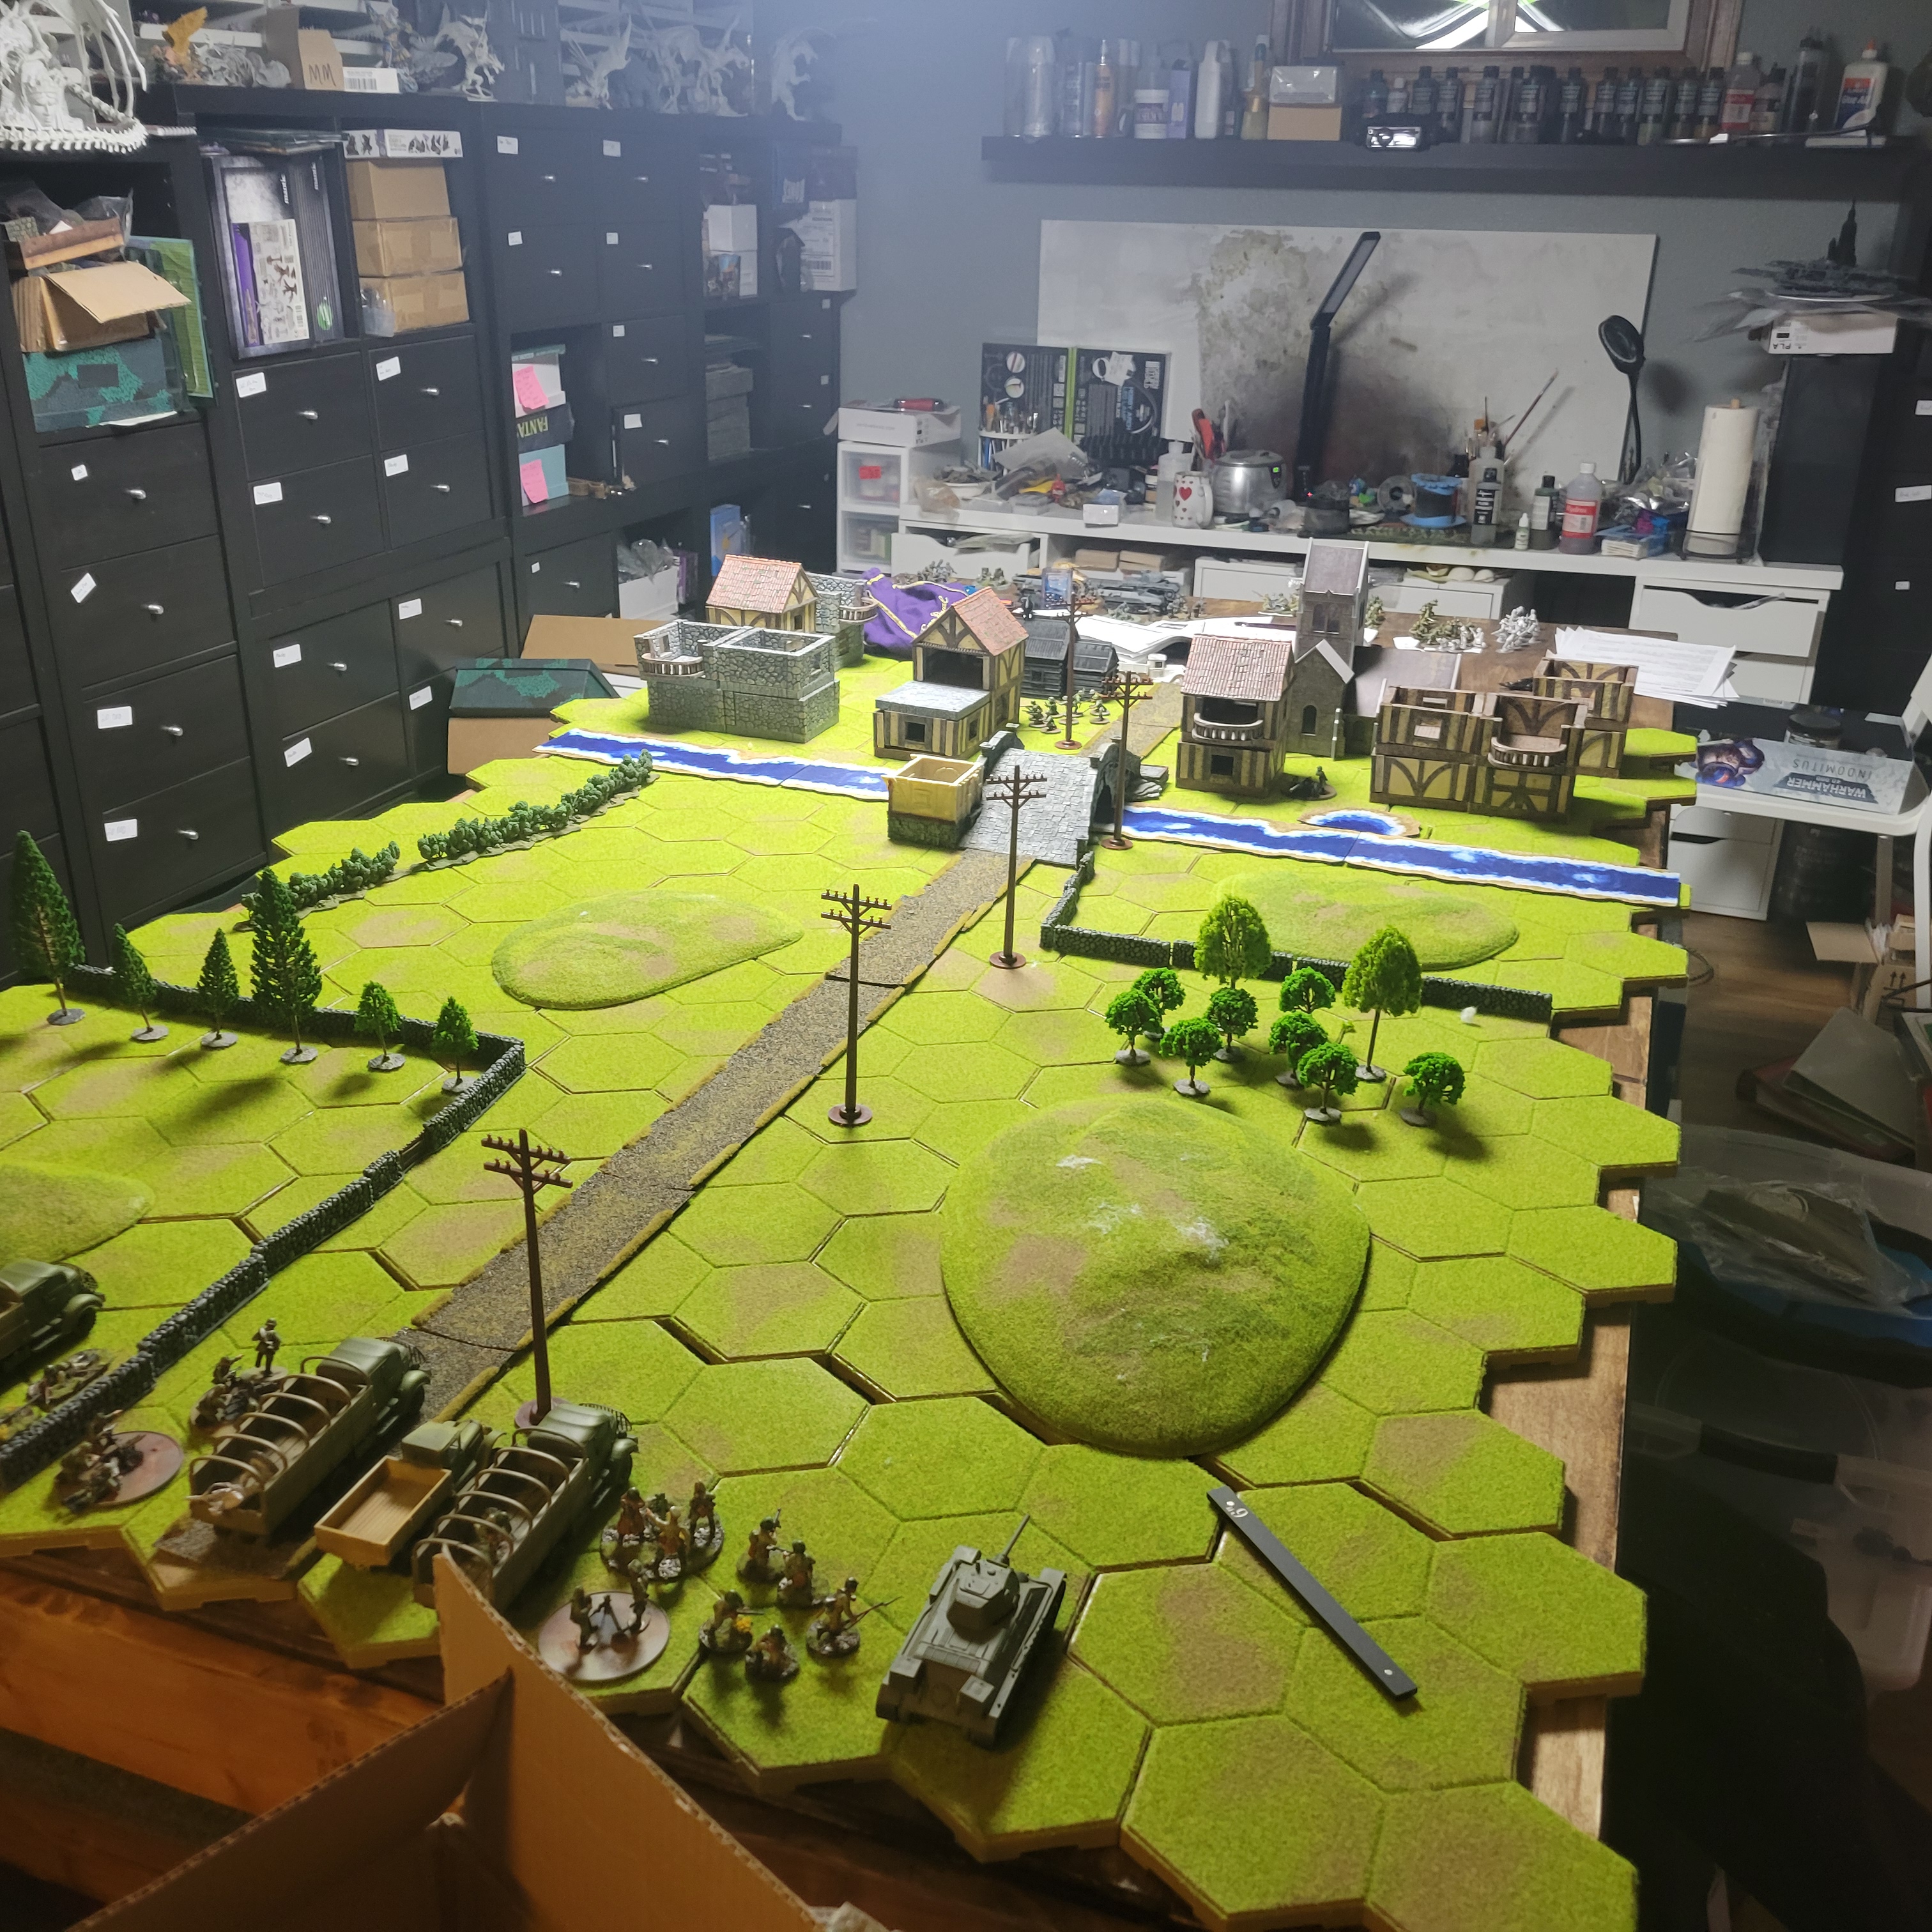
To give me a break from the Bolt Action / Horus Heresy indoctrination. I put my collection of 15mm ancients to work and set up a game of DBMM.

Conclusions

I forget how balanced DBMM actually is. I am very new to the game and don’t have all the rules down. Especially having to teach myself. But the game was fun, over 3 hours tops, and hinged on critical moments. It gives me the feeling of an actual battle.

Pip allocation is a huge factor. Huge. A bad pip roll will ruin the engagement for you.

Carthage did win. It was a near thing, any given combat failure would have resulted in a different result.

I picked Rome 216-203 BC vs Carthage
After the roll, Carthage was the aggressor.

C and cRegCv (O)Hannibal reg cv15353
Sub generalRegLH (O)Reg LF22550
lybian spearmenRegSp(O)reg sp o18590
numidian calvIrrLH(O)irr lh o8432
merc javelinsRegPs(S)reg ps9327
libyan calvRegCv (O)Reg cv o4832
Bolt shootersRegArt(O)Reg art2816
CampsIrrBge(I)Irr beg144
span merc calvRegLH (O)reg cav o4832
span merc foot caetratiRegPs(S)reg ps248
span merc foot scutarriRegAx(S)reg ax12560
elephantsIrr El (I)81296
QtyPoints500
C and cRegCv(O)Reg cv12828
Sub generalRegCv(O)Reg cv12727
Ally generalRegCv(O)Reg cv11818
roman cavRegCv(O)reg cv5840
roman hastatiRegBd(O)reg bd367252
veletetesRegPs(S)reg ps18354
triariRegSp (S)reg sp9763
greek archersRegPs(O)reg ps2510
artyReg Aty (O)arty188

The Carthage Commands were;

Hannibal- Libyan Cavalry, Numidian Cav
Sub General 1- Spearmen, Elephants, Bolt Shooters, Mercenary Javelins
Sub General 2- Span Mercenary

Rome Commands
C and C- Hastati, Triari
Sub General- Cav and Arty
Ally General, Veletetes and Greek Archers

Set-Up

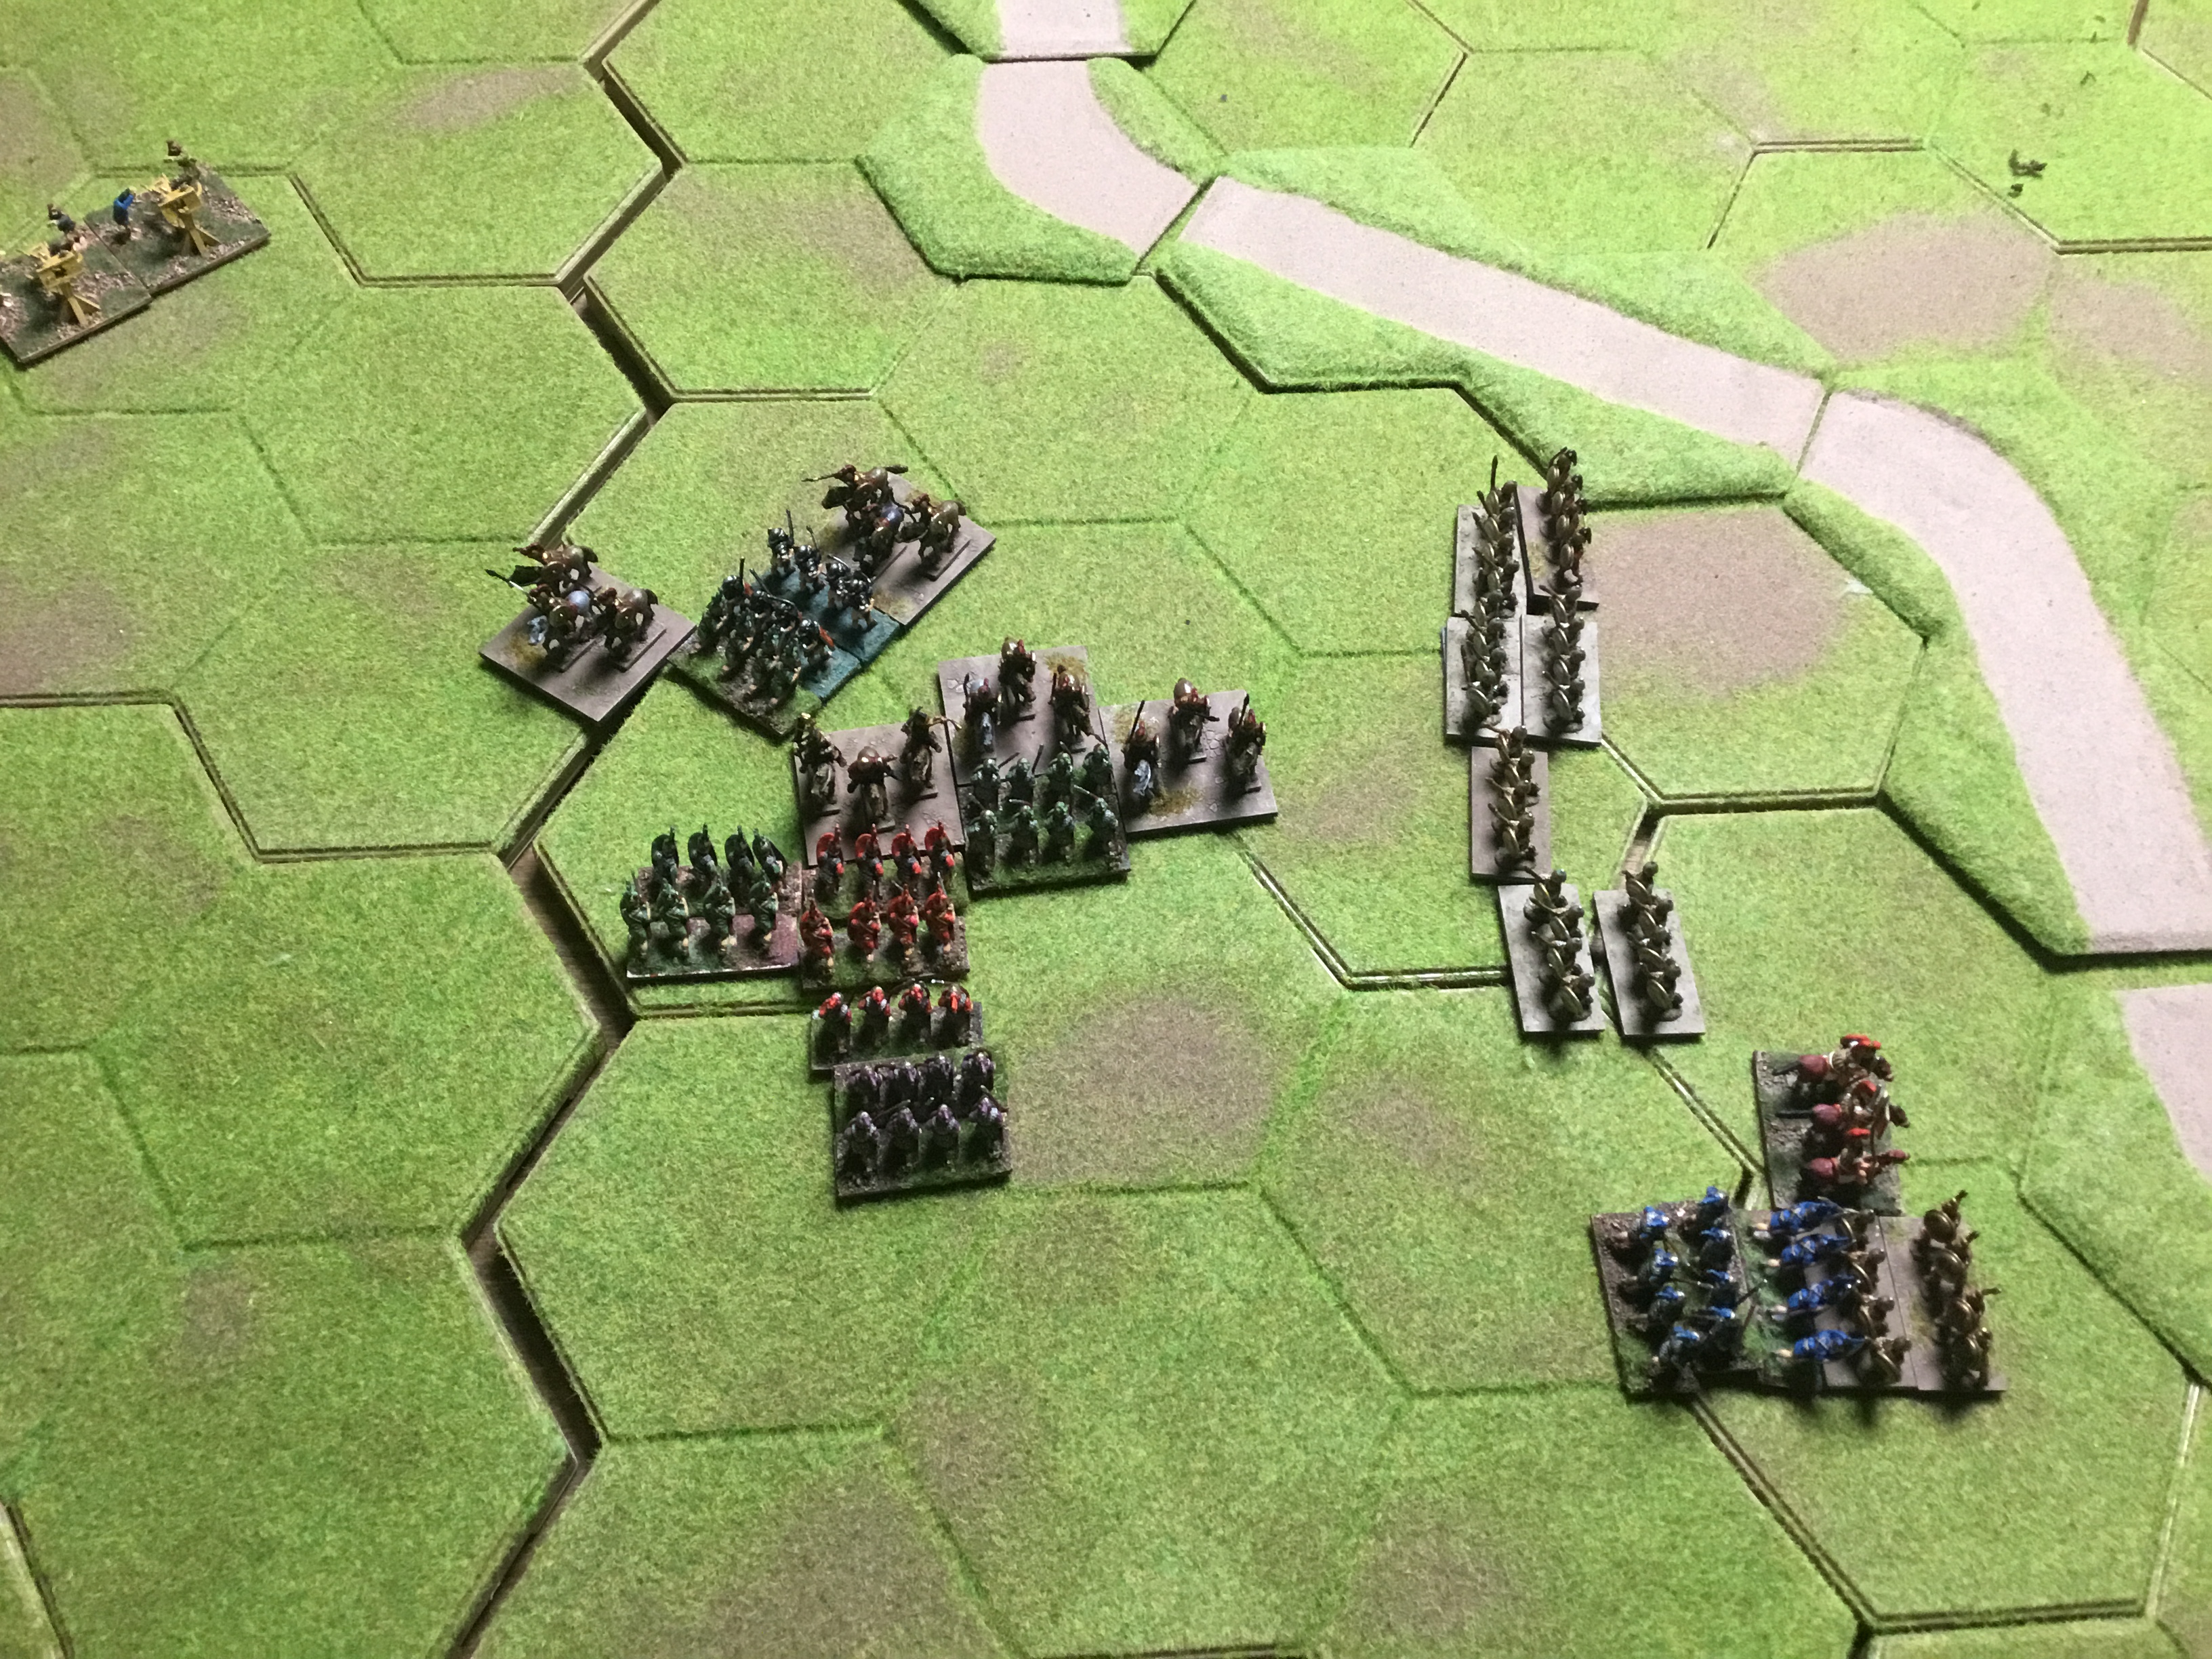
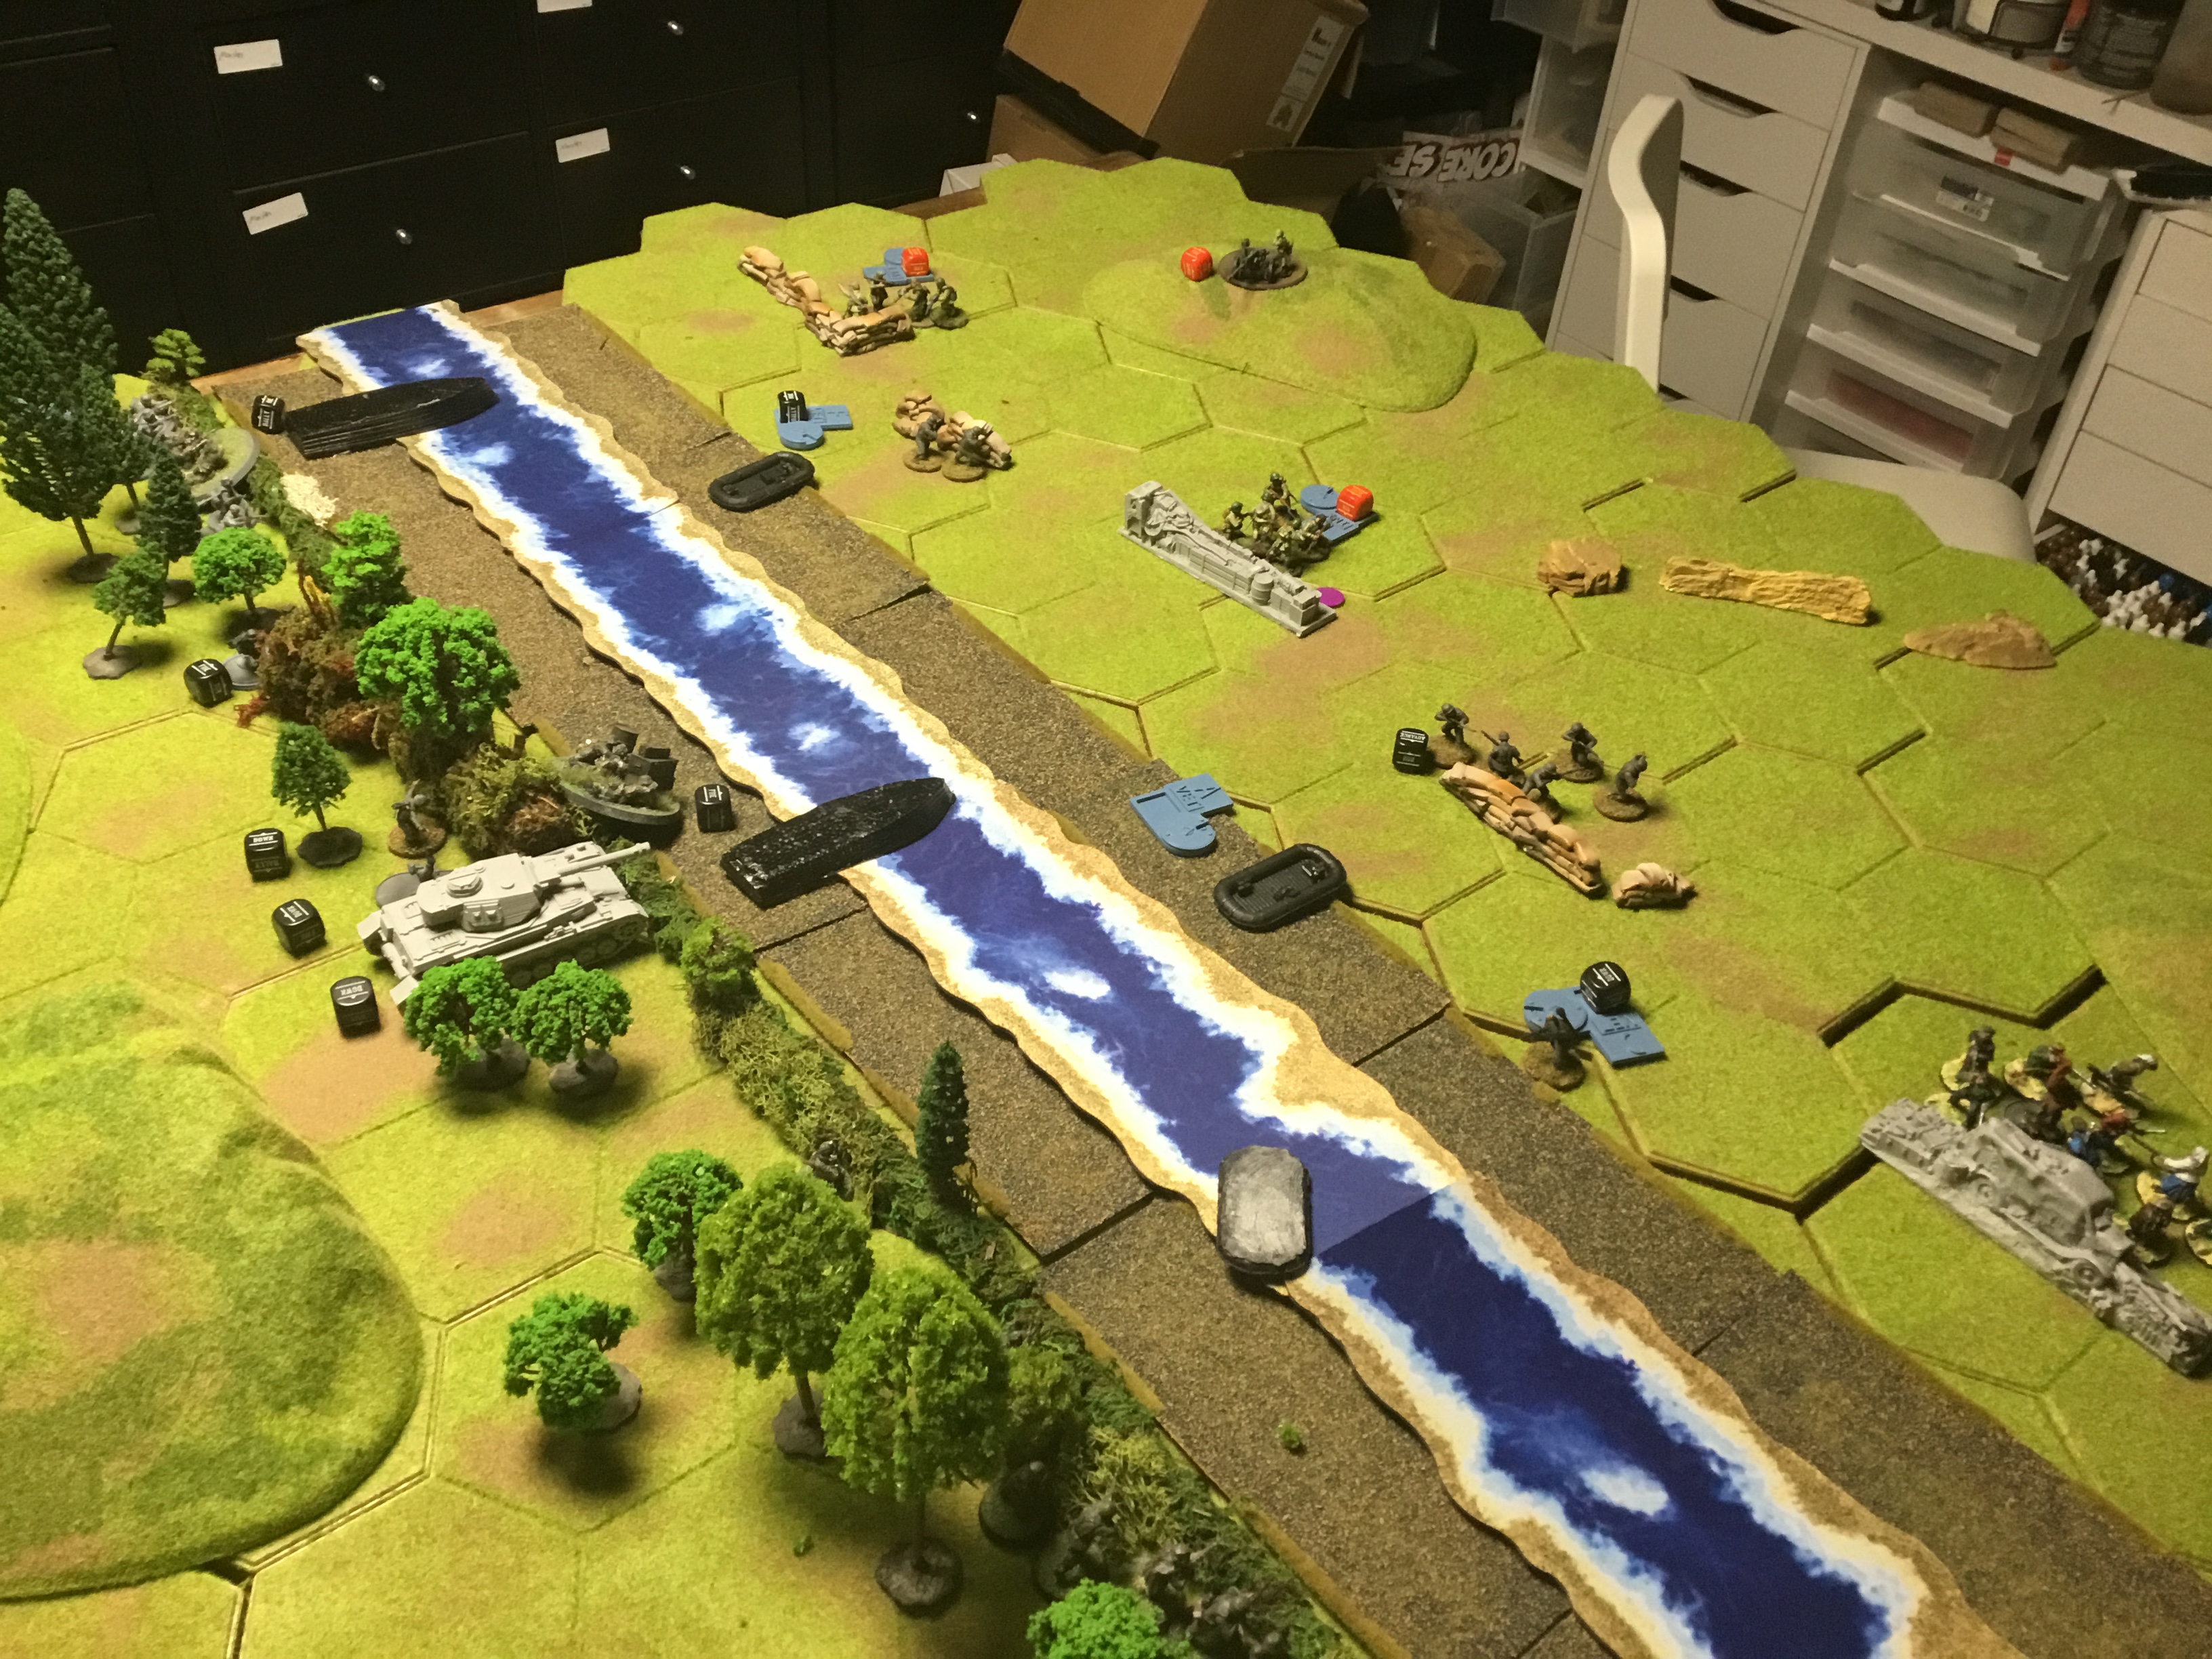
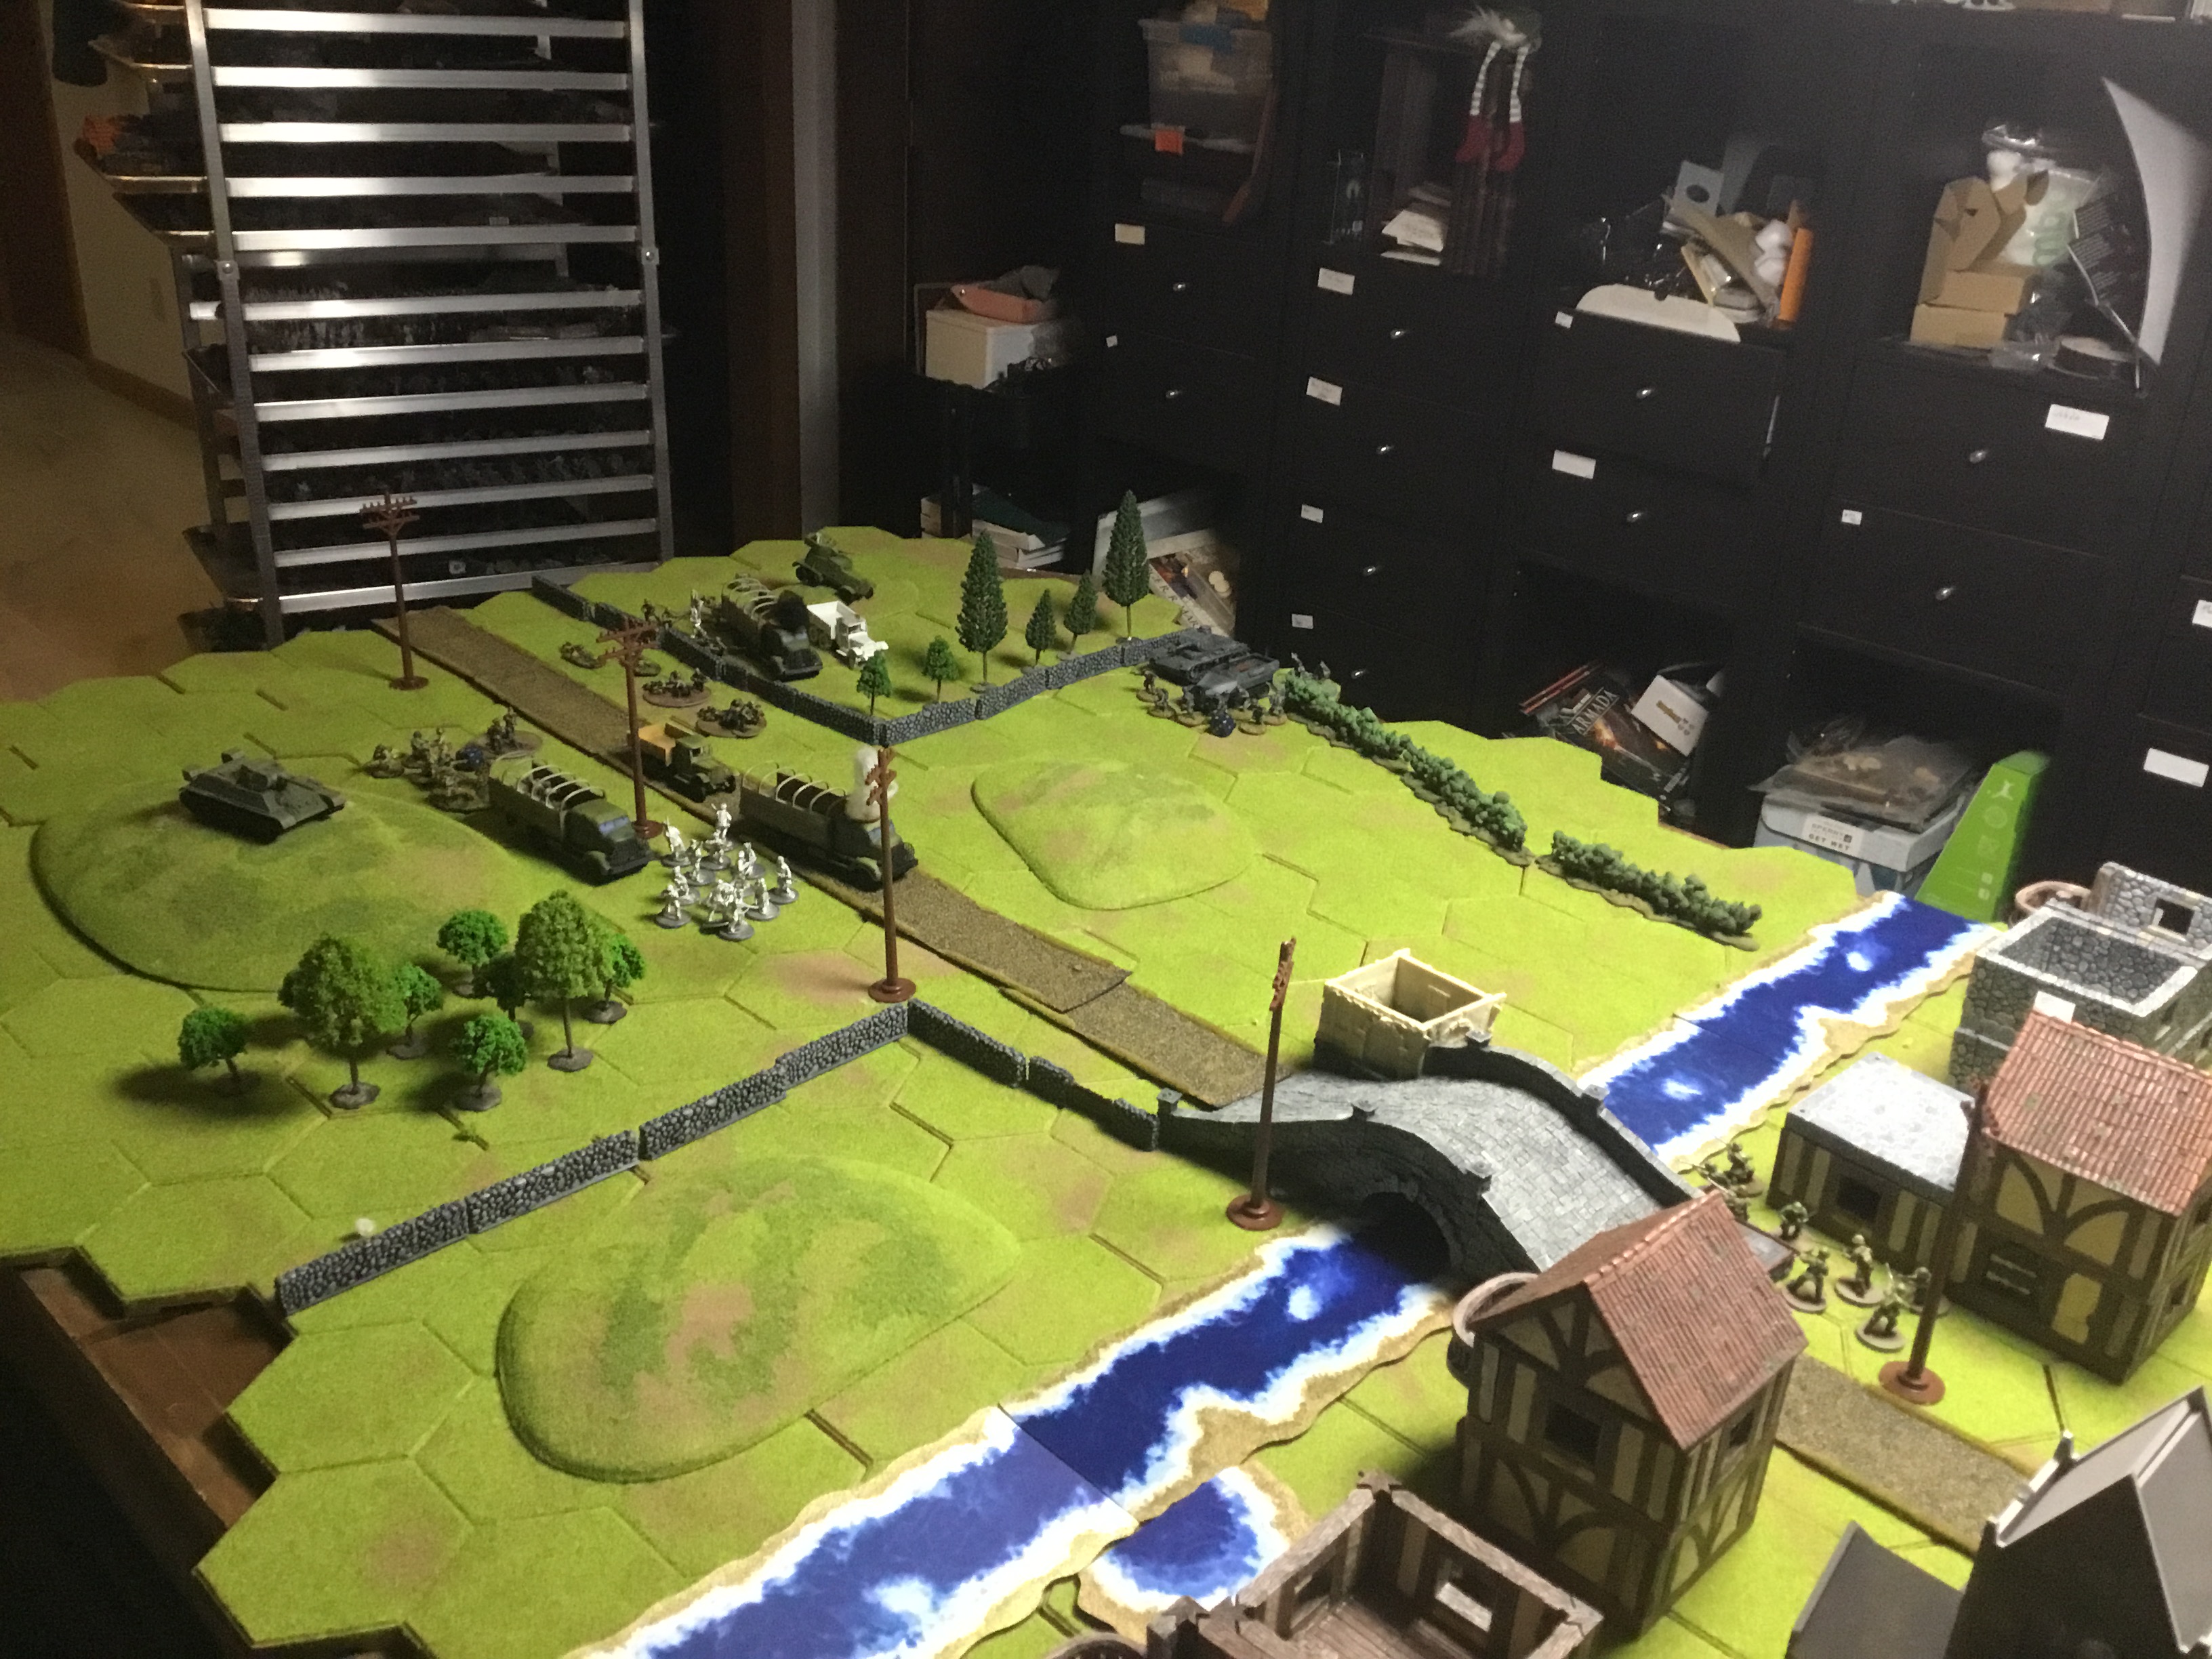
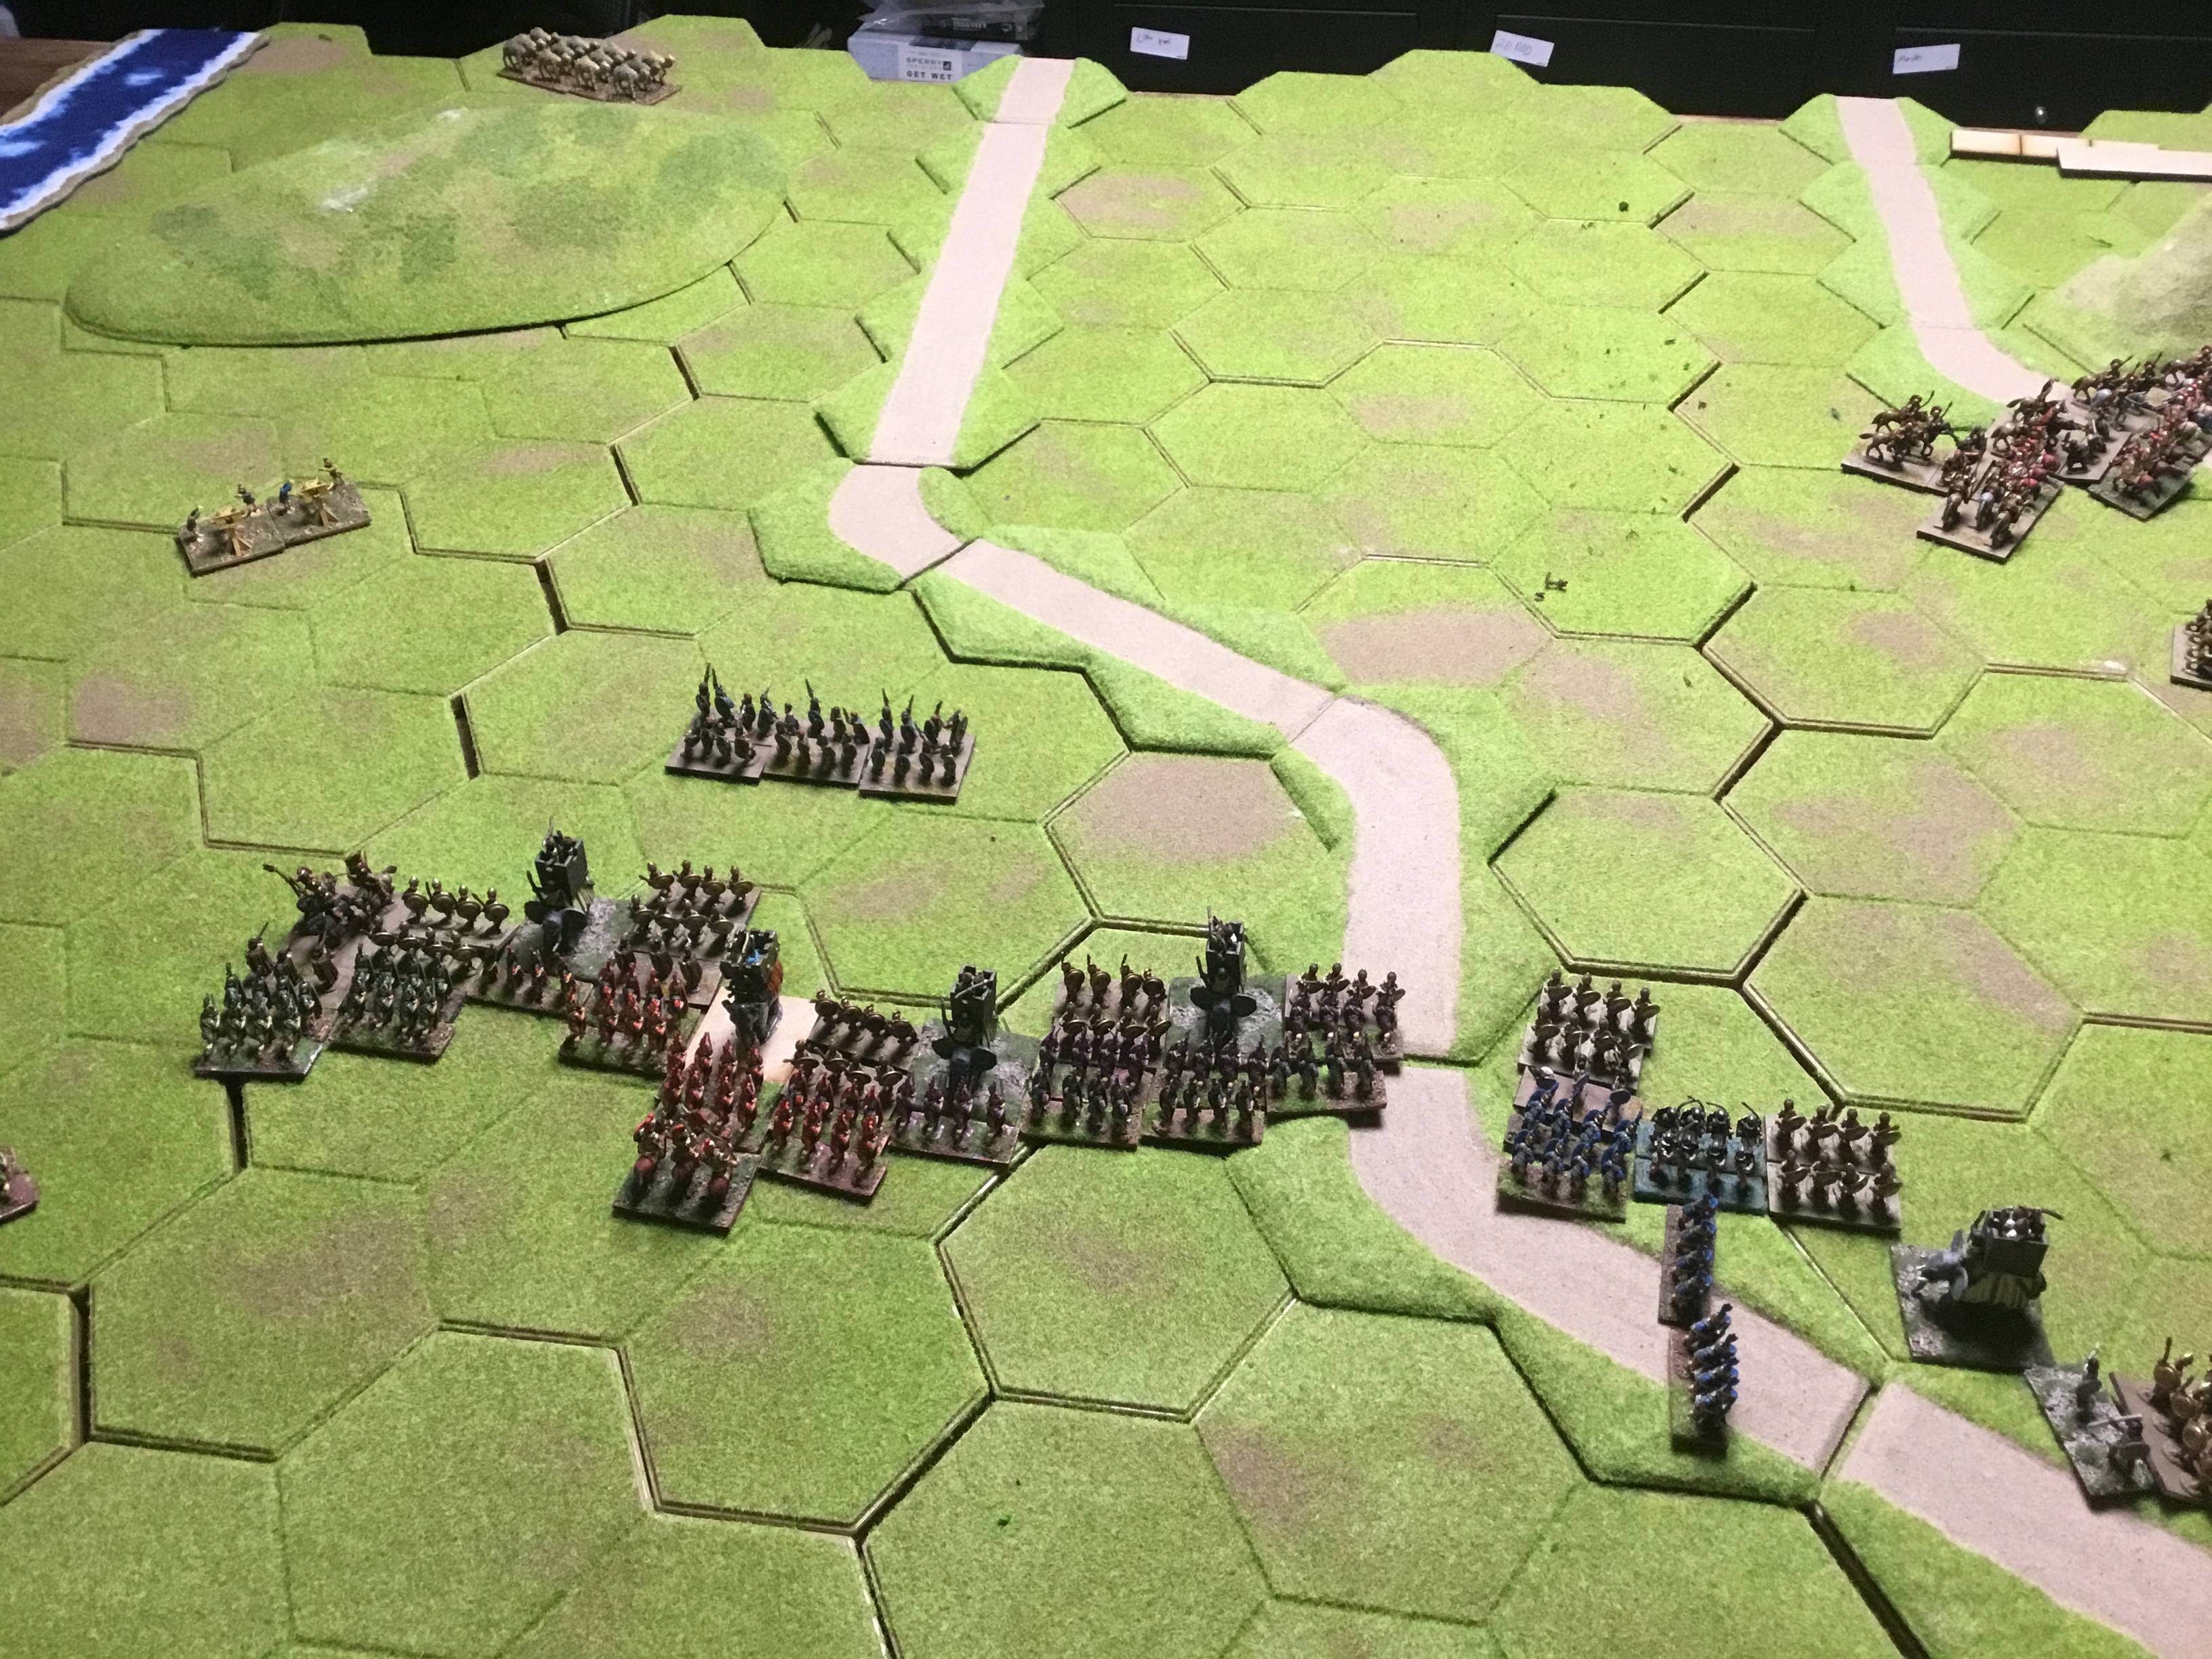
I played on a 6×4 board with a couple of hills and roads (randomly generated) and a river.

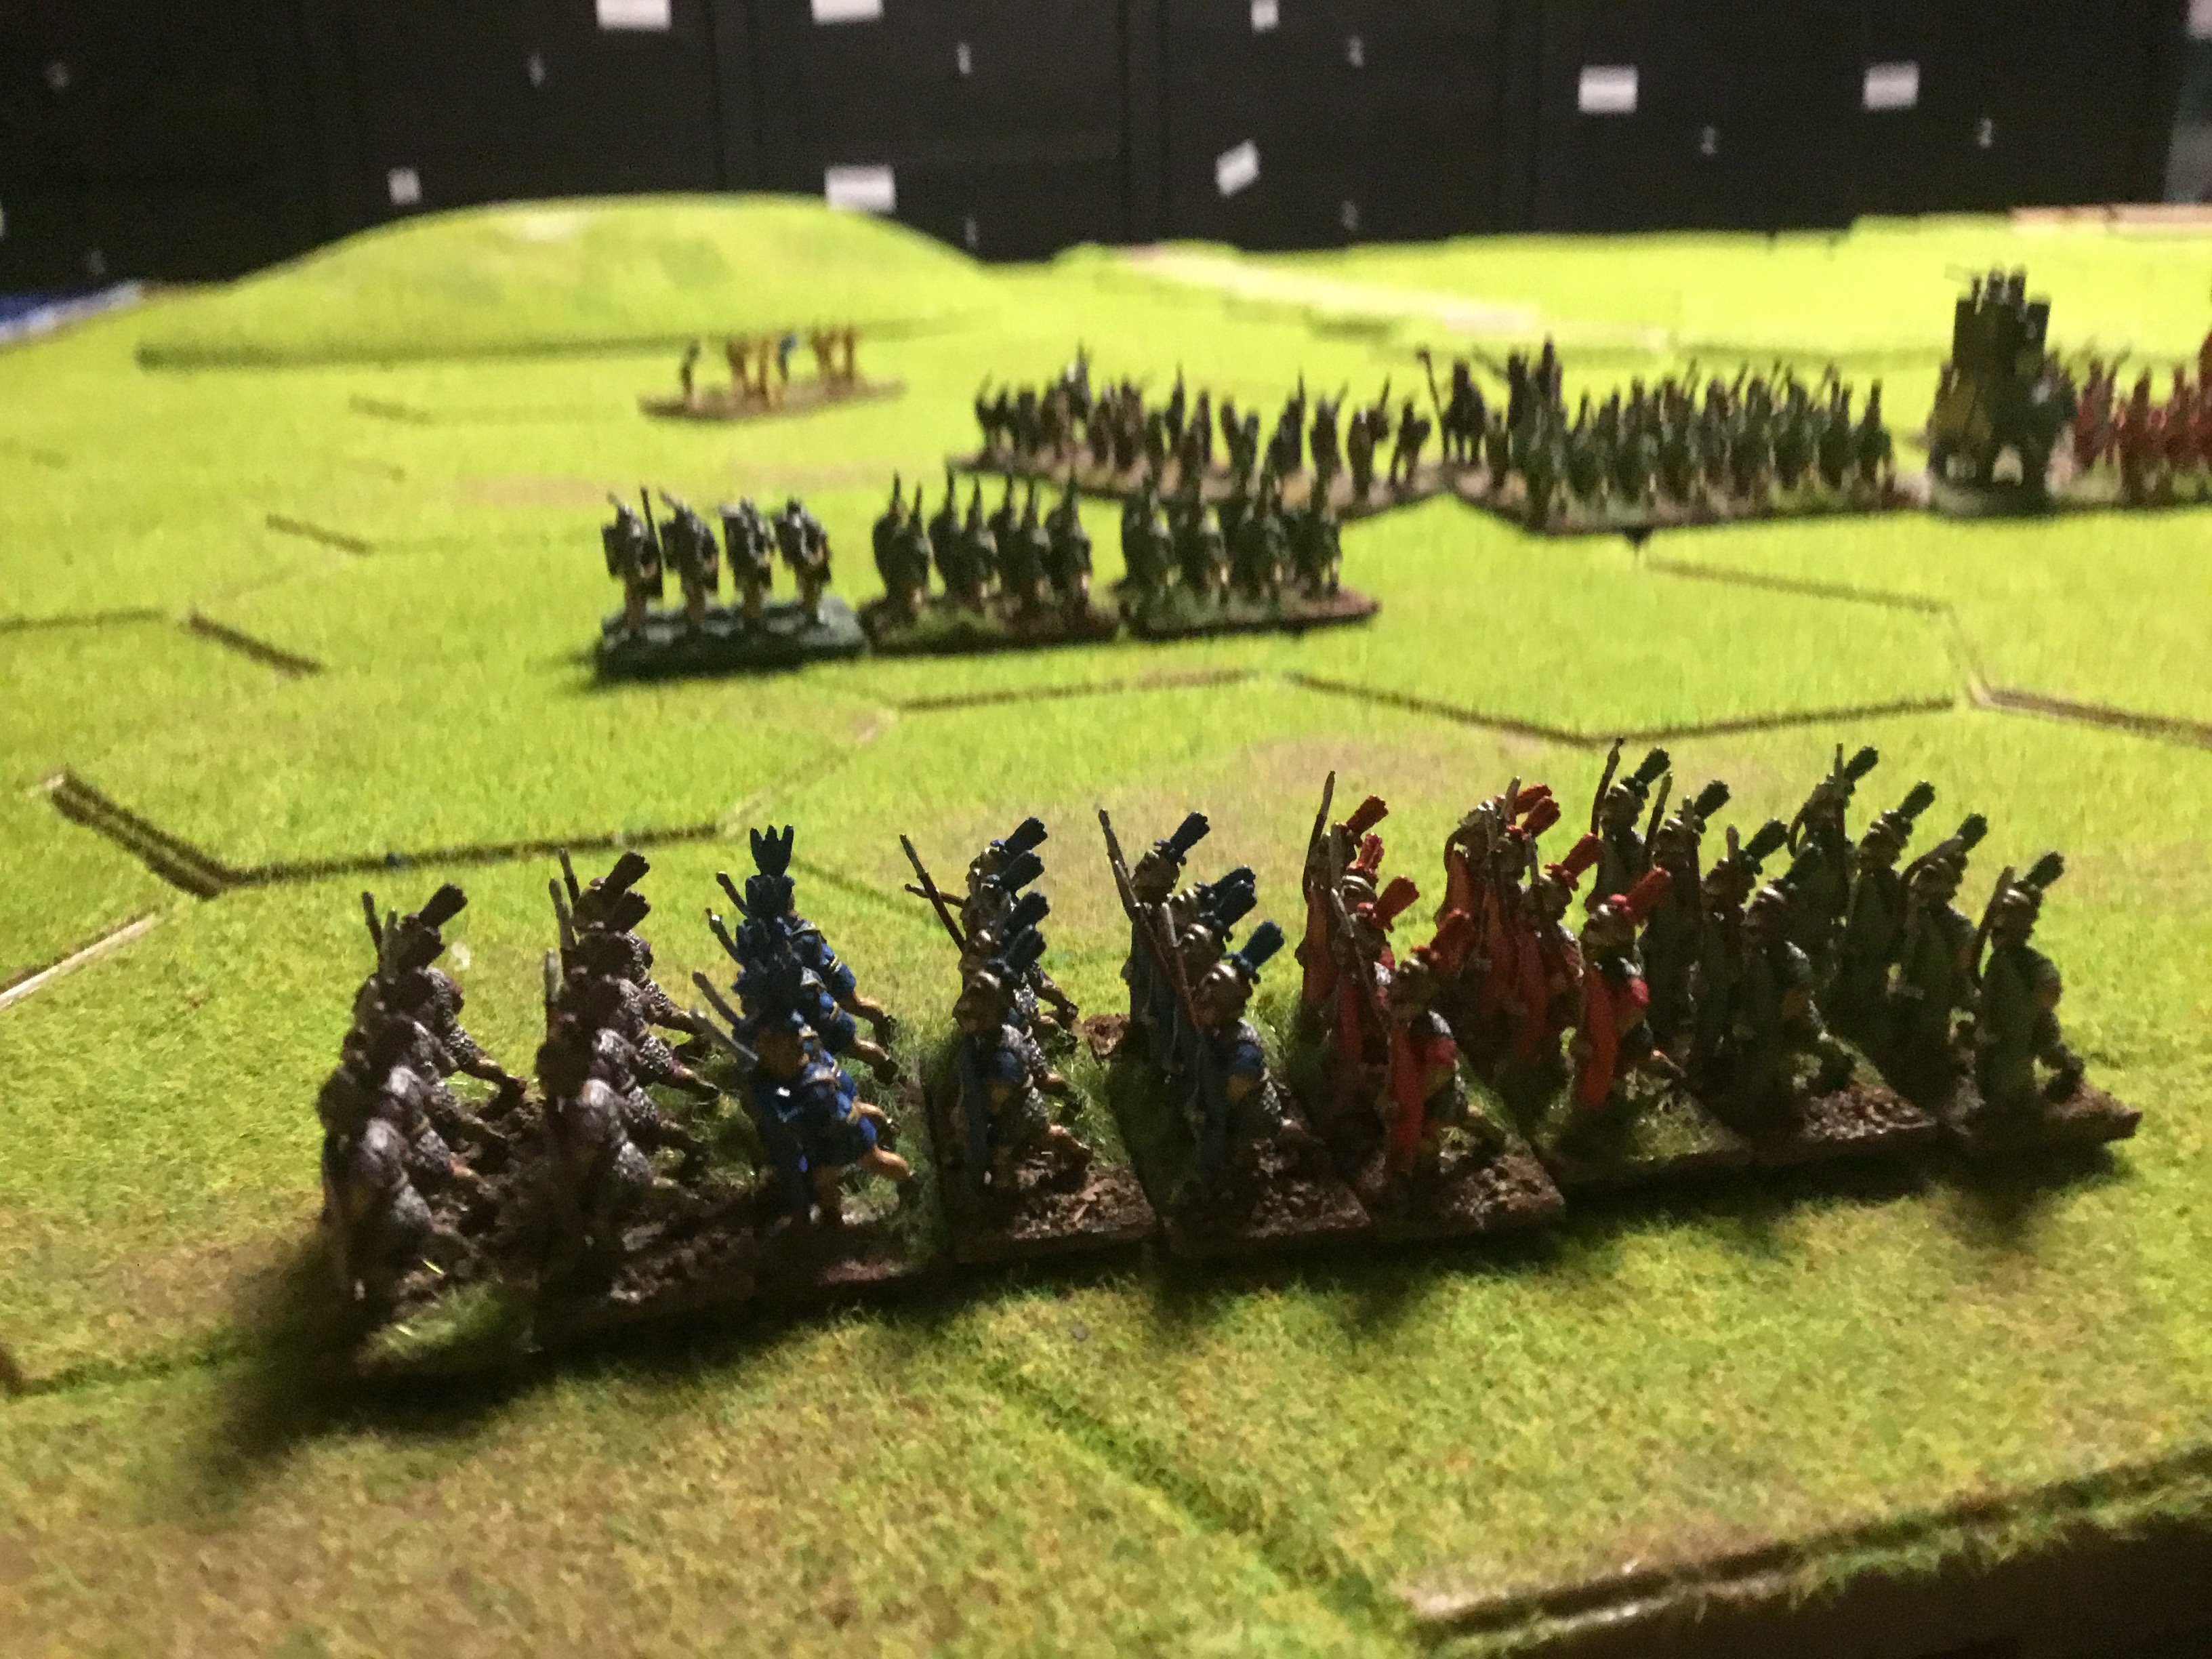
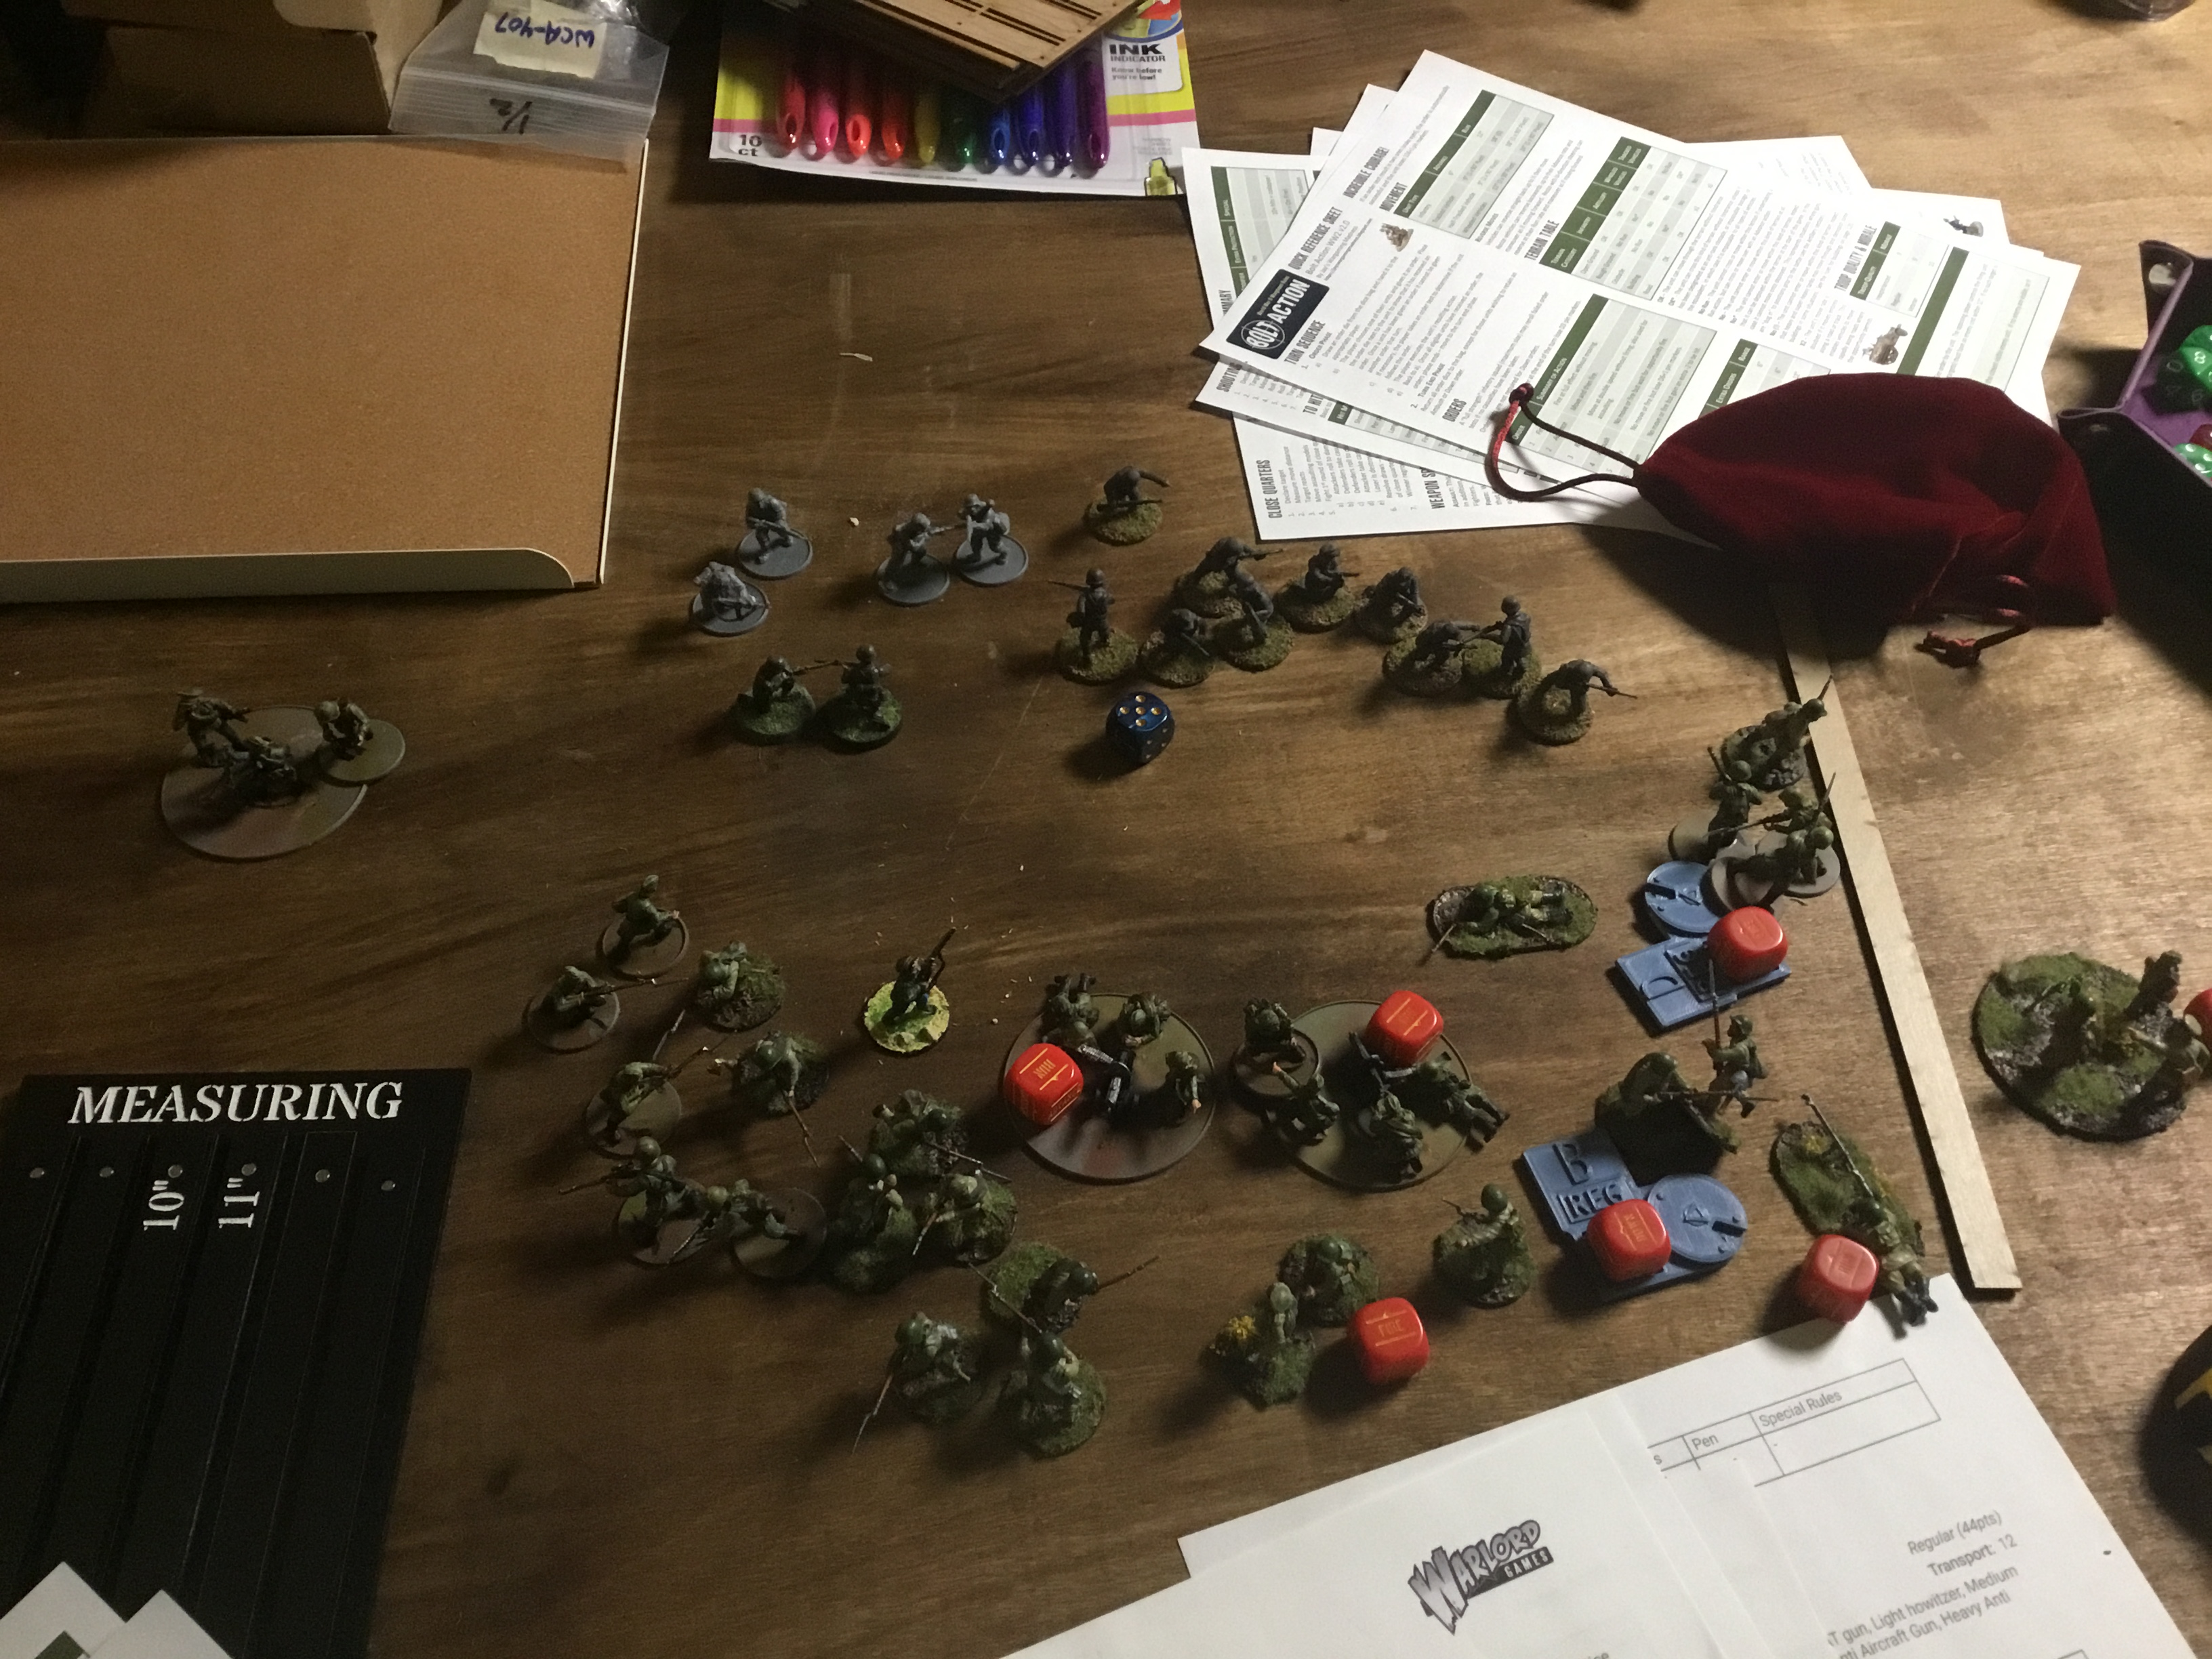
I put the Romans in the triple-axis formation with a skirmish screen. The Cavalry took the right flank.

Carthage was set up with a single skirmisher, two elements of spears, then an elephant the next block over. To their right flank were the cavalry and, in reserve, the Spanish mercenaries.

Bound 1

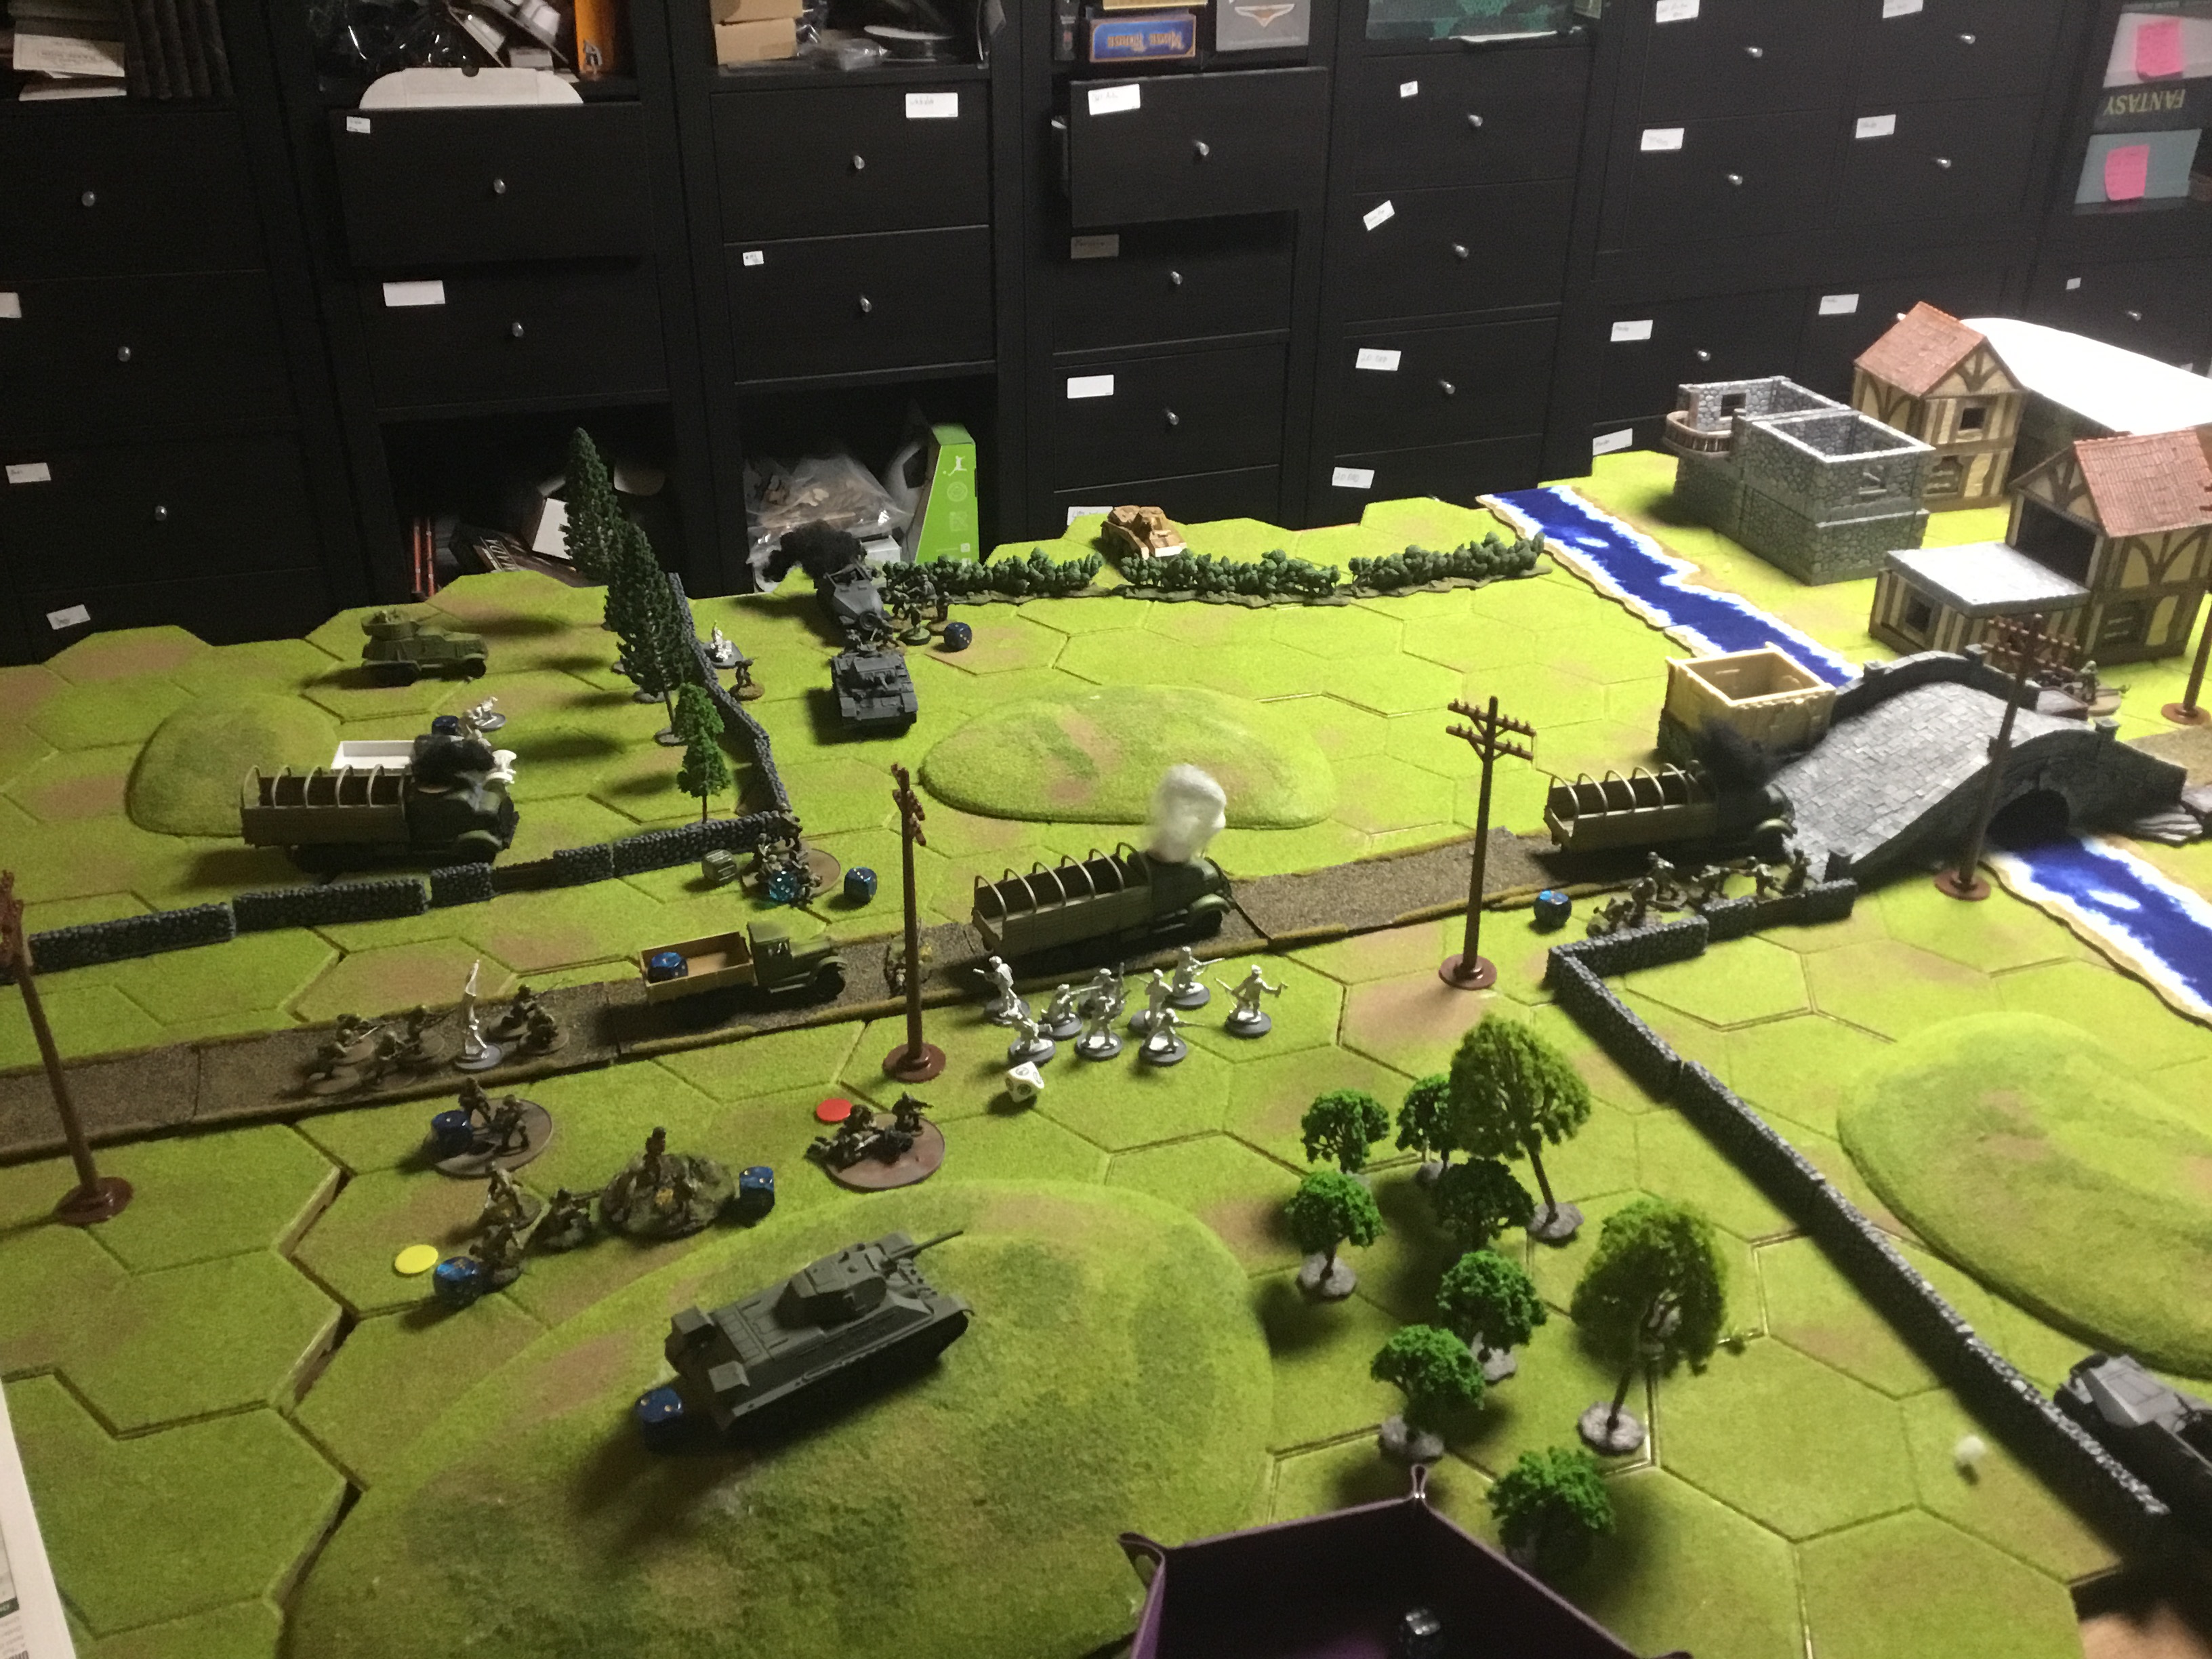
Carthage had an amazing Pip roll which allowed their forces to push up the field rapidly. The Roman dice were 1, 1 and 2. The cavalry immediately put the Romans under pressure. A deep analysis would reveal the battle was lost on this first bound.

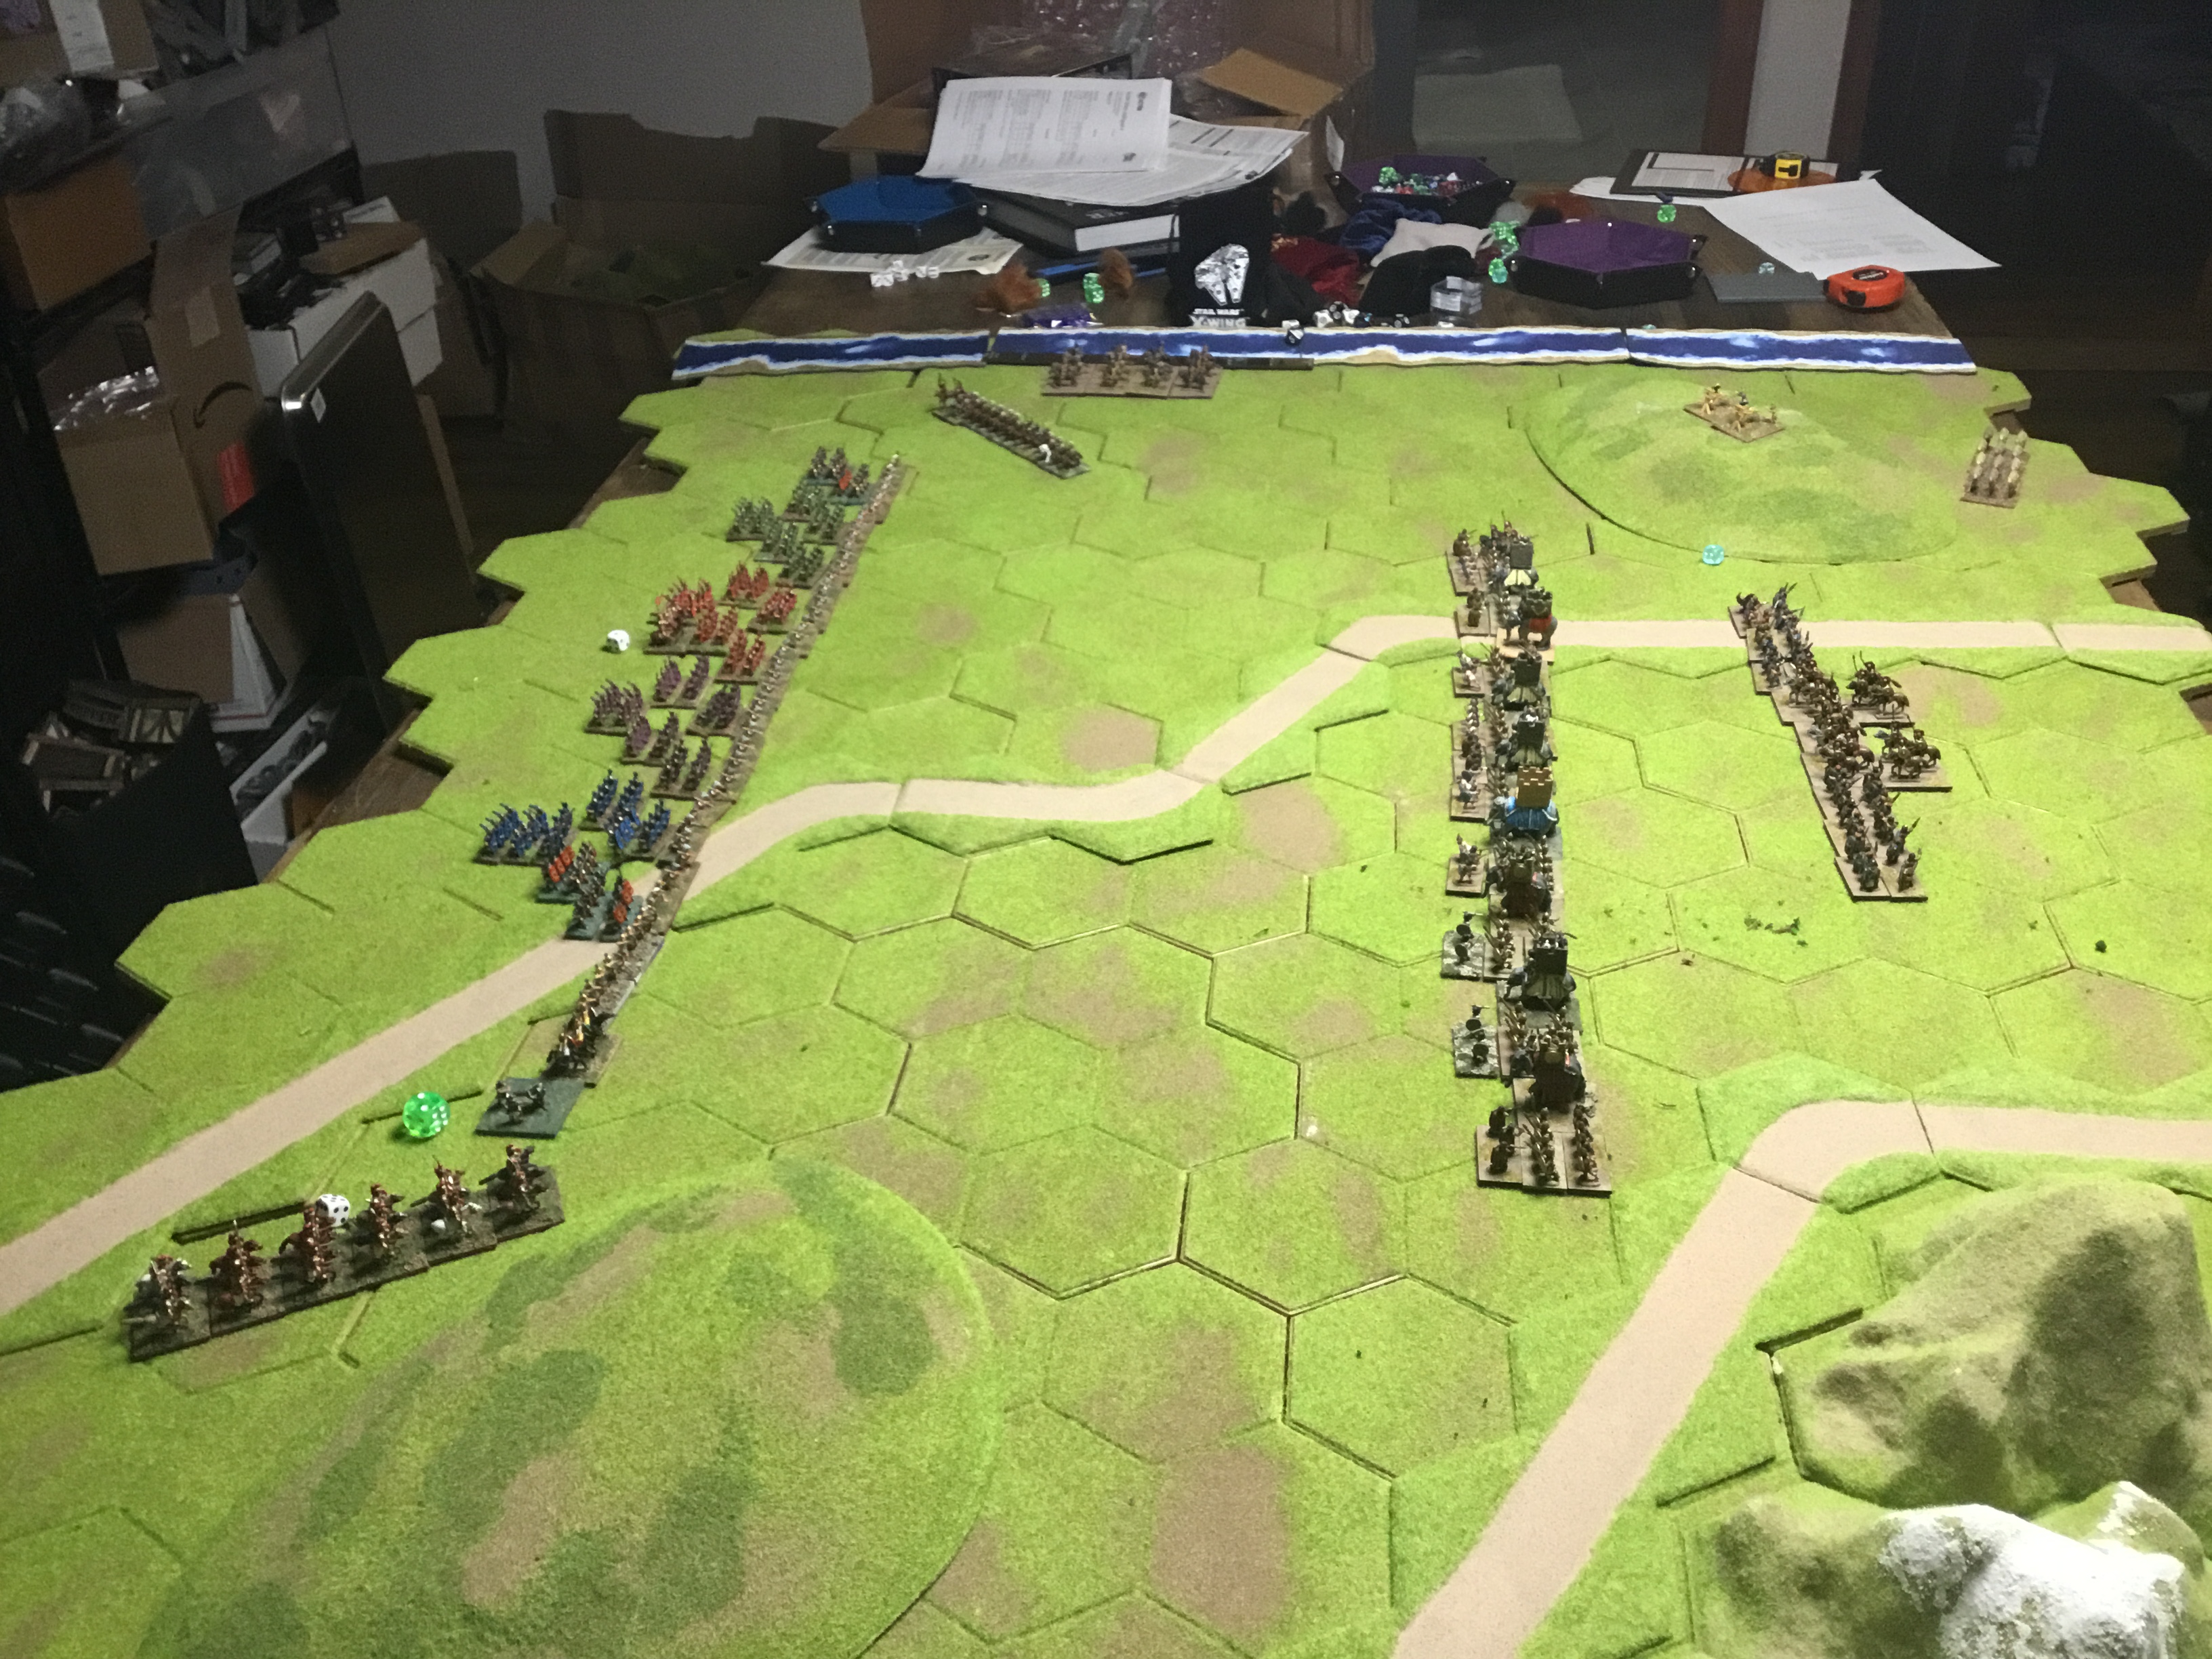
Rome did what it could with their movement. They pushed forward the skirmish screen. Took advantage of the weak left flank on the Carthaginian side with an aggressive cavalry move.
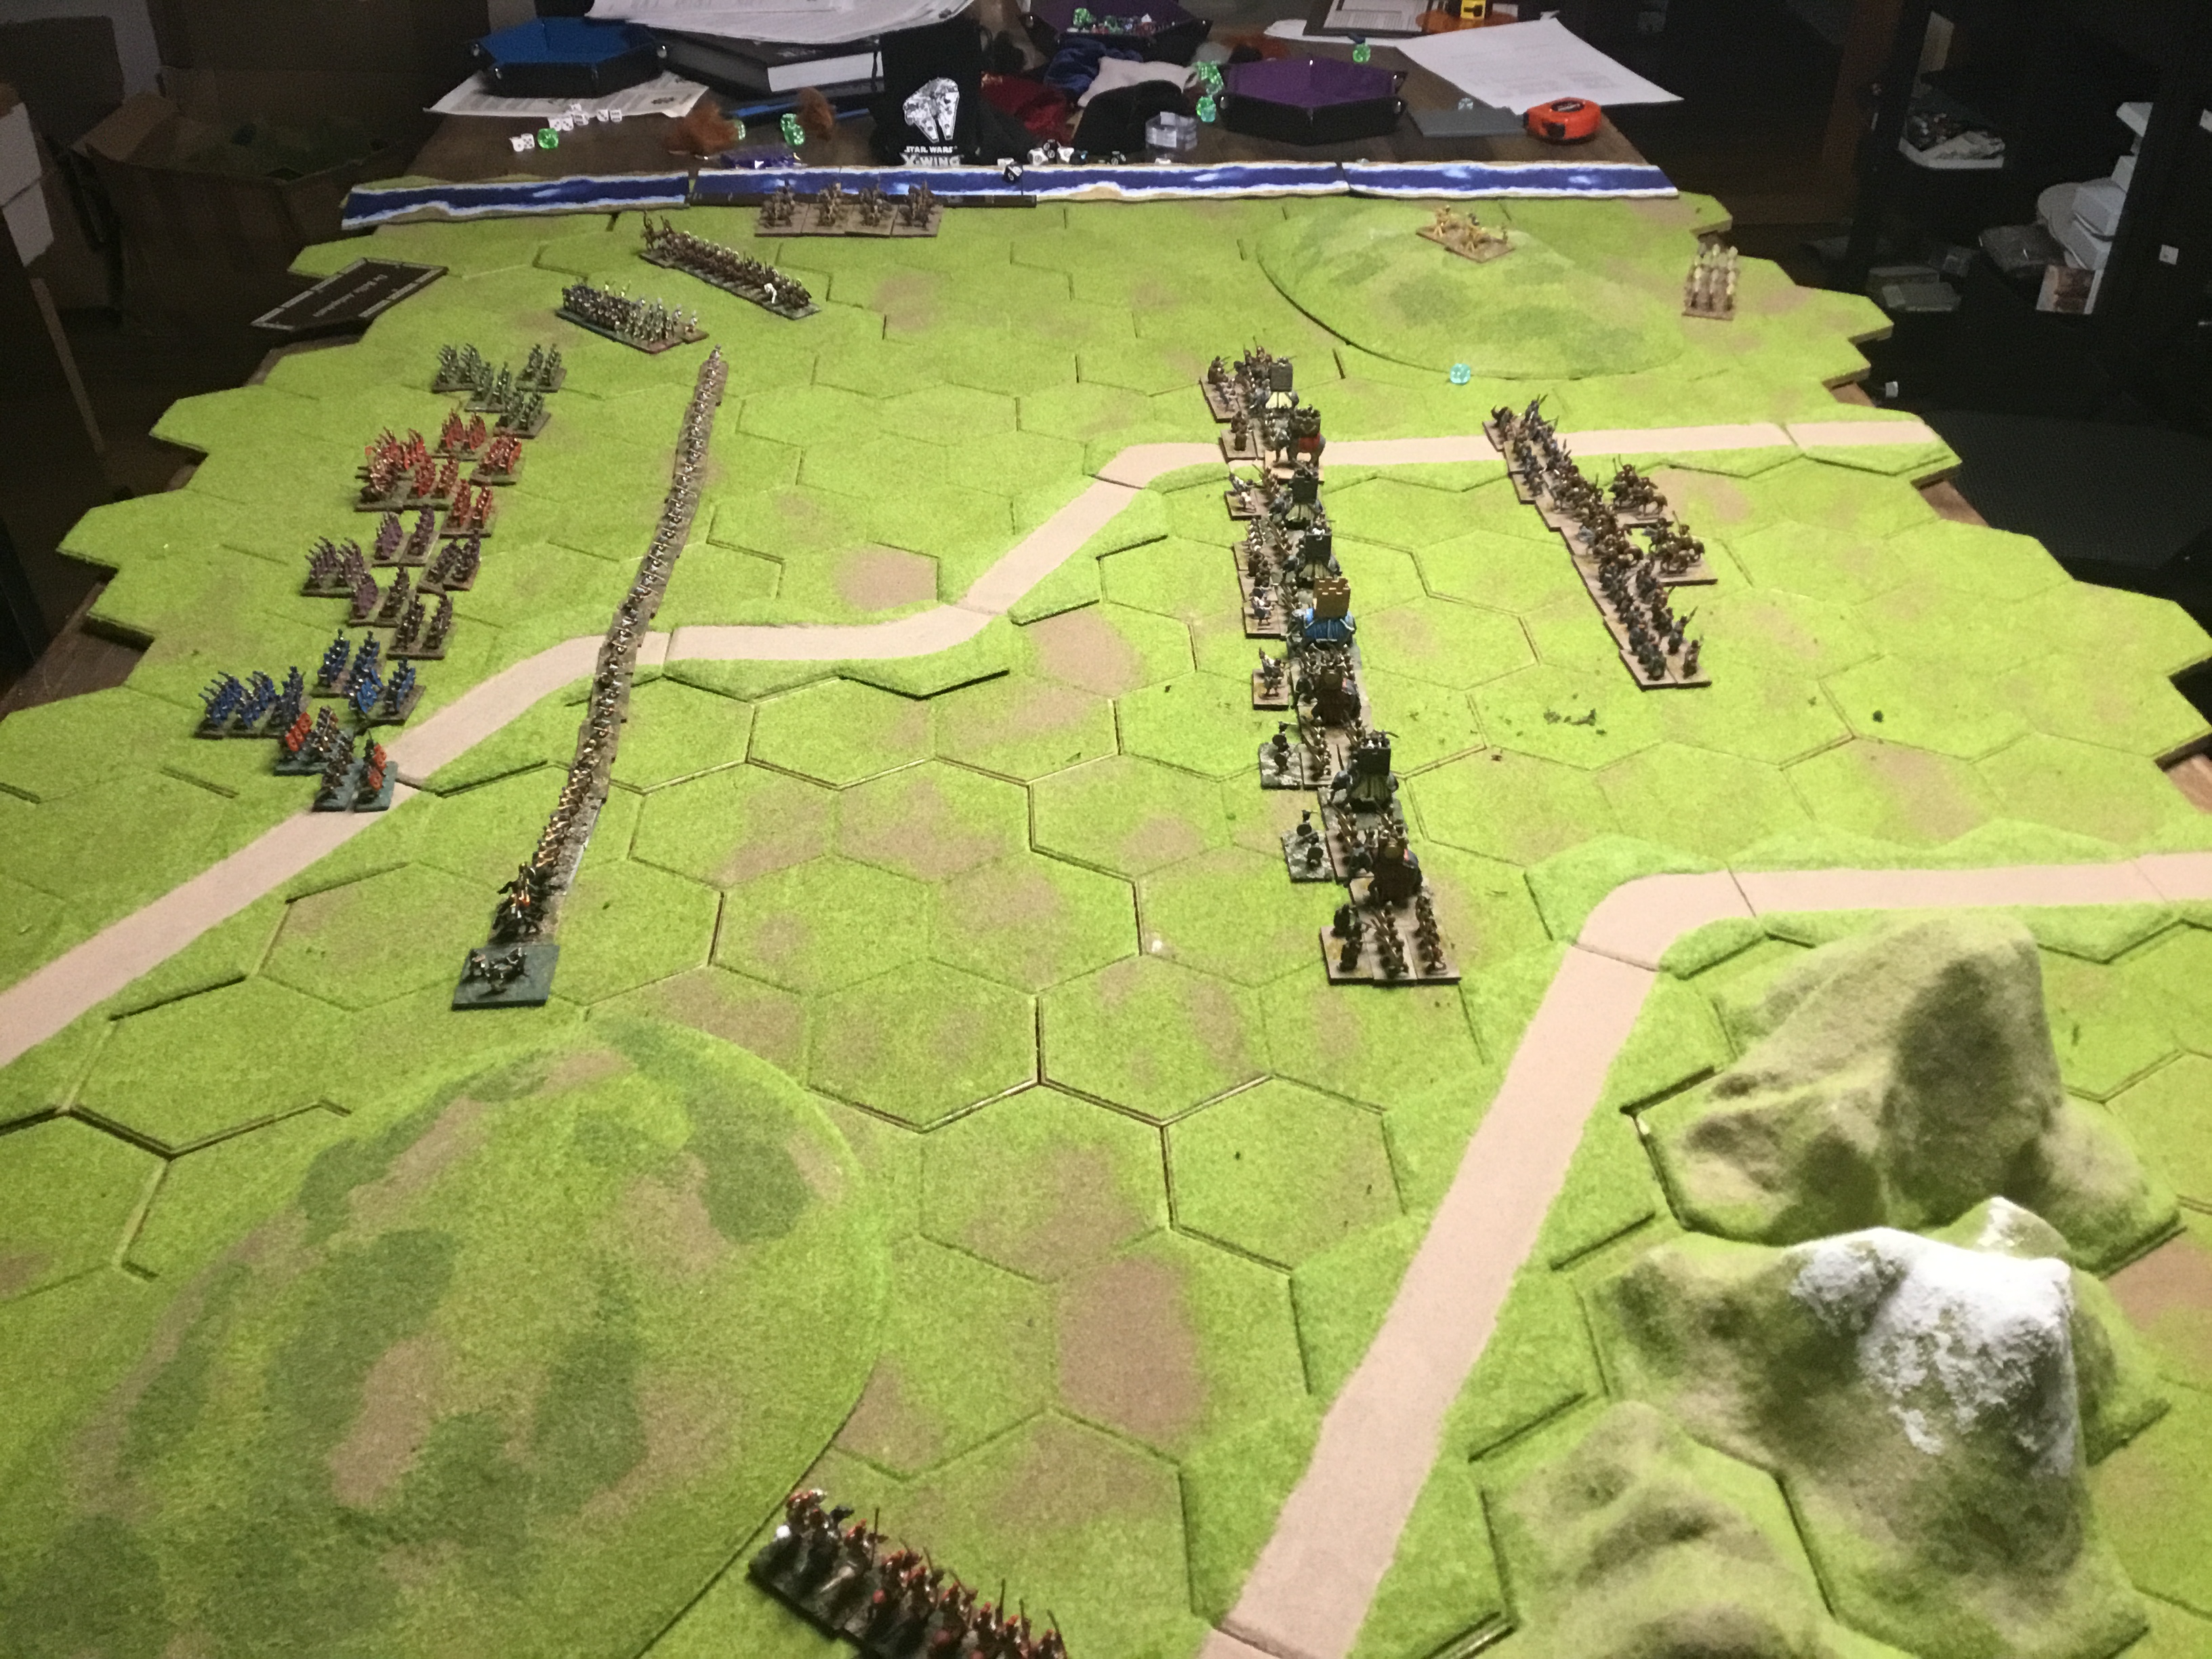
Bound 2

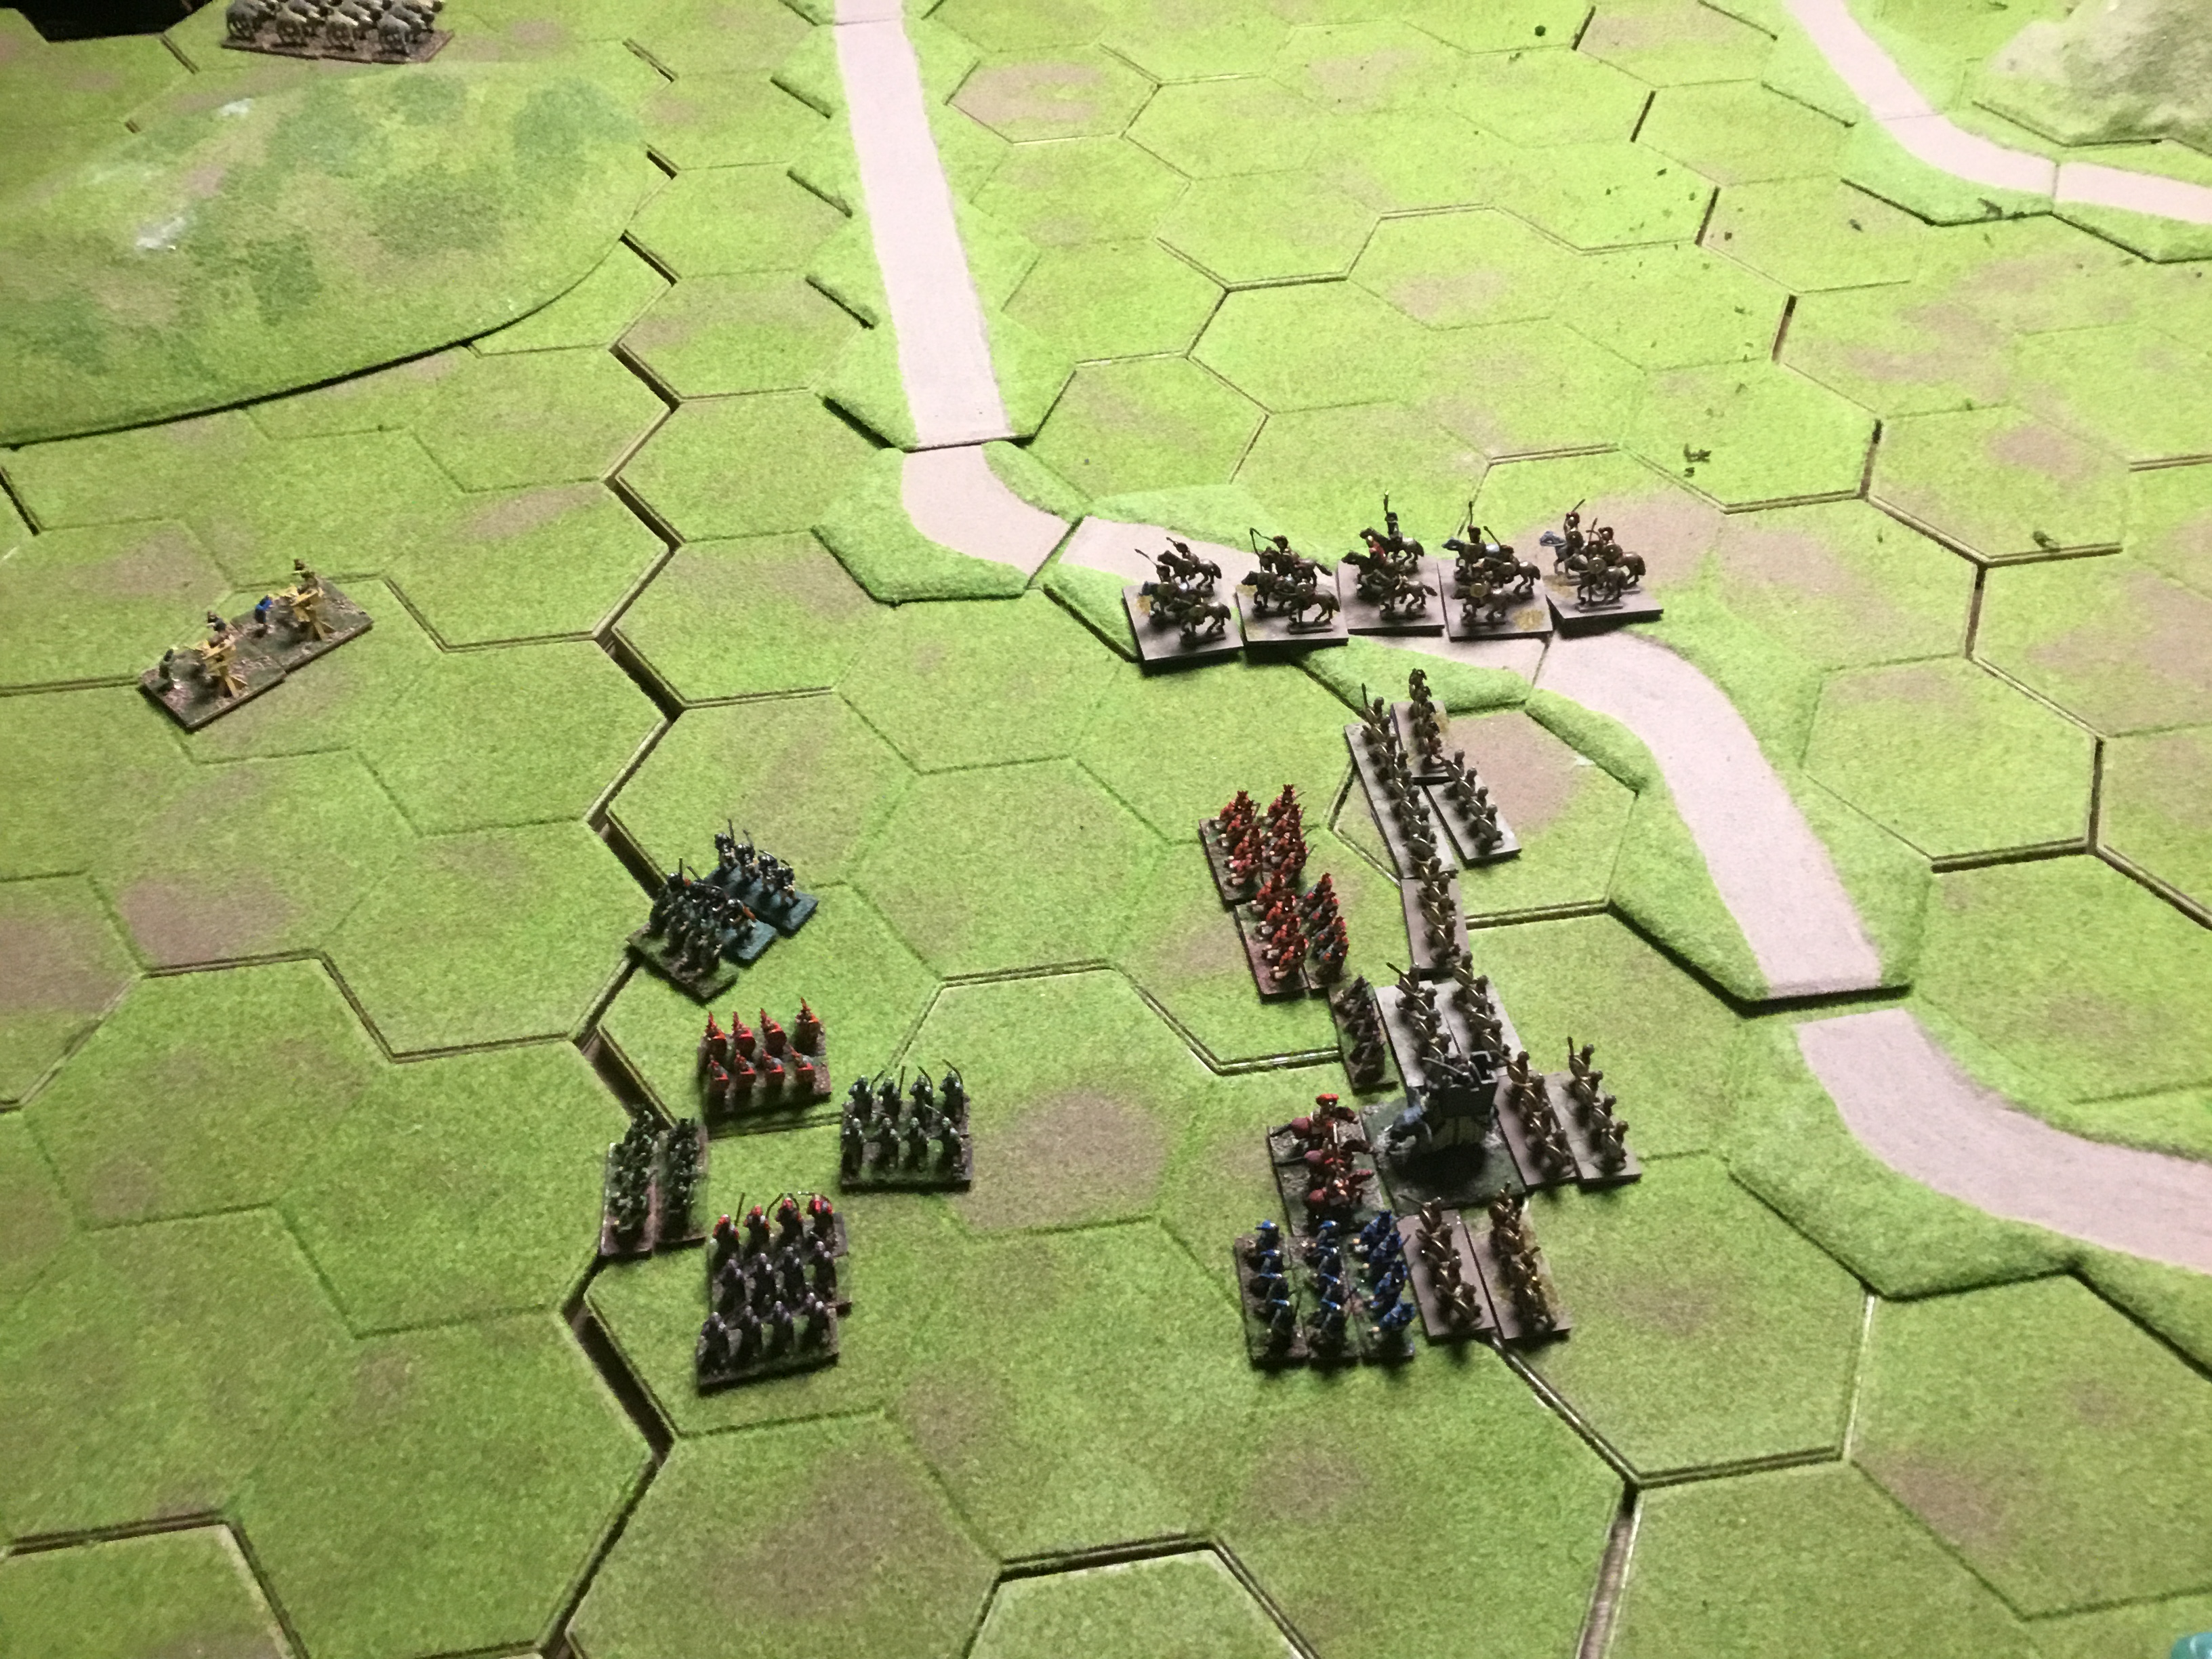
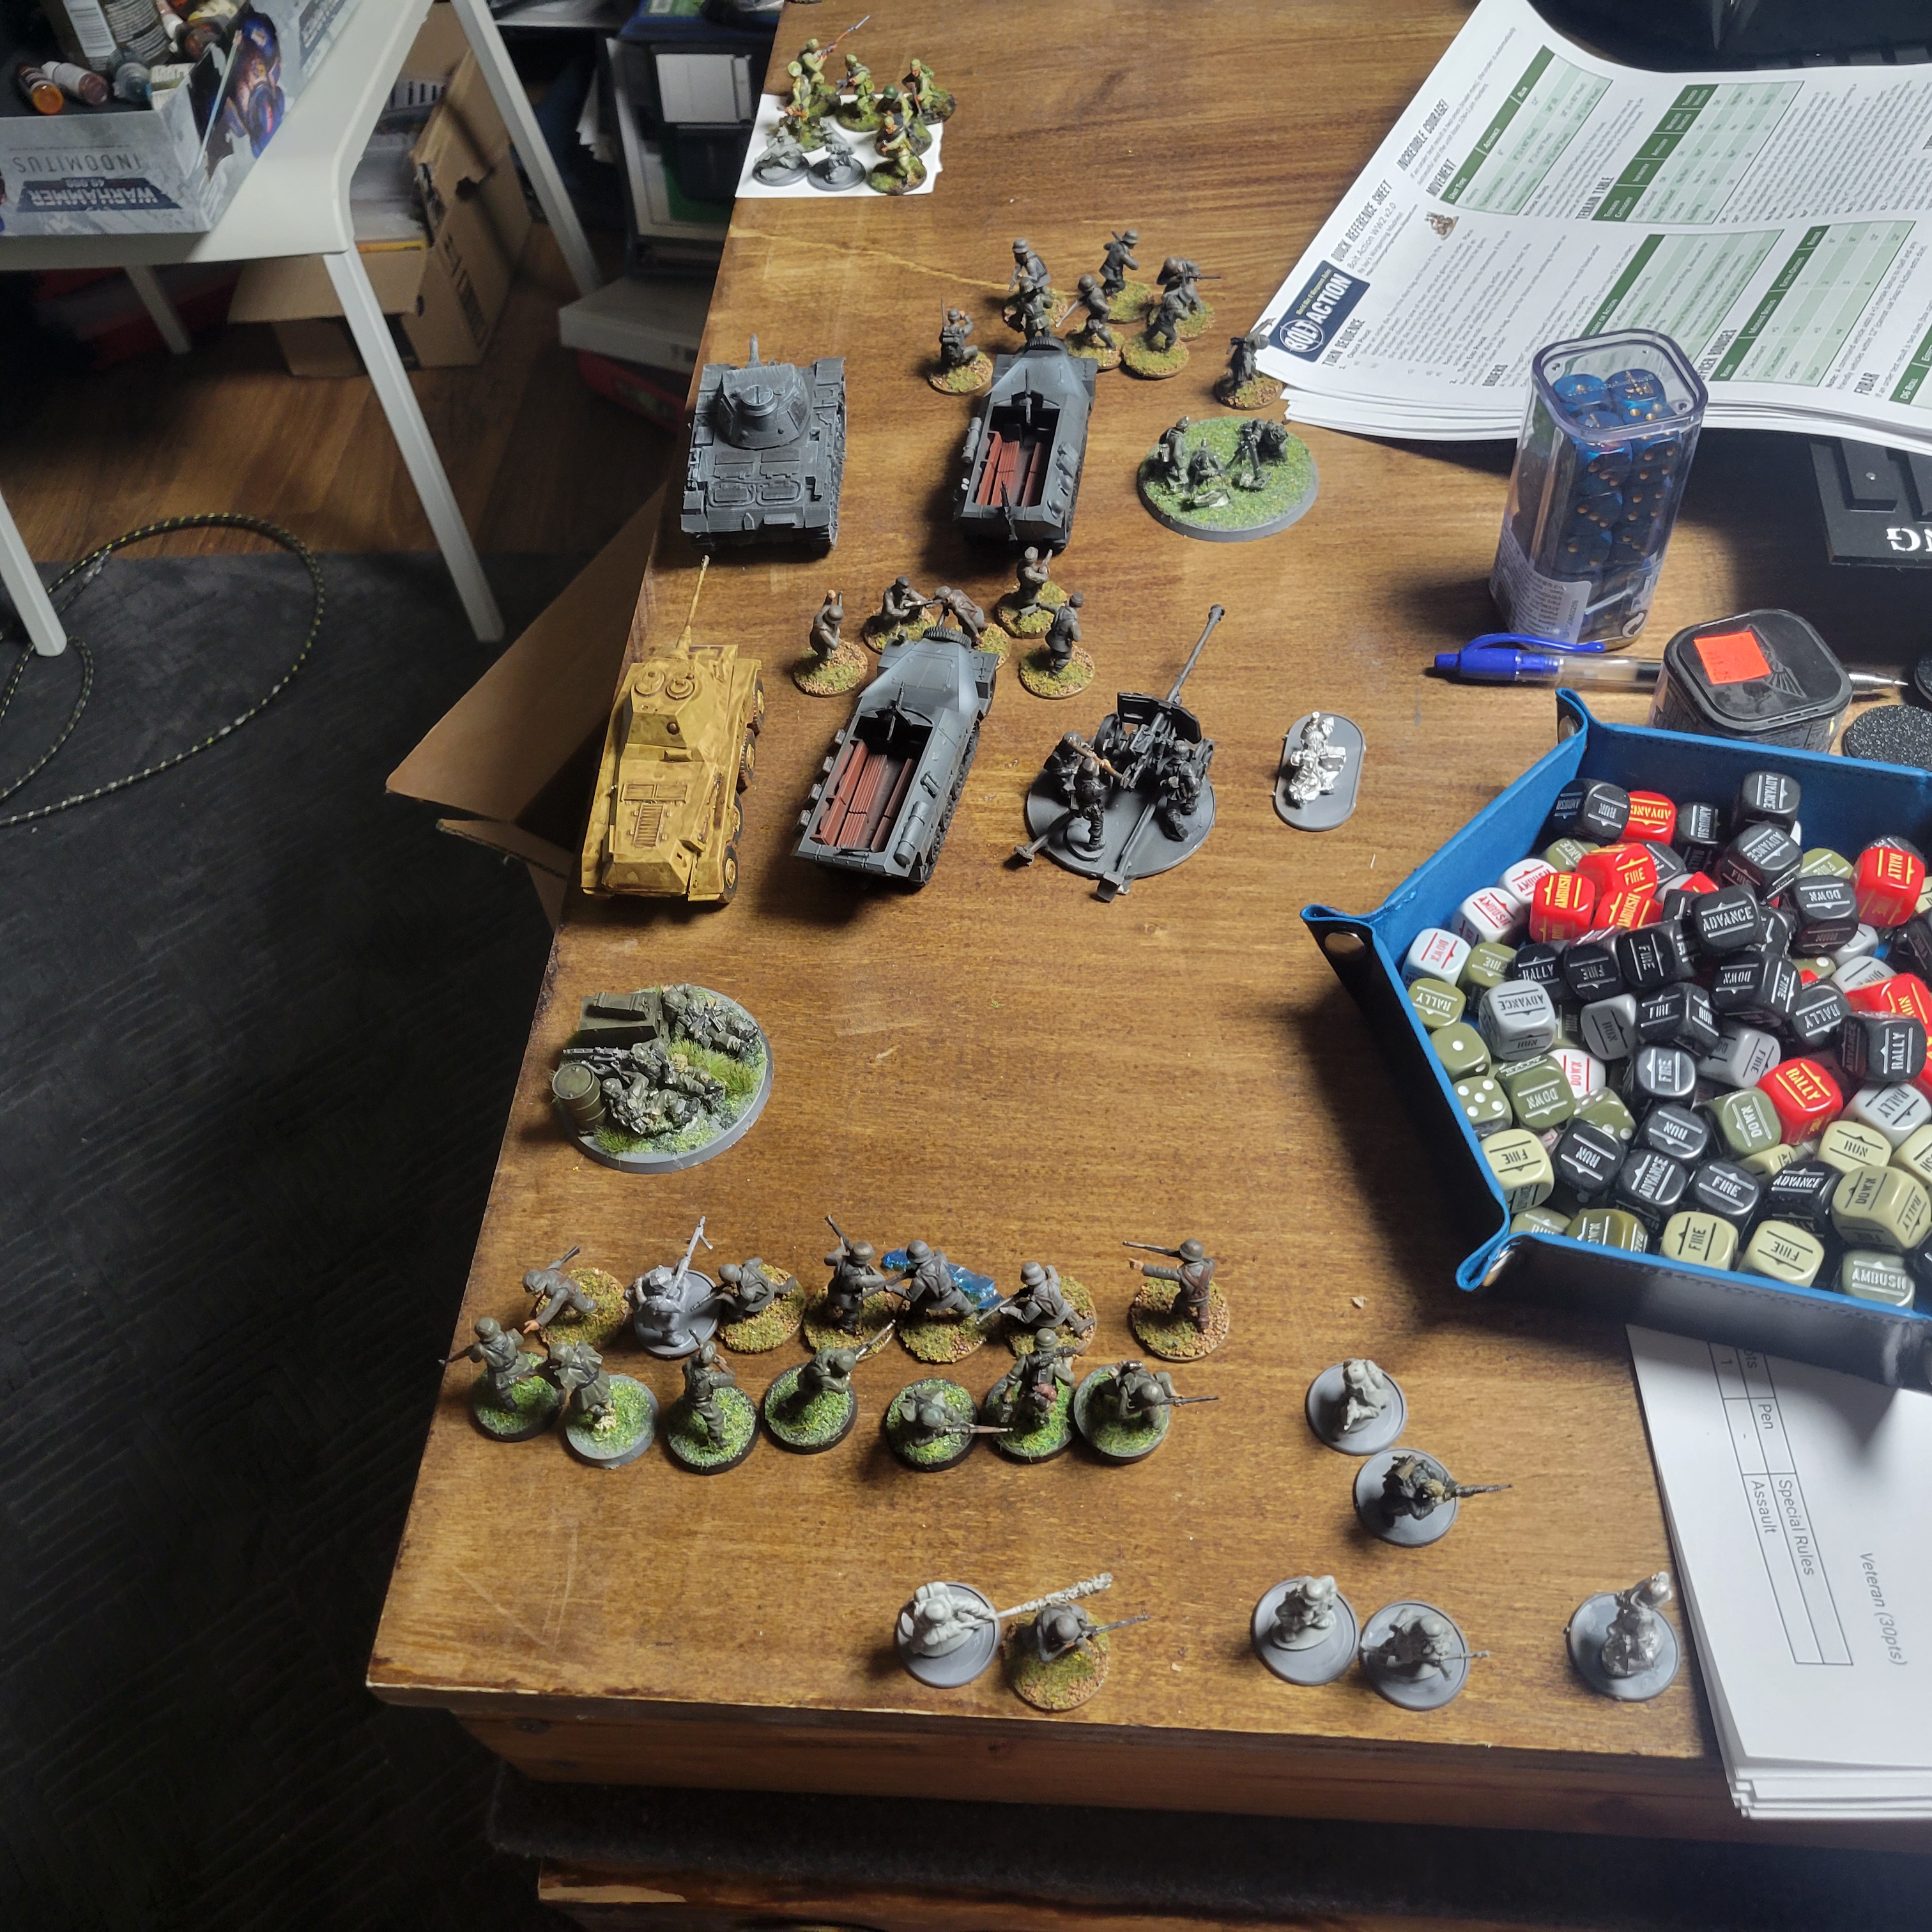
Rome seized the initiative and maneuvered their triari to take on the Carthage Cavalry. Carthage had to use their largest dice to counter the Roman cavalry threat.

Bound 3

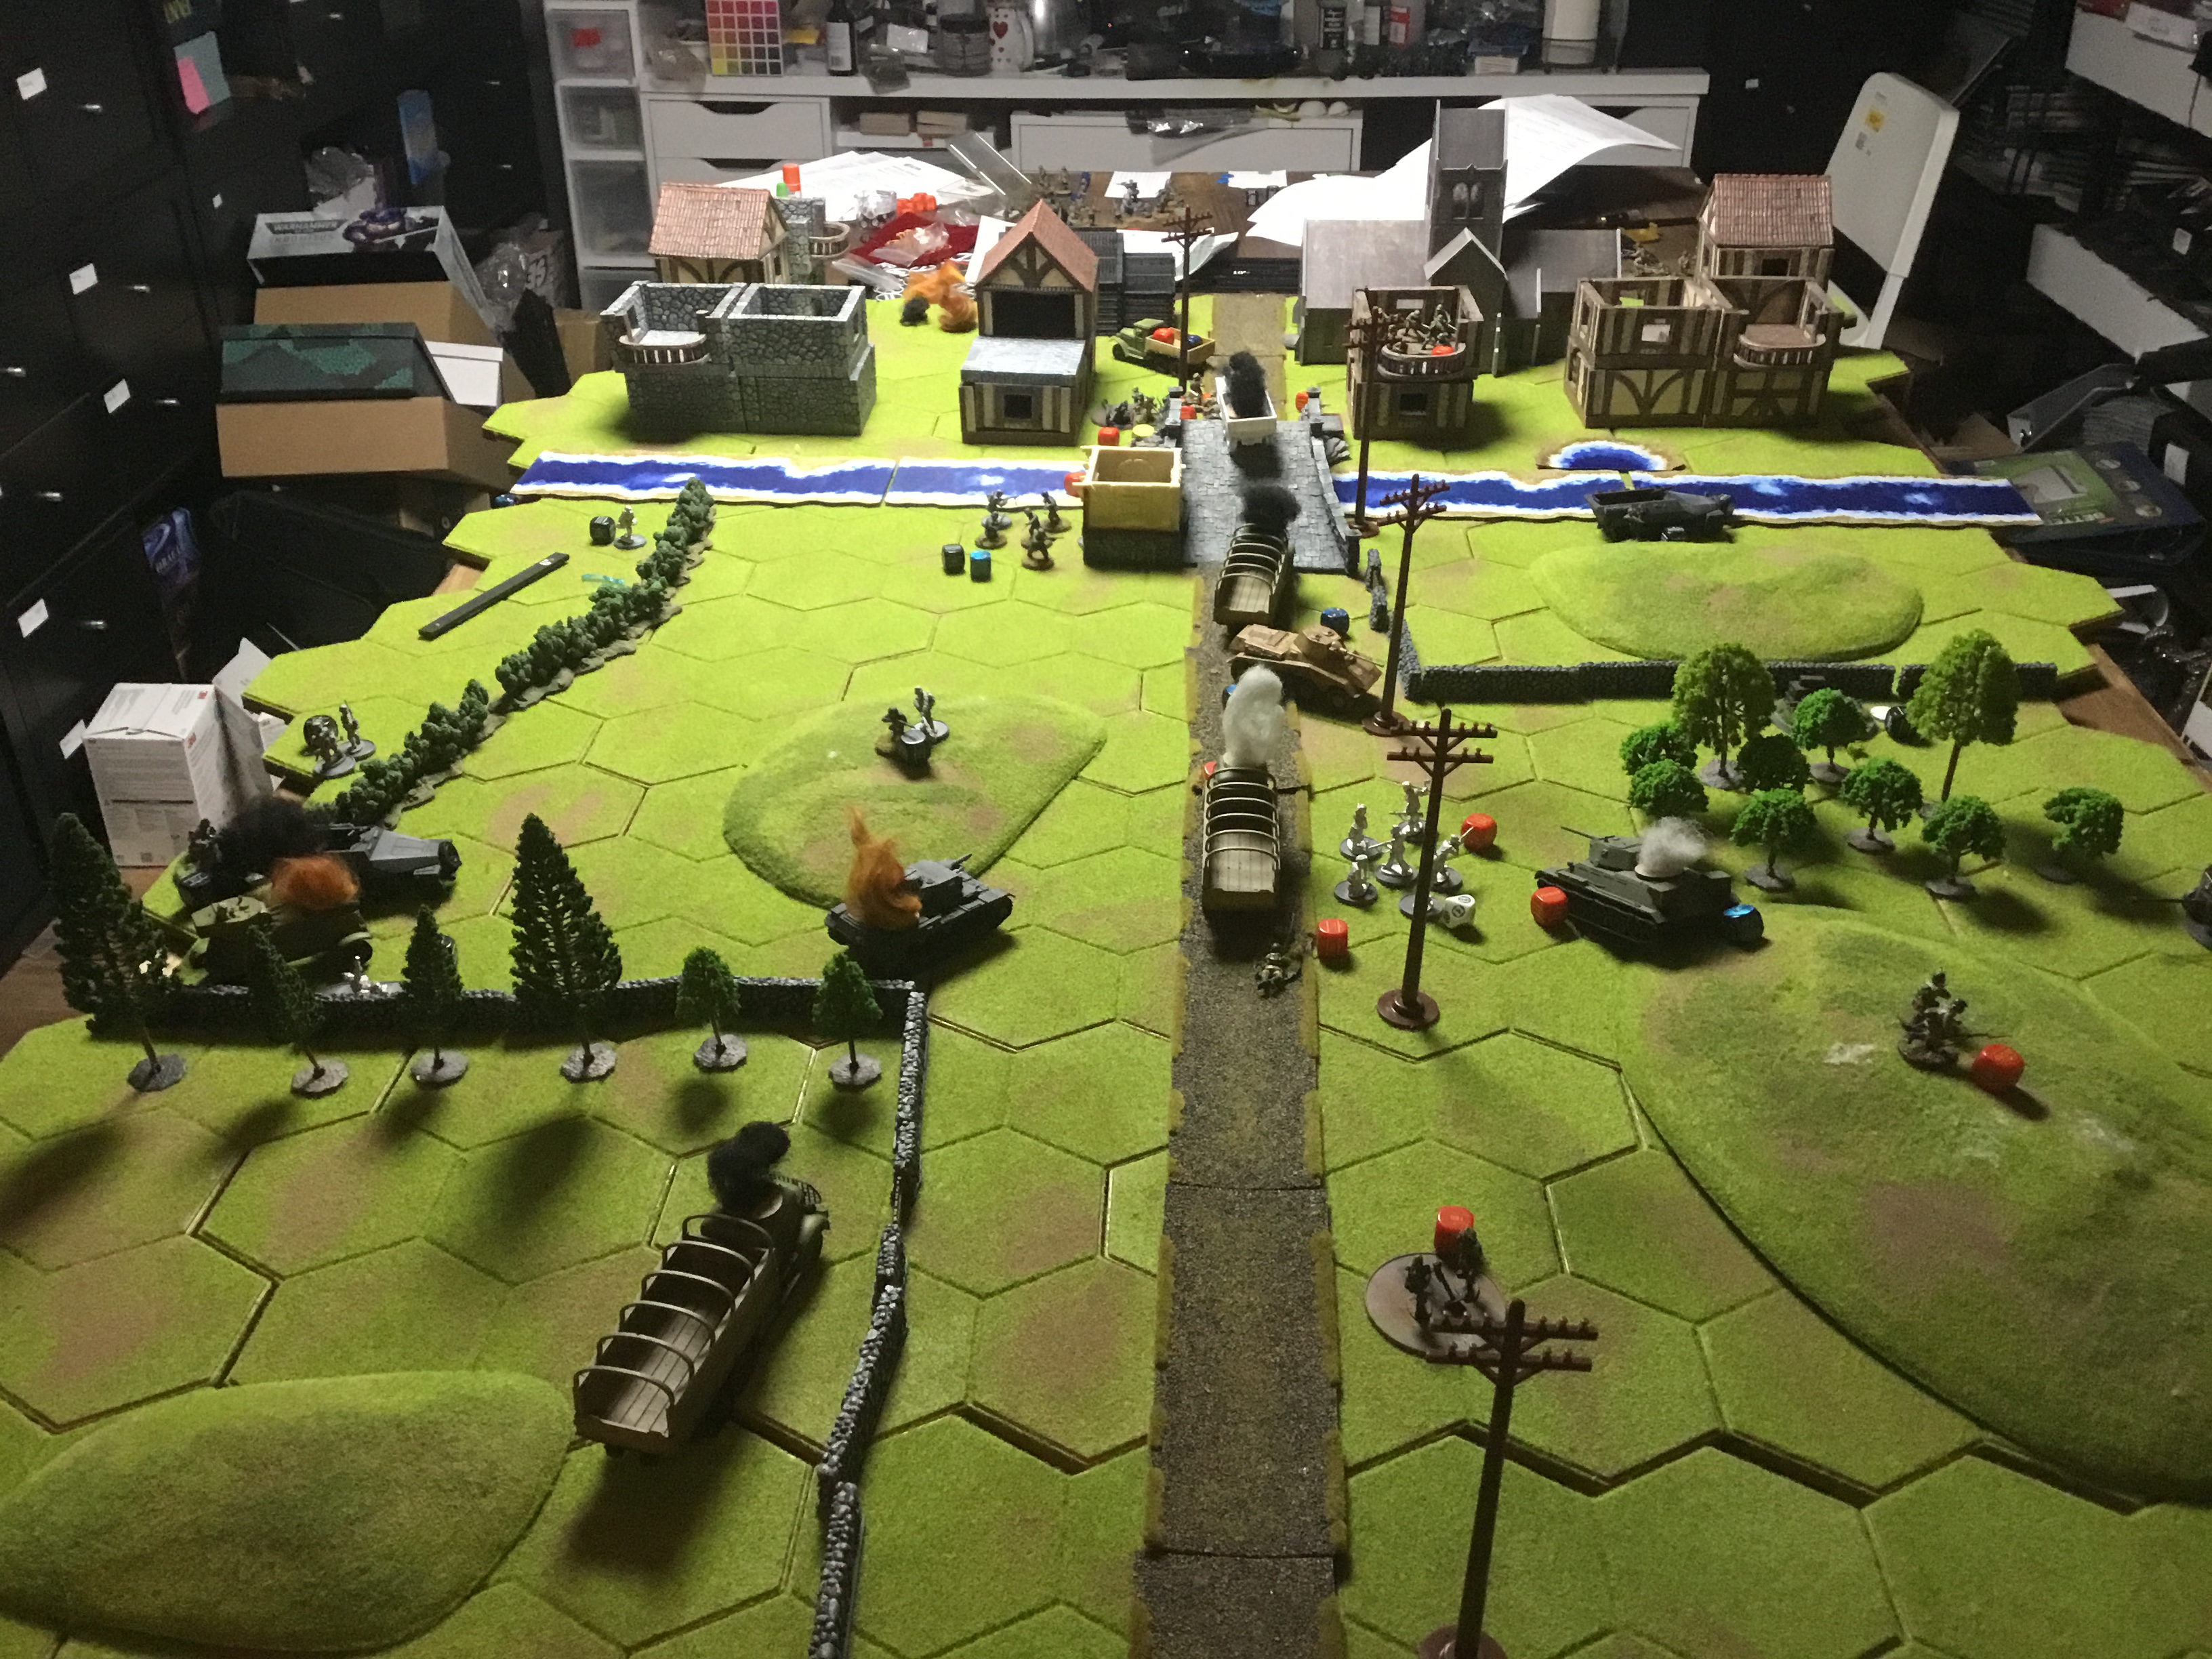
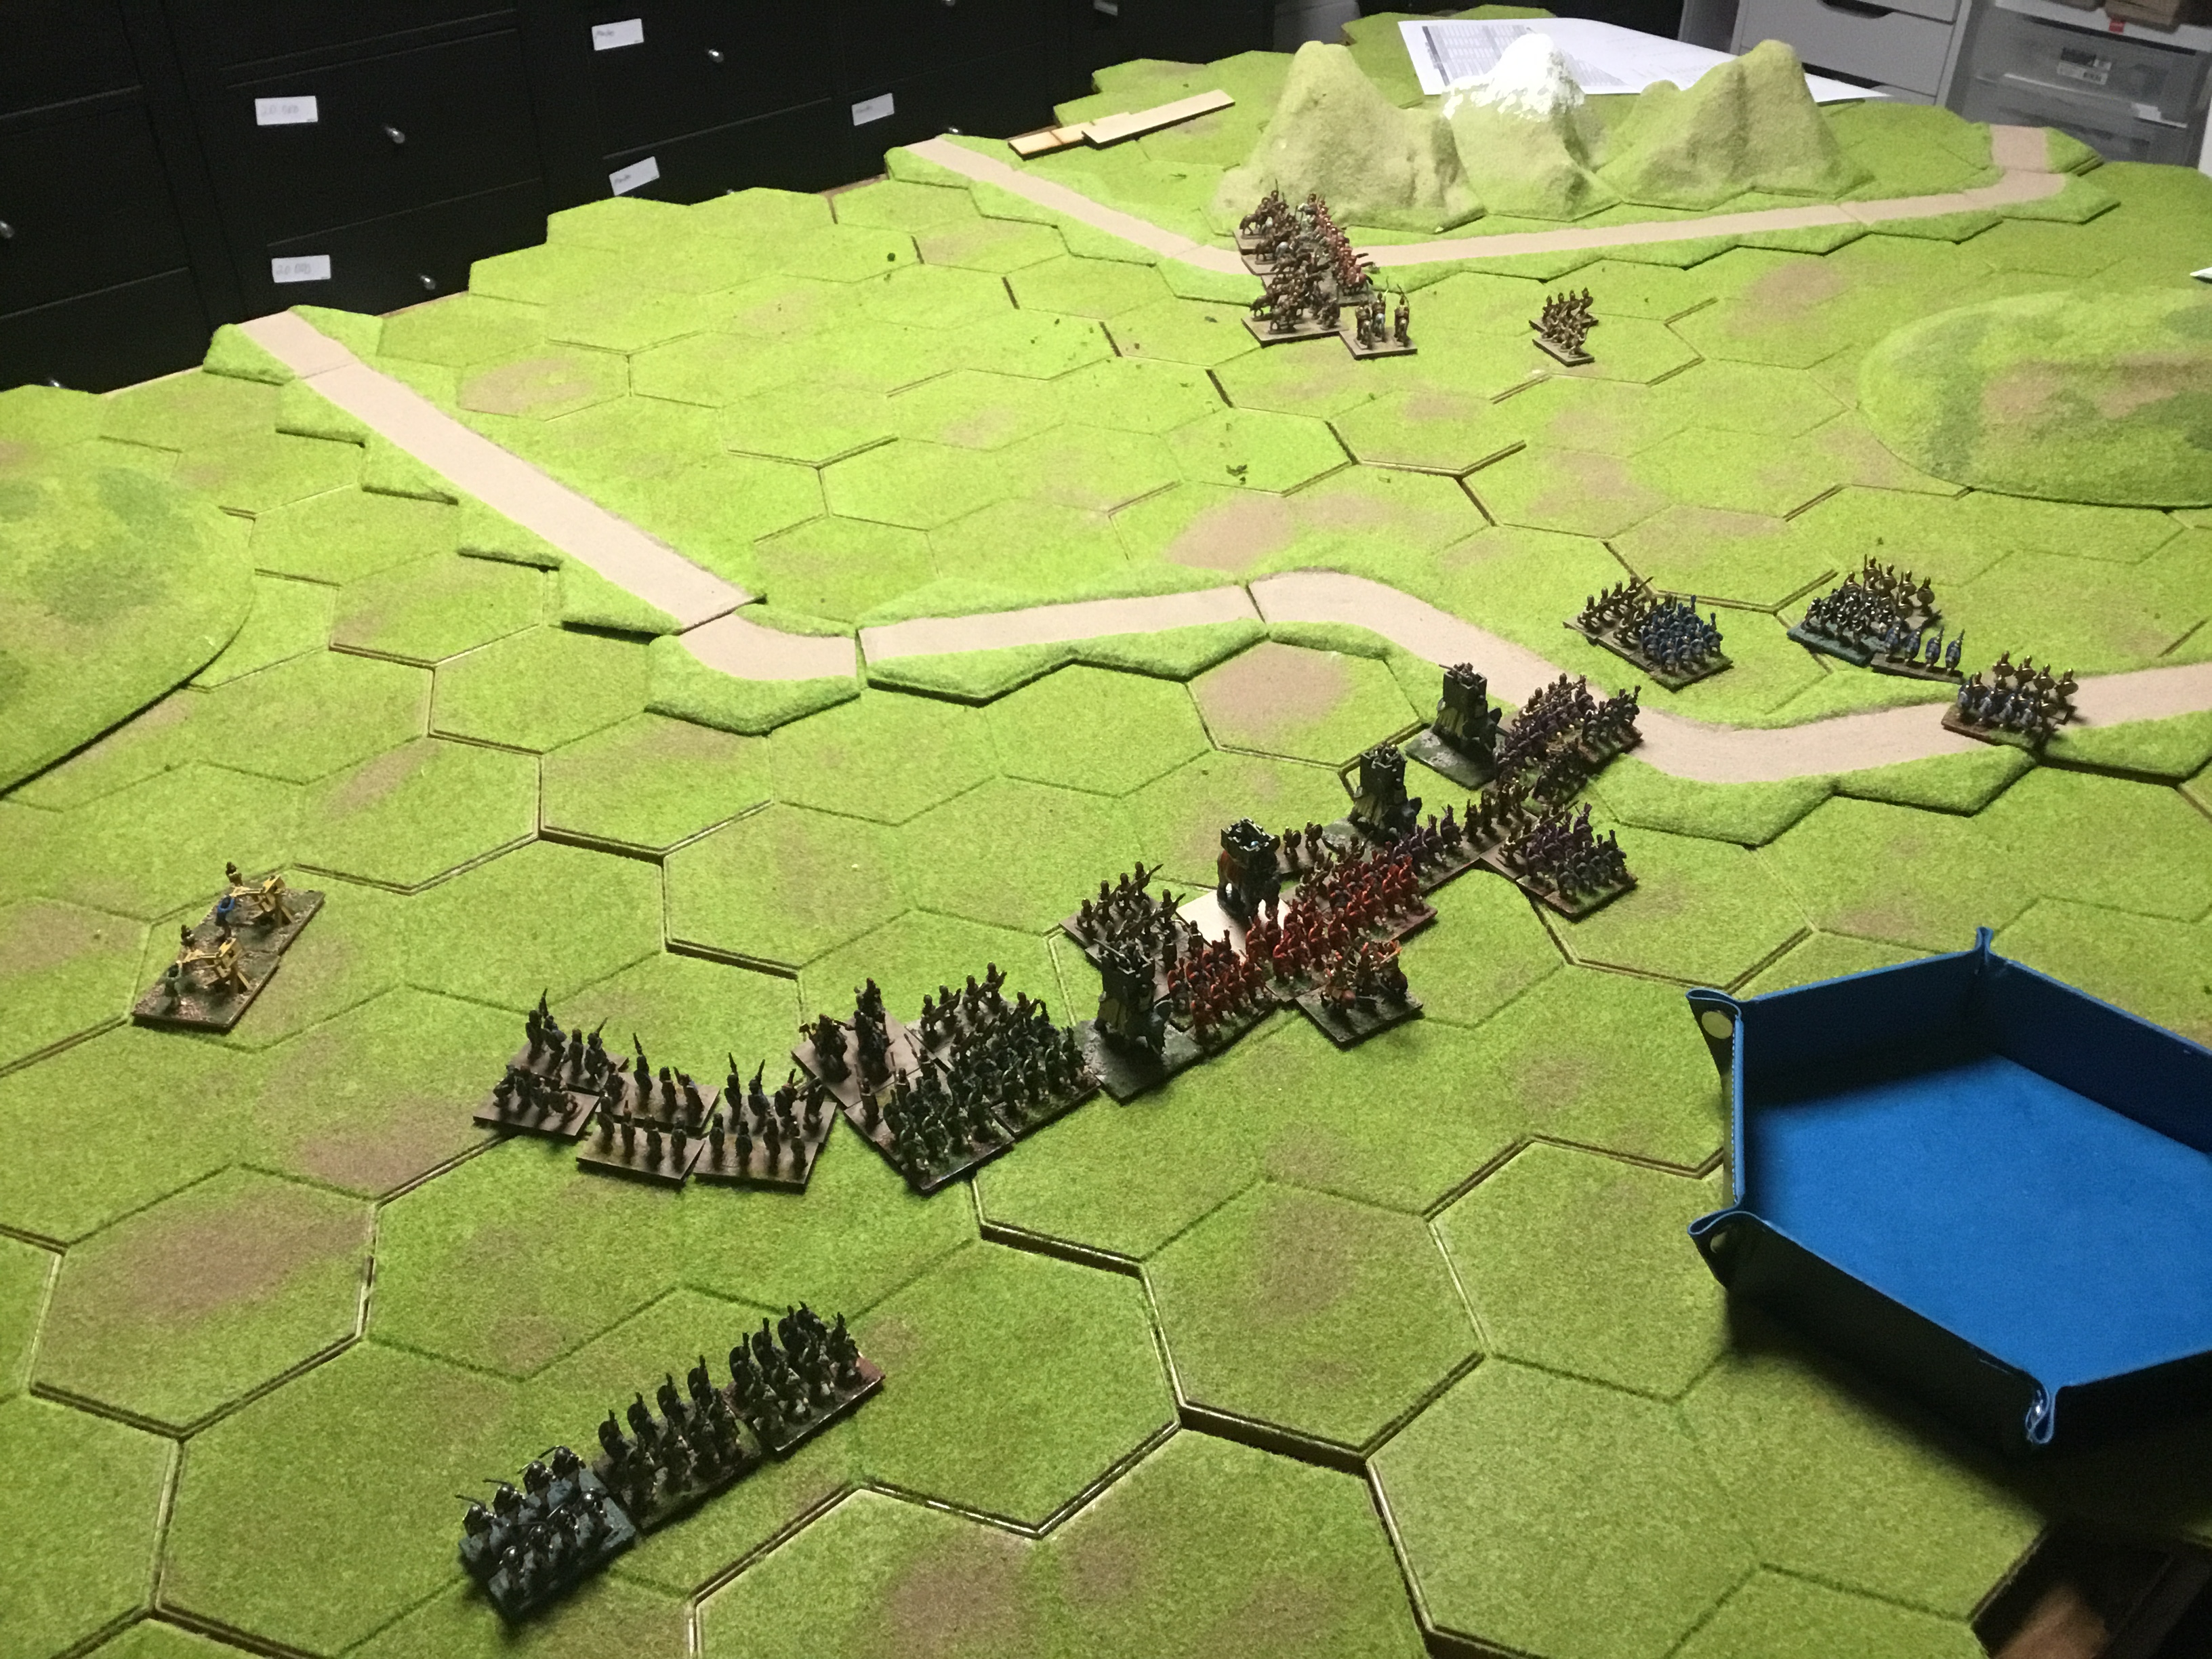
The two flanks become a mess. Spanish mercenaries take on the Roman cavalry hoping to delay long enough so the main force can break Roman lines. The Carthage Cavalry nears victory when the triari arrive.
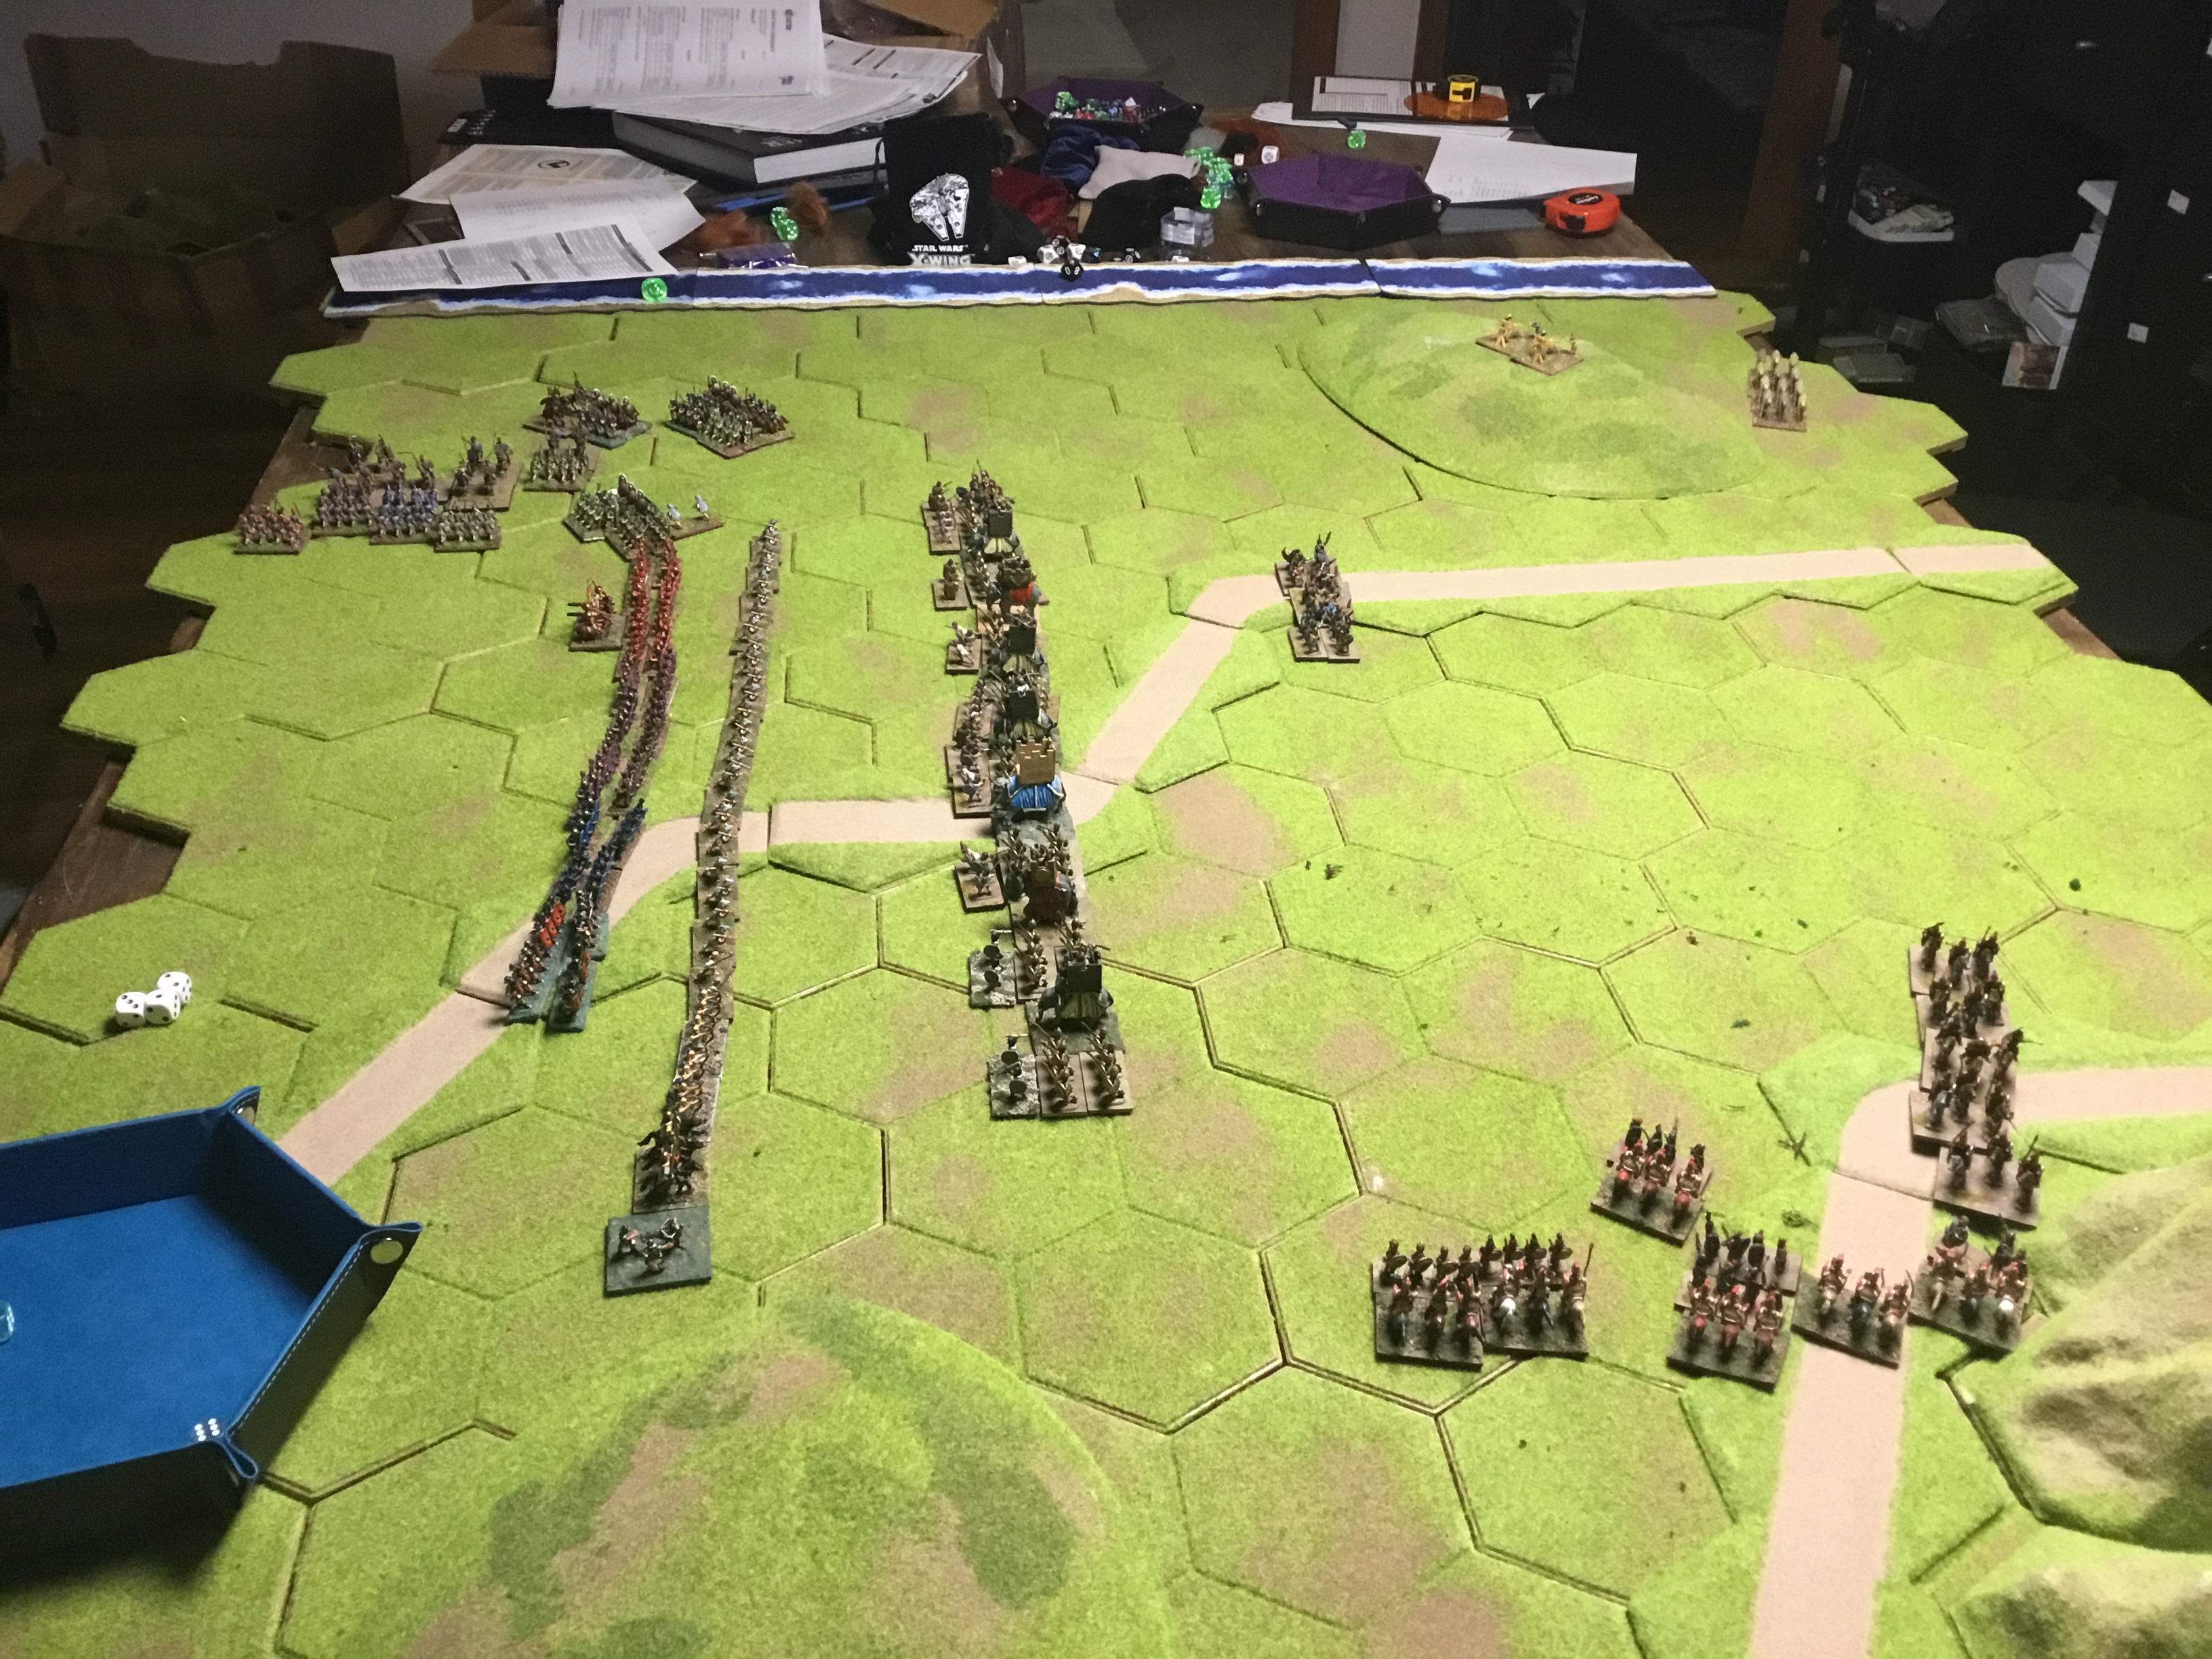
Bound 4

I must have missed the picture… the lines have crashed together, the Carthaginians sweeping away the Roman skirmish screen.

Bound 5

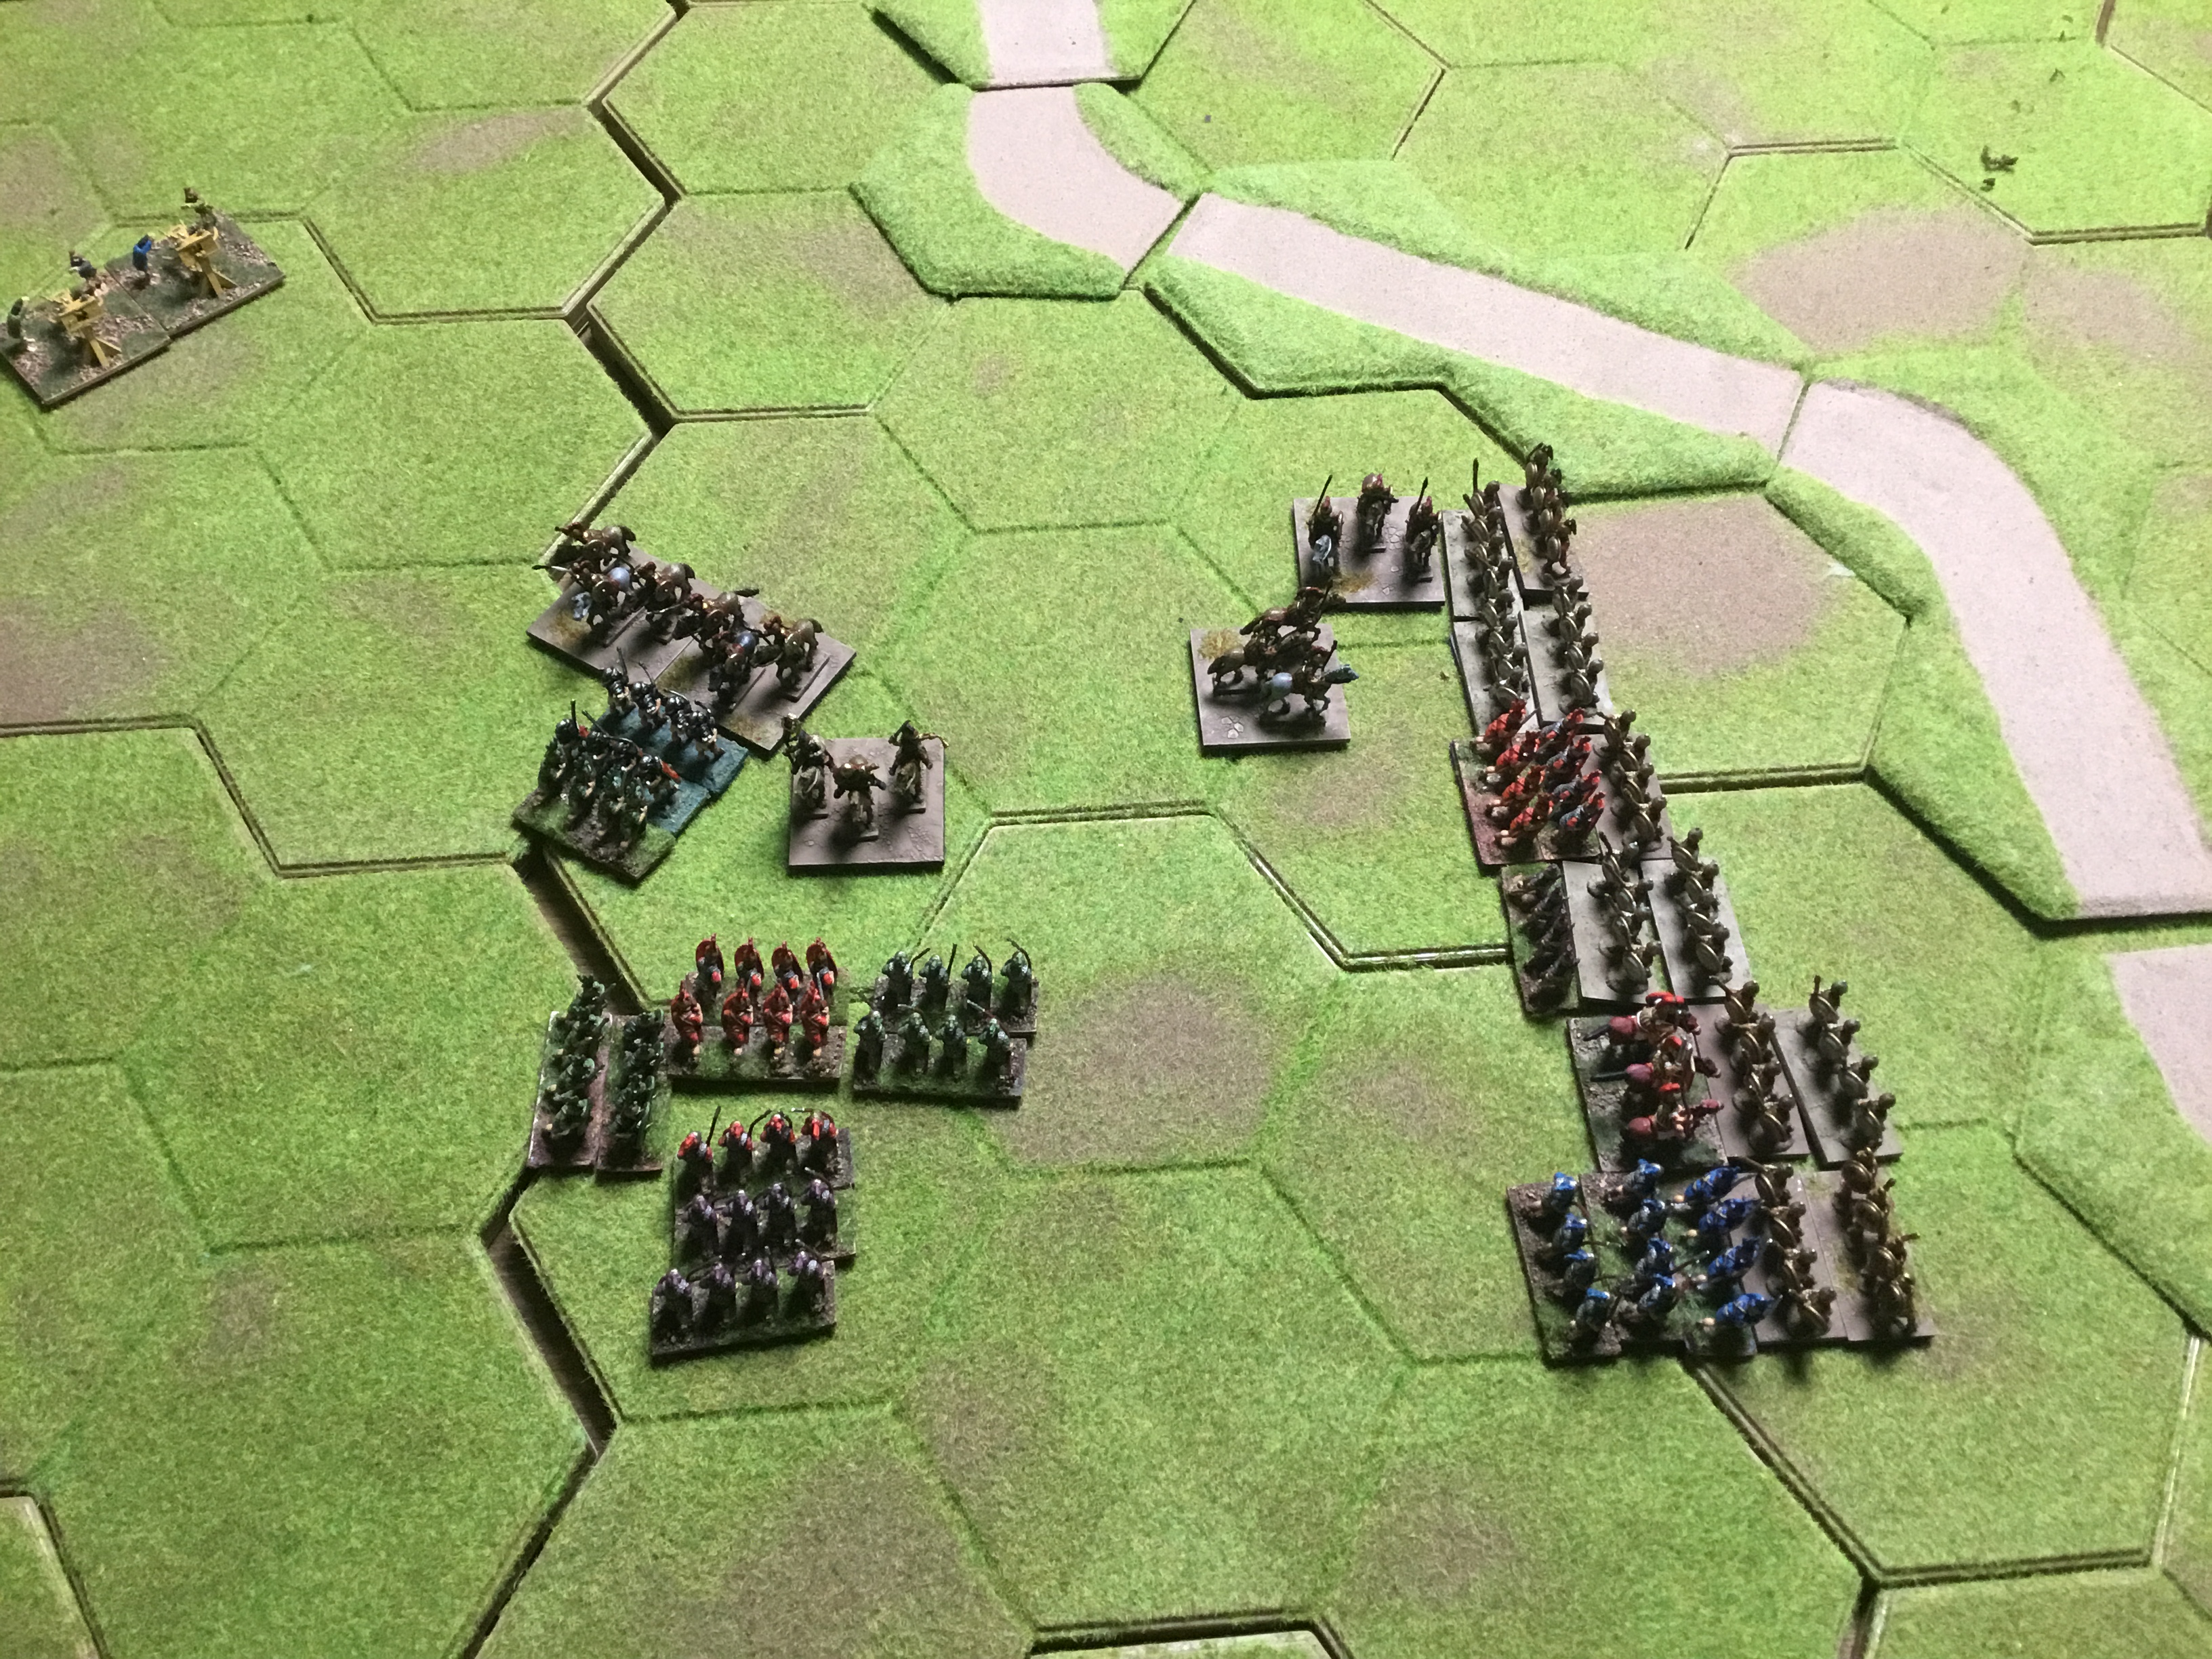
The Spanish mercenaries are holding while the Carthaginian Cavalry attack failed miserably. The Roman lines are on the brink of collapse.
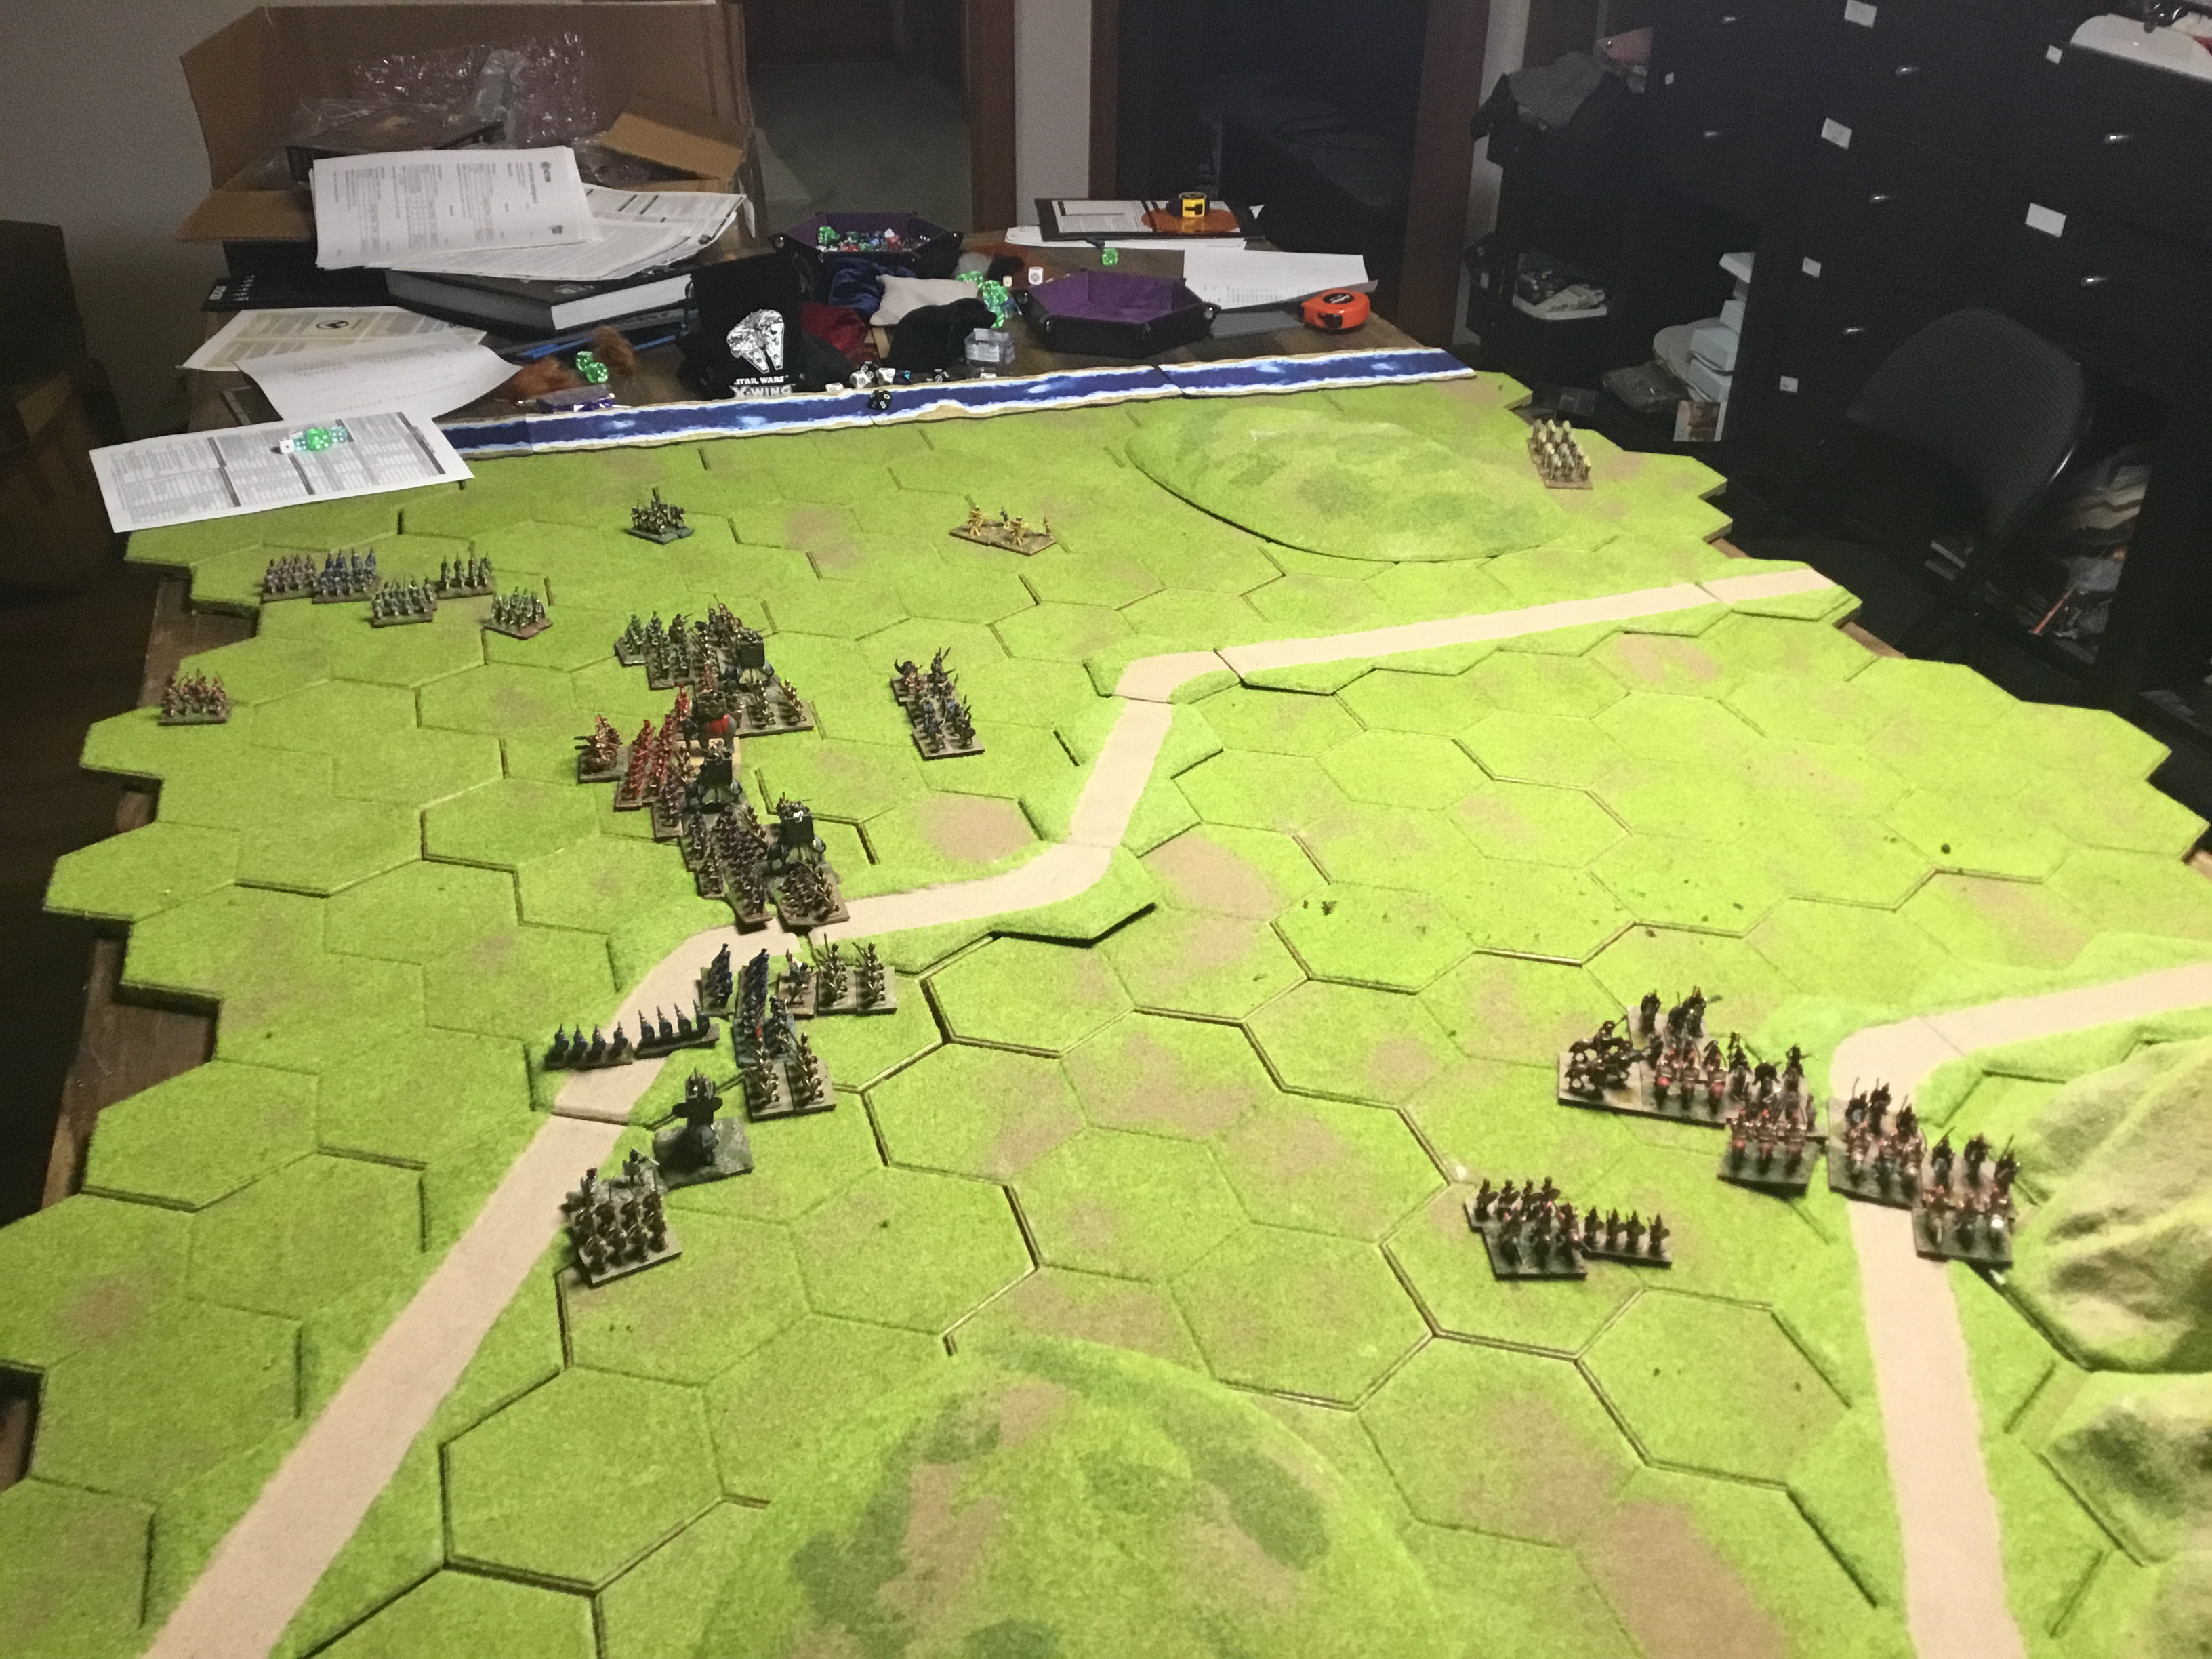
Bound 6

Both sides have lost commands, and the Roman Cavalry and Spanish Mercenaries continue their death grind. The Romans stabilized the line using the left over trari.

Bound 7

Technically, battle was over at this point, Carthage destroyed enough units to win. I kept playing because I was enjoying myself.

A few more images are below of the continuation. I will most likely play another game soon, Greece vs Persia, or maybe 100 years war. We shall see.

Stalingrad Scenario 2 Dawn Crossing Battle Report

My second scenario, Dawn Crossing, was a complete disaster for the Soviets. The first scenario was a near run, and the last throw of the dice was a thrilling encounter. The second was over by turn three. Turn one, I thought the Soviets would do well despite being outgunned 2:1. 60% of German boats were destroyed. Turn two saw tremendous luck, where basically every German artillery unit that could hit did hit. Destroying or pinning essentially every Soviet Unit.

I didn’t particularly like this scenario. The openness on the Soviet side of the board meant there was very little maneuver, and it was just sit and shoot, in this case, get shot. I thought there was a little more depth that could have been added as far as reinforcements.

Final score, six Soviet Units were Destroyed, and 3 Units on the bank for 9 VPs for the Germans. The Soviets had 3 VP.

The Rules Basics

On a 4×4 table, the Germans are attempting to cross a 9″ river. Every unit on the Soviet side of the river gains 1 VP; additionally, every destroyed earns them 1 VP. The Germans get twice as many points as the Soviets. The Soviets should have between 500 and 700. The Soviets could begin the battle dug in and in heavy cover. Germans may start with a preparatory bombardment.

Army Lists

Germans127513 Order Dice
Leutnant50
Heer Veteran Infantry981 Soldier, 1 LMG
Heer Infantry1003 Soldiers, 1 LMG
Artillery Forward Observer100
Heer Pioneer Squad106Vets, 2 Soldiers, 5 SMGs
Panzergrenadier Squad159Regulars, 5 Soldiers, 3 SMGs, 2 LMGs
Heer Pioneer65Veterans
MMG50
MMG50
Heavy Mortar75
Sniper50
Medium Artillery, Howitzer85
Panzer IV B,C,D,E,F175
Sturmboot 39’s (2) 52 (26 Each)Regular
Schlauchboot 3m (3)60 (20 Each)Regular
Soviets63711 Order Dice
Free Rifle Squad011+Banner
2nd Lieutenant421 Attendant Inexperienced
Light Machine Gun Squad50Regular
Veteran Squad1462 Soldiers, NCO SMG, 2 LMGs, 1 Panzerfaust, Tough Fighters
MMG50
HMG70
Anti Tank Rifle30
Medium Mortar35
Zis 3 Divisional Gun80

My Strategy

The Germans deployed first. I wanted all my units to hit the river immediately and force the Soviets to divide their fire. I did use the preparatory bombardment to try and pin some of their Veteran. I wanted to use the mortar, howitzer, and tank to soften their center.

For the Soviets I placed machine guns covering the most dangerous rafts, I used my veteran unit with two LMGs to cover a third boat. I put my two regular units farther back to cover where the Germans might penetrate. I wanted my militia squad to hold their side well. I placed the AT gun where it could cover the opposing tank as it hit the wooded area.

Turn One

The prep bombardment didn’t go well. All the German artillery strikes were misses. The veterans and two machine guns were able to destroy both boats and a raft, leaving only two rafts left. This stranded the German MMGs on the opposing bank. The Soviets inflicted solid casualties.

Turn Two

How quickly a game can turn on a few dice rolls. The German artillery observer did work on the center. The Mortar Hit, the tank approached the tree line, giving the Germans four machine guns to inflict damage and pin markers on the Soviets. Both Veterans could land on the Soviet side of the bank and survive. The other units provided cover fire, pinning most of the Soviets, who took heavy casualties. The reserves tried to move forward and were quickly gunned down as they couldn’t make it to heavy cover.

Turn Three

At this point, the game was basically over. The Germans were inflicting tons of casualties and taking very few. Most Soviet units were hopelessly pinned down. The raft returned to the German side to attempt another pick-up. (It was probably against the rules.) A German Sniper killed the Lieutenant.

Turn Four

More Soviet casualties as they lay in their foxholes. The AT Gun was able to put the German panzer on Fire. More Germans land on the bank.

Turn 5.

I did call the game here. Exactly one unit was able to complete an action, the AT Gun. As a side note, this was the only turn in which the Sniper did not kill anyone.

The End of Star Wars Armada and Xwing

I was surprised yesterday with a livestream from Crabok. He reported the end of Star Wars Armada (imminent) and Star Wars Xwing.

Armada didn’t surprise me. While it was one of my favorite games for a very long time. There hasn’t been a new ship released in years. I still intend to realize my Outer Rim Sieges campaign at some point. I have many of the rules written. It is just disappointing to see it end. The most shocking bit is that Atomic Mass Games purchased the game from Fantasy Flight and then did nothing. The same thing with XWing.

I wonder if the creativity wasn’t there? They blamed things on COVID, but that doesn’t jive. Xwing was pretty well covered, as far as cannon ships go. They could have gone in many more directions with legends or new pilots. I remember Xwing being one of the best-selling games for years. I know there was money there. It is just a disappointing kill for games.

Armada, on the other hand, had tons of options and places they could go. I can think of 10 ships that played a major role in the Clone Wars that were not instituted. Lucrehulk, of course, diamond corvettes, the federation ship that was a ball split in half, stealth ship, Naboo class frigate, and a couple other cruiser-style ships for the republic, just around disappointing.

The hardest part is I know Armada wasn’t selling well. You couldn’t just attend your FLGS and buy expansions for it. Getting new people into games is hard if you can’t see them on shelves. The same thing is happening with basically any non-GW game right now. You could buy X-Wing at Wal-Mart during its peak. The game was immensely popular, and there were many competitive events, just ugh.

Maybe a group of 20 could get a Patreon and restart the games? Buy the license for just those two games. It seems to me like money could be made there.

Stalingrad 1 Bolt Action

The first engagement is complete. I was surprised at how close the battle was. In the first two rounds, it felt like the Germans were simply wiping the Soviets off the face of the planet. As the game progressed, though, it was a curiously close affair. I usually find in miniatures games that once one army is decimated, it just snowballs and gets worse.

Scenario Review

A thrillingly close game that came down to the last-order dice. I could have constructed both lists differently to optimize for the scenario. I was pleased with the idea and the thrill of combat. I liked the terrain setup and the distances. It played really well.

The army lists are as follows;

Germans1167Gates of Stalingrad
Leutnant50Regular
Here infantry905 Rifles 1 LMG 1 LoaderRegular
Panzgrenadier975 Rifles 1 LMG 1 LoaderRegular
medic30Veteran
artillery forward observer1001 ARRegular
Heer infantry1107 Rifles 1 LMG 1 LoaderRegular
heer pioneer771 Rifle 4 SMGSVeteran
mmg50Regular
medium mortar60add spotterRegular
flammenwerfer50Regular
sniper team50Regular
Anti-tank rifle team (removed)Regular
50mm pak 3875Regular
Sdkfz231100Regular
Panzer iii Ausf E,F1402nd MMGRegular
Sdkfz 7 halftrack44Regular

I based the German list on what an advancing army might look like. Mechanized infantry with early war armor support. Decent equipment. I could have made the squad sizes a little larger which would have brought me up to 1500 pts, as well as a few trucks, but this should make for a decent fight. I think the game plays well at 1250 to 1500.

Soviets Don Volga

Rifle Squad012 RiflesInexpierenced
2nd Lieutenant50SMGRegular
Veteran squad853 Rifle 1 LMG 1 LoaderVeteran
Rifle squad568 RiflesInexpierenced
commissar15SMGInexpierenced
assault engineer squad805 SMGsVeteran
rifle squad817 Rifles 1 FlagInexpierenced
rifle squad497 RiflesInexpierenced
veteran squad1034 Rifles 1 LMG 1 PanzerfustVeteran
Mmg35Inexpierenced
Dshk heavy machine gun team49Inexpierenced
Sniper team50Regular
Dog mines26Inexpierenced
Tank hunters20Inexpierenced
Medium mortar35Inexpierenced
Light mortar24Inexpierenced
45mm antitank46Inexpierenced
Ba20 Armoured Car52Inexpierenced
T-34156Inexpierenced
Truck31Inexpierenced

The Soviet list is based on an army in full retreat. Supplies and such were not a huge issue at this point of the war, so I was happy to give them full equipment. The Soviet army was also inexperienced at this point, which I reflected in the list.

Scenario Rules

The Soviets have to cross the river they get to VP for each unit to cross. The Germans had to destroy the units and get 1VP for each destroyed unit. The bridge can be rigged to blow by any infantry unit within 3″ of the bridge. If the bridge blows, the Soviets get 5 VP.

Round 1.

The Soviets deployed as instructed on the far edge of the river. An AT Gun and a squad of rifles sit near the bridge as a garrison unit.

The German’s 3 Waves are shown here.

1 Panzer, 1 Halftrack Loaded, and the Mortar

1 Armored Car The other Halftrack, the AT gun, is very important for later the forward observer

Last 2 More companies of rifles, the MMG, Flamer, Sniper, AT Team and Medic

I was happy with how the field of battle turned out.

The German came to the table fast and hard despite having 6 fewer order dice. They also deployed well away from any units considered a threat. Their tank quickly knocked out a truck while the rifle company immobilized another. The immobilized truck in the front carried the people’s militia squad, which I am using as the free Soviet Rifle squad from their rule. The quantity and quality are all on their own.


Round 2

The Germans continued their assault on the Russian convoy. Destroying another truck right at the base of the bridge. A very timely shot from the German AT gun. I said earlier that the German forward artillery observer would play a huge role, and he really did. He was the first unit the Germans brought in for Wave 2, and the artillery strike was beautiful. Well placed, hit on target, and pinned 6 units down at the center of the field. The Soviets were able to inflict a couple of casualties this round; they also moved their AT Gun so it could hit the tank and armored car. They also knocked out a half-track.

Round 3

The Soviets still had 0 units across the river, although two trucks packed full were moving hard toward the bridge and a couple of rifle squads. I determined to let the MMG and the mortars sit in place and try to provide some cover fire. In the photo, flames billowing up from the German Panzer tank. You should also notice a single figure lying on the ground behind the smoking white soviet truck. A lone AT man rolled a 6 to hit the tank, another 6 to damage the tank through its side armor, and finally, a third 6 on the vehicle damage table. This run of luck turned the game in favor of the Soviets. All units hit in the artillery barrage were still pinned and failed their order tests.

Round 4

The first Soviet truck crosses the bridge. The Commissar, the Lieutenant, and the sniper team all unload, giving the Soviets 8 VP. The Germans have destroyed 1 Rifle Team, 2 MMGs, 3 Trucks, 1 Mortar, the Dog Mines, and the Armoured car, giving them a one-point advantage. The Soviets will likely get 4 more VPs next turn as vehicles cross the river. The Germans were fully playing the game, sending their armored car on a suicide run to kill the remaining two veterans holding the side of the bridge the Soviets were crossing from. They also went in on the militia squad, which had successfully stayed down and pinned for most of the game.

Round 5

The last Soviet truck was destroyed on the bridge as it attempted to cross. The veterans did run across the bridge as their odds intensified, so 4 more VPs to the Soviets. The Germans knocked out another unit and immobilized the T34 tank. Their flame thrower team moved quickly towards the military squad, trying to eliminate it from contention. Still, the fuse has not been lit.

Round 6

It came down to the last two dice. The Germans were able to kill two riflemen who were attempting to remove their AT gun. The last Soviet activation lit the fuse on the bridge, but the Germans had a dice roll left, a natural 6, to cancel the bridge’s blowing. They succeeded. With the T34 and the rifle squad destroyed, the Germans ended with 13 VP compared to the Soviet 12. Had the Germans not diffused the bomb, it would have been a Soviet Victory.

Conclusions

For the Soviets, the militia squad, the veterans that held the bridge, the truck driver, and the AT Gun, plus the Garrison Rifle squad, all performed well and are up for a little more narrative follow-up next game.

On the German side, the armored car, the Heer Pioneers that saved the bridge, the Flame Thrower, and the Observer are also worthy of more follow-up and a bit of a story piece.

Soviets did not have any truly useless units; the inexperienced rifles didn’t do much, but they were not useless. The German medic was useless, as were the halftracks.