A Comprehensive Guide to Wargame Terrain Part 8 (Final Part)

For the first 7 parts of this series, click here.

Today, I want to discuss the most expensive aspect of wargame terrain. Premium options. These come in several flavors.

Overall, I have enjoyed writing this series. If you want more in-depth reviews of any products, let me know.

Games Workshop Kits

Why am I putting GW kits here? I think they are overpriced. They look absolutely stunning on the tabletop, but the amount of detail that goes into a simple GW kit you have to paint is astounding. Price per item, GW is the worst option.

The simple GW landing pad, as simple as it gets, is $80. The same terrain piece can be 3D printed from Etsy or another source and shipped to you for $30. GW has to be careful or they will price themselves out of the hobby altogether.

Enough on my rant now, to other premium options I actually use.

Rampart Terrain

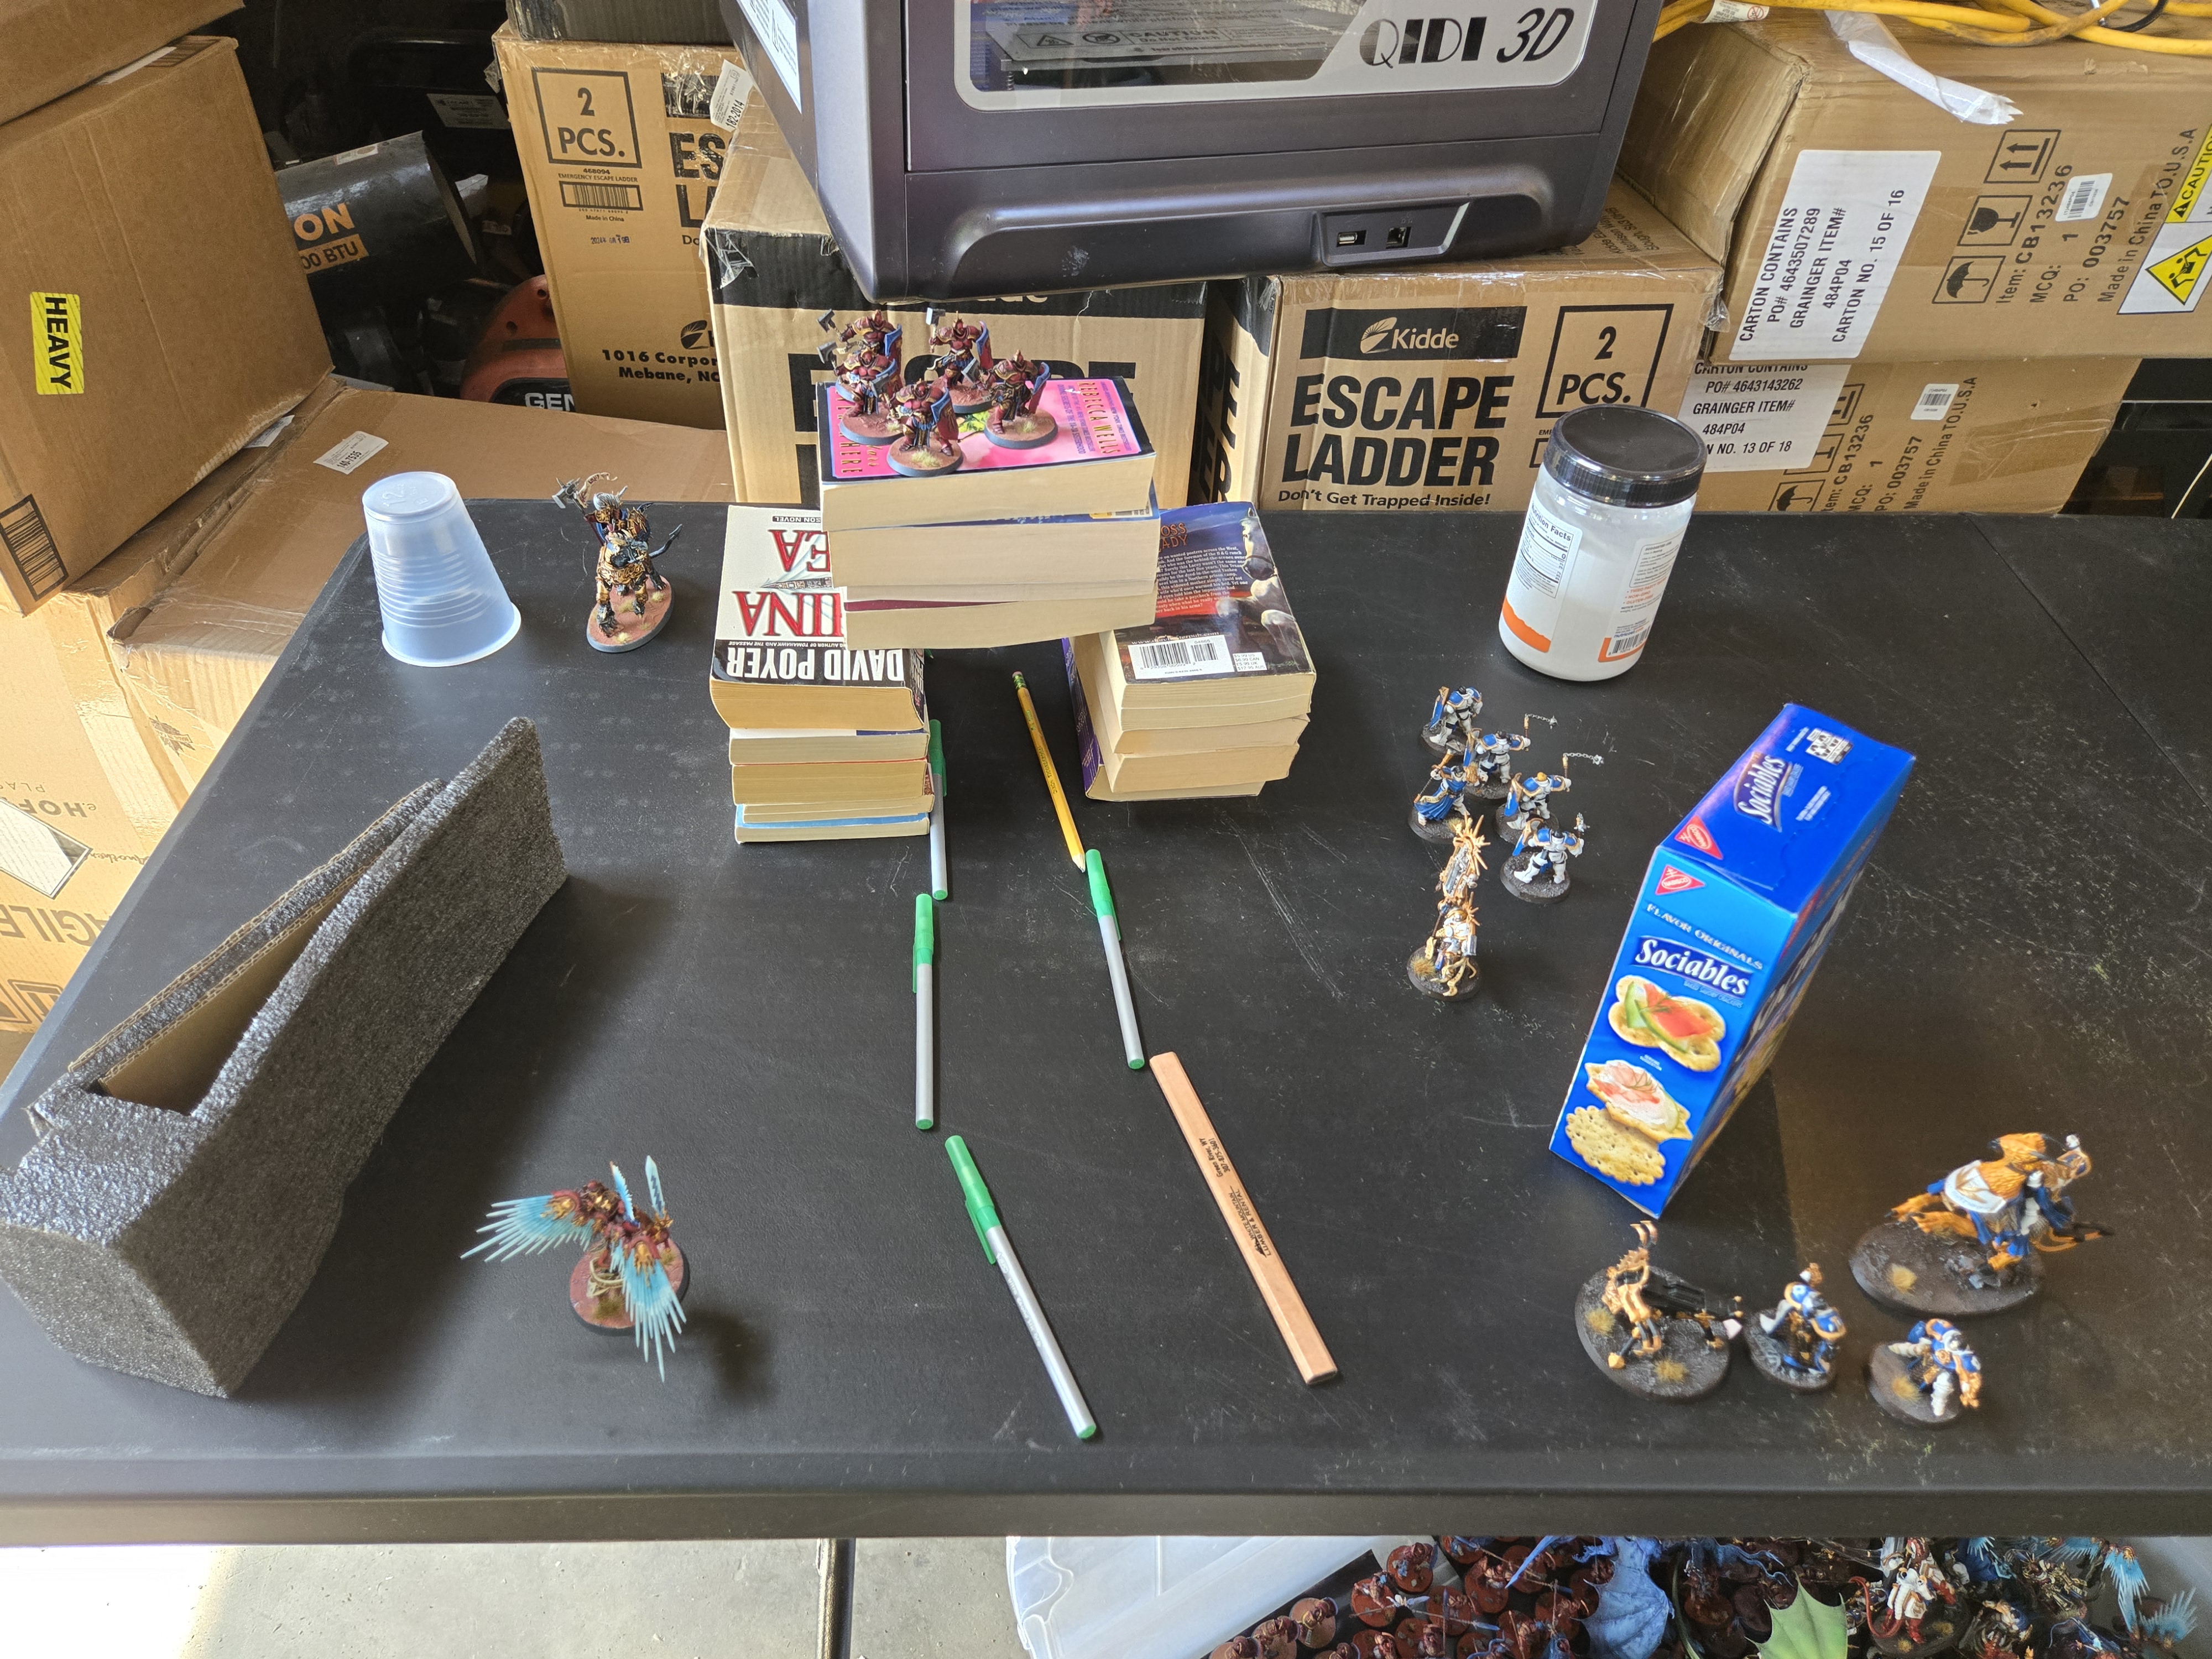
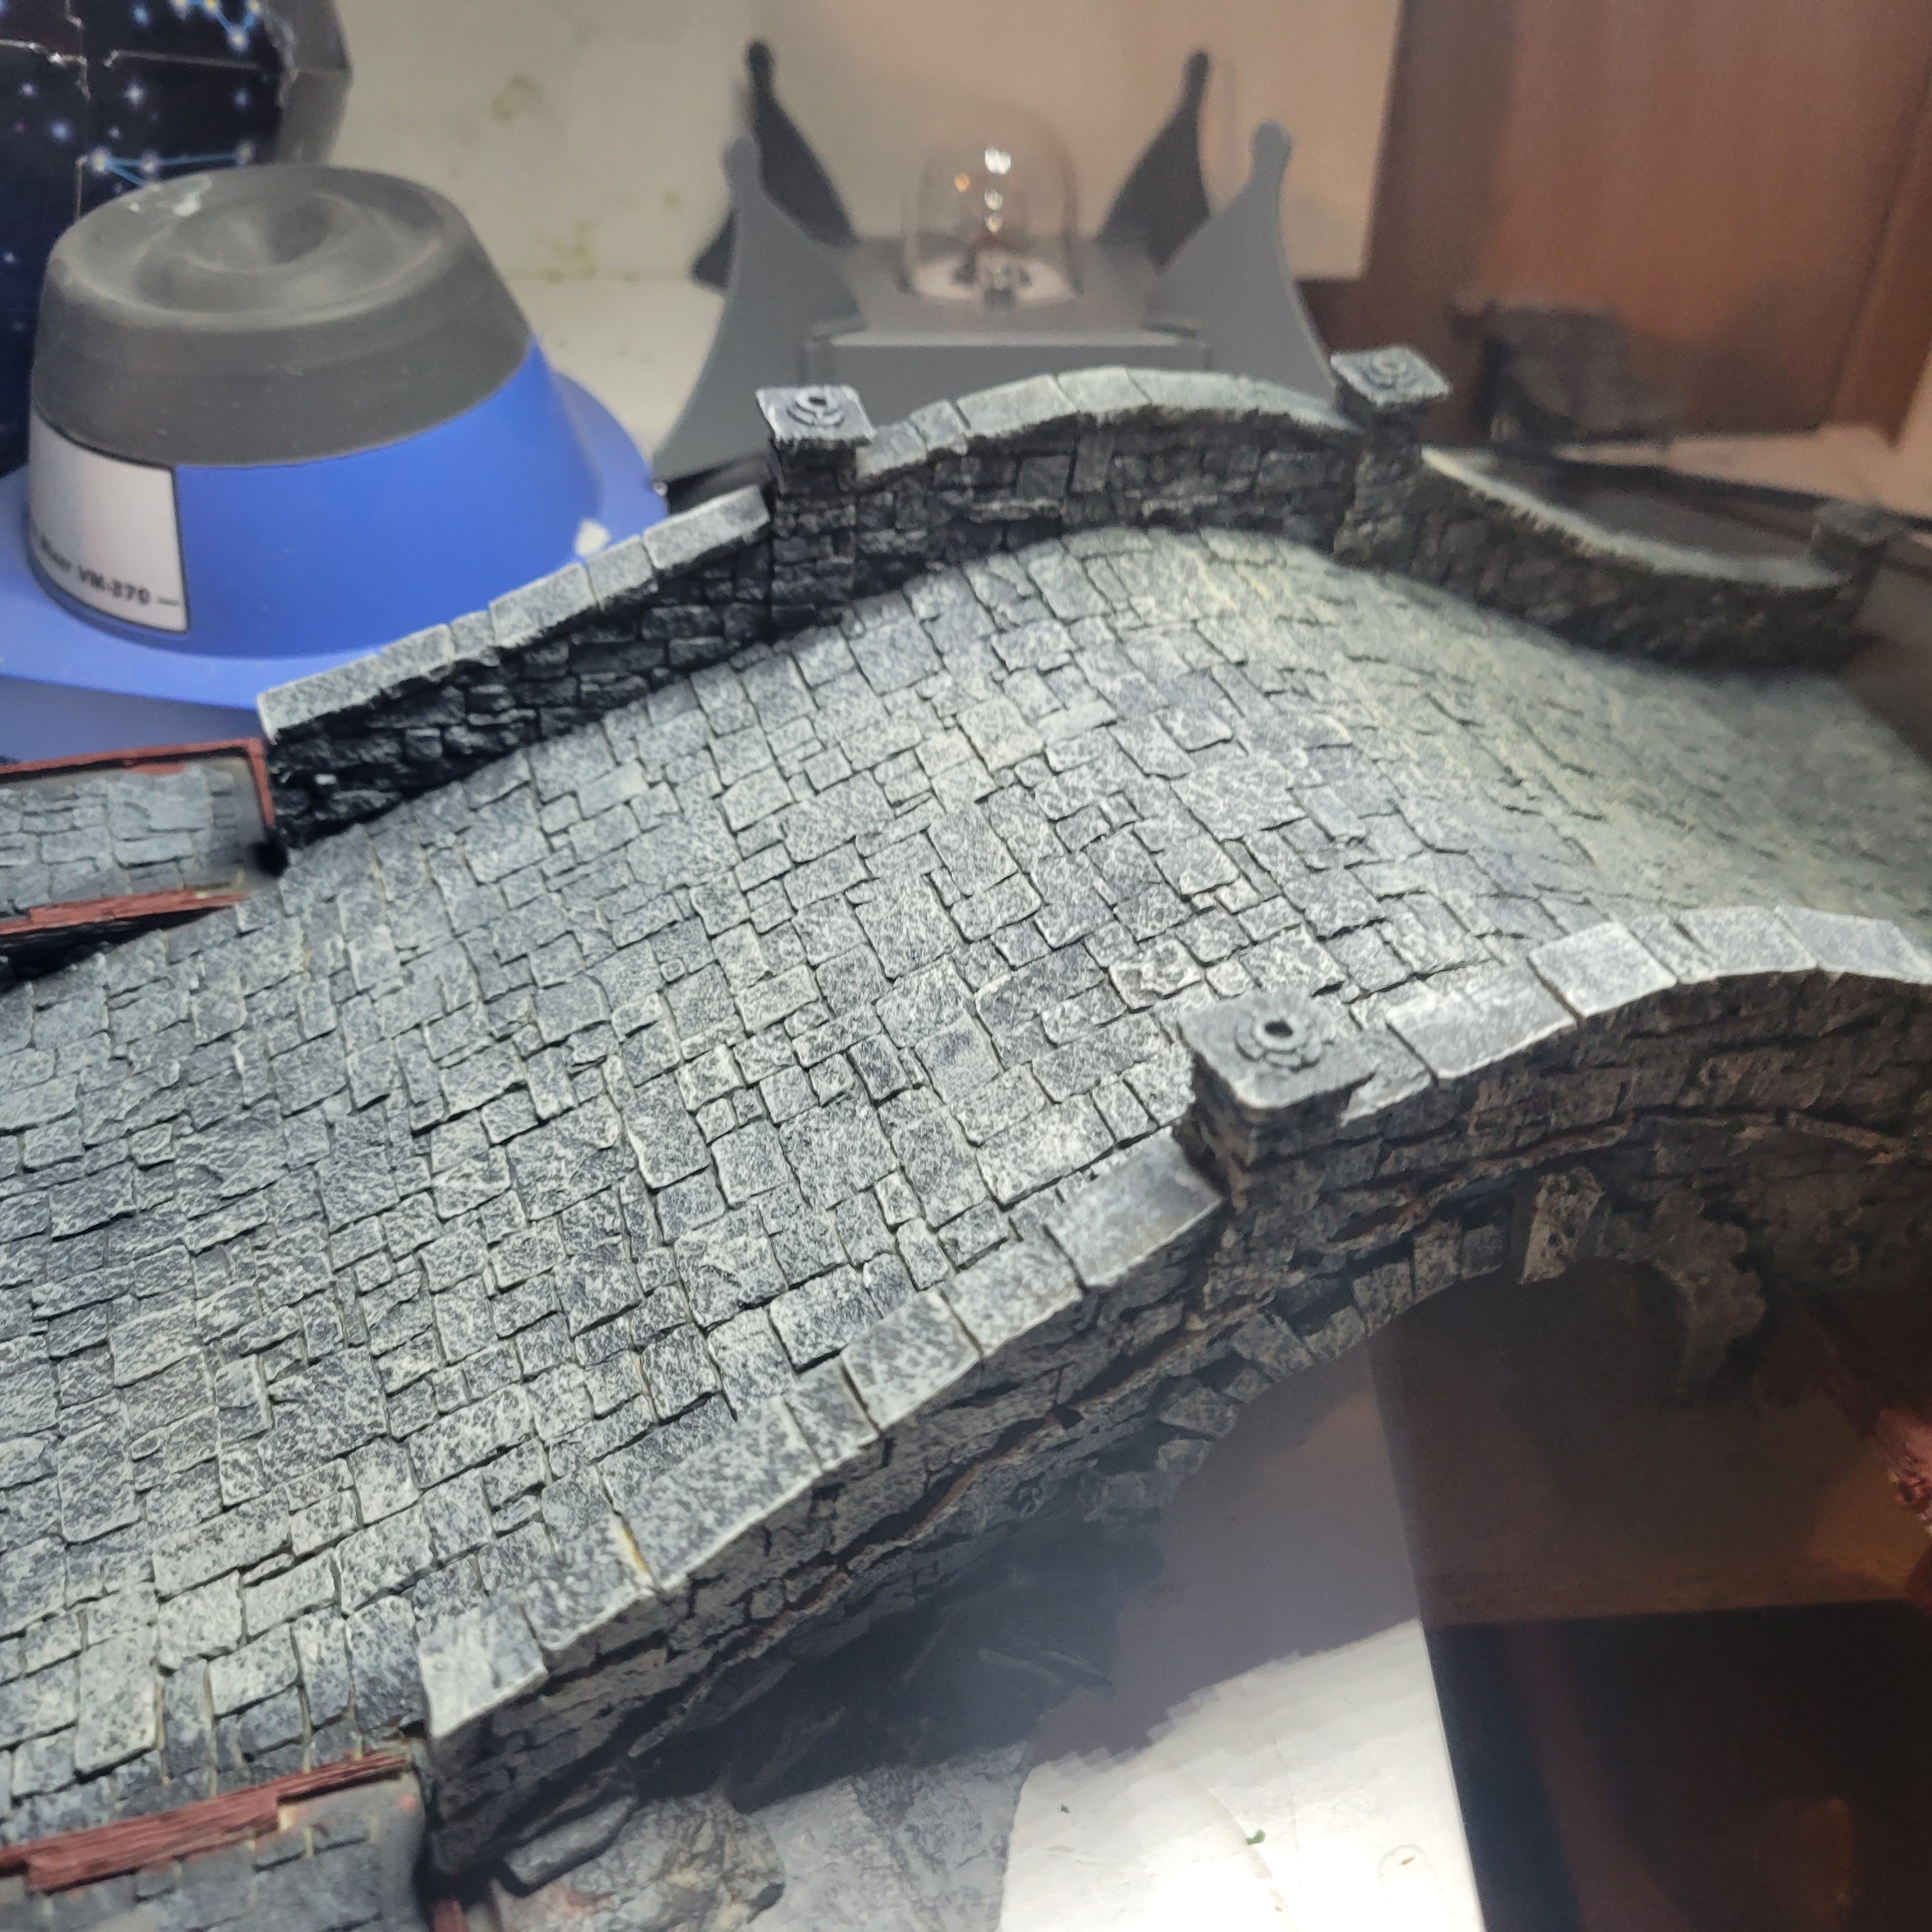
Instead of buying overpriced GW crap, I love using the fully modular Rampart terrain system. It can be magnetized, has nearly as much detail as GW kits, and is far more functional. The biggest challenge with Rampart is using your imagination to create amazing builds.

Kallistra

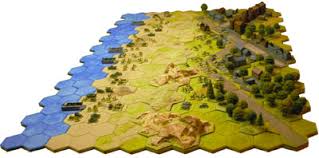
You can’t go wrong with the Kallistra system for creating historical battle boards. It’s a custom hex battlefield with numerous surface types: hills, mountains, rivers, craters, roads, and bridges. I use Kallistra hexes in most of my historical conflicts and am happy to do so. I have an epic D-Day battle planned one day, and Kallistra Terrain will be the star.

Dwarven-Forge

It is the cream of the crop for terrain. Its modularity is fantastic, and it is stunning on the table. However, I can’t recommend it for most wargames. The scale is just a little off. It is wildly expensive. I have, I think, every set they ever produced. I love my Dwarven Forge. Price is getting to be an issue with their latest sets.

Green Leaf Terrain

A custom terrain building from Canada. I have personally commissioned 5 projects from Green Leaf. His creations are often shown on MiniWargaming. They are some of the best custom terrain set-ups around. Send him a project and he will make something special.

Table-Top World

It’s not as diverse as some of the other options. The creators at Tabletop World put together some stunning resin pieces. Unfortunately, they are no longer producing models. If you can find them, buy them.

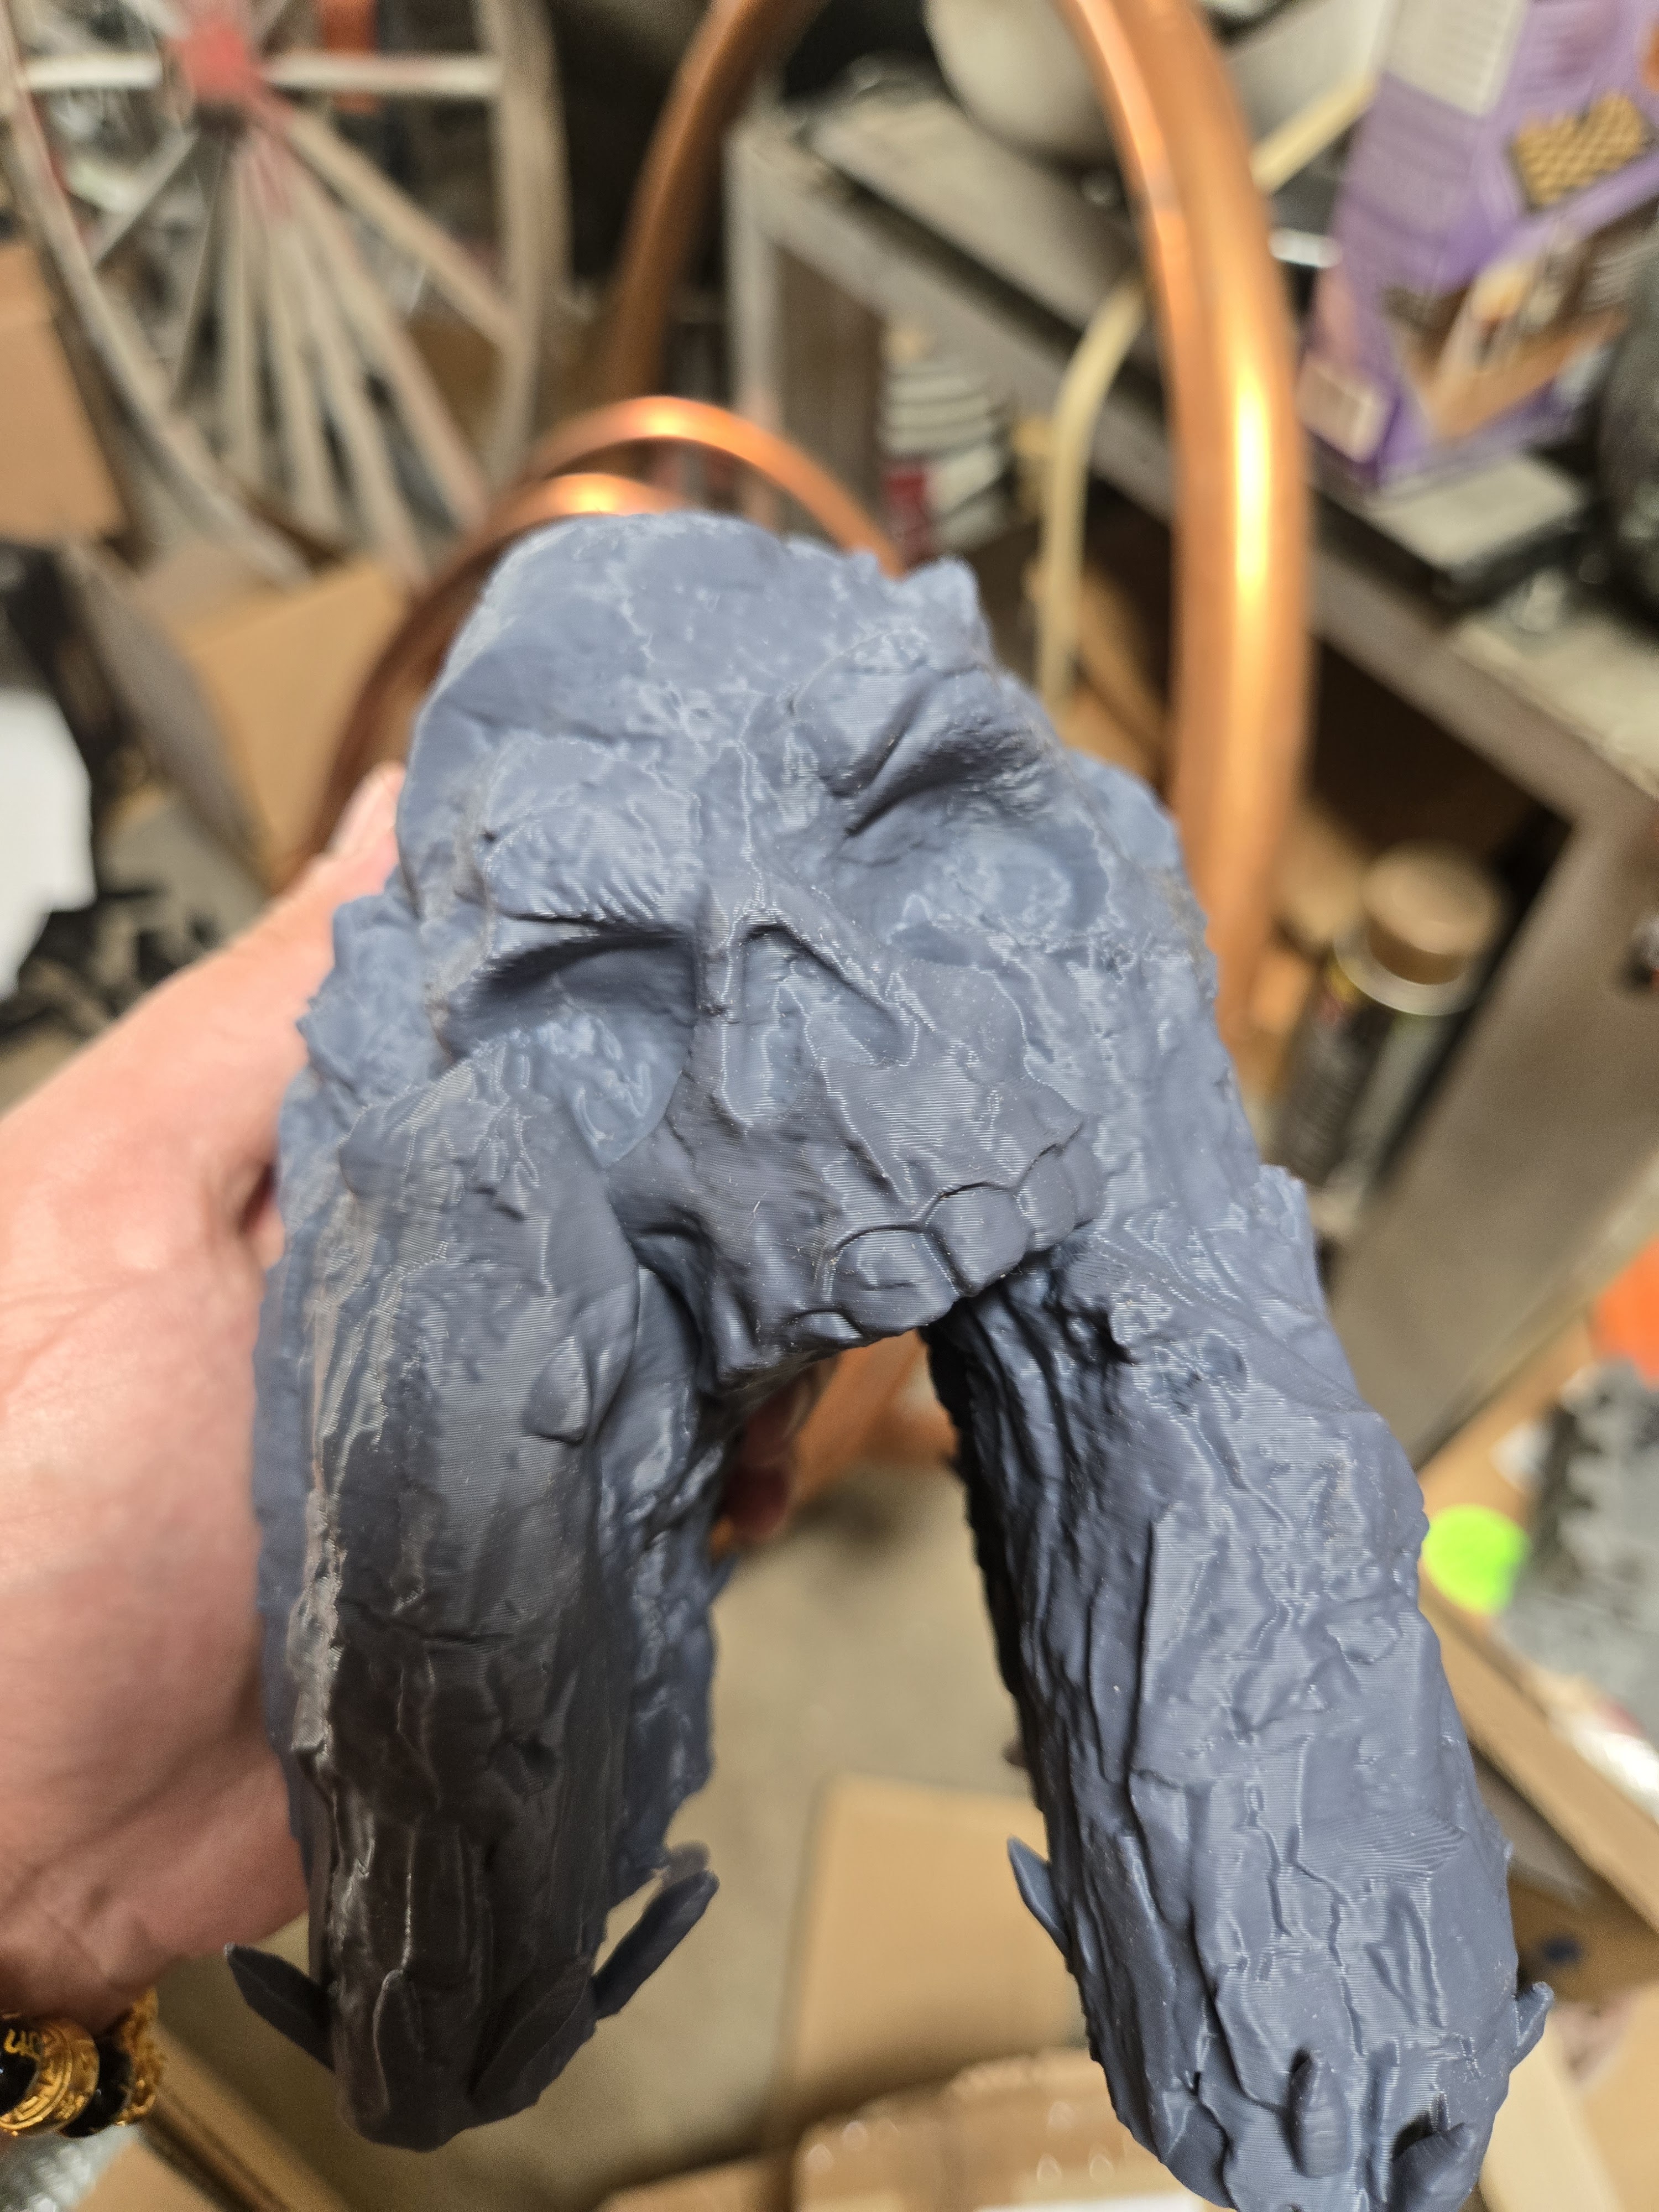
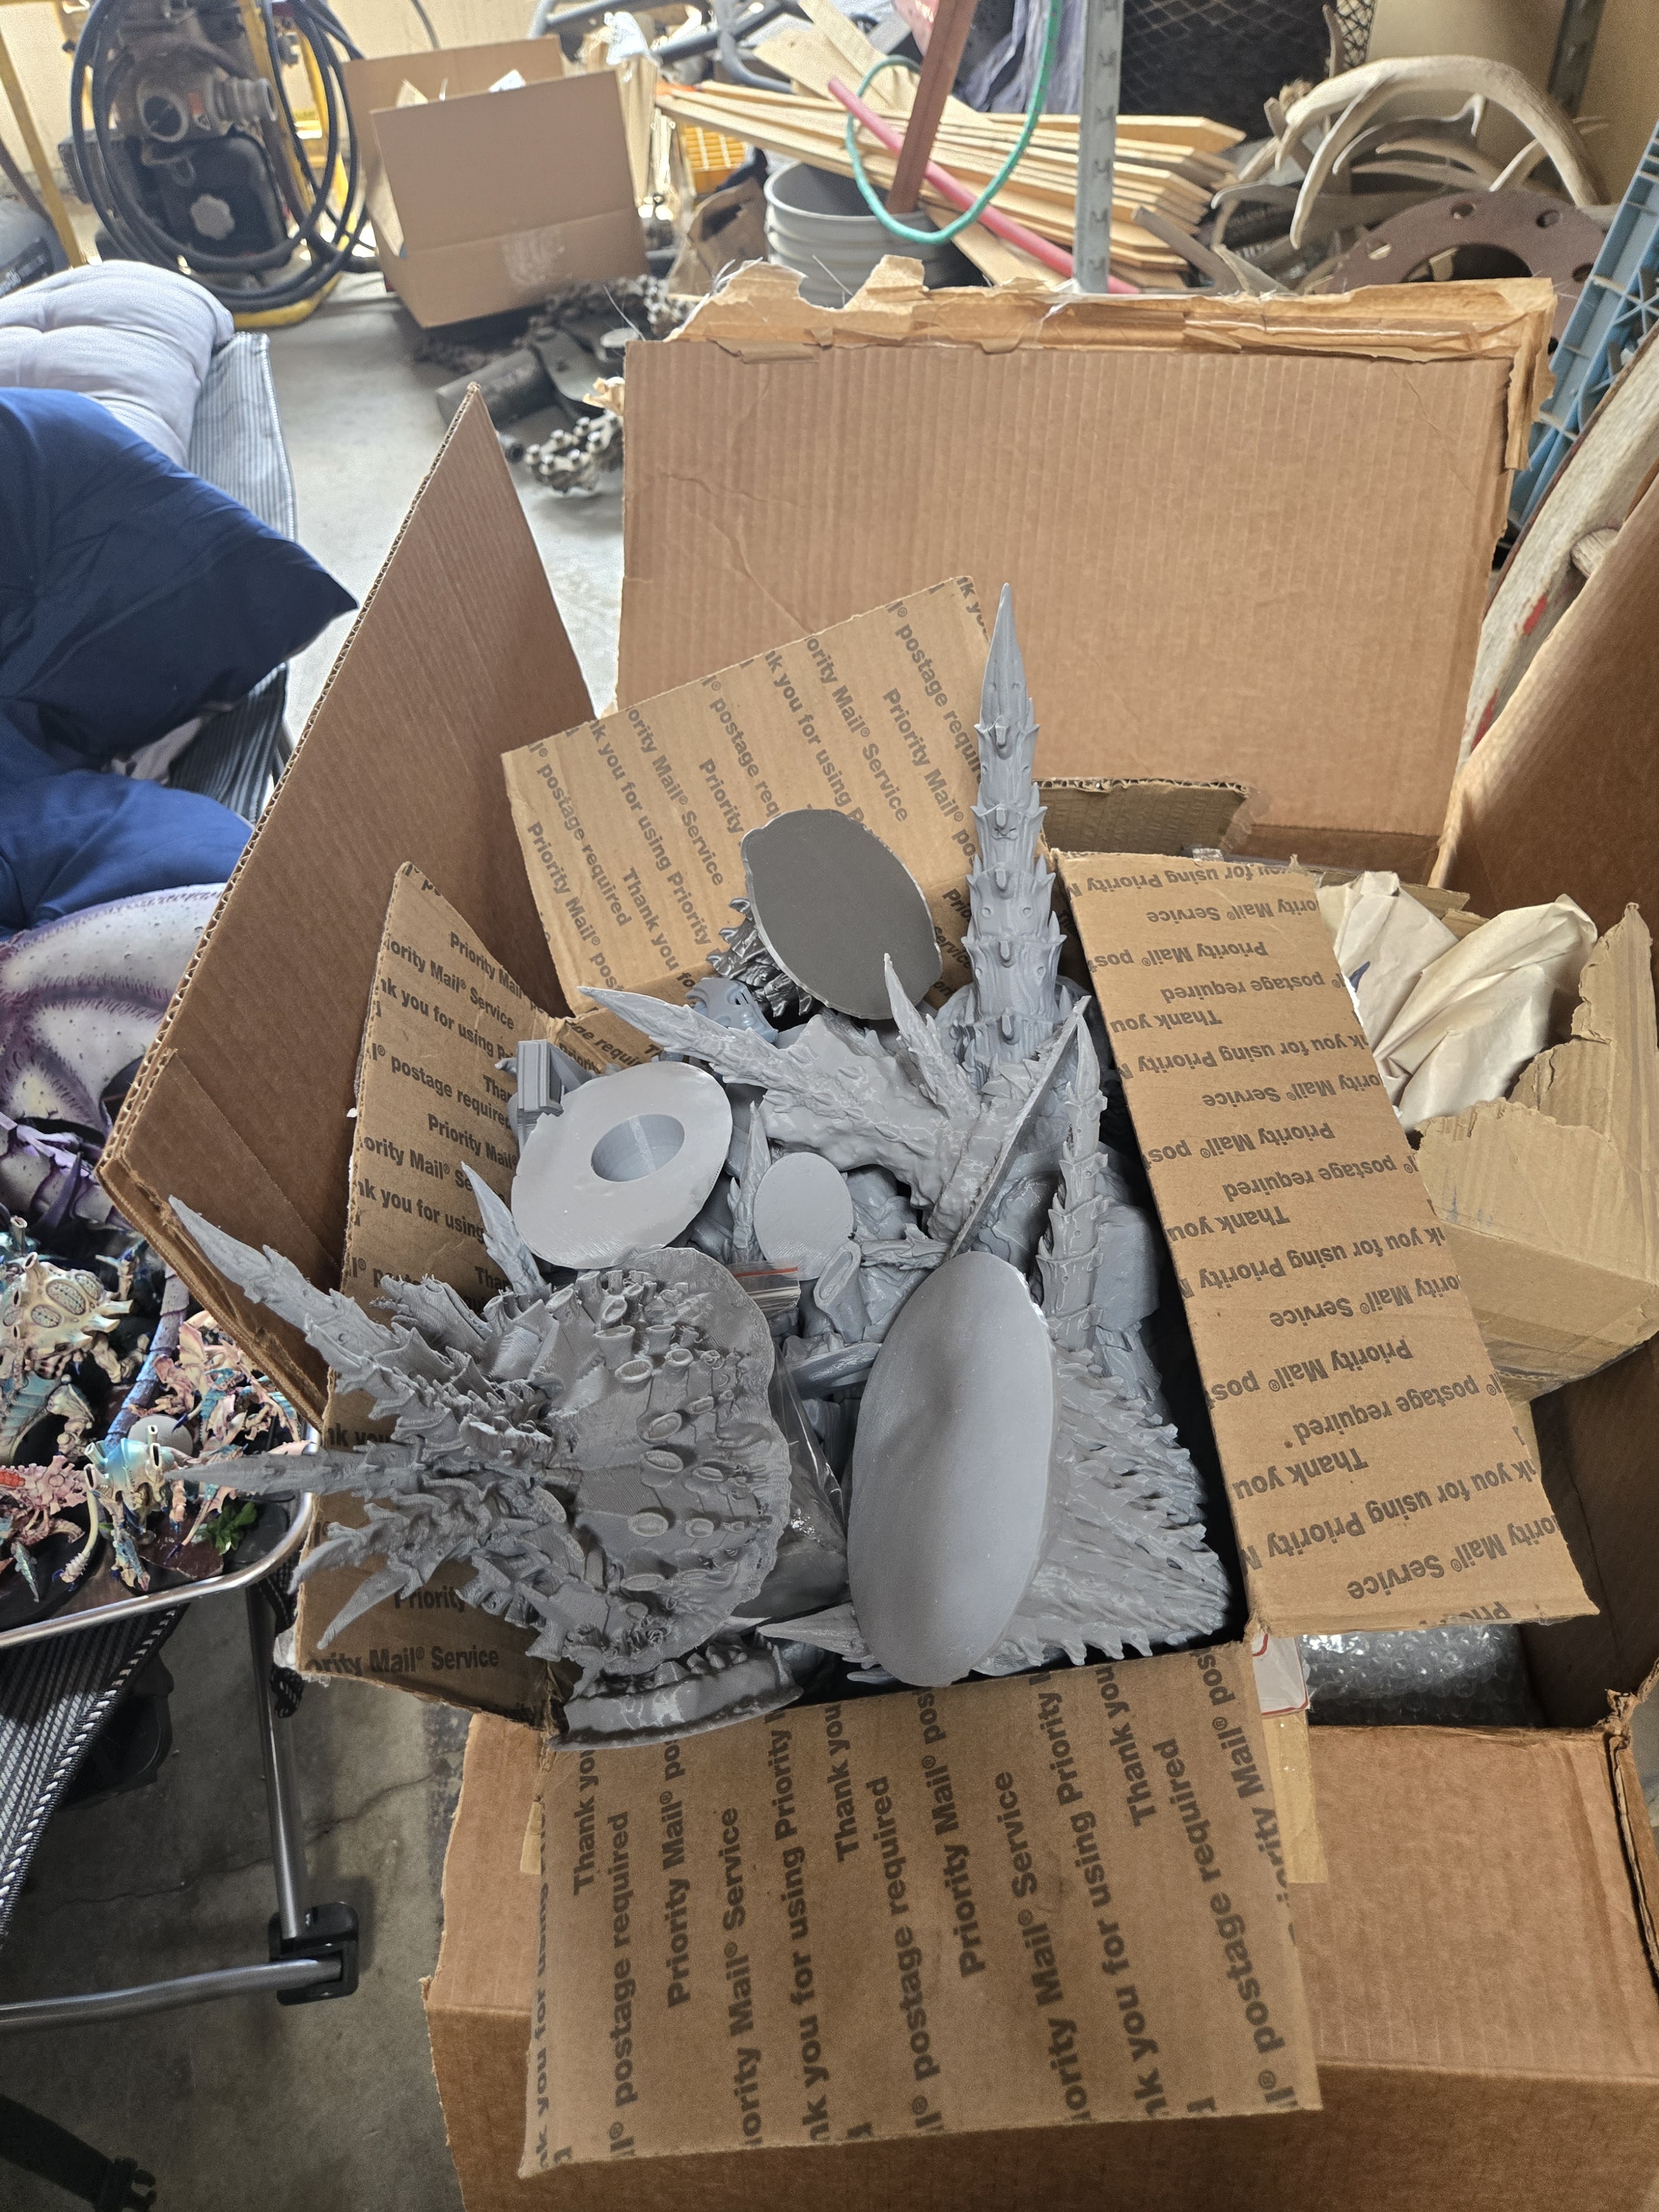
Custom Etsy Creators

The rise of Etsy has been huge for the wargaming hobby. I use Etsy for many of my unique pieces. You can spend as much or as little as you want. You can acquire whatever you want. It also helps small hobbyists like ourselves. Just be aware that sometimes what is sold isn’t what you expected.

Gamemat EU

I only have one set from these guys, but they are highly regarded and reviewed.

Tabletop Titans

The first of two pop-up terrain options. I prefer Acidhouse for its modularity. But there is a place for a fully functional battlefield in a few seconds that packs beneath a bed. I personally own every single set and enjoy using them on the table.

Acid House Terrain

My other flatpack option for wargame terrain. It is highly modular, but durability can be questionable. I think I own every set they have ever produced.

Tenfold Dungeon

Tenfold has decent terrain for Dnd or Boarding actions. I wouldn’t build a table with it, though.

Up-Zone

My final option for a pop-up terrain. It’s fine, just not special.
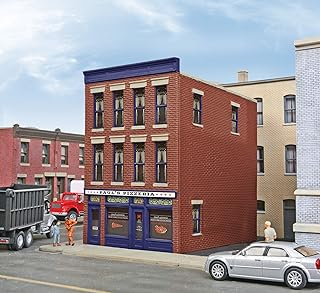
Pre-Painted MDF

One premium option I don’t like to use, but I acknowledge is a popular item, is pre-painted MDF terrain. I find MDF finicky and fragile.

https://www.deepcutstudio.com/product-category/scenery/
https://blacksitestudio.com/collections/mdf-terrain?srsltid=AfmBOooOCvpg6VhRo6SWBtgnIrfW2Ry17oeULgyOcQpKcGNNUBxfXrrX
https://store.frontlinegaming.org/collections/flg-full-color-terrain?srsltid=AfmBOoqBOqrofvrbrnTbQTT8ORmSpMQcylLIxBkG-V6a_ruFBsnx-OX4

A Comprehensive Guide to Wargame Terrain Part 6 3d Printing

Very little can be said about 3D Printing that others have not written about. You can buy any form of terrain 3D printed that you can imagine. Want a scale model of Helms Deep? Boom, got it. Want a Kashyyk-style tree village, done. Want industrial acid basins and floating skull rocks? You can print them.

As wargamers, we have stopped asking if we can and started asking if we should.

I am not going to discuss how to 3D print. There are thousands of YouTube videos and guides on how to use a 3D printer and what 3D printer to buy. I will focus on my experiences with 3D printing and how that helps or hinders me as a gamer.

What to 3D Print

I personally own about ten 3D printers, two or three of which are functional at any one time. I know I am hard on printers, but I also don’t have the time, energy, or discipline to properly maintain such sensitive hardware.

I have found that the happiest part of printing is small prints of minor pieces. If I want to add a burned-out car, I can find a print for that. If I want some sandbag barricades, a few fences, or tank traps, I am happy to 3D print those.

I struggle with 3D printing because I want to do large setups. That Helms Deep scenery I talked about earlier? I hired it out. I am finding that by investing my time, buying the filament, and dealing with failures, I have forgotten or lost my passion for the project. I figured I would need $765 worth of filament, and I was able to order the scenery for $1000. Large scenery is better purchased. With the low barrier to entry in the market, you will always get a fair price.

If I need a specific building for a scenario—think Pavlov’s house for Stalingrad, or I did a Geonosian table—I am happy to 3D print it. However, I refused to 3D print my competitive 40k setup; it required over 140 prints, and I just didn’t have the energy.

How to Use 3D Prints

3d Prints are usually more durable than handcrafted or MDF items. The right 3D prints can also be stunning in detail. No matter how good the model is, a poor 3D print job tends to be unsalvageable.

I also think 3d prints must be painted to look acceptable on the table. I am well-versed in using rocks and some buildings in filament grey. They really just look like brown or grey lumps on the table. Get out your airbrush, throw on a basecoat, and then get a big drybrush and go over everything. Your models will pop on the table. You don’t have to do a bunch of details like shutters or drainpipes, just a basecoat and a drybrush.

My favorite use for 3D printing is to bring something to life. For the third time, I will refer to Helms Deep, an iconic location and one of the most significant cinematic battlefields ever. My crafting skills would be woefully insufficient to create such a majestic location. 3D printing fills that role. It is tangible and durable, and I can pack it away until next time.

Downfalls of 3D Printing

3D printing is the perfect solution for wargames. You can print exactly what you want. You can change the scale. With enough practice, you can even edit the models to your liking.

The biggest problem with 3D prints is space. The voluminous number of models available means I want all of them. I like Eastern European buildings, Western European buildings, American West buildings, South American buildings, Moon Landings, Elven buildings, and Orcish Camps, and I want them on different scales.

I literally own multiple warehouses and storage facilities and I am having trouble storing the amount of shit I have acquired for gaming. My addiction to buying 3D-printed scenery is a significant part of that problem. Looking at my most recent Etsy Orders, I have 3 full 40k or AOS terrain tables en route.

Each table typically requires a large tote to store, which requires labeling and even remembering exactly what is in that tote.

One major drawback of 3D printing is the layer lines. These layer lines will show up with a simple dry brush unless properly sanded or filled. To alleviate this, I prime most models with an automotive primer that fills most lines. It also fills in many details.

Other downfalls can include a lack of connection to said scenery. In our hobby, it is essential that we are happy with our participation. We will spend 1000 hours on a single army, painstakingly painting facial features and belts and using waterslide decals to place insignia. We take them to the table and create stories regarding the models, and we remember each and every figure. Crafting buildings from foam, measuring, and painting builds that connection. A 3D print doesn’t.

Finally, the environmental impacts of 3D printing are not insignificant. If you’re into that sort of thing, think of how much plastic can be created and wasted, the large spools, the spilled resin, and the unused models that we print because we can. That kind of workload has a measurable effect on the environment.

Overall

I would recommend 3D printing to all hobbyists in any hobby. The tool is far too versatile not to use. You no longer need a $2,000 machine with tons of software and custom-built parts. Most printers are plug-and-play. To be able to download and print a Japanese bunker in the Philippines one day and a trebuchet the next is invaluable for someone who plays a variety of games.

A Comprehensive Guide to Wargame Terrain Part 5

Feel free to look back at parts 1,2,3,4. Part 5 will focus on scatter terrain and other enhancements.

Scatter terrain is simply items scattered about the battlefield that add flair but not much to gameplay.

Scatter terrain has a special place in my wargaming soul. For photo-realistic games, scatter terrain is crucial to what we do as gamers. Why would we have a ruined structure with no rubble around its base? A WWII Battlefield with no impact craters? Fences and hedges in the Civil War and European battlefields.

The other aspect of scatter terrain is how it impacts gameplay. In 40k, a Land Raider can’t end its turn on top of a piece of terrain. If we add too much scatter, the game stops working. The same works for your rank and flank games; a fence is hell when dealing with a movement tray.

Why Use Scatter Terrain

As challenging as the scattered terrain is, it looks good on the table. Broken bits of concrete with rebar sticking out, damaged furniture, burned-out cars, and an upturned cart with a dead horse are all staples in cinematography. If you want a gorgeous table, scatter terrain is a must.

Scatter is also amazing in small skirmish games. A couch in the middle of the street becomes a cover piece in Bolt Action. Marvel Crisis Protocol lives or dies on scatter terrain pieces. A new flair is added to a caved-in ceiling on a boarding action board.

I swear by adding telephone poles and street signs to any battlefield. It just adds that extra something.

Where not to Use Scatter

Any large-scale wargame designed to be more competitive struggles with a ton of scatter added. Even less competitive but still large-scale don’t work well. Flames of War, Genera D Armee, Across a Deadly Field, DBMM, The Old World, Conquest, Age of Sigmar, and 40k don’t need scatter terrain. Stick with what the rules call for.

Best Types of Scatter

You really have to think about how you want your game to feel. Scatter that doesn’t interfere, but also has to have a purpose. Hay bales and wood piles provide cover. The same with burned-out cars. Piles of bricks just get in the way and are difficult to clean up post-game. Small, fully-painted flower gardens look nice, but don’t add to gameplay. However, a concrete sidewalk next to a city street in a modern zombie game adds so much to the feel of your table and doesn’t hinder gameplay in the slightest.

Street signs can be removed if hindering, but they look nice for photos.

My ultimate pick for scatter terrain is stuff that can be easily set up and cleaned up.

I generally only set a table for two or at most three games. I have full respect for players who go all out and spend 100 hours creating a custom table for Lord of the Rings or World War Z or whatever else. Every piece of terrain and scatter is meticulously painted, and the photo ends up in some magazine.

That’s not me. I want a functional table to play on that looks nice. End of story. If you are the type of player who wants a photoshoot-quality table, this isn’t the best guide for you. If you just want to level up your table from bleh to meh. Take my advice.

A Comprehensive Guide to Wargame Terrain Part 3

Now that you have played a few games, are tired of stacks of books and hardboard cutouts, and want to take the next step, I still don’t recommend breaking the bank; let’s look at budget starter terrain.

Most of this terrain will come pre-painted, limiting your upfront time and money investment. This gives you more time for gaming.

My #1 recommendation will always be aquarium terrain.

Rocks, ruins, castles, and plants—all for less than you will spend on two or three paint bottles. Ten or so good pieces will give a very nice-looking 6×4 table with interesting and varied terrain. The biggest con is that aquarium terrain is rarely thematic or scales with the models on the table. (table cost $140)

My following recommendation is to go take a walk. Find some public property along a riverbank or in the woods, grab 10 or 12 interesting rocks/pinecones/logs, and place them on a table. This terrain setup can actually be very thematic and fit your table. (table cost $0)

Another budget item is to visit thrift shops and church stores and look for Christmas village items. This is a great way to get a handful of buildings, perhaps a bridge, and some trees.

The terrain tends to look okay. Your battles can be pretty interesting, and you can even do fun missions, such as escorting Rudolph to the flying sleigh. The biggest downside to Christmas terrain is that it is primarily sealed, and your troops cannot occupy the buildings. (table cost $30-$200)

Trees for Christmas villages could be a category of their own. Often, these are the only trees I use. They look far better than I can make, and they fit the scale wonderfully.

My final recommendation would be to buy model railroad building kits.

Many buildings can be had for $15 or less. You can paint them however you like. They are very accurate to scale if you buy the correct scale. There are endless possibilities. My most significant downside to model railway items is there is a time investment and a hobby side. Most buildings require assembly and painting. The other con is durability. The model railway is for building models that sit and look pretty, not for gaming with frequent movement and other forms of abuse. (table cost $200-$400)

That is just a quick look at the options for terrain on a budget, for a burgeoning wargame. Tune in next time for information on gaming mats and other 2d terrain.

A Comprehensive Guide to Wargame Terrain Part 2

You have played a few games, enjoy the hobby, and want to improve your tables.

Hooray. Terrain, as I will say, 100 times makes the game better. It is not required, but it sure is fun.

At this stage, I will avoid discussing 3D printing. I know what is out there and how amazing it is, but we are beginning hobbyists.

A Note on Scale

Wargames can use a variety of scales. Scale is determined by the height of a figure from the bottom of its feet to eye level. Warhammer models are about 32mm, so they are 32mm scale. Bolt Action is closer to 28 mm, while Marvel Crisis Protocol is 40mm. (aka Captain America is 40mm from his feet to his eye)

Scale matters when it comes to terrain. If a standard rifleman can stand, look over a building, and shoot, it detracts from the immersion. Consider this if you make or buy your own terrain. The type of game you are playing also matters. Epic Battles from Warlord games is about 10mm scale, designed for large, medieval conflicts with a couple thousand figures on the table. Narrow streets and cramped buildings wouldn’t be fun to play on.

The same can be said for Bolt Action, a 28mm WW2 game. The average army has about 30 figures and a vehicle. This game plays much better with more terrain, buildings of different heights, etc. It does not play well on an open plain with a small river.

If purchased for Epic Battles, the same river might be the width of a battalion, 150 or so yards across. In Bolt action, that same battalion is shorter than a typical Tiger Tank and little more than a stream.

It’s just something to think about. Most players I know won’t care if the house is about the same size as a Landraider or if their noble knight is just a little bigger than the door he is guarding.

What Terrain do I need?

This entirely depends on what game you are playing. Rivers don’t make sense if you play Battlefleet Gothic, a game in outer space. Like Grimdark Gothic ruins don’t make sense in the Wild West.

I always recommend starting with the basics. Roads are universal, and scale doesn’t matter much. You can buy some fabric from a local store and cut them out yourself (the cheapest option). You can paint and use cardboard, buy the neoprene roads from Amazon (my top choice), or even look at premium custom-made or 3D-printed options.

The entire above paragraph can also be said about rivers. Add a bridge, and you can have an exciting engagement. Most games allow faster travel along roads, and rivers are always an effective barrier or defensive structure.

Next time, I will add some vegetation; hedgerows and trees are universal among the wargames I played. Star Wars Legion, Flames of War, and Napoleonic all need some vegetation. Adding cover and breaking the line of sight always looks good. I have some expensive custom-crafted trees. I prefer trees for your Christmas village or the bulk boxes of fake trees you can buy on Amazon.

Hedges have always seemed a little trickier. These matter for scale, as a soldier shouldn’t be able to see over one, but a vehicle or mounted knight should. They are also a little harder to find. My favorites are plastic and 3D printing, but you can also find premade ones on Etsy. If you want to try making your own, a few YouTube videos and a trip to a craft store should yield good results.

I also think stone walls are reasonably universal. I use mine in dozens of games; they never go to waste. I buy mine on Etsy, but Amazon and 3d print shops also yield good results.

More Specific Terrain

At last count, I have armies for 47 different miniature wargames. I strive to make my terrain as universal as possible. I don’t add Soviet propaganda to my 15 mm buildings because I also used them in the Napoleonic and Ancient periods. If you’re just starting out, I recommend building one table first.

When building a table, look below at the types of games and terrain needed. Don’t worry about walls, fences, or many buildings if you are playing 15 mm Napoleonics with 400 figures on the table. Instead, focus on hills, fields, and forests. If you bought a kill team and want to expand into an entire 40k army, a grimdark ruin (3d print please) with several floors and bits of scatter is more thematic.

As always, buildings and vegetation are unnecessary if you are playing a space game like Billion Suns or a water game like Black Seas.

Types of Games

I classify boots-on-the-ground Wargames into four categories: Squad Actions (10-14 Figures), Skirmishes (20-50 Figures), Army Actions (100 figures plus), and ranked soldiers. There are other categories for naval, space, and airplanes, but that’s how I do it for boots-on-the-ground.

I know you may balk at this, but think: A squad of 10 men may fight over a house, a platoon of 60 men may fight over a compound, large structure, hill, or bridge, and an army will fight over a town or range of hills.

In squad actions, scatter terrain is vital. Broken furniture, light poles, crates, rubble, craters, computer terminals, and market stalls. When you only have 10 figures on the table, you can take your time to enhance some of the details. It generally leads to much more interesting games.

In skirmish games (think Age of Sigmar), you have a force of units on the table and generally move a few models around as a unit. No one would consider your 40-man army a full invasion force, but they look great on the table and strike a nice balance of hobby and playtime. Scatter is less critical here than elevation and line of sight. It rarely comes into play and is often just inconvenient.

In my book, army actions are typically reserved for historical events. I rarely consider using figures larger than 15mm in an army action game. This is when actual land features start to play: hills that hold entire battalions and dozens of cannons. A single fence or wall is inconsequential; the layout is more important. A forest that hides 3,000 troops, a river you can’t just walk across. A hill is several hundred feet high that overlooks a large camp. These are the types of terrain you should be working on. Unfortunately, most of these need to be crafted.

Finally, there are rank-and-file games: Warhammer Fantasy Battles, A Song of Ice and Fire, Kings of War, and Conquest. They want to act like army games, have the model counts of skirmish games, and are exceptionally difficult to move around. I treat them like army games, but I also push for utterly flat terrain. It doesn’t look as nice, but functionality is most important for the game’s playing.

Conclusion

Hopefully, this guide will help. Stay tuned for part 3.

A Comprehensive Guide to Wargame Terrain

Greetings, new (or seasoned) wargamers, and welcome to my guide on wargame terrain. I want this guide to be very in-depth but spread over multiple parts. I love the terrain. It is wargaming, more so than the models themselves. I have spent fortunes on terrain that I am proud to have on the table. Click here for the rest of the series.

What is Terrain

In Wargaming, terrain is simply something we use to avoid battles on flat surfaces. Looking back through historic battles, terrain plays a starring role in how the battle shapes out: Germanic tribes ambushing Roman legions in dense forests, fierce fighting in Stalingrad over a grain elevator, and even the shallows at the Battle of the Nile.

When we play wargames, depending on the game, the terrain will change how our models move about the battlefield. There are games where terrain is a significant part. Rules for elevation, river crossings, and trenches all factor into our generalship. Hours are spent discussing target priority, strategic usage, and ideal lists, but using terrain is even more critical.

Getting Started

There are levels upon levels of terrain available for purchase. You can make it yourself, 3d print it, buy 3d prints, complete terrain kits, fully painted items, use non-traditional items, get fully custom-made-to-order commissions, purchase modular build kits, and endless other options.

But let’s say you bought a starter set, and you are tired of your miniatures shooting at each other across empty space. Maybe you have watched a video online about how to play your newest game, and they have these handcrafted realistic buildings, luscious grass, LED lights, flowing rivers, and jungle canopies. You look on Etsy and see this terrain set for $1,000. You put your miniatures away in a box, ending your wargame experience.

You don’t have to have beautiful terrain to wargame. If you are so overwhelmed by your first games by the sheer amount of options and all the shit you have to buy, it’s impossible to love the hobby.

In fact, if you are curious about wargaming, I would advise printing out paper models and paper terrain and getting a game started for $20 and an hour of work rather than $2,000 and 100 hours. Most games have a free ruleset available as a PDF for starters. See if you enjoy the game part. Then maybe visit a local game store. (My town of 7,000 has one; I’m confident the internet can help you.) Most stores have terrain you can use and tables to play.

Your First Terrain Set-Up

More people play casually at their kitchen table with their kids and friends than in a store with dozens of others. Stores are intimidating. You don’t want to ask for help or feel clueless. Gamers will walk in with backpacks filled with the latest and most fantastic devices and commission-painted armies, and you have a mound of grey plastic. It’s ok.

Feel free to use books, pots and pans, CD cases, cups, and mugs when playing at home. Break out a piece of paper and draw a river. It will serve its use, and honestly, books as buildings and hills are far more functional than most wargame terrain you may buy.

You want your terrain to be varied but balanced, not giving one side an advantage. One side has a stack of books overlooking the entire battlefield; the other should also. One side has a mousepad minefield, and maybe the other has a blue dinner plate used as a lake to restrict movement. You want your space between terrain to be large enough for the most prominent units to pass through most areas. You want a few areas with long sightlines so your snipers and other shooty units can shine. You want others with tight corridors so melee units can charge and have a go.

The models with the most significant footprint tend to be the most important. It wouldn’t be a fun game if your shiny new tank couldn’t drive anywhere. Below is a setup I did while writing this article in my shop with stuff from my desk.

It looks just fine and is more functional than many of the fancy boards I have played on.

A Table

Warhammer, Marvel Crisis Protocol, Bolt Action, all have a recommended table size. Here is the kicker; it’s not required. Any coffee table, kitchen counter, or floor is acceptable. The most critical piece is to play the game and have fun. If we are not enjoying ourselves, then why waste our time.

If you really, really, really, want to buy a table, to start, buy the 30″ by 30″ folding card table for $15 at Walmart. It’s functional, large enough to play 750 points on, and if you decide against gaming long-term, you can use it for something else.

I prefer a table you can sit at. Also, this is just me. Having alternate surfaces to store dice trays, rulebooks, army boxes, and other items that we wargamers seem to think we need to successfully eliminate the enemy.

Terrain Progress Bridge Over the River Don

My terrain has always been an Achilles’ heel. I can get an army on the tabletop, no problem. The idea of taking 2 hours to airbrush and detail a building is daunting.

My first campaign battle is mostly taken care of for terrain. In fact, I have literally 2 pieces of terrain to make. The field is 6×4 with a river running 2′ from one of the short edges. On the small side of the river, there is a village with about 10 buildings. On the long side, there are some hills. A large bridge over the river.

I will use my Kallistra Hexes as the base of the 6×4 table. The simple grass flock. Easily my most used piece of terrain, and I highly recommend it. I will also use their hill pieces on the long side of the field. Kallistra makes several styles, and I will review my collection to decide what is best.

For the village, I will use several of my buildings. I have a few fully painted MDF, some Dwarven Forge, and I will probably paint a 3D-printed church. I also have some 3D-printed hedges and walls that will take no time at all to paint and some neoprene roads.

My crafting is going to be the river and bridge. Both items come from tabletopworld and are absolutely stunning. I have already painted, drybrushed and detailed the bridge. There is a small house attached to the bridge that I need to paint as well. I want to add some green algae effects to the bottom.

The river pieces themselves are slightly raised. They should fit really well into the Kallistra hexes. I want to paint the bottom. Add some river rocks, then fill them with a blue resin. This river will be used in 5 of the 22 campaign battles, and I want it to stand out. I have never worked with resin before. I purchased several large C-Clamps to hold wood against the edges. Wish me luck.