The Guadalcanal campaign of WWII featured air, land, and sea battles from August 7th, 1942, until the Japanese evacuated their forces on February 7th, 1943. One of the first actions of the campaign involved United States Marines seizing the Henderson Airfield on Guadalcanal.
United States Robert L Ghormley 11,000 Marines (Initial invasion of Guadalcanal)
Japan Isoroku Yamamoto 1,000 Garrison Defenders
Wargame Bolt Action or other similarly scaled WW2 Game 2 Players US forces 2,000 points, no armour should be taken Japan 1,000 points, with heavy point defense and a free air observer
The US forces must use beach landing forces; all troops should arrive in landing craft, and there should be a beach with an airfield just beyond.
The Japanese should defend the airfield to the last man as is historic; only when the last defender is killed can the US hold the airport. Darkness is in 7 turns; if the battle is not won, Japanese reinforcements may arrive.
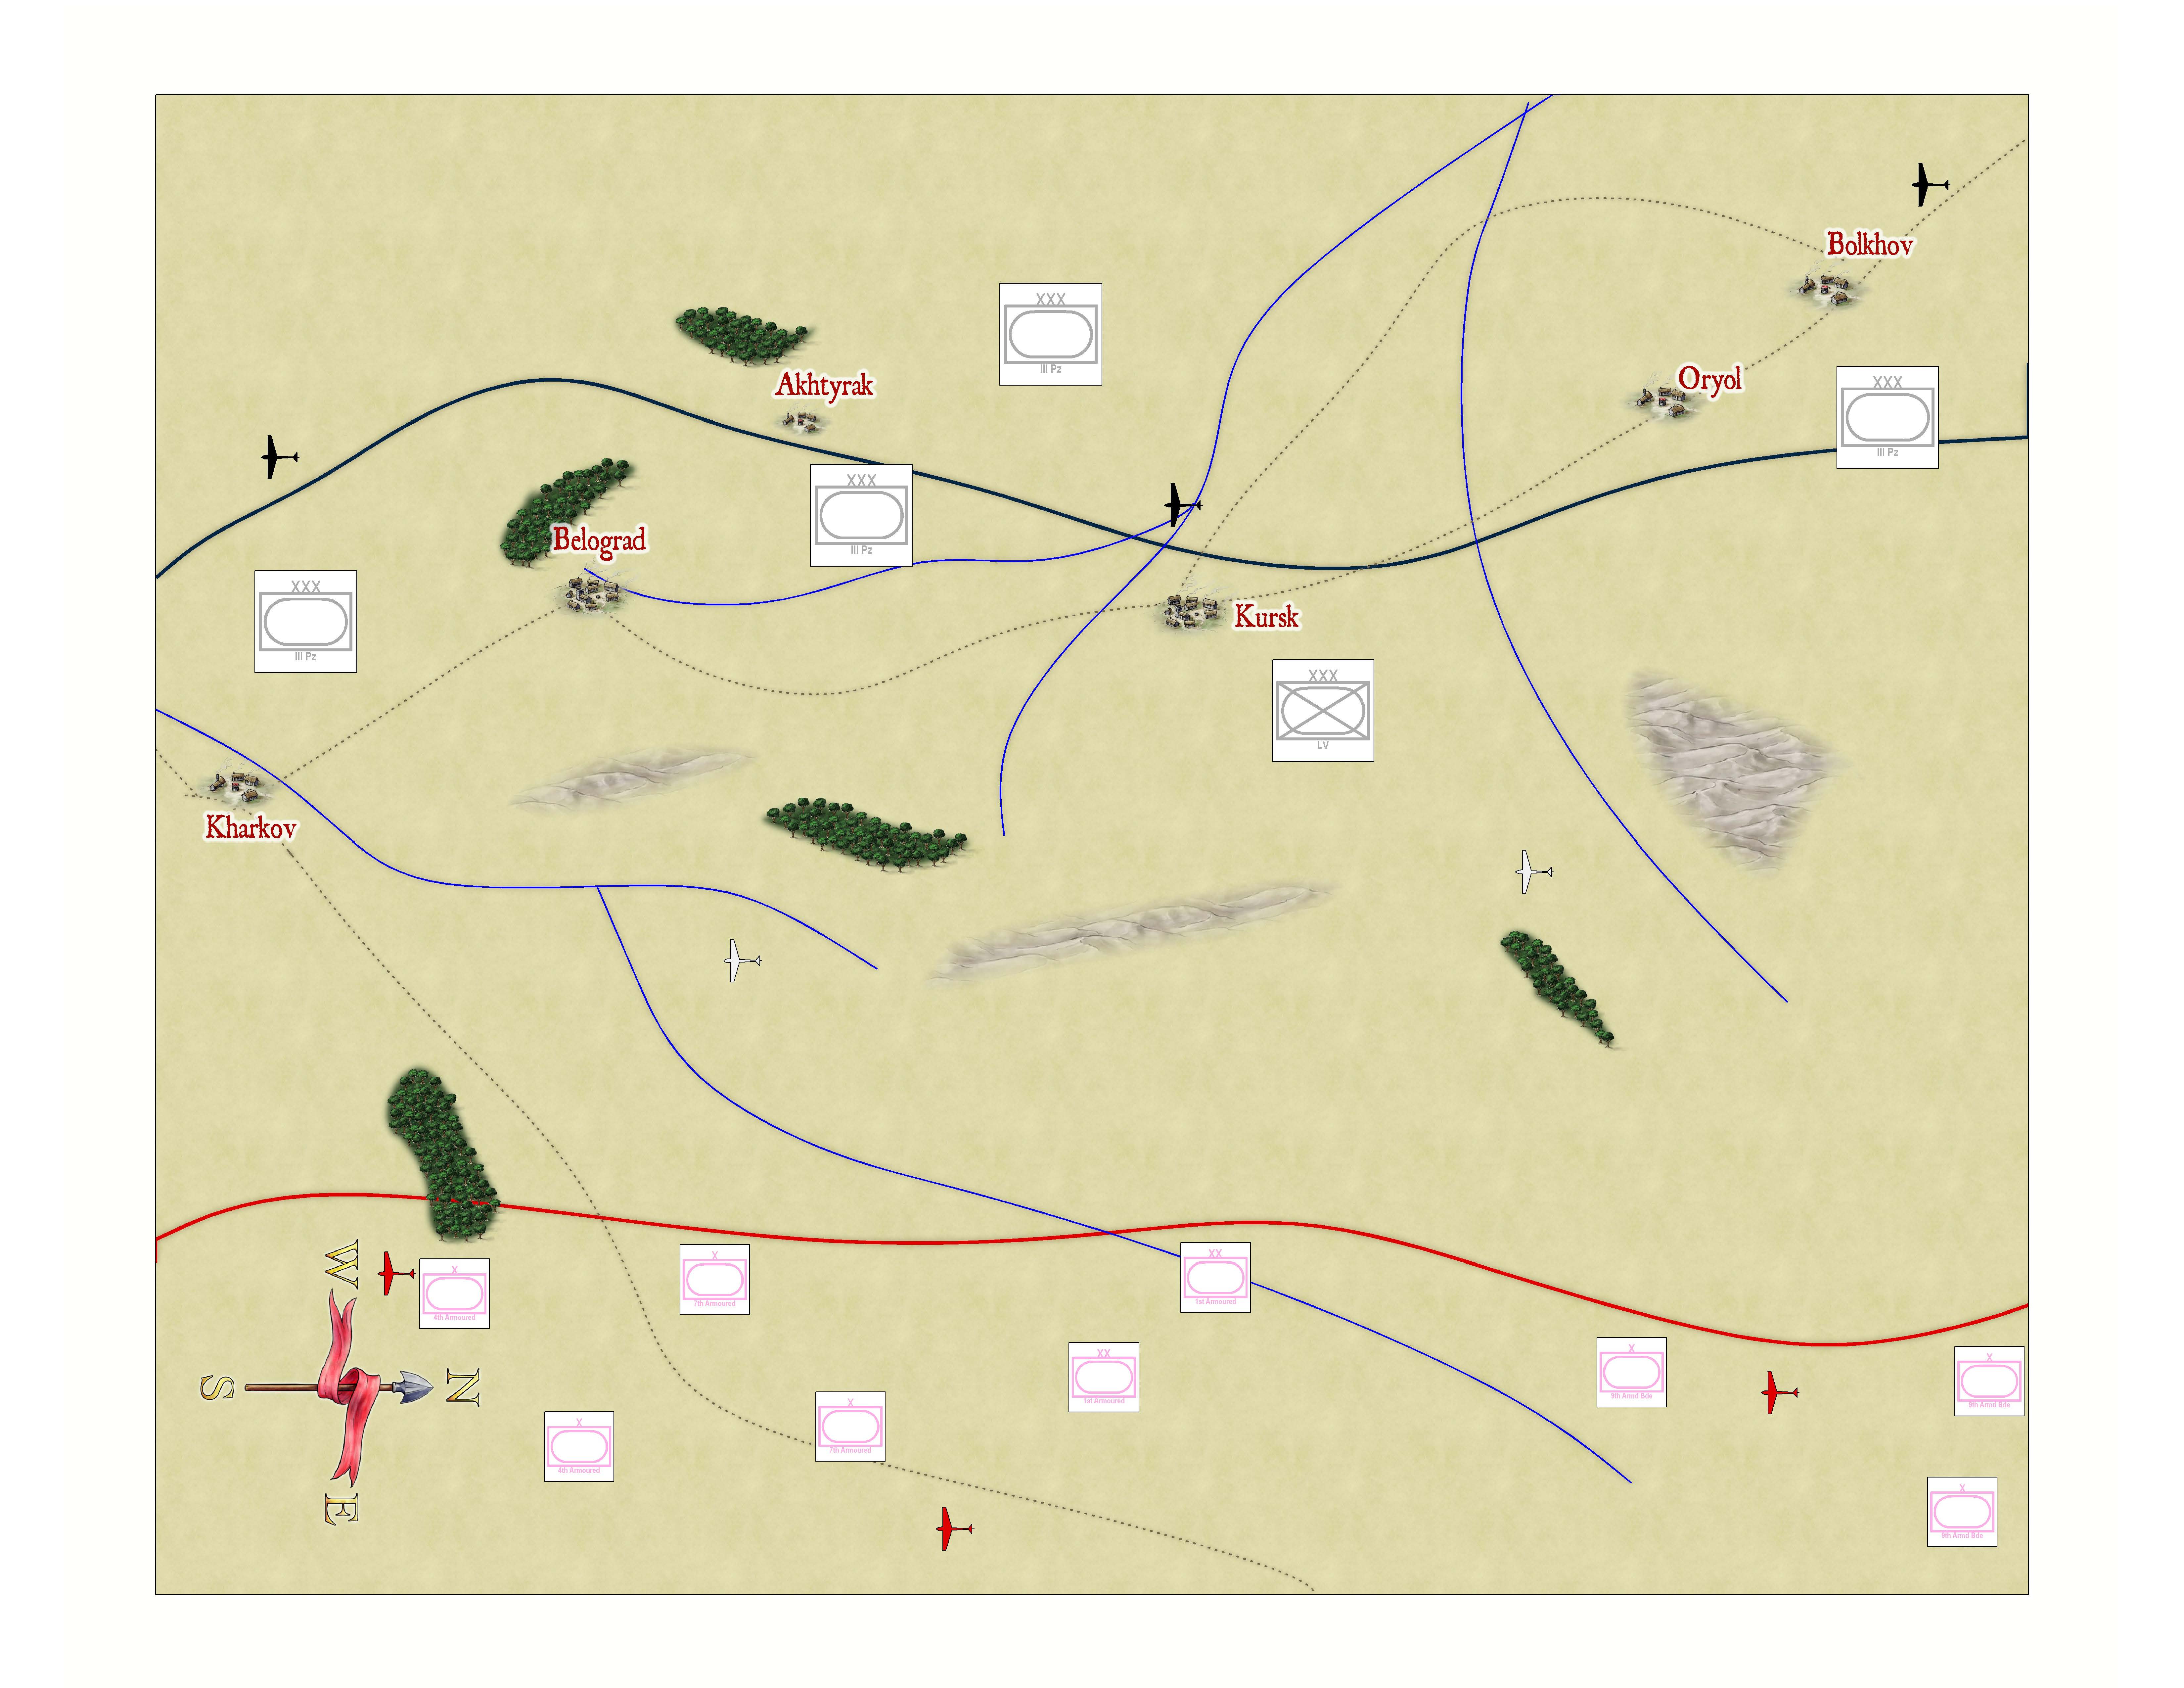
The Battle of Kursk in 1943 remains the largest tank battle in history. The front line was over 1,000 miles long, and the fight itself lasted seven weeks. 3.4 million soldiers from both sides participated, with 10,000 tanks and 35,000 pieces of artillery.
The battle took place in two key areas. The North near Bolkhov, and the South around Kharkov. The center of the field bore a striking resemblance to the Battle of the Bulge. The offensive started out as a German operation. We are going to take charge of the Soviet counterattack.
Order of Battle Germany Gunther Von Kluge 941,000 Soldiers 3,253 Tanks 9,467 Guns 2,110 Aircraft
Wargame any 6mm Game like O Group or Baccus 6mm Rules. You could also go up to 15mm with Flames of War. You want the game to incorporate Airstrikes, artillery, armour, and infantry. Player 2-20. This game is designed for many commanders in different areas, divided as you see fit, you could even put an umpire to work here. Models Needed, as many as you want, literally. I doubt many people own 1,000 tanks, let alone 10,000 Table Size: The game can be played in two ways. You can use the above campaign map with different sectors and fight battles in the various sectors, changing terrain for each sector battle. Or you can put as much of the fight as you want on a single table (best in 6mm or 2mm). Fighting Battles. The Soviets should have about 20% more units on the table, in terms of points, than the Germans.
Campaign Map,
Units should be able to move 2-3 squares, depending on the road situation. Discuss with your opponent. Air support will only be available within 5 squares of the airbases marked.
Objectives The Soviets want to retake the marked cities on the map. The Germans want to hold their ground.
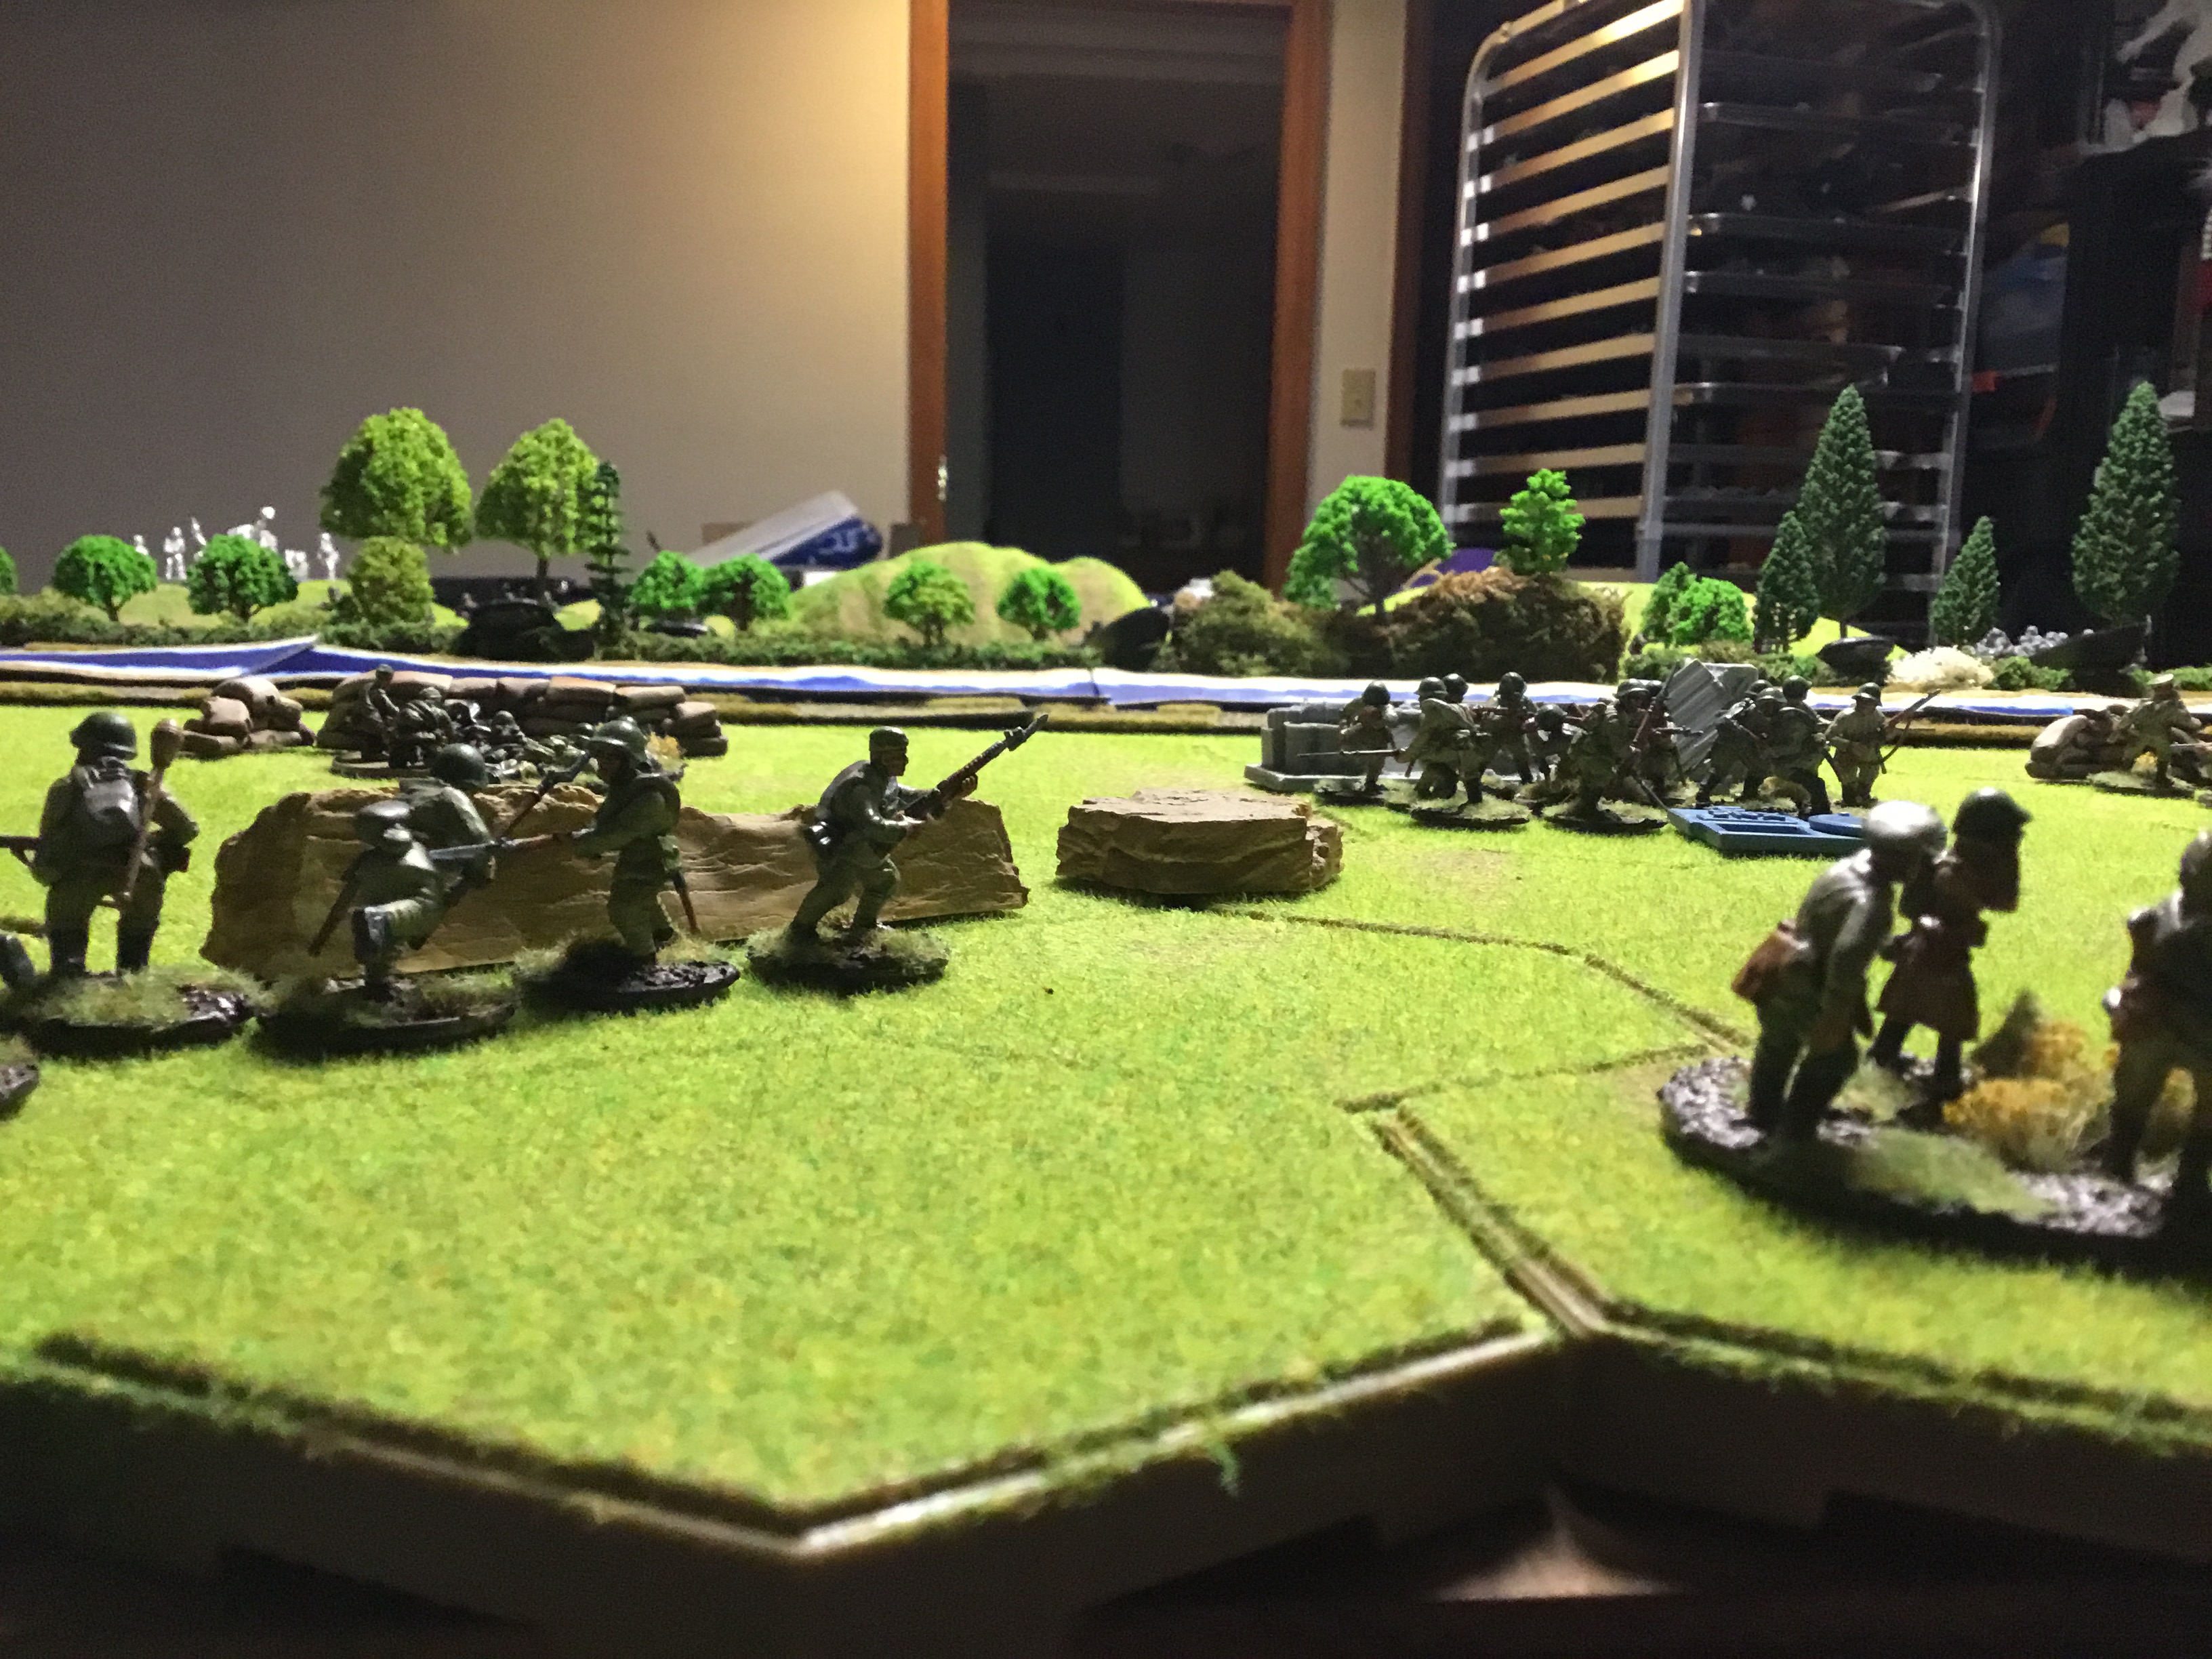
If you are a wargamer, you know about D-Day. We aren’t going to wargame the most famous invasion in world history. We will wargame a special operation, the assault on the Merville gun battery by the 9th British Parachute Battalion.
Wargame
Rules Bolt Action or Command Decision Players: 2 Models Needed: (bolt action) 1,000 points of British Infantry. No tanks or other vehicles are allowed, but they do get their free artillery observer. 650 points of Germans, again, no tanks, only 2 MMGs are permitted, no mortars. Table 4×4 Terrain, a German bunker with trenches surrounding it, barbed wire, and an antitank ditch
Objective: The Germans must hold the gun battery inside the bunker, while the British must capture and destroy it. The game should last 6 turns. After turn 6, roll a D6 on a 4+, and we play a 7th turn.
Set Up: The British forces should be randomly distributed using a dice. This signifies the scattered nature of the parachute drop. For each unit, roll a D6. On a 1, remove one model at random from that unit.
The German forces should be dug into the trenches and prepared for battle.
The terrain should have the bunker surrounded by trenches, barbed wire, and an antitank ditch, then open ground with small bits of scattered cover, such as a shed, a small hedge, some rocks, etc. The bunker should face one edge with a semicircle of trenches surrounding it.
If you are struggling as the British player, add more troops or subtract a few Germans. Historically, the British could never capture this battery, and the Germans occupied it until they withdrew from France.
September was rough. I refereed 36 soccer matches in 5 states and 12 cities. I was a soccer referee from Thursday to Sunday every week. I have two more weeks of intense officiating.
This week, starting Thursday, I referee two matches two hours away. (4 total drive hours). Then I drive six hours for a single game (10 total hours). I drive four hours for another game (14 total drive hours). I’ll drive two and a half hours for the final match. (16.5 total drive hours) followed by a three-and-a-half-hour drive home. (20 total drive hours)
I will referee from the time I get to each site until the time I leave, a total of sixteen hours. Over the weekend, I will work 36 hours, sleep in hotels, and recover for the next day. I should clear about $2,500 for the weekend making everything ok.
This means I have been unable to play games or hobbies to my usual extent. I did accomplish a ton of things, though.
A. Used Warlord Army Builder to create every list to complete the Stalingrad campaign. Their army builder is switching to 3rd edition, and I want to game in 2nd.
B. Completed a game of DBMM (battle report to follow)
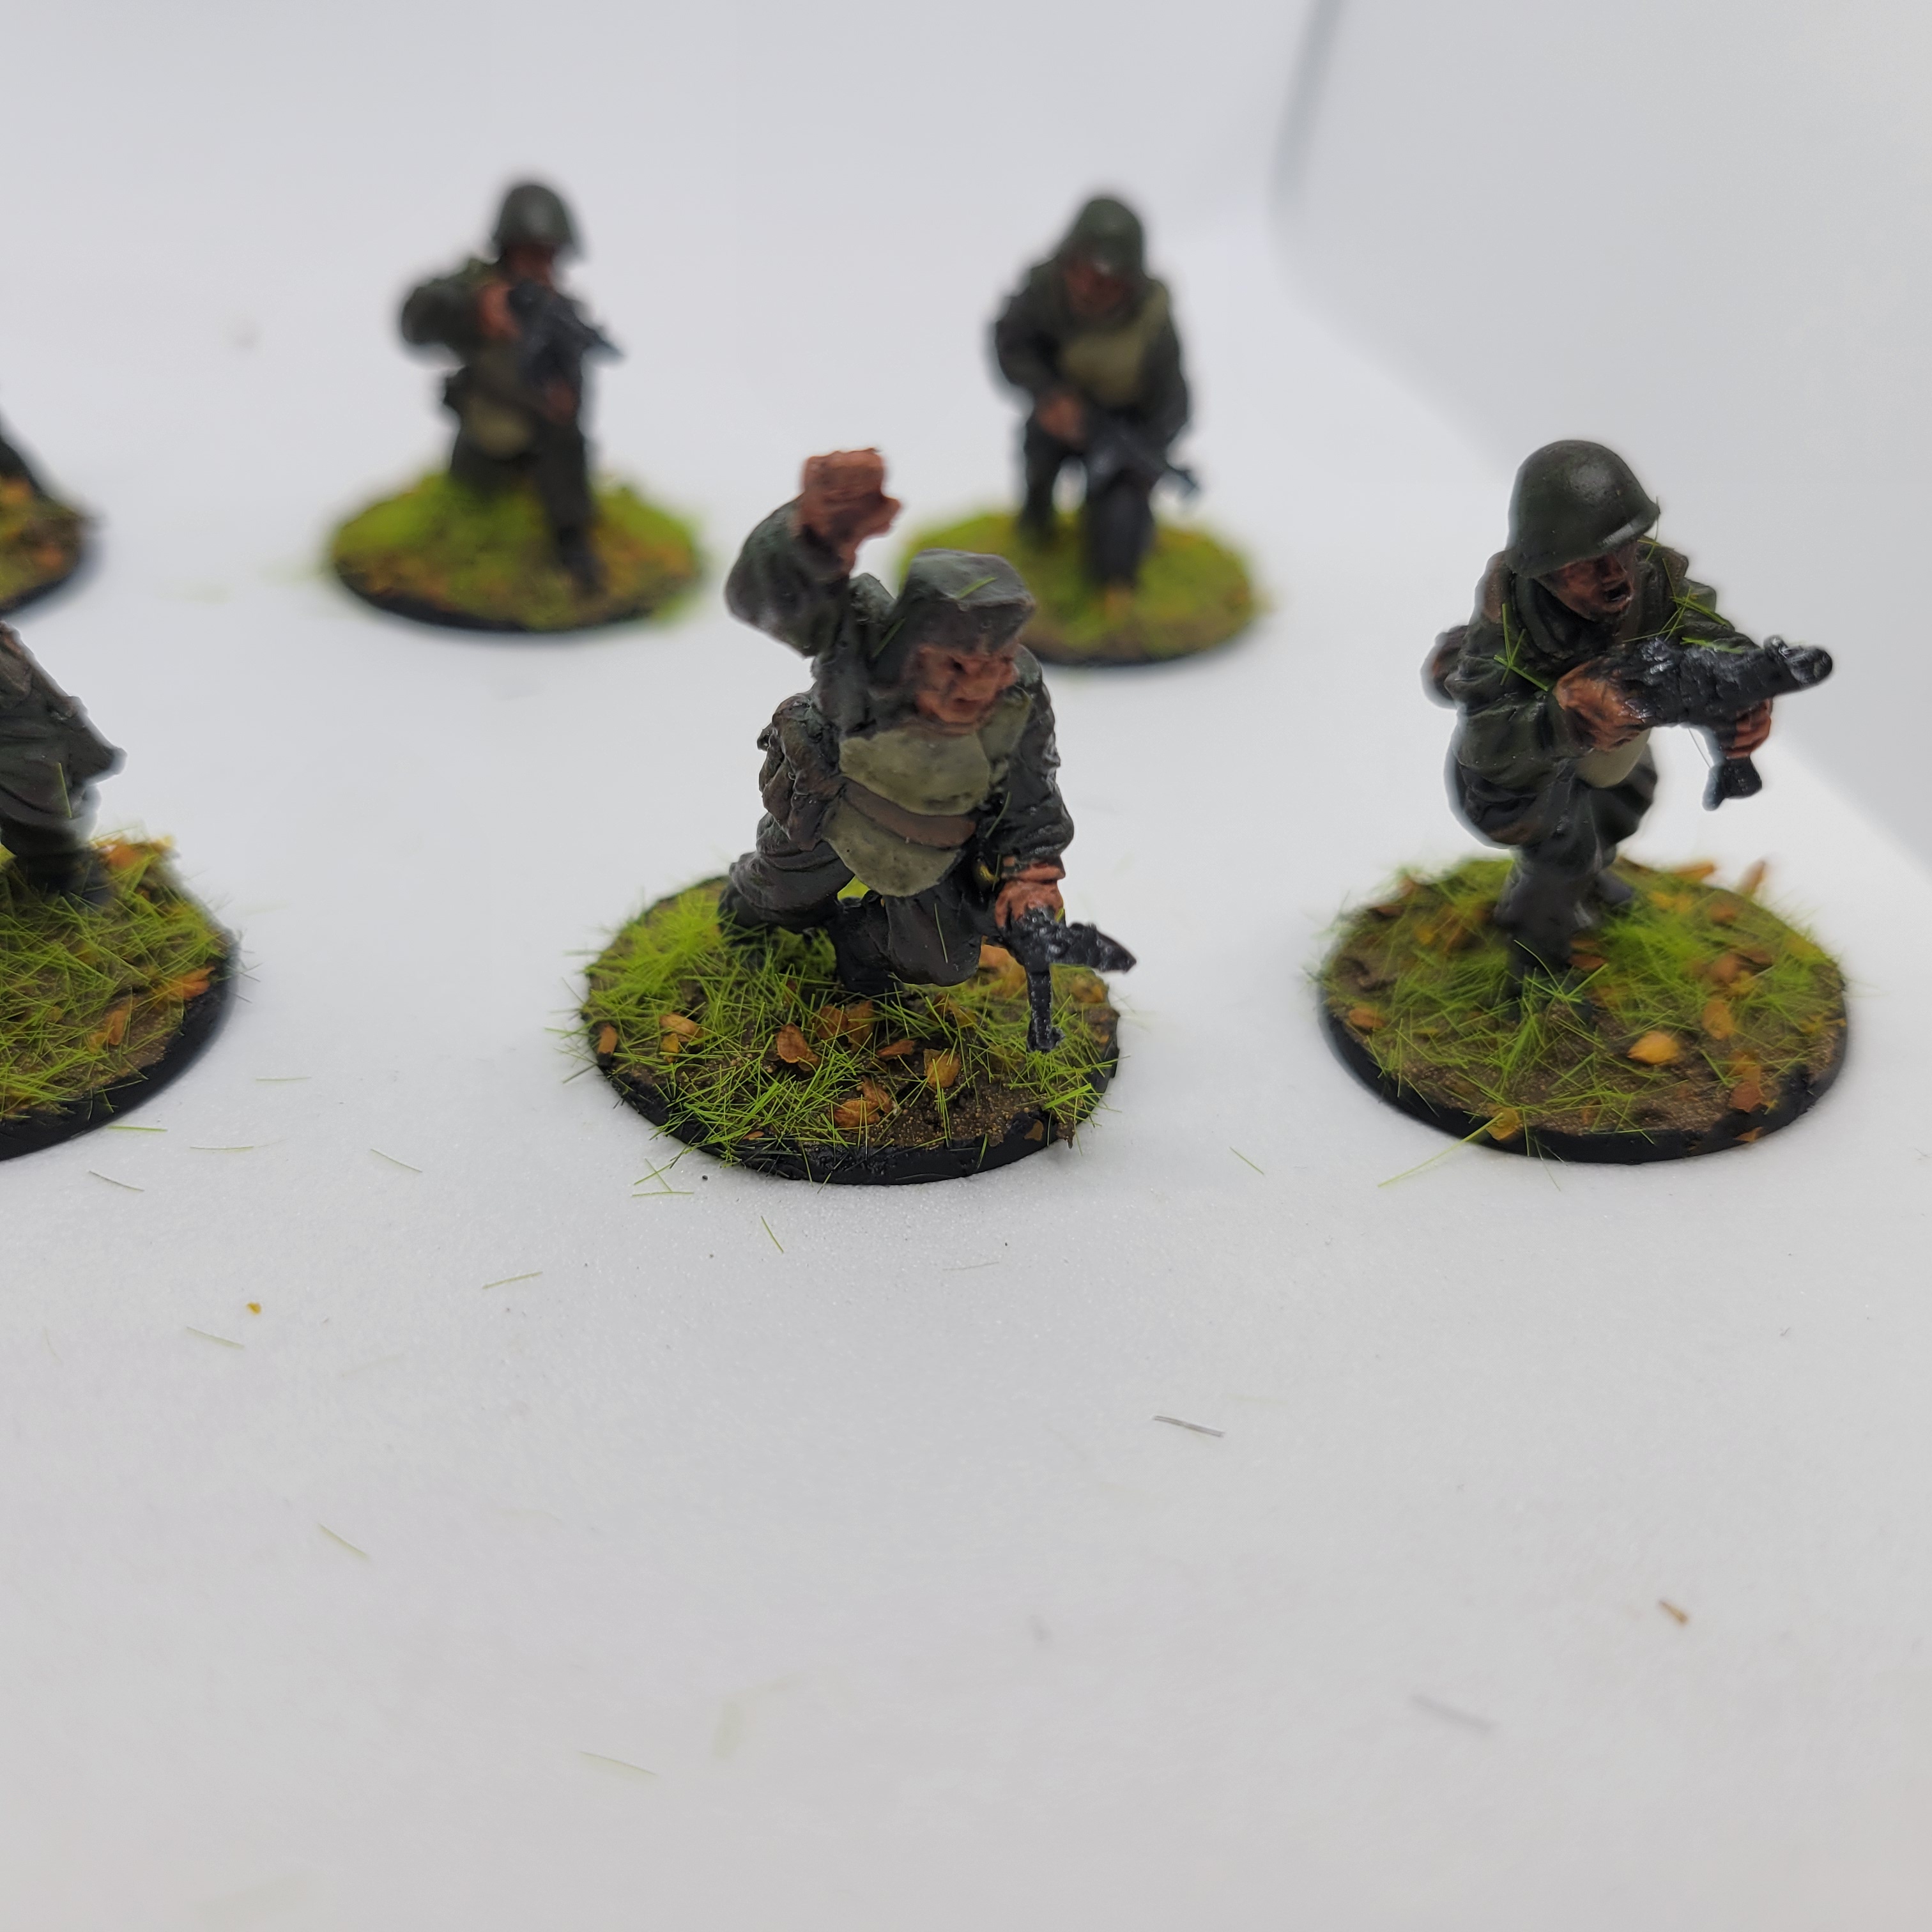
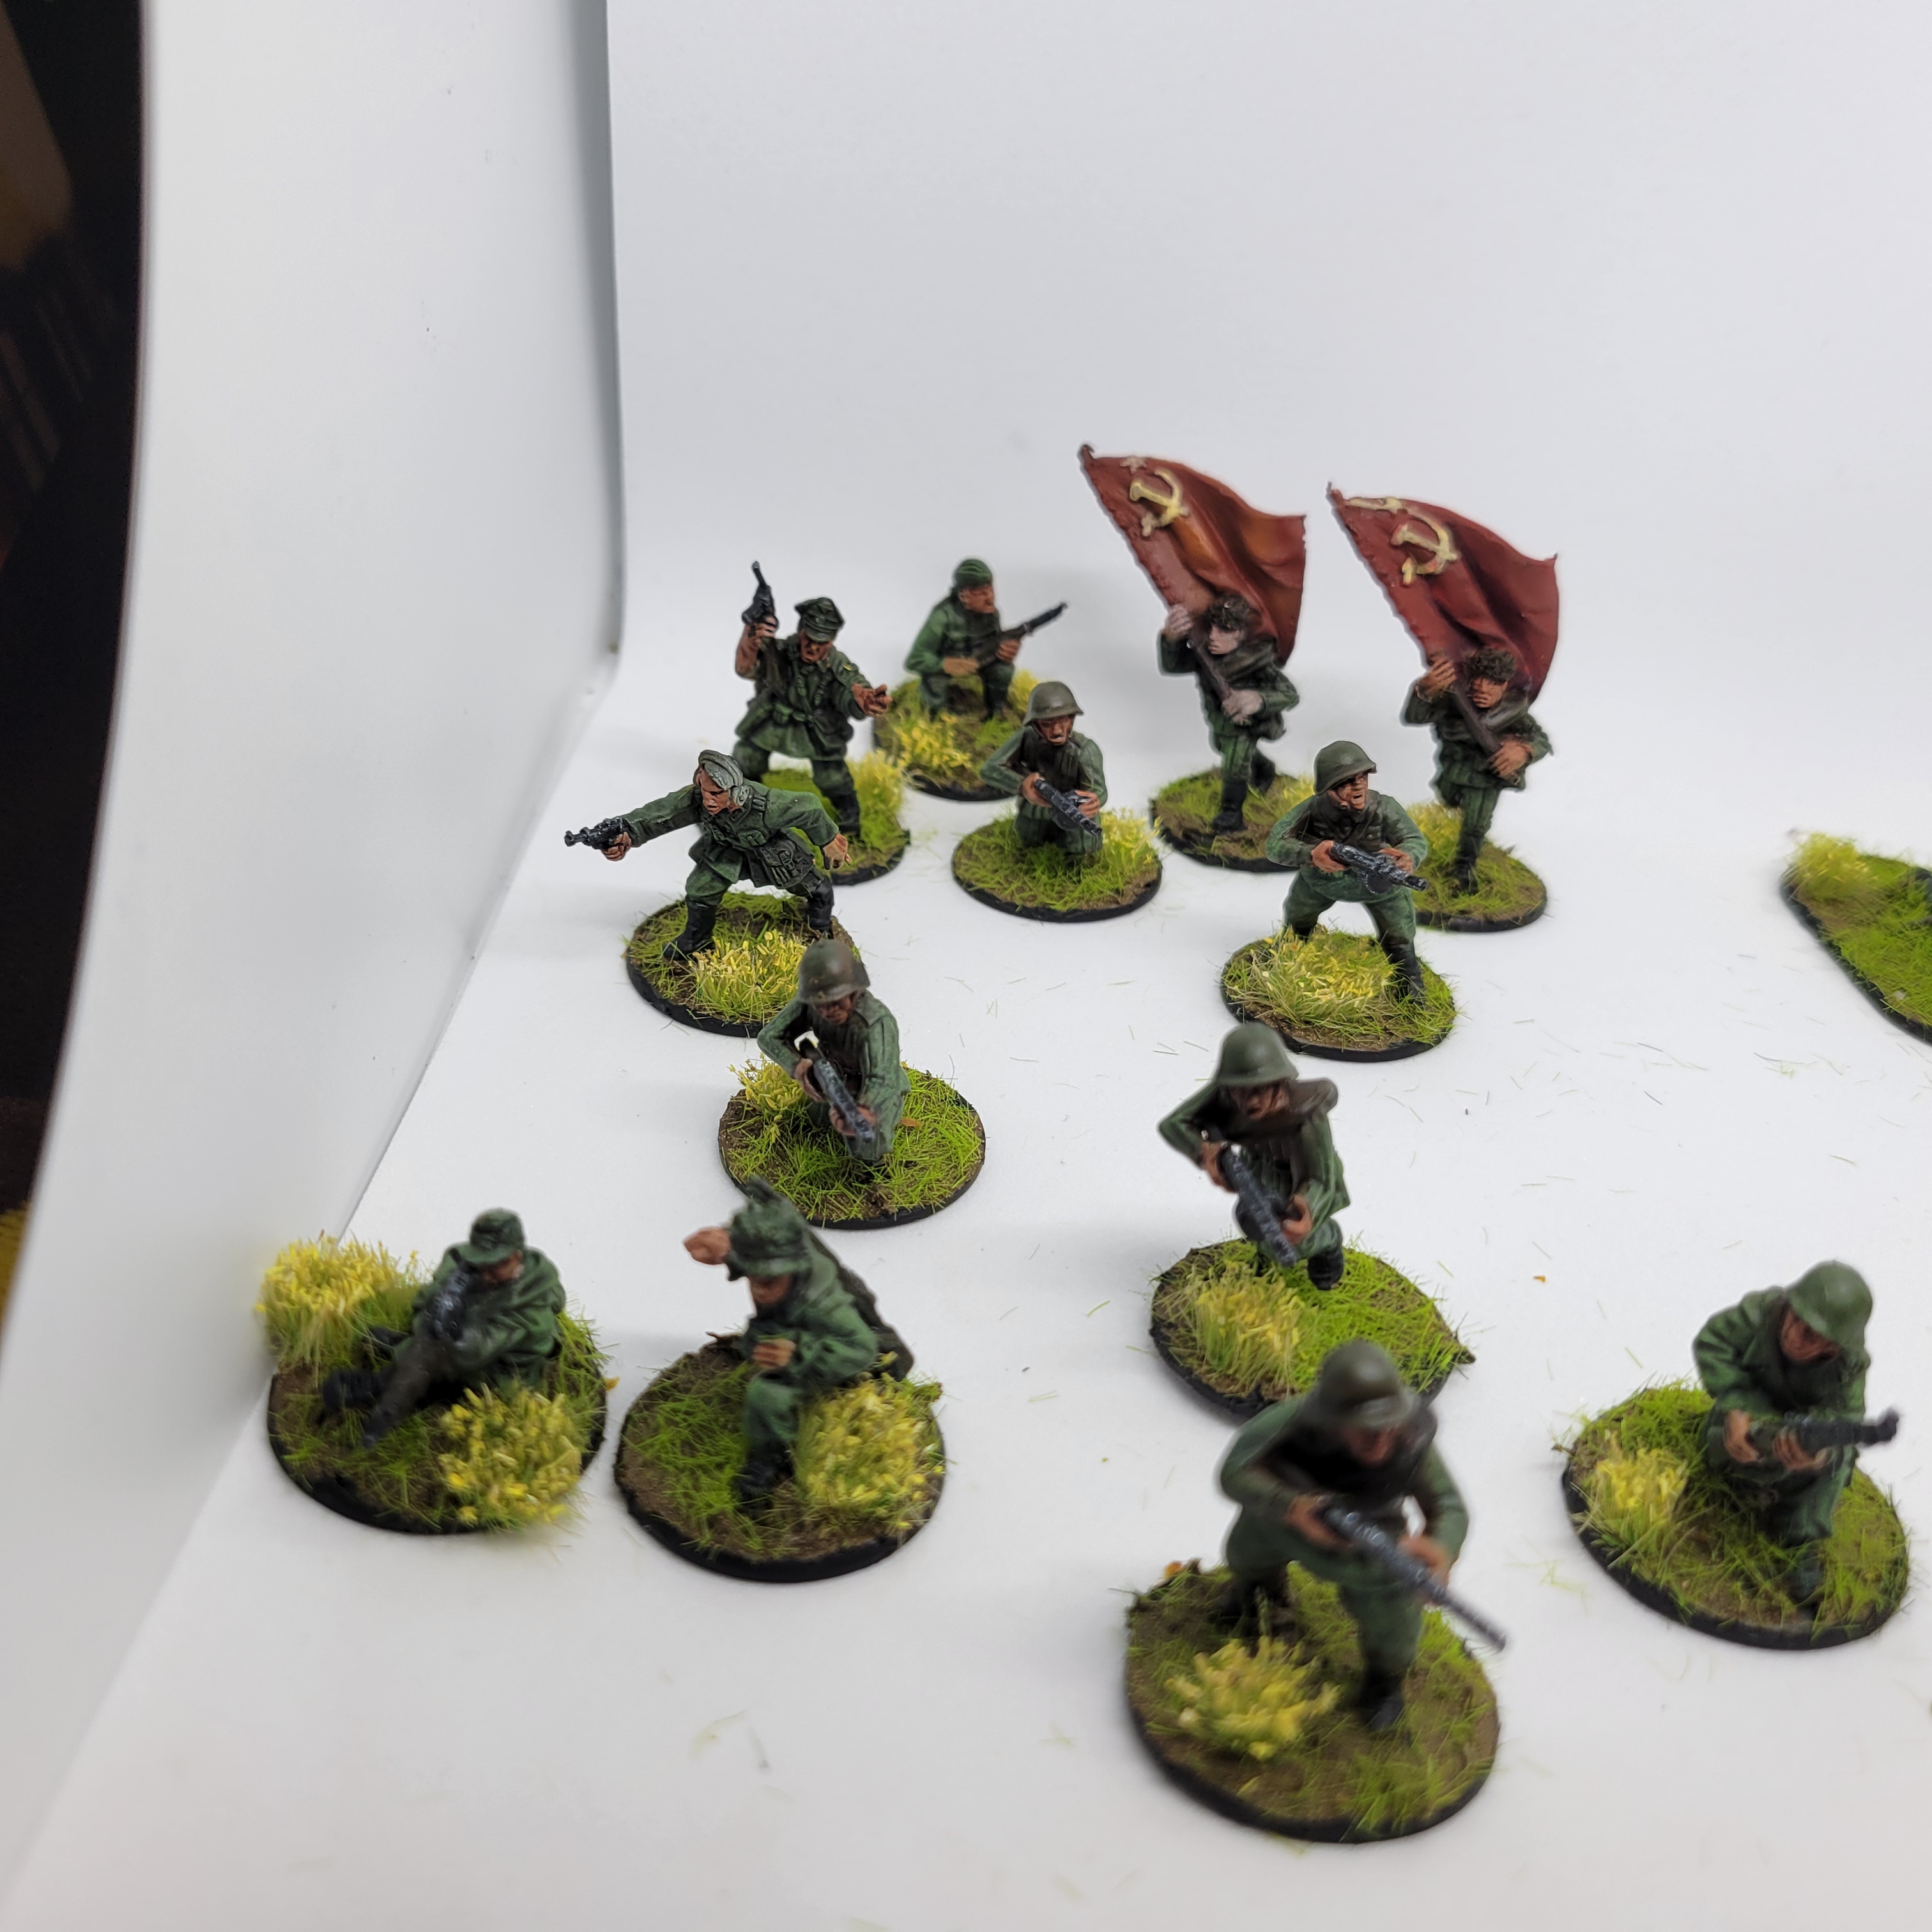
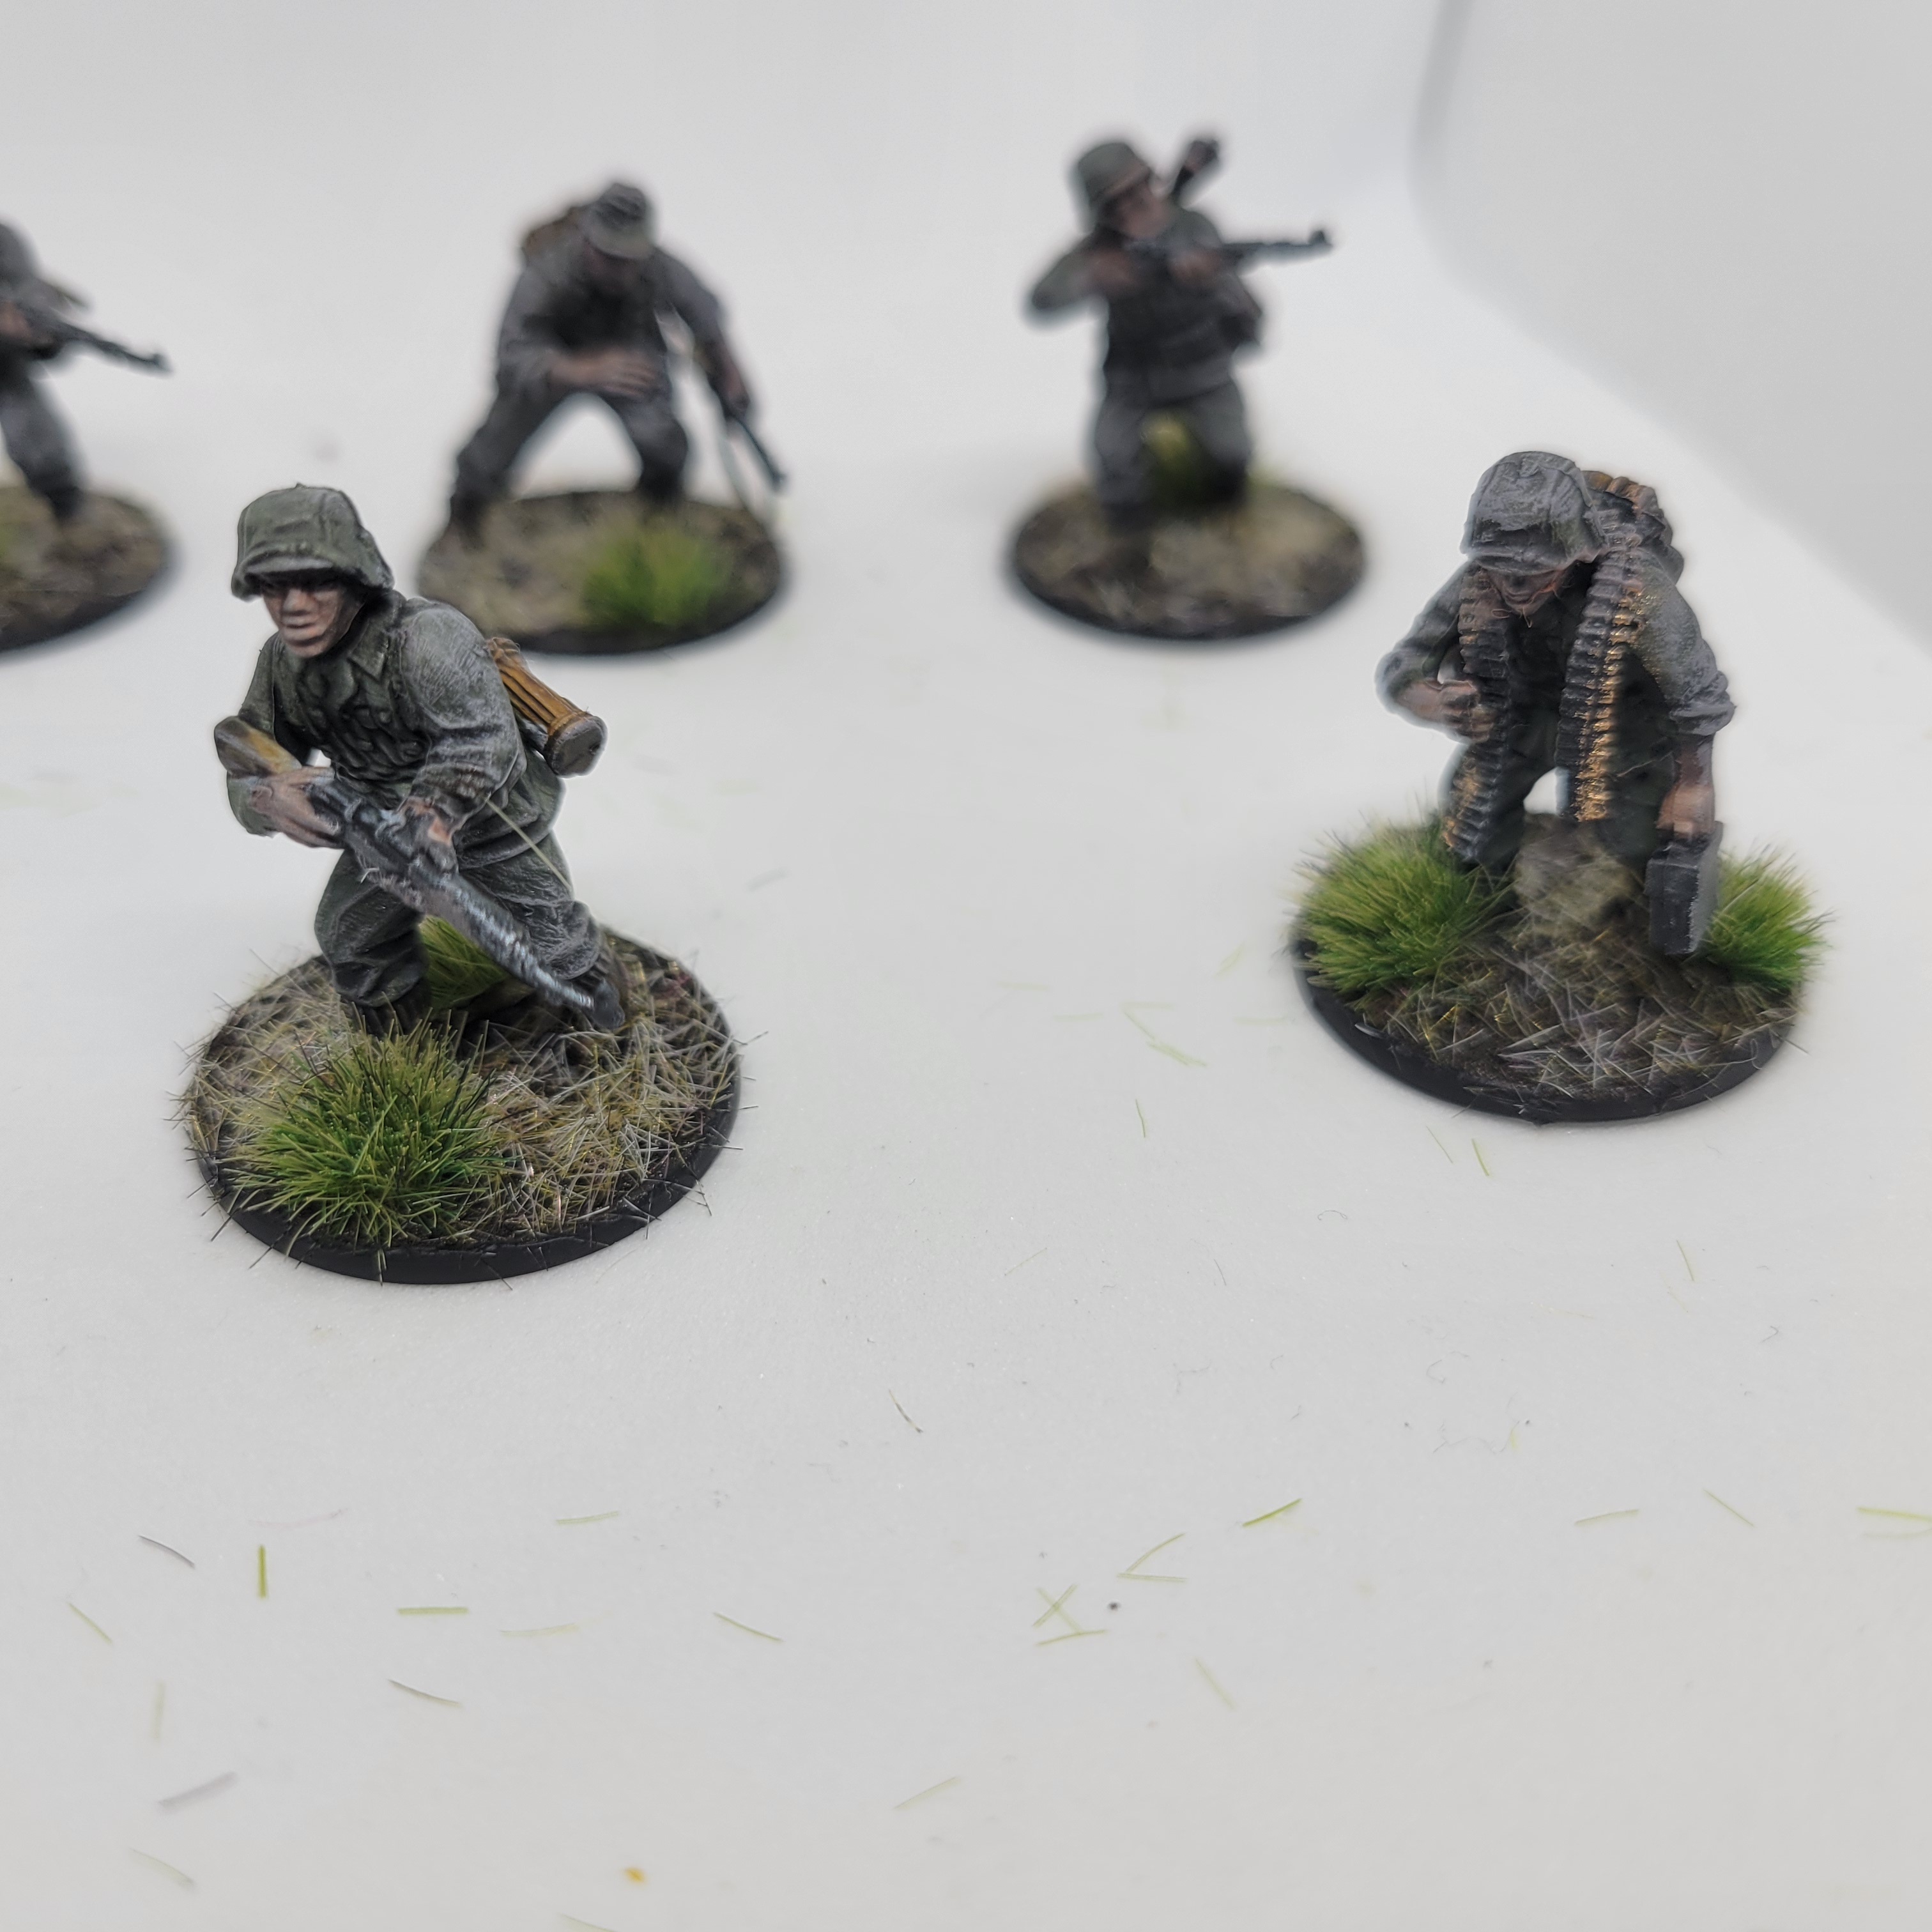
C. Painted the Following Models (70 total)
Soviet airborne (Happy with)
Base German green brown vallejo primer Zen idf Israeli desert sand vallejo primer Wash earth shade Hats contrast skeleton horde Guns contrast black. Drybrush silver Base Vallejo russian mud Terrain static grass landscape series Yellow flowers
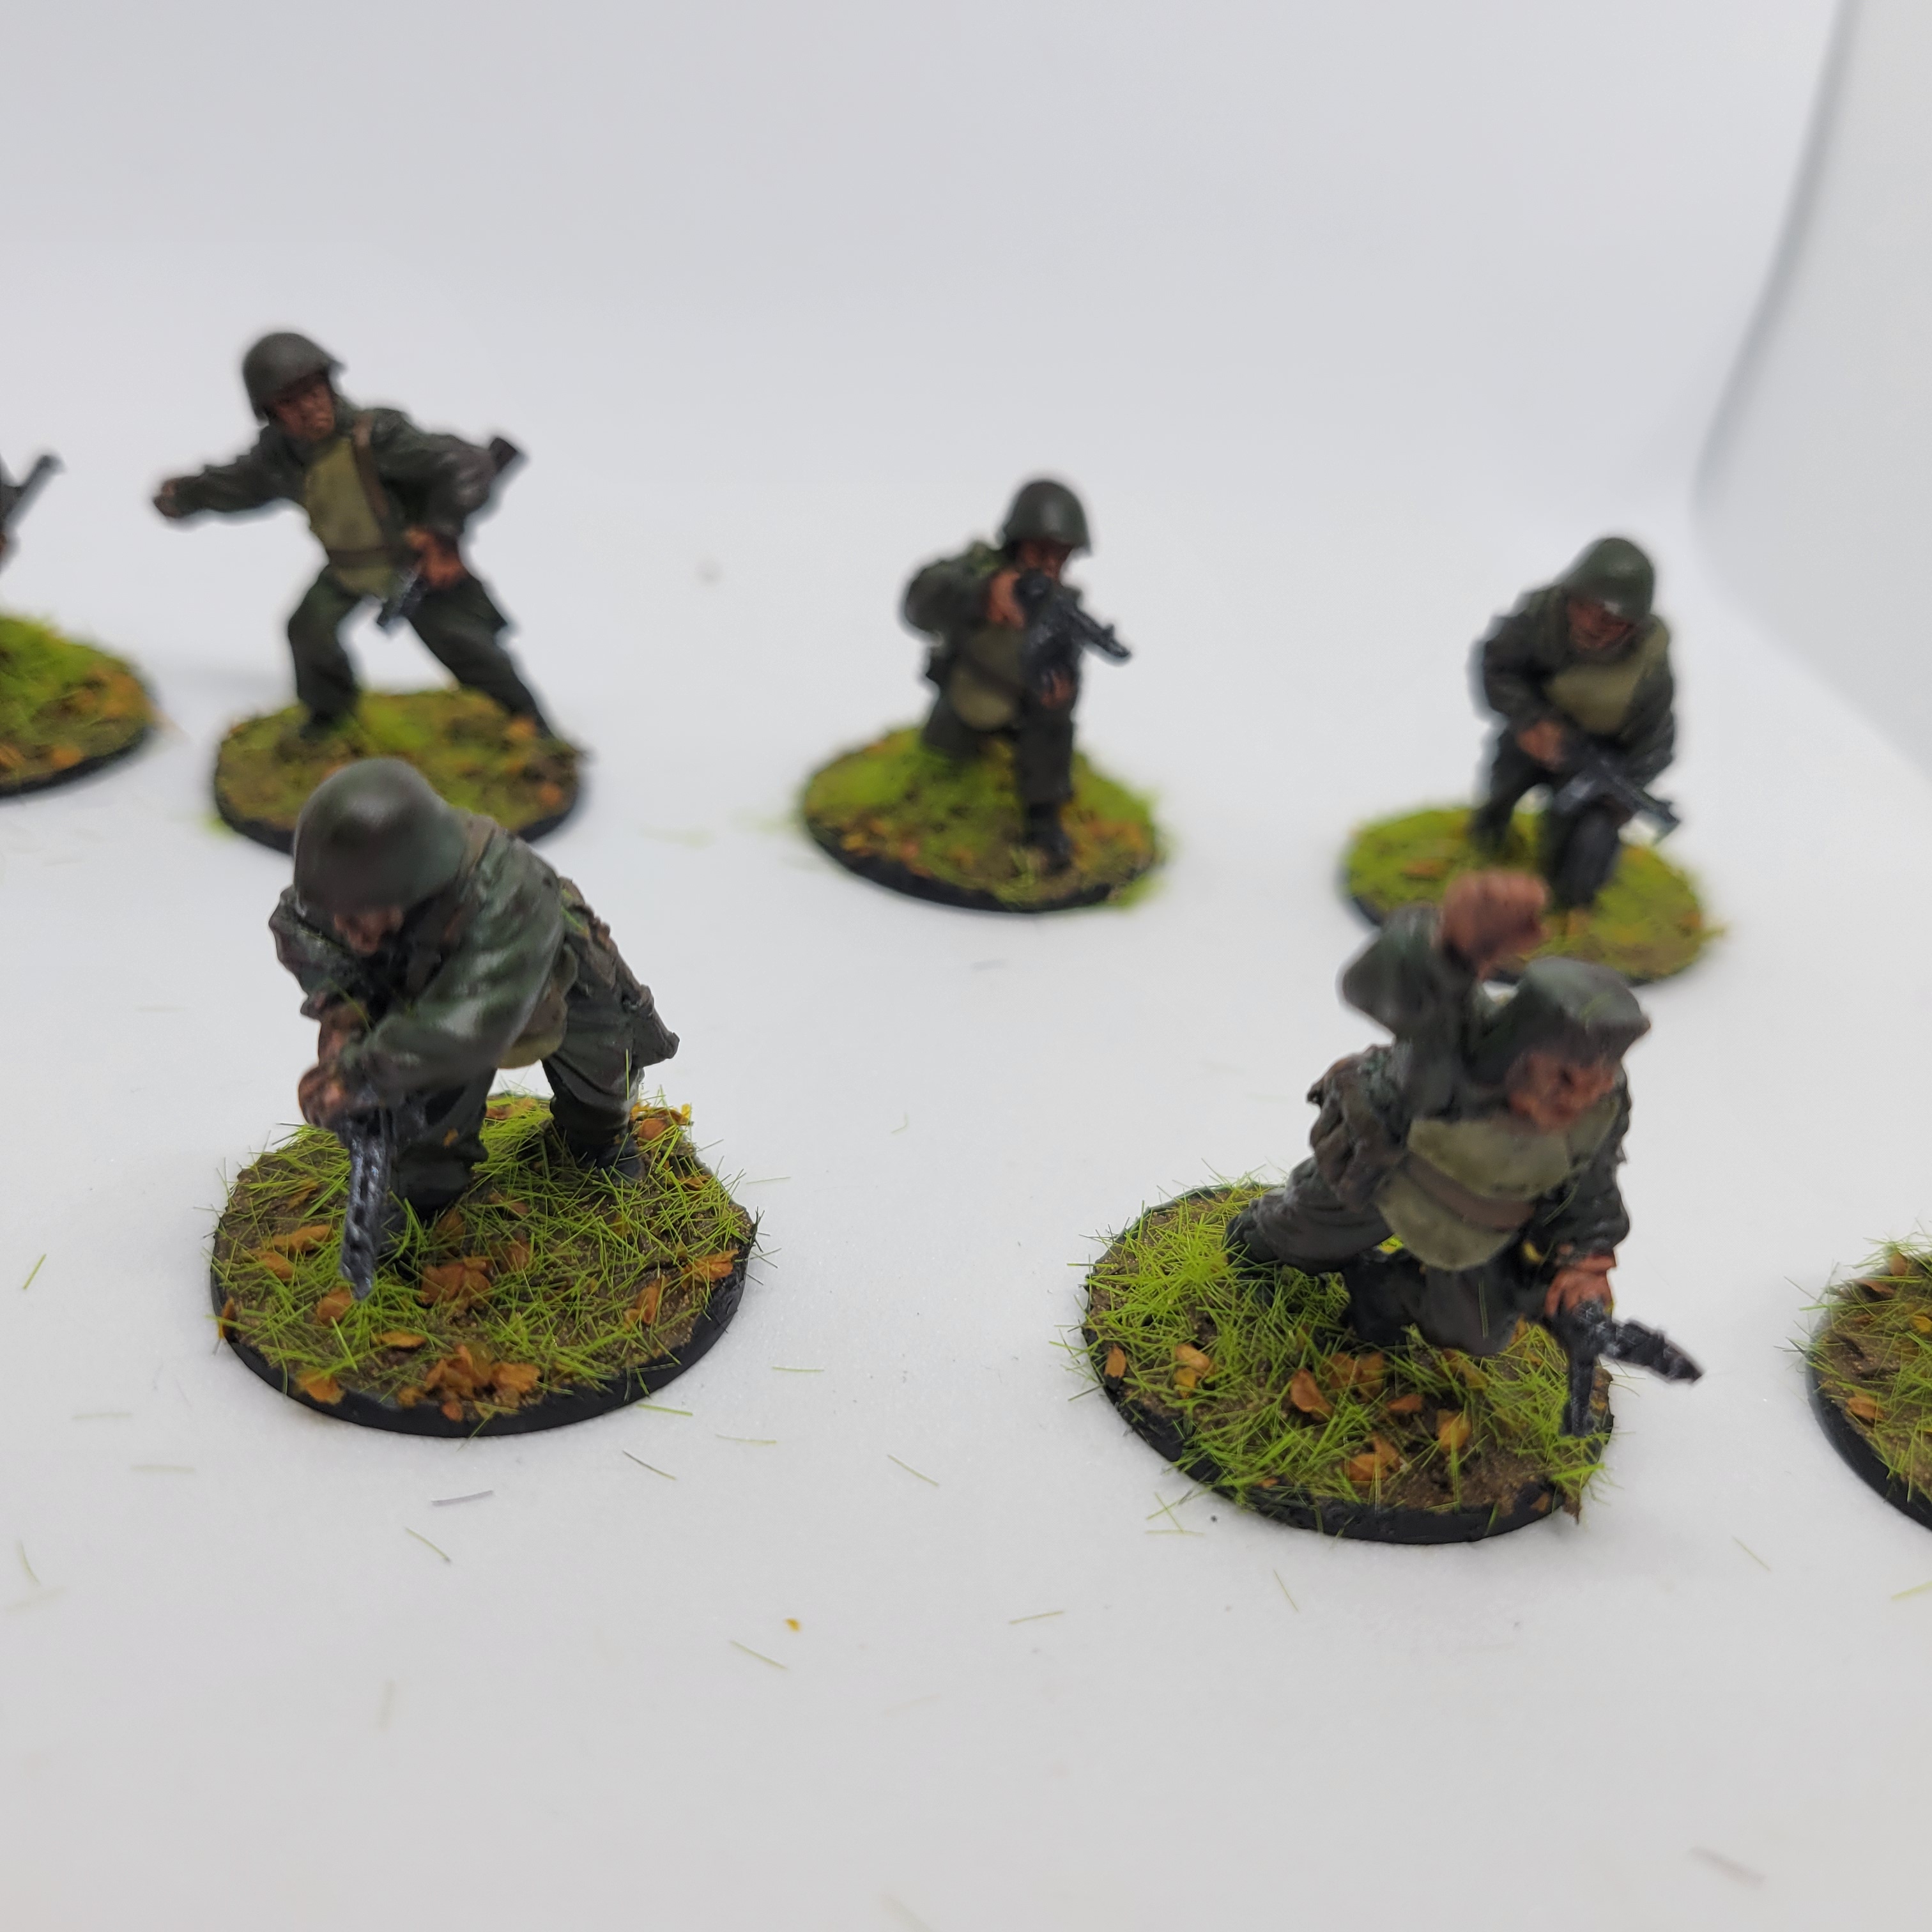
Soviet Guard Squad (Not happy with)
Base german panzer grey primer Zen nato green primer Sponge on vallejo model air dark brown Wash camoshade Vallejo diorama European thick mud Terrain static grass green Autumn leaves
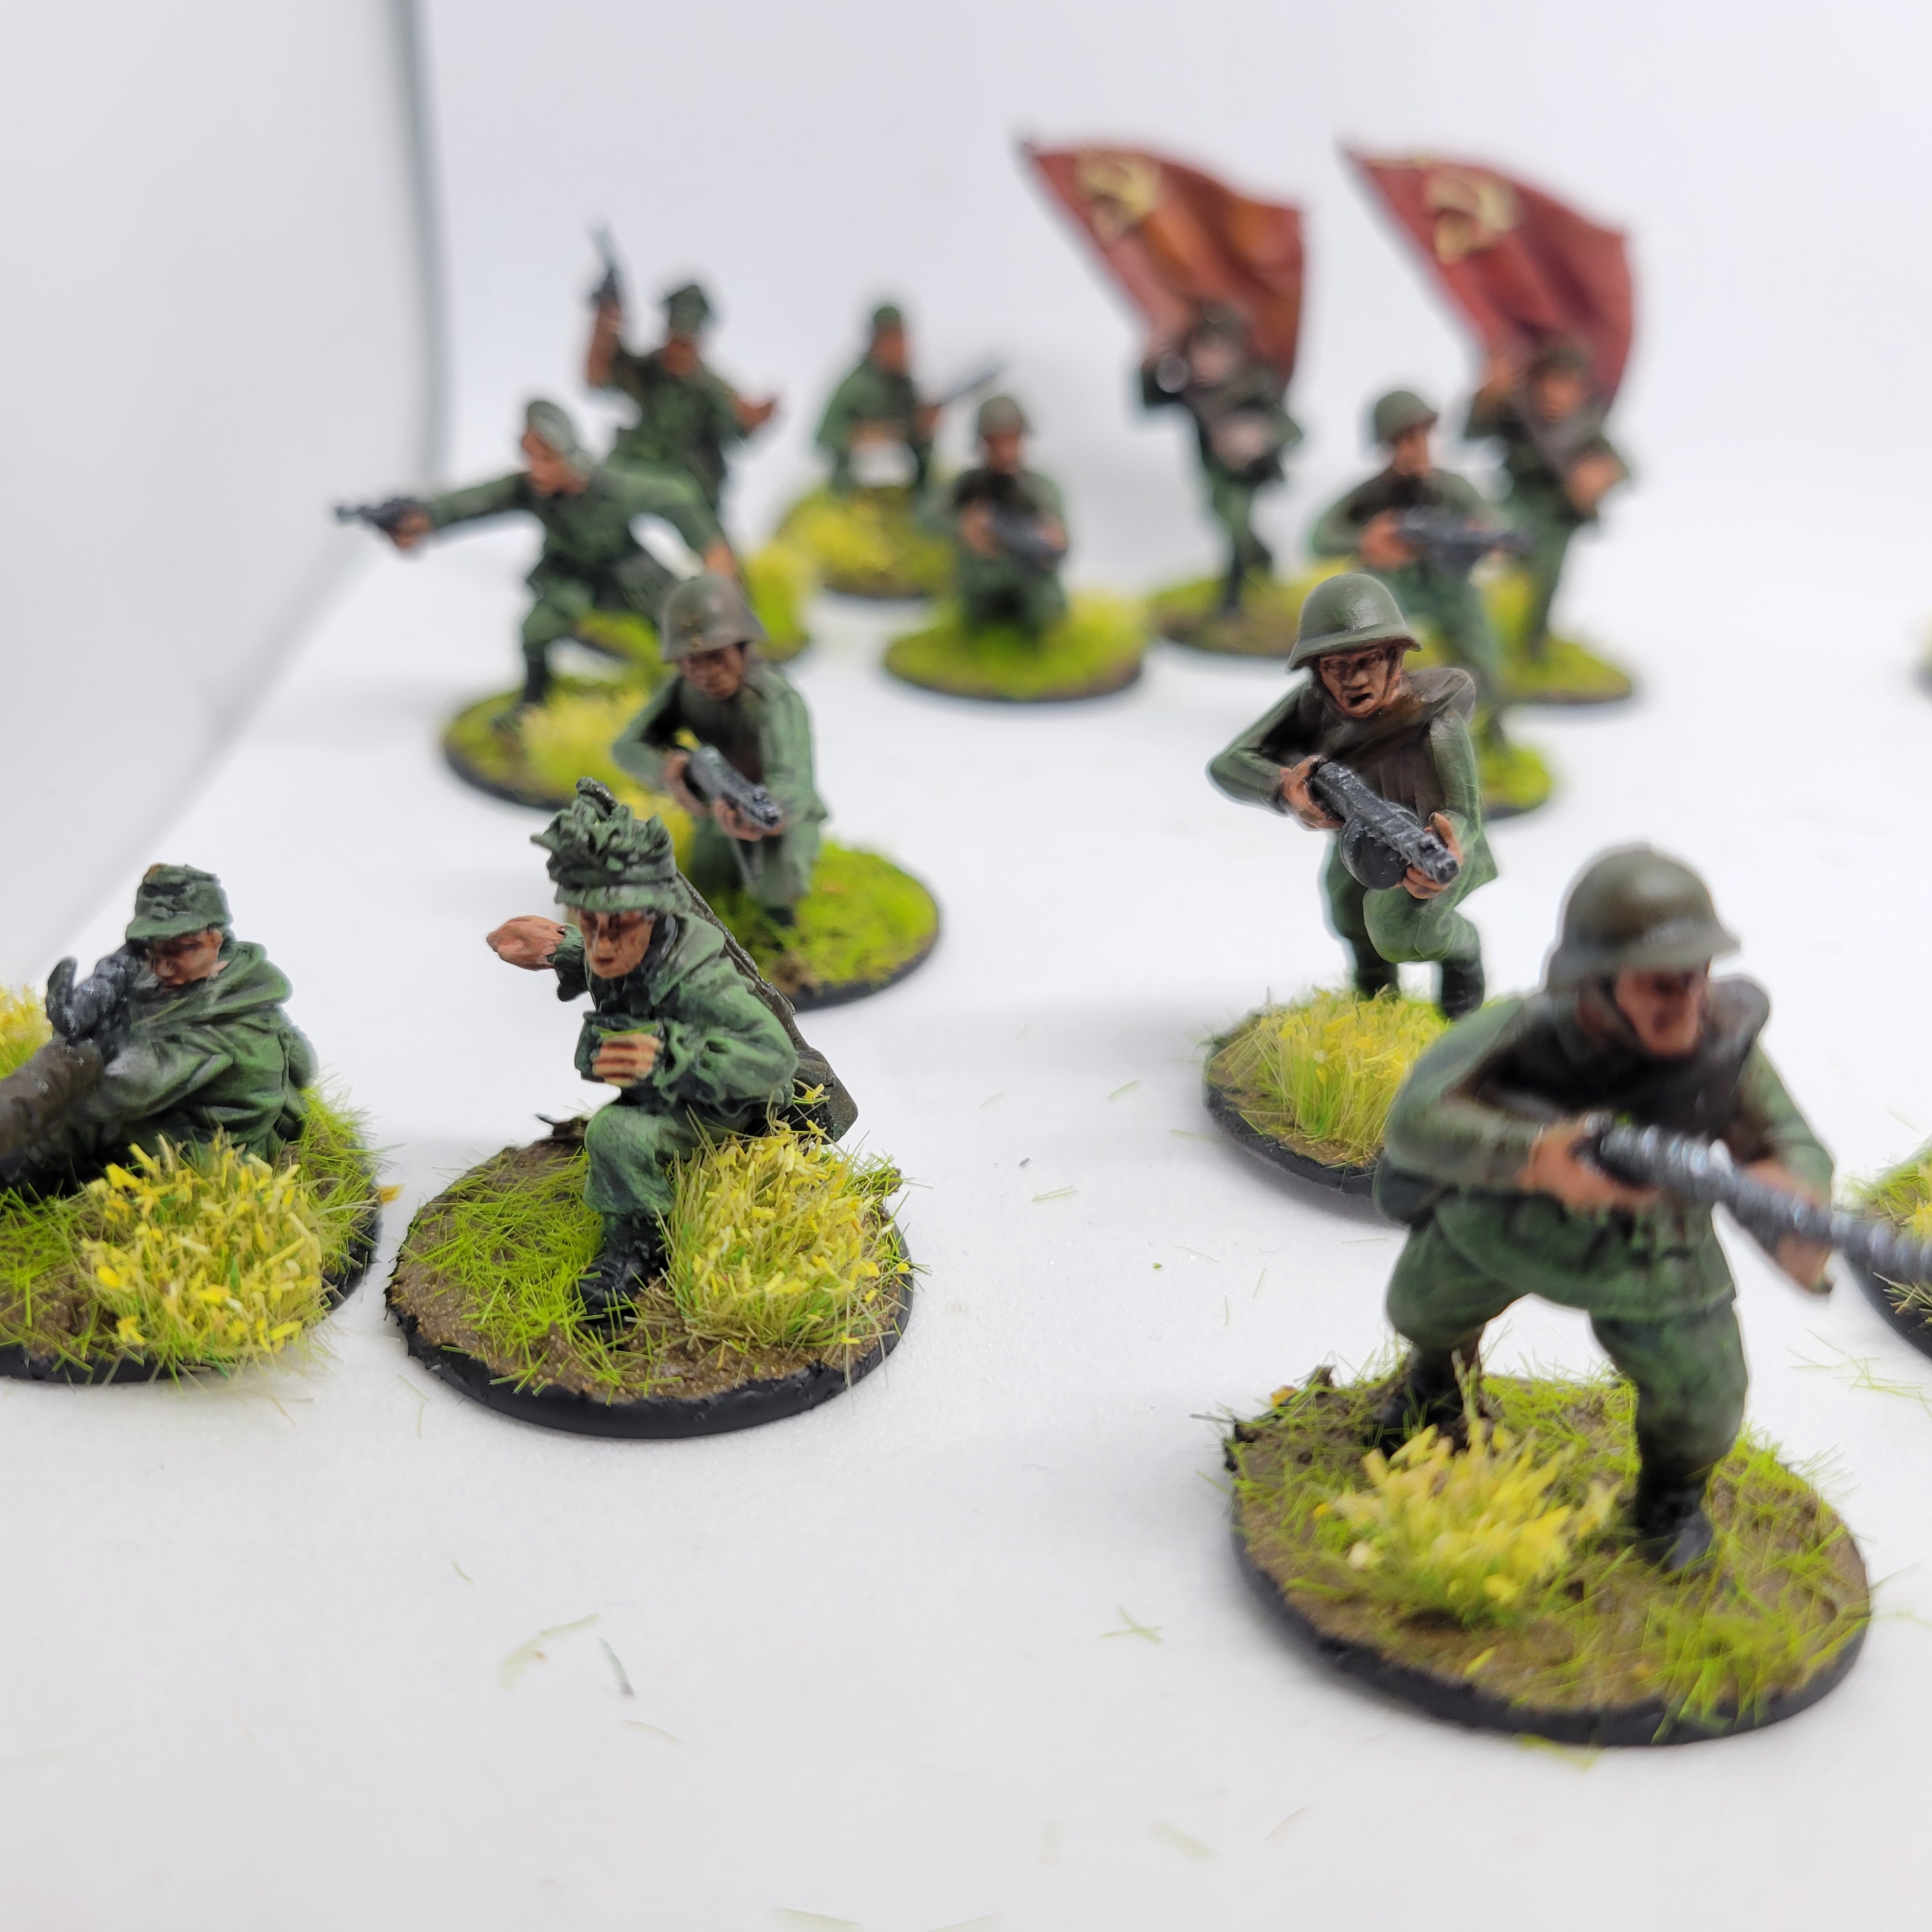
Soviet Infantry Base (medium happy with how they turned out) Base German red brown primer Zen russian green primer Wash camo shade Dry brush model air gunship green Vallejo diorama European thick mud Terrain static grass green Yellow flowers
German Infantry Squad (very happy) Base black primer Zen grey primer Base vallejo German field grey Drybrush light grey Vallejo thick mud russian mud Tan static grass Army painter swamp tufts
I also camo airbrushed a German Tank. It was my first attempt at doing something like this and I wasn’t super happy with it. My color ended more red than brown as intended. (also why I didn’t bother with the pilot or paiting the tracks or any detail work)
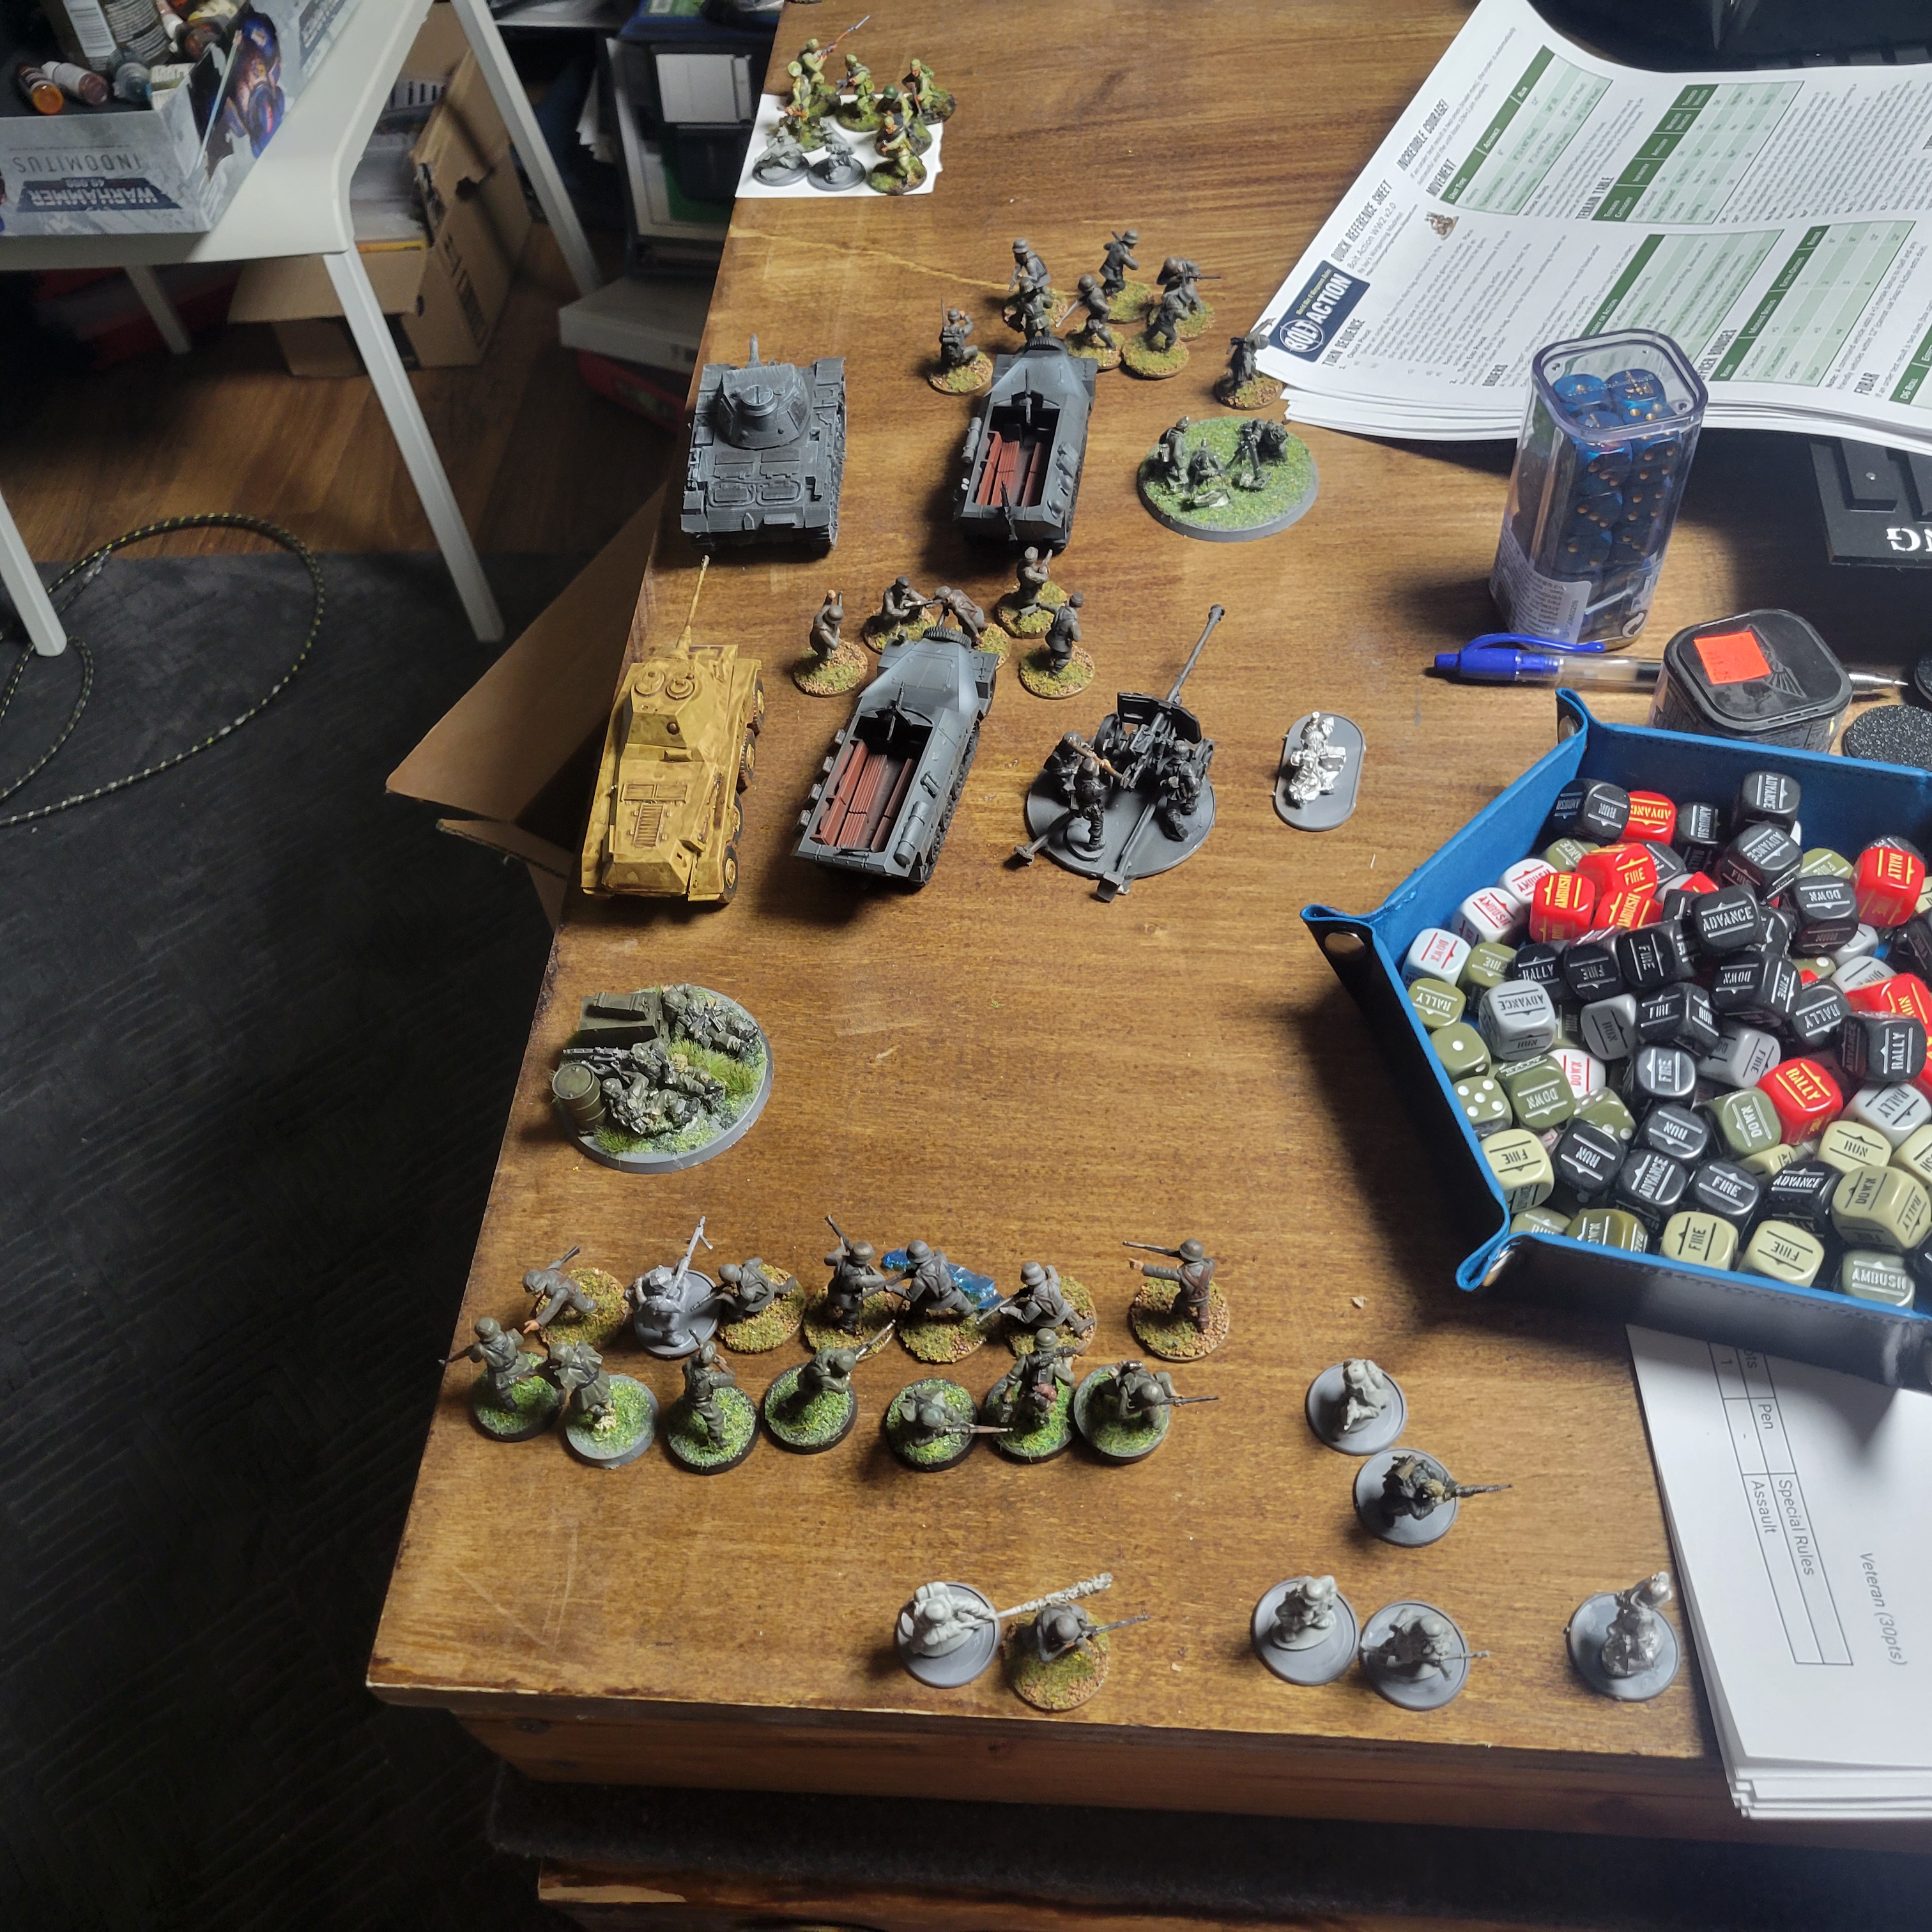
My second scenario, Dawn Crossing, was a complete disaster for the Soviets. The first scenario was a near run, and the last throw of the dice was a thrilling encounter. The second was over by turn three. Turn one, I thought the Soviets would do well despite being outgunned 2:1. 60% of German boats were destroyed. Turn two saw tremendous luck, where basically every German artillery unit that could hit did hit. Destroying or pinning essentially every Soviet Unit.
I didn’t particularly like this scenario. The openness on the Soviet side of the board meant there was very little maneuver, and it was just sit and shoot, in this case, get shot. I thought there was a little more depth that could have been added as far as reinforcements.
Final score, six Soviet Units were Destroyed, and 3 Units on the bank for 9 VPs for the Germans. The Soviets had 3 VP.
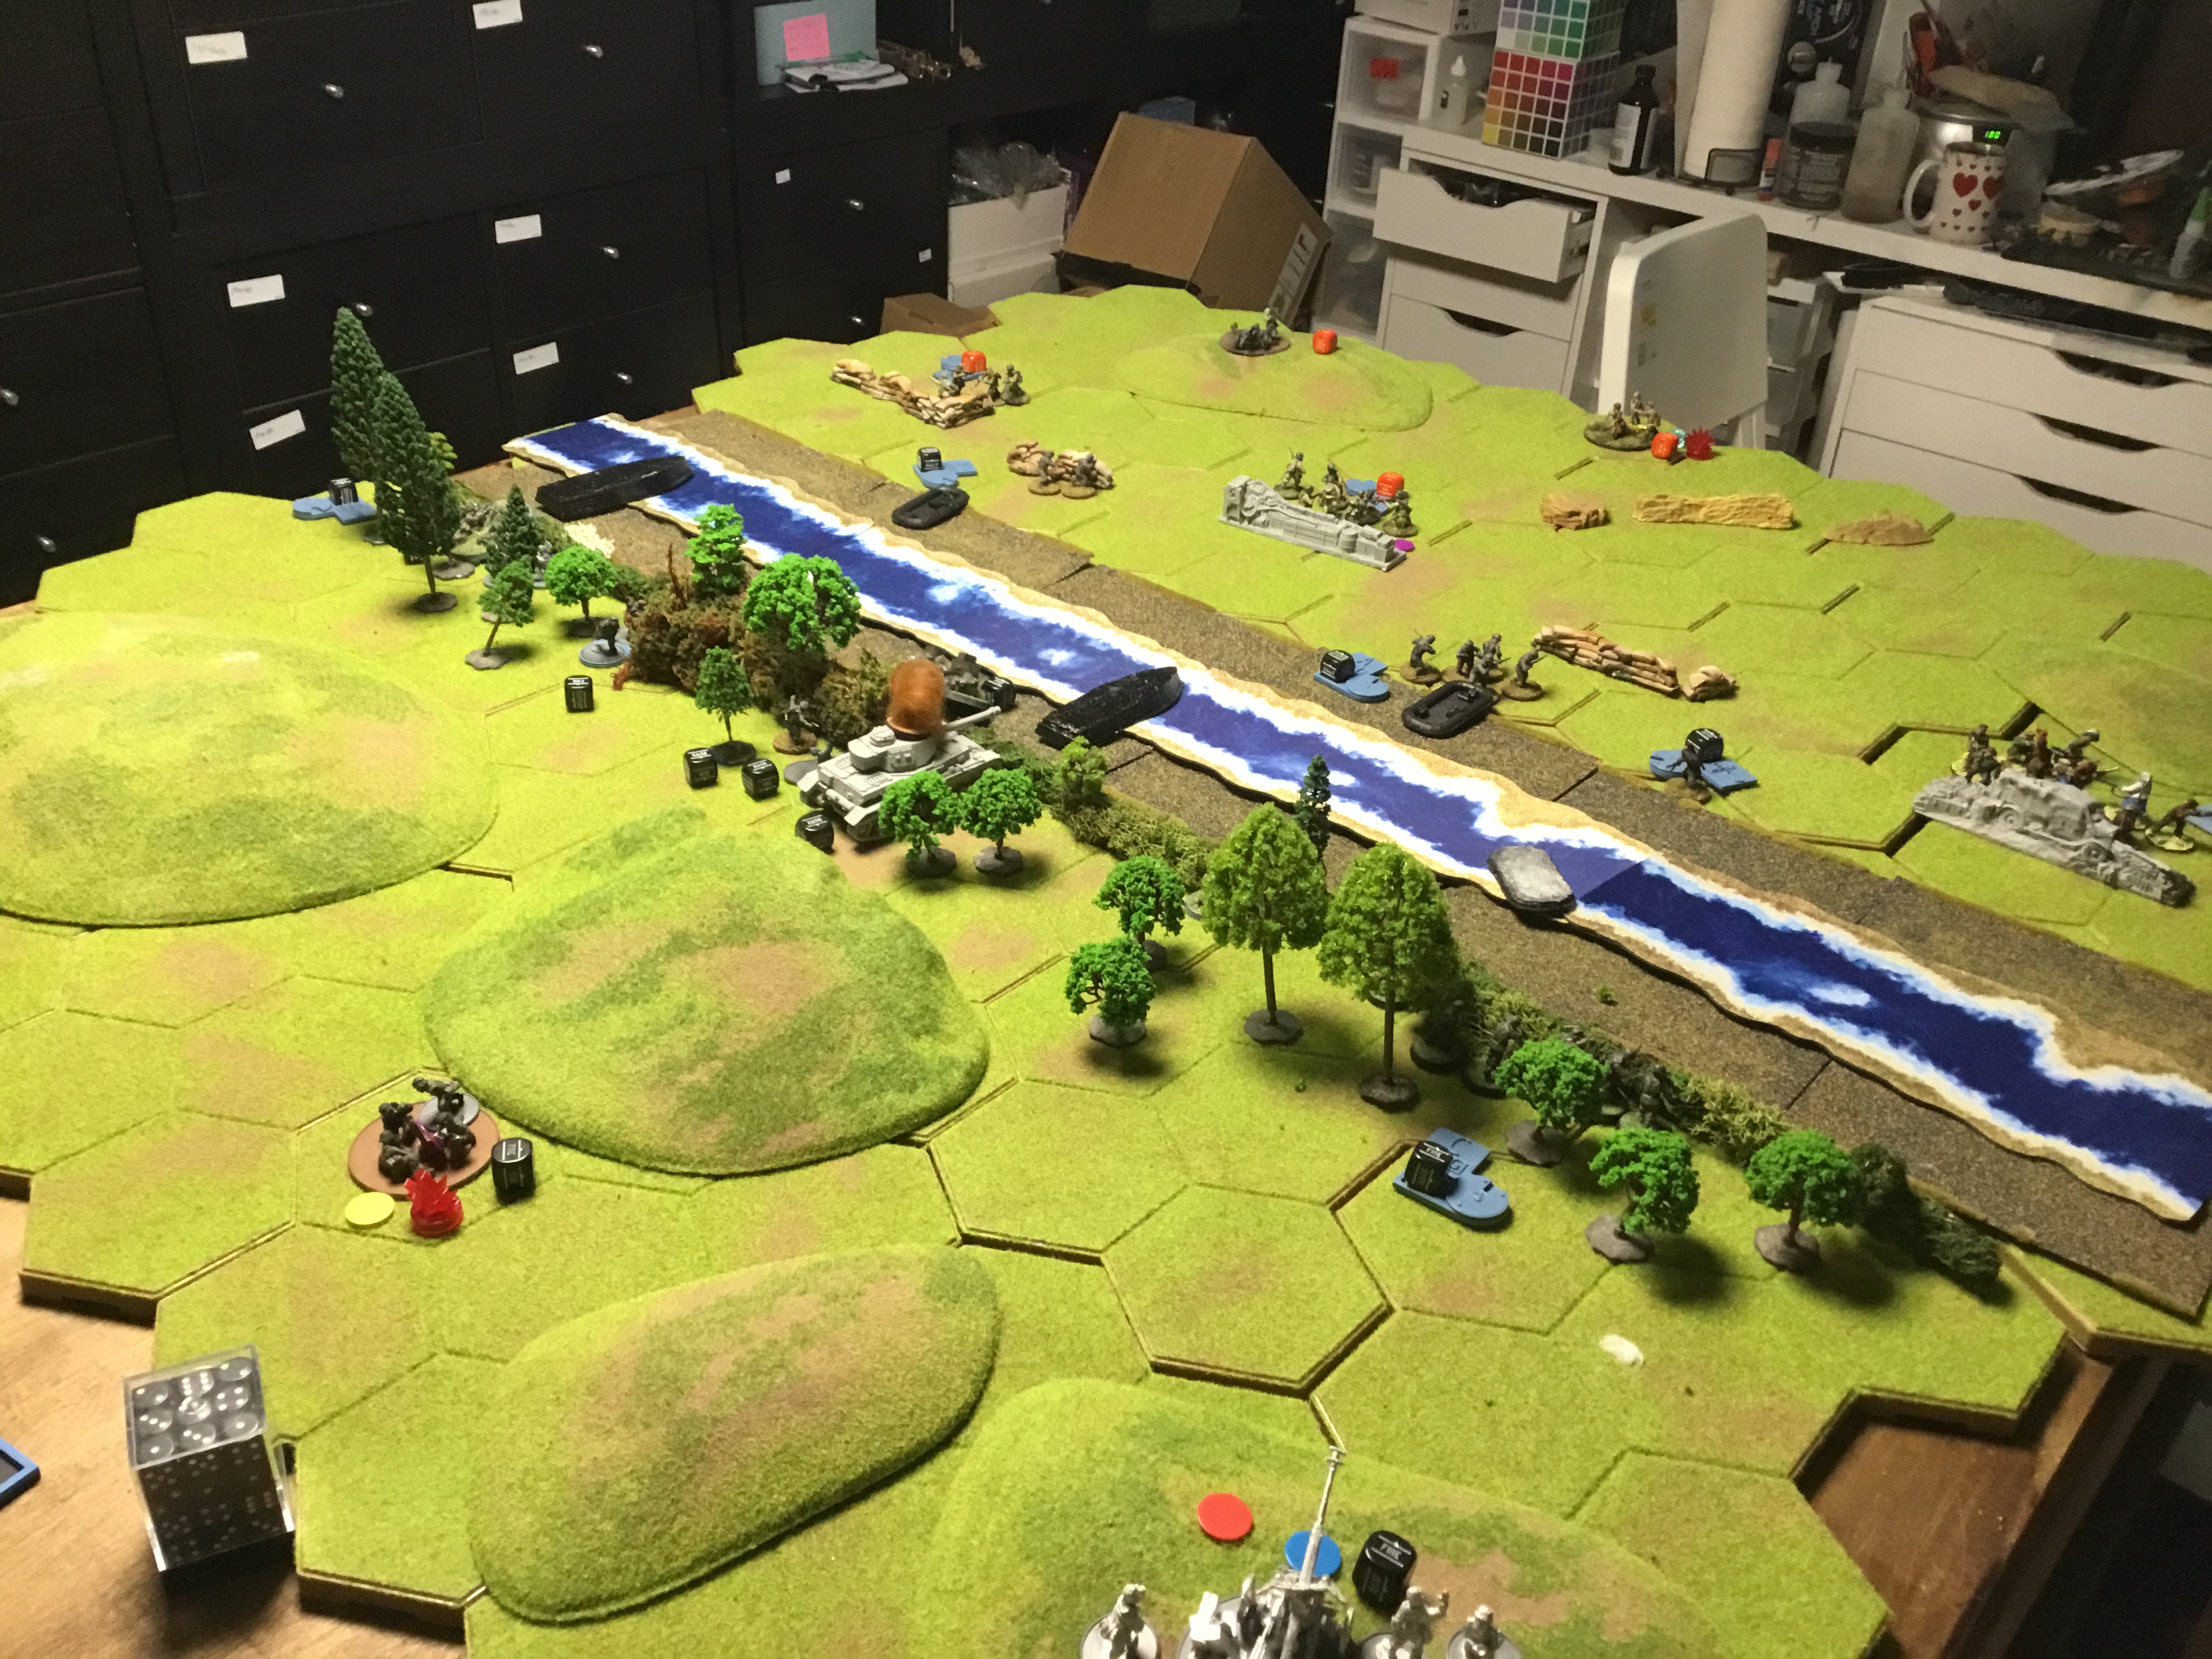
The Rules Basics
On a 4×4 table, the Germans are attempting to cross a 9″ river. Every unit on the Soviet side of the river gains 1 VP; additionally, every destroyed earns them 1 VP. The Germans get twice as many points as the Soviets. The Soviets should have between 500 and 700. The Soviets could begin the battle dug in and in heavy cover. Germans may start with a preparatory bombardment.
The Germans deployed first. I wanted all my units to hit the river immediately and force the Soviets to divide their fire. I did use the preparatory bombardment to try and pin some of their Veteran. I wanted to use the mortar, howitzer, and tank to soften their center.
For the Soviets I placed machine guns covering the most dangerous rafts, I used my veteran unit with two LMGs to cover a third boat. I put my two regular units farther back to cover where the Germans might penetrate. I wanted my militia squad to hold their side well. I placed the AT gun where it could cover the opposing tank as it hit the wooded area.
Turn One
The prep bombardment didn’t go well. All the German artillery strikes were misses. The veterans and two machine guns were able to destroy both boats and a raft, leaving only two rafts left. This stranded the German MMGs on the opposing bank. The Soviets inflicted solid casualties.
Turn Two
How quickly a game can turn on a few dice rolls. The German artillery observer did work on the center. The Mortar Hit, the tank approached the tree line, giving the Germans four machine guns to inflict damage and pin markers on the Soviets. Both Veterans could land on the Soviet side of the bank and survive. The other units provided cover fire, pinning most of the Soviets, who took heavy casualties. The reserves tried to move forward and were quickly gunned down as they couldn’t make it to heavy cover.
Turn Three
At this point, the game was basically over. The Germans were inflicting tons of casualties and taking very few. Most Soviet units were hopelessly pinned down. The raft returned to the German side to attempt another pick-up. (It was probably against the rules.) A German Sniper killed the Lieutenant.
Turn Four
More Soviet casualties as they lay in their foxholes. The AT Gun was able to put the German panzer on Fire. More Germans land on the bank.
Turn 5.
I did call the game here. Exactly one unit was able to complete an action, the AT Gun. As a side note, this was the only turn in which the Sniper did not kill anyone.
The first engagement is complete. I was surprised at how close the battle was. In the first two rounds, it felt like the Germans were simply wiping the Soviets off the face of the planet. As the game progressed, though, it was a curiously close affair. I usually find in miniatures games that once one army is decimated, it just snowballs and gets worse.
Scenario Review
A thrillingly close game that came down to the last-order dice. I could have constructed both lists differently to optimize for the scenario. I was pleased with the idea and the thrill of combat. I liked the terrain setup and the distances. It played really well.
The army lists are as follows;
Germans
1167
Gates of Stalingrad
Leutnant
50
Regular
Here infantry
90
5 Rifles 1 LMG 1 Loader
Regular
Panzgrenadier
97
5 Rifles 1 LMG 1 Loader
Regular
medic
30
Veteran
artillery forward observer
100
1 AR
Regular
Heer infantry
110
7 Rifles 1 LMG 1 Loader
Regular
heer pioneer
77
1 Rifle 4 SMGS
Veteran
mmg
50
Regular
medium mortar
60
add spotter
Regular
flammenwerfer
50
Regular
sniper team
50
Regular
Anti-tank rifle team (removed)
Regular
50mm pak 38
75
Regular
Sdkfz231
100
Regular
Panzer iii Ausf E,F
140
2nd MMG
Regular
Sdkfz 7 halftrack
44
Regular
Sdkfz 7 halftrack
44
Regular
I based the German list on what an advancing army might look like. Mechanized infantry with early war armor support. Decent equipment. I could have made the squad sizes a little larger which would have brought me up to 1500 pts, as well as a few trucks, but this should make for a decent fight. I think the game plays well at 1250 to 1500.
Soviets Don Volga
Rifle Squad
0
12 Rifles
Inexpierenced
2nd Lieutenant
50
SMG
Regular
Veteran squad
85
3 Rifle 1 LMG 1 Loader
Veteran
Rifle squad
56
8 Rifles
Inexpierenced
commissar
15
SMG
Inexpierenced
assault engineer squad
80
5 SMGs
Veteran
rifle squad
81
7 Rifles 1 Flag
Inexpierenced
rifle squad
49
7 Rifles
Inexpierenced
veteran squad
103
4 Rifles 1 LMG 1 Panzerfust
Veteran
Mmg
35
Inexpierenced
Dshk heavy machine gun team
49
Inexpierenced
Sniper team
50
Regular
Dog mines
26
Inexpierenced
Tank hunters
20
Inexpierenced
Medium mortar
35
Inexpierenced
Light mortar
24
Inexpierenced
45mm antitank
46
Inexpierenced
Ba20 Armoured Car
52
Inexpierenced
T-34
156
Inexpierenced
Truck
31
Inexpierenced
Truck
31
Inexpierenced
Truck
31
Inexpierenced
Truck
31
Inexpierenced
Truck
31
Inexpierenced
The Soviet list is based on an army in full retreat. Supplies and such were not a huge issue at this point of the war, so I was happy to give them full equipment. The Soviet army was also inexperienced at this point, which I reflected in the list.
Scenario Rules
The Soviets have to cross the river they get to VP for each unit to cross. The Germans had to destroy the units and get 1VP for each destroyed unit. The bridge can be rigged to blow by any infantry unit within 3″ of the bridge. If the bridge blows, the Soviets get 5 VP.
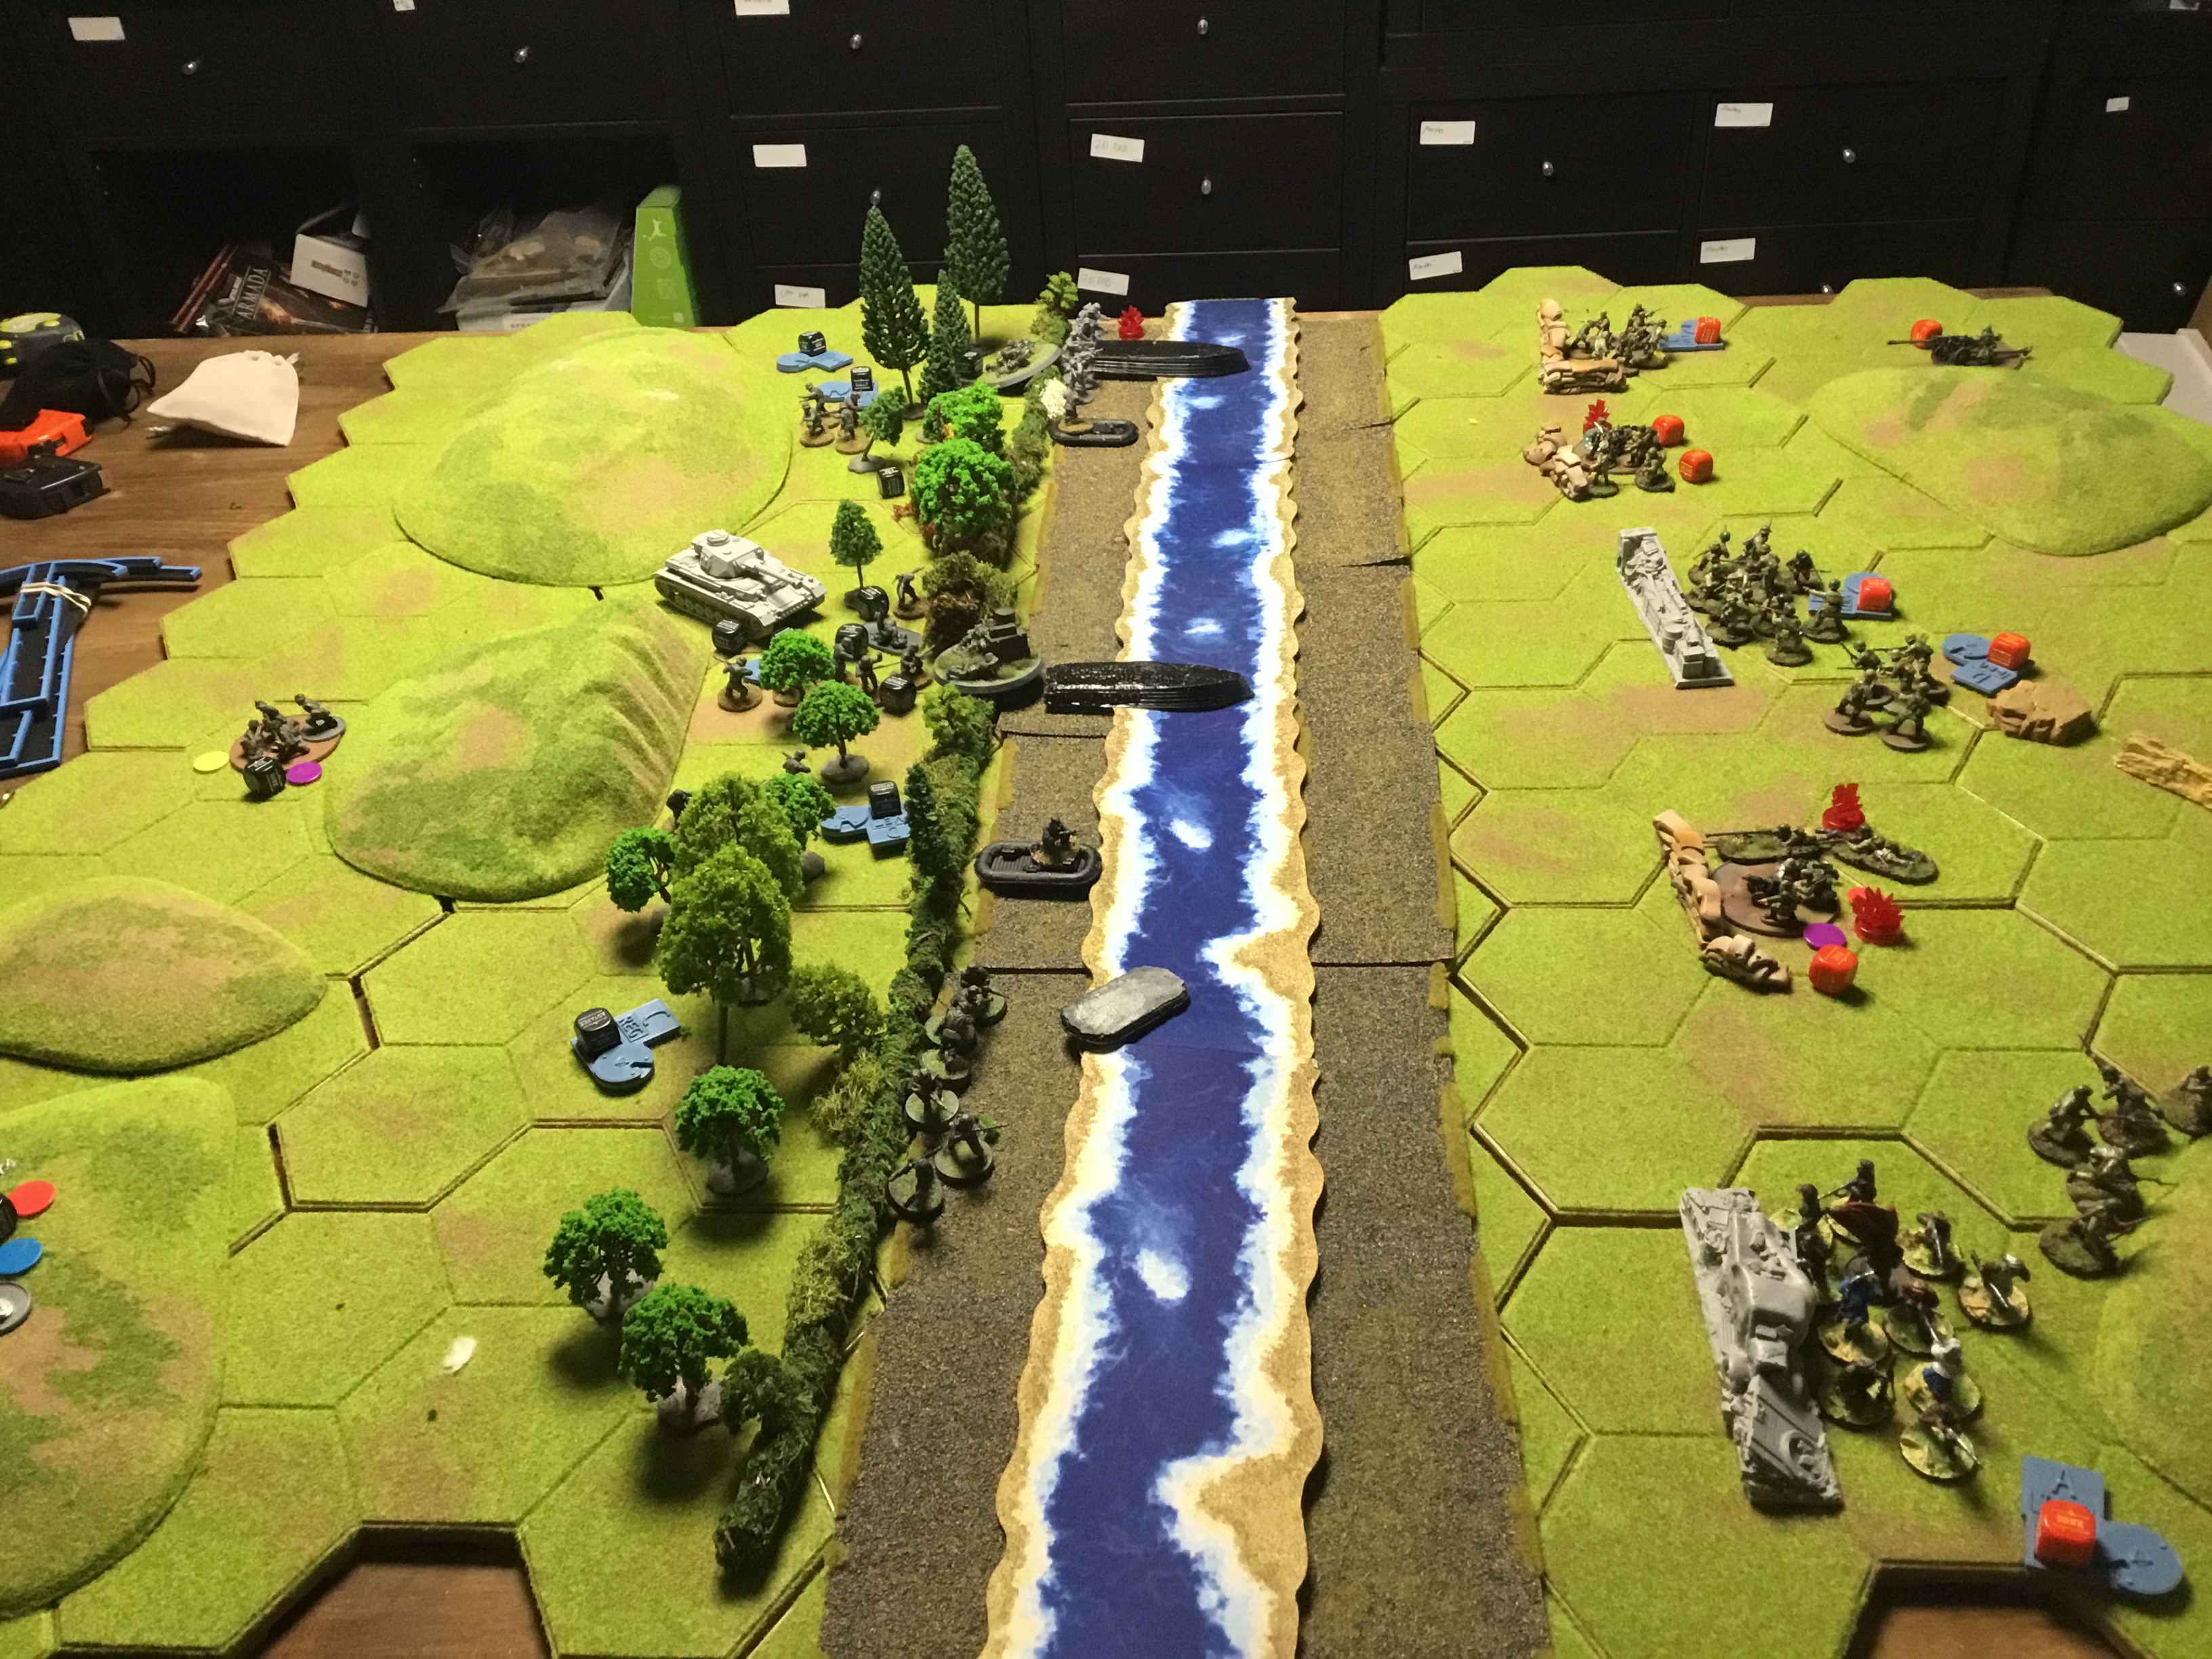
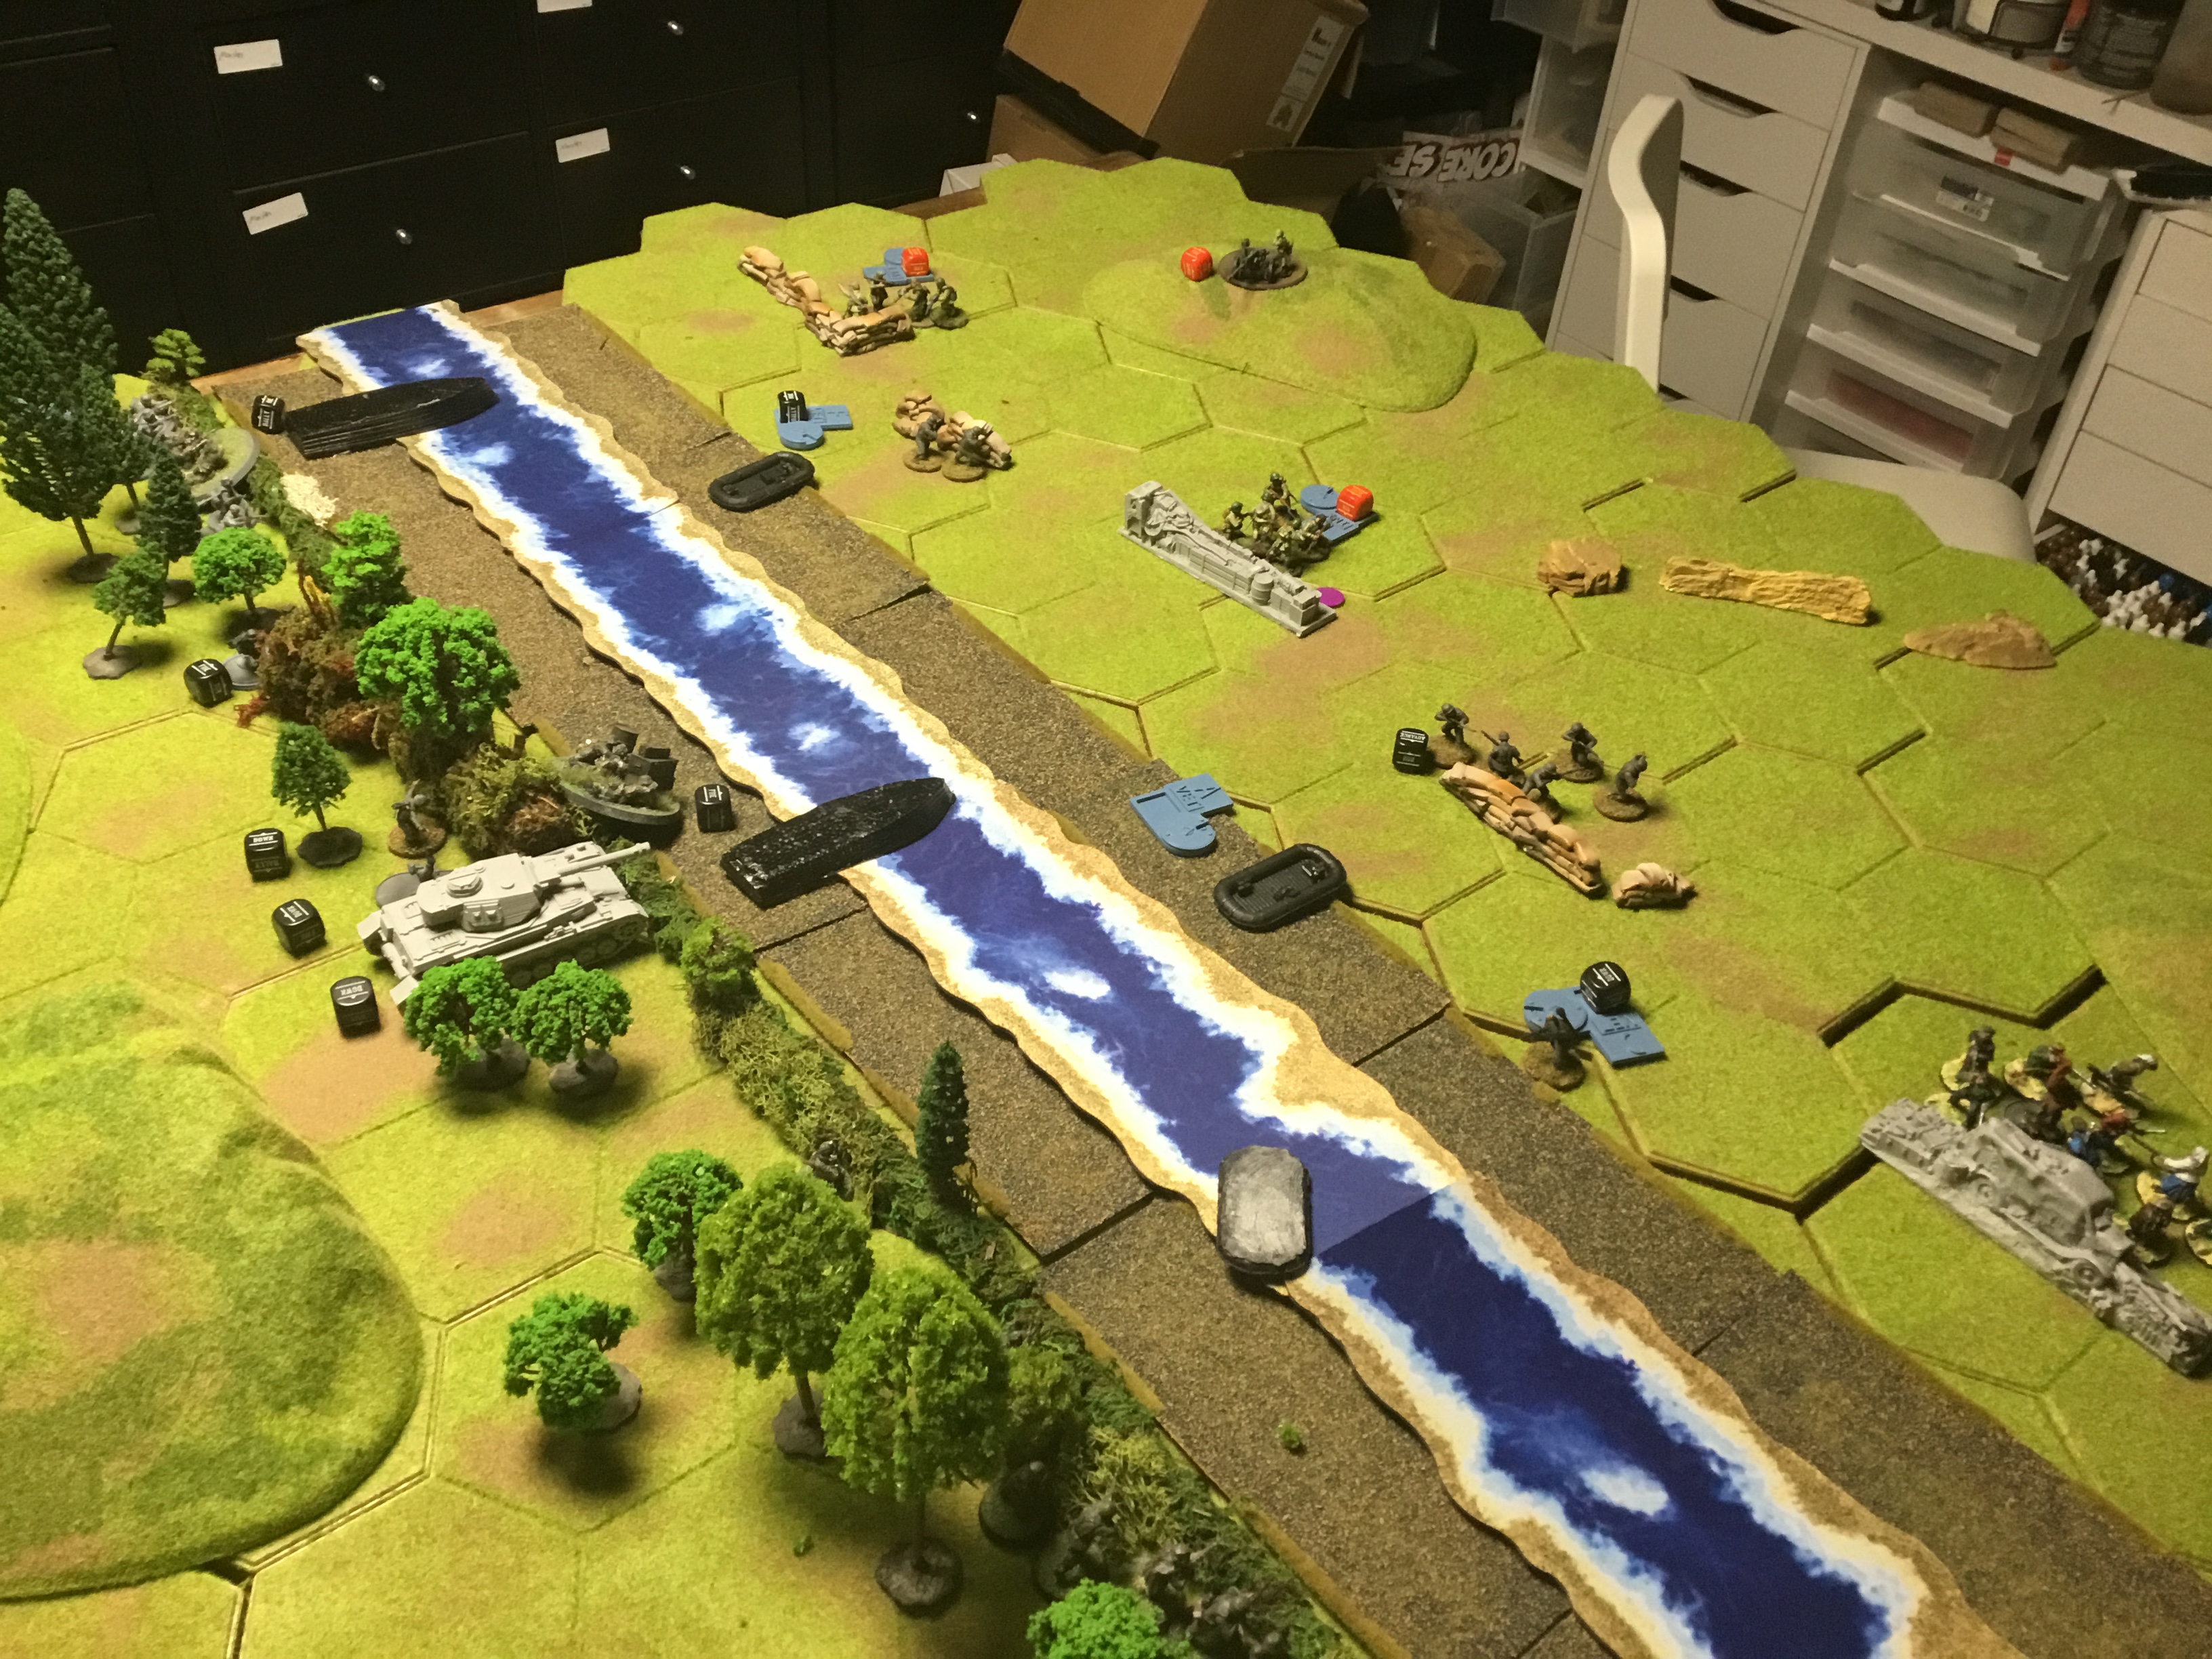
Round 1.
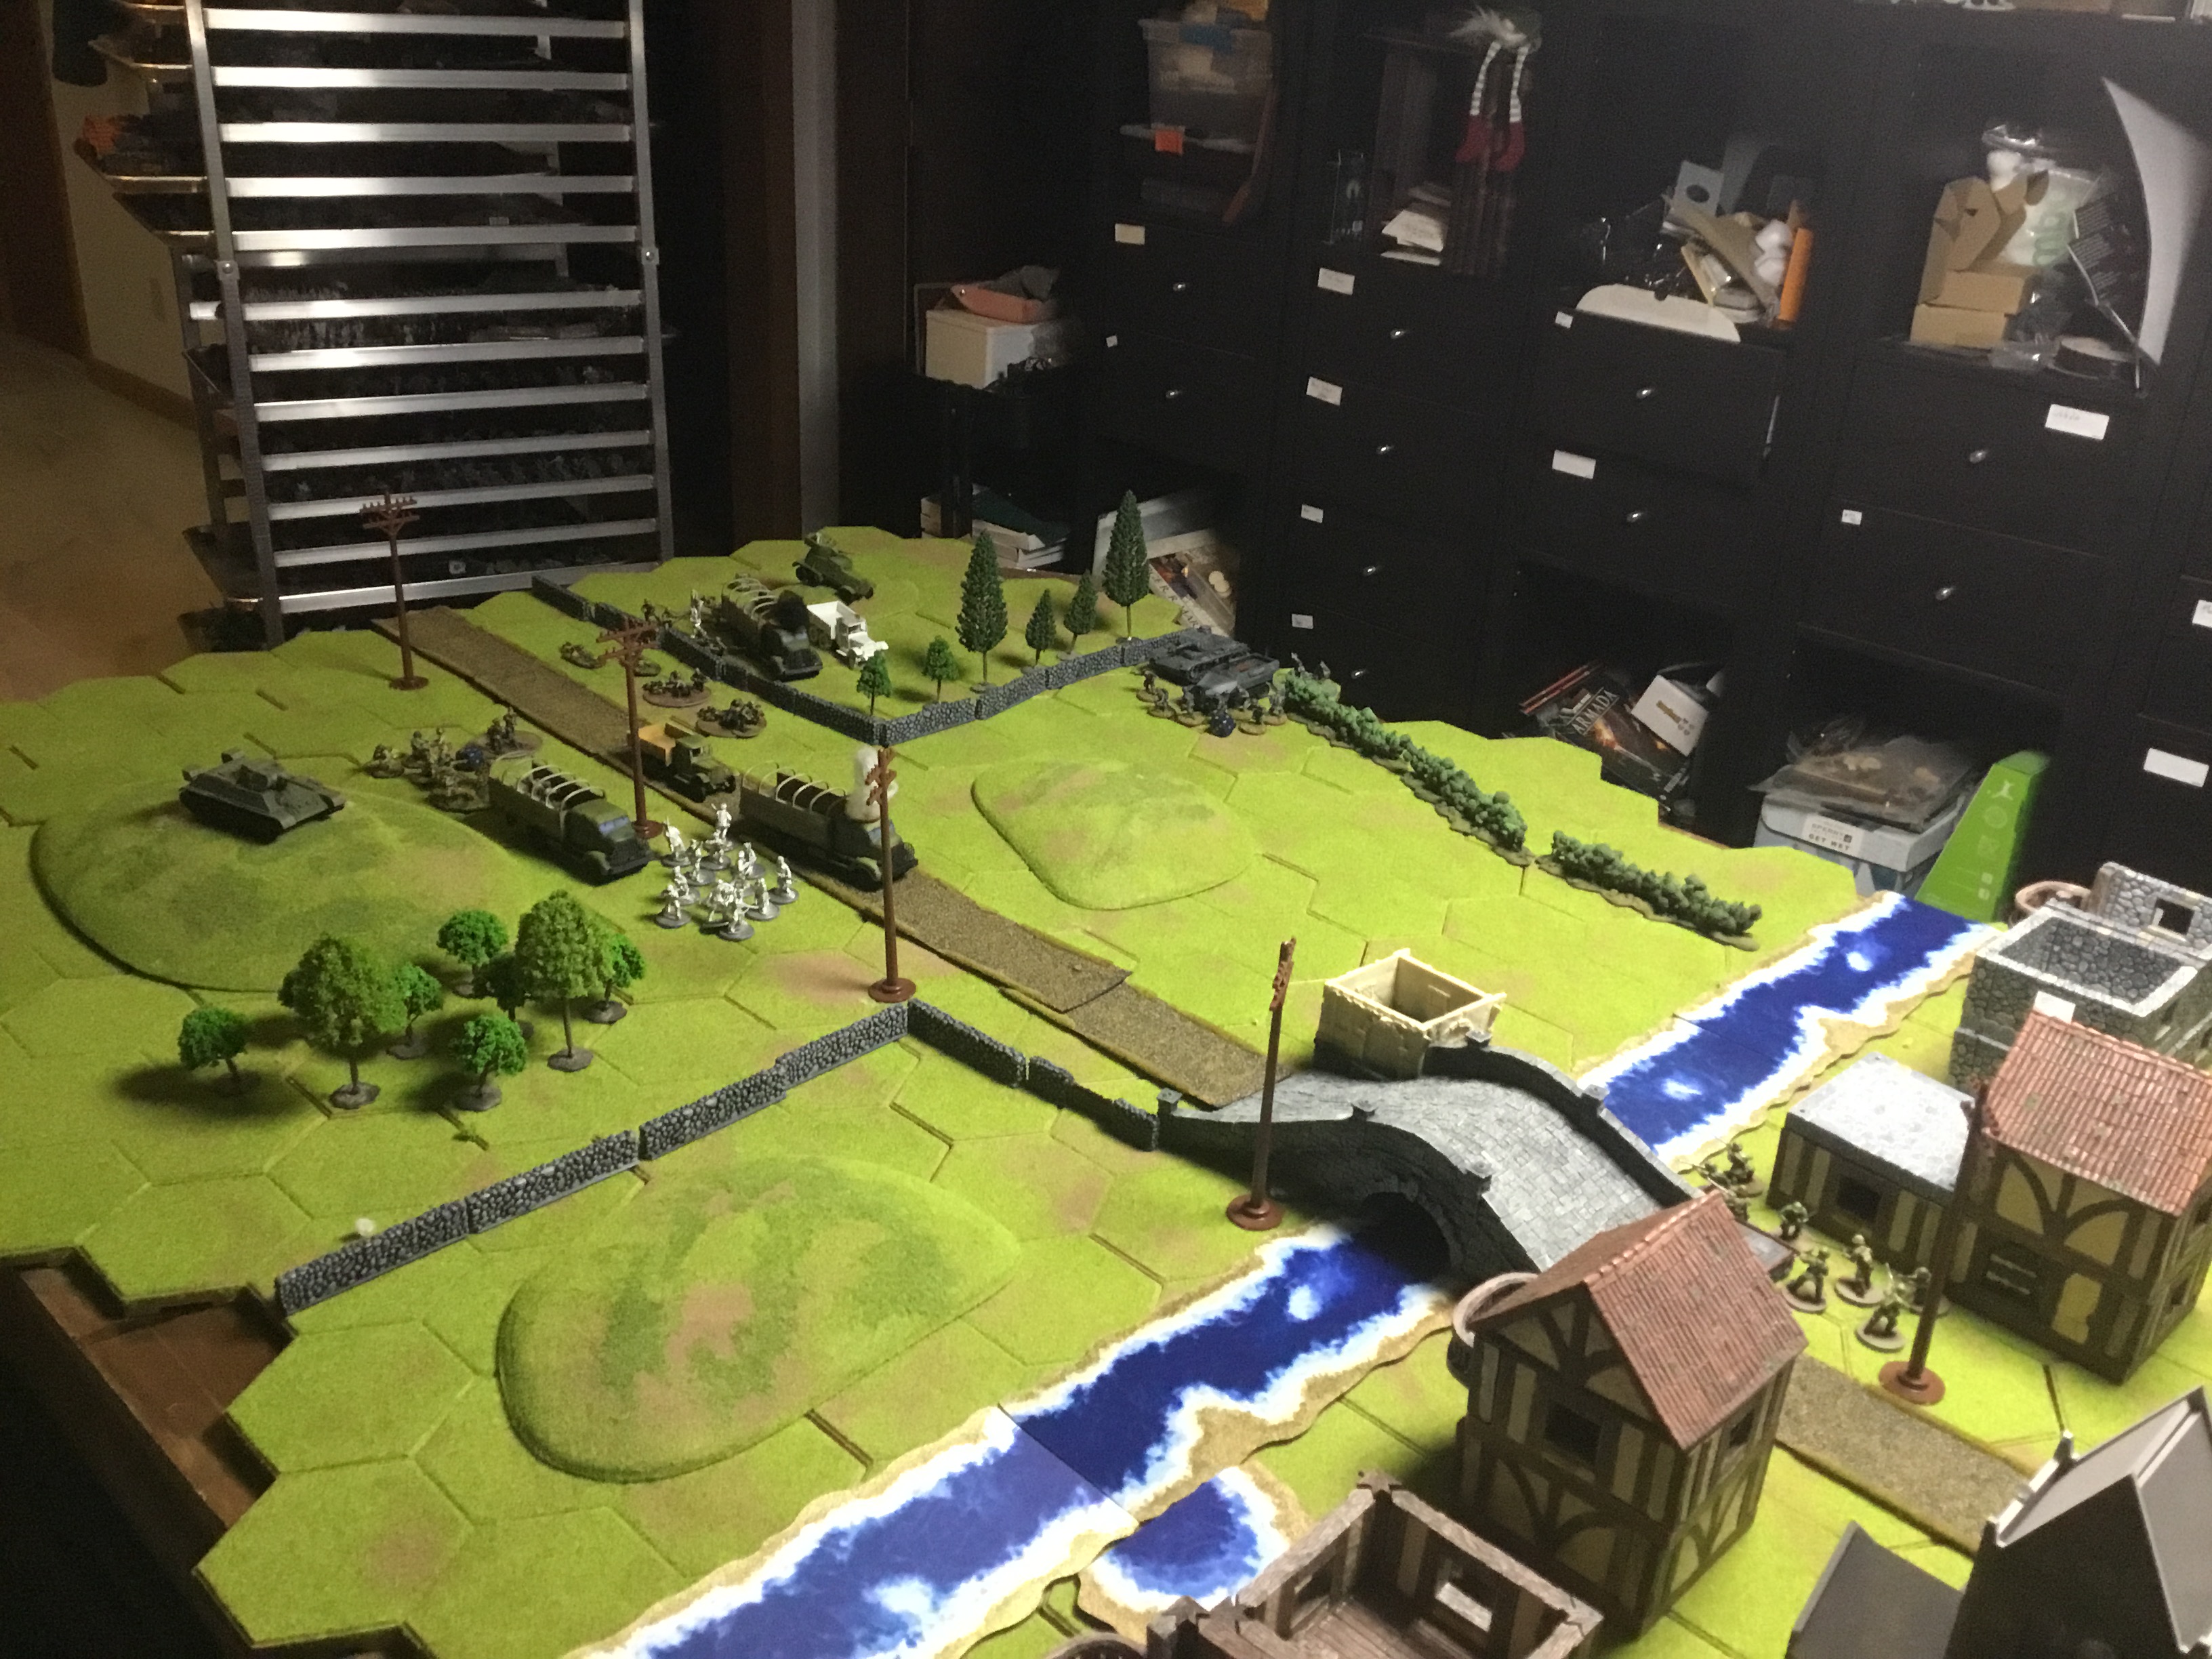
The Soviets deployed as instructed on the far edge of the river. An AT Gun and a squad of rifles sit near the bridge as a garrison unit.
The German’s 3 Waves are shown here.
1 Panzer, 1 Halftrack Loaded, and the Mortar
1 Armored Car The other Halftrack, the AT gun, is very important for later the forward observer
Last 2 More companies of rifles, the MMG, Flamer, Sniper, AT Team and Medic
I was happy with how the field of battle turned out.
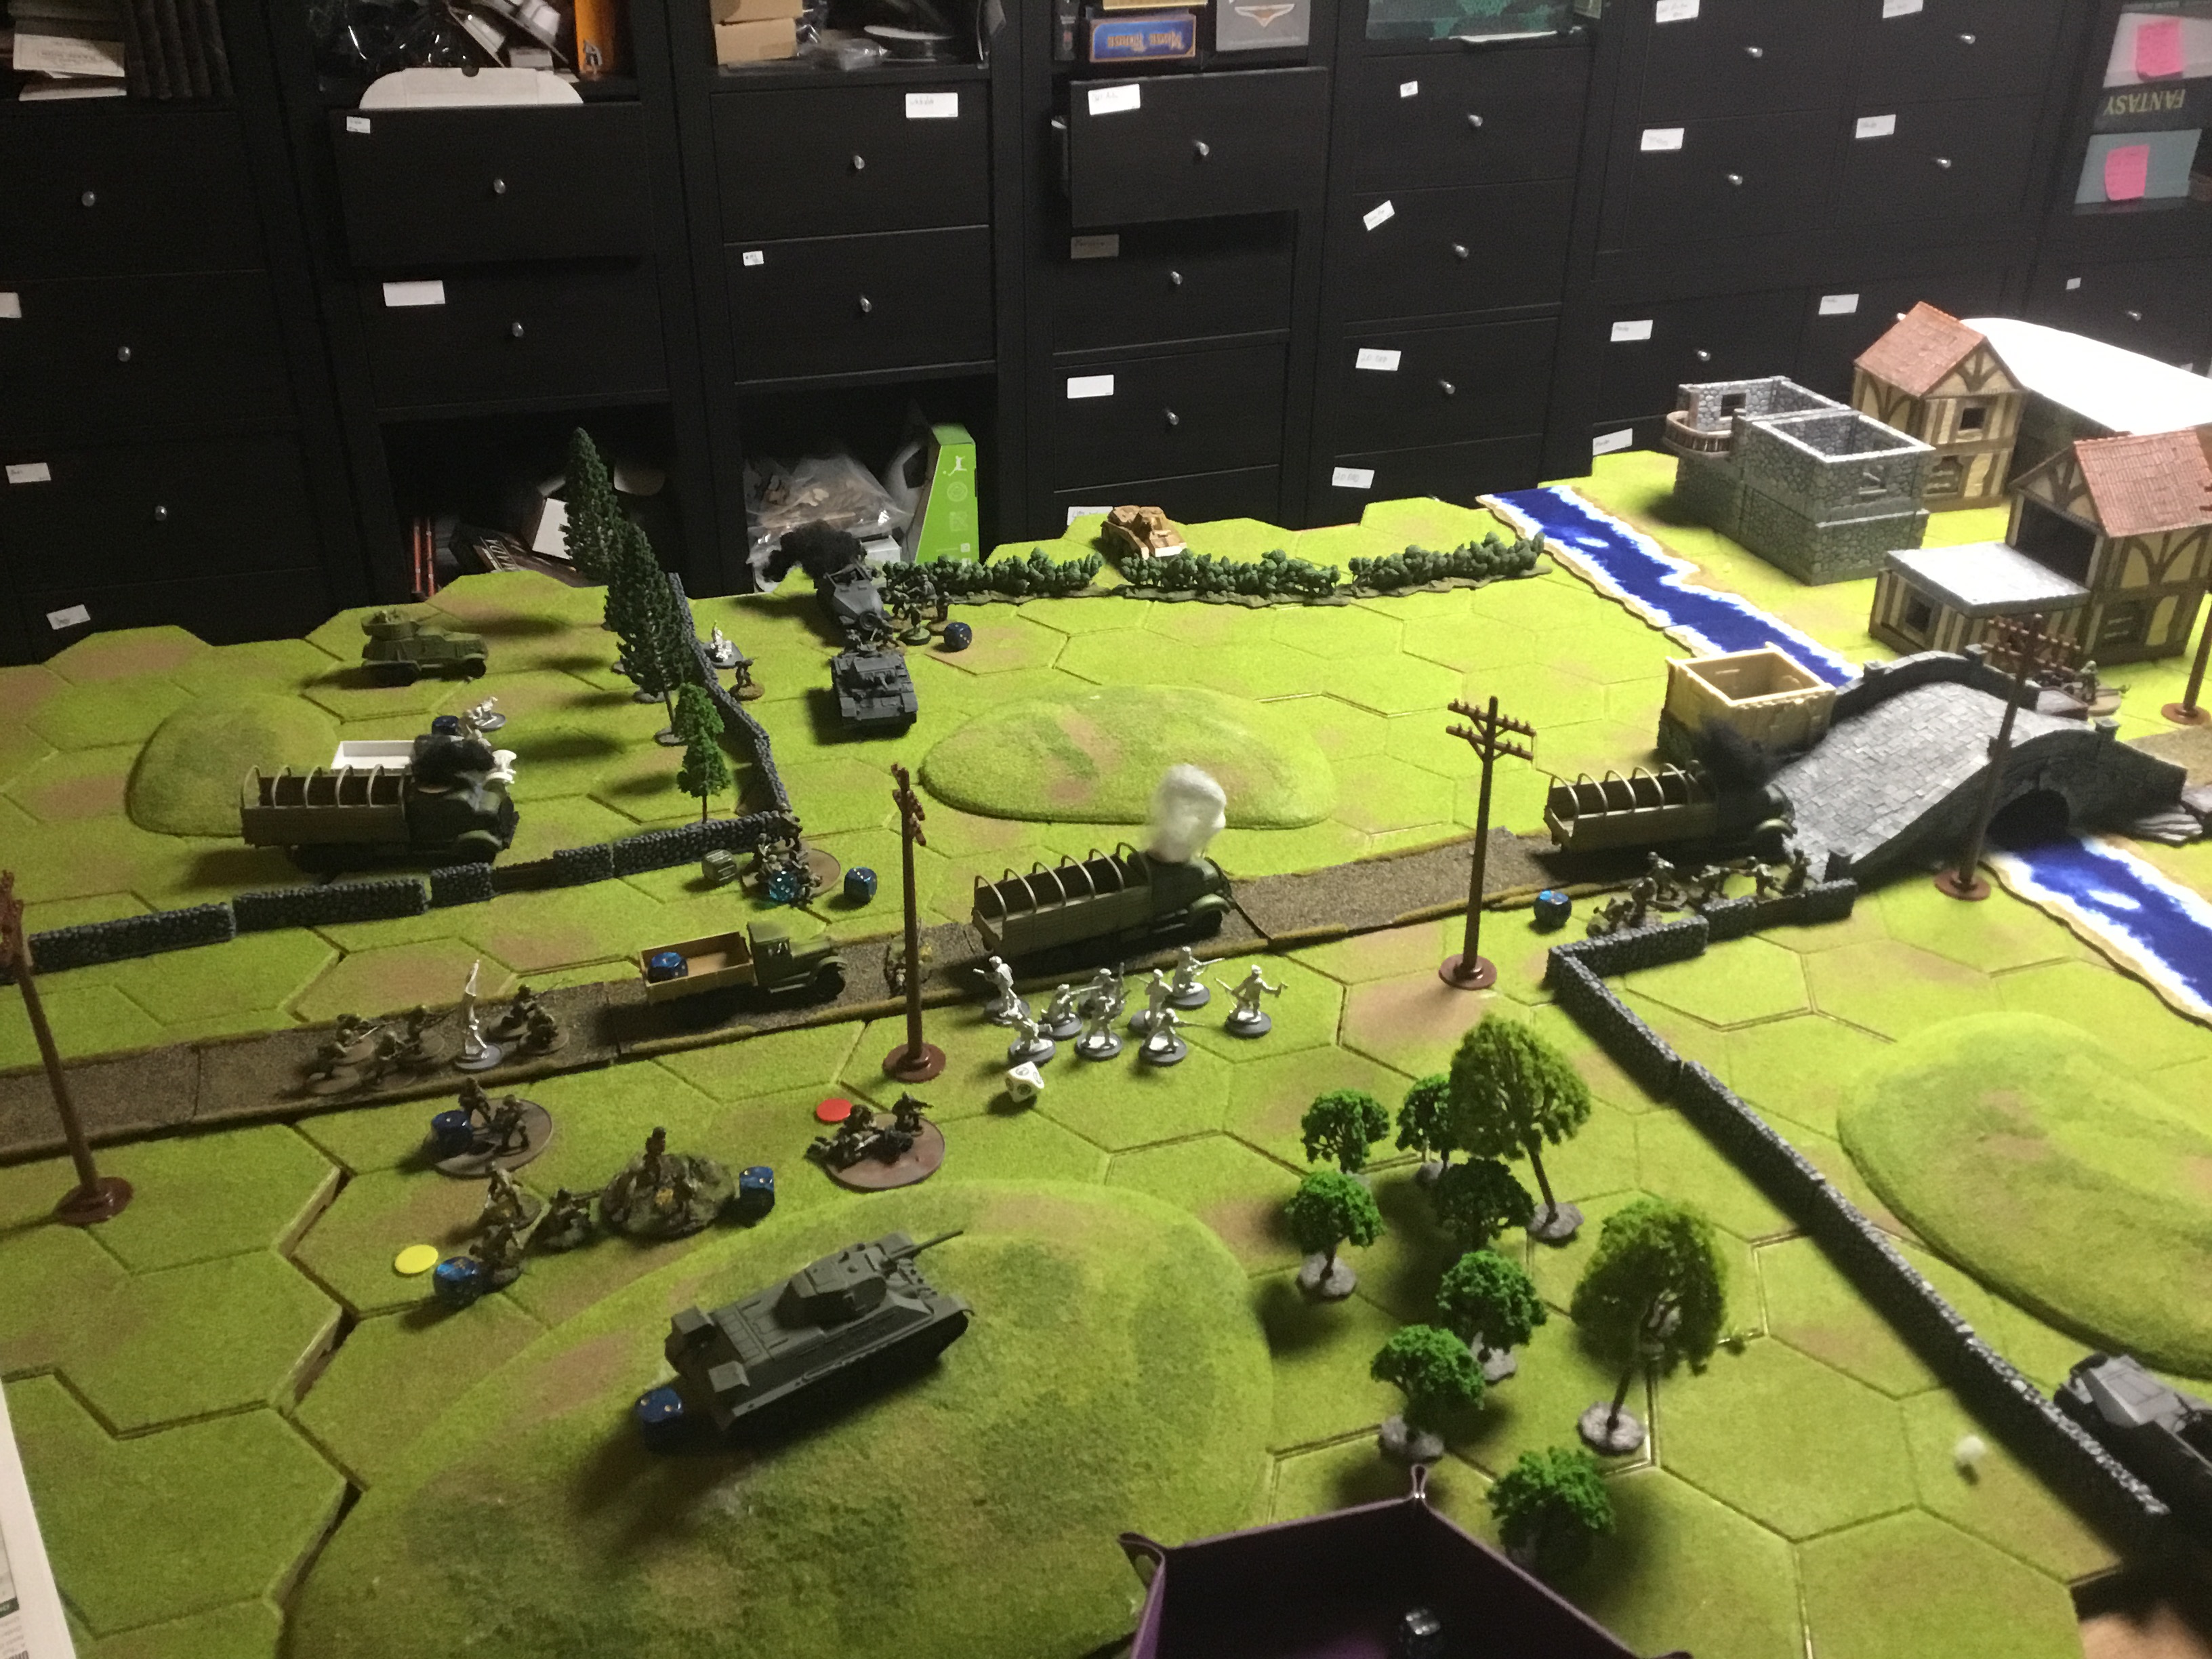
The German came to the table fast and hard despite having 6 fewer order dice. They also deployed well away from any units considered a threat. Their tank quickly knocked out a truck while the rifle company immobilized another. The immobilized truck in the front carried the people’s militia squad, which I am using as the free Soviet Rifle squad from their rule. The quantity and quality are all on their own.
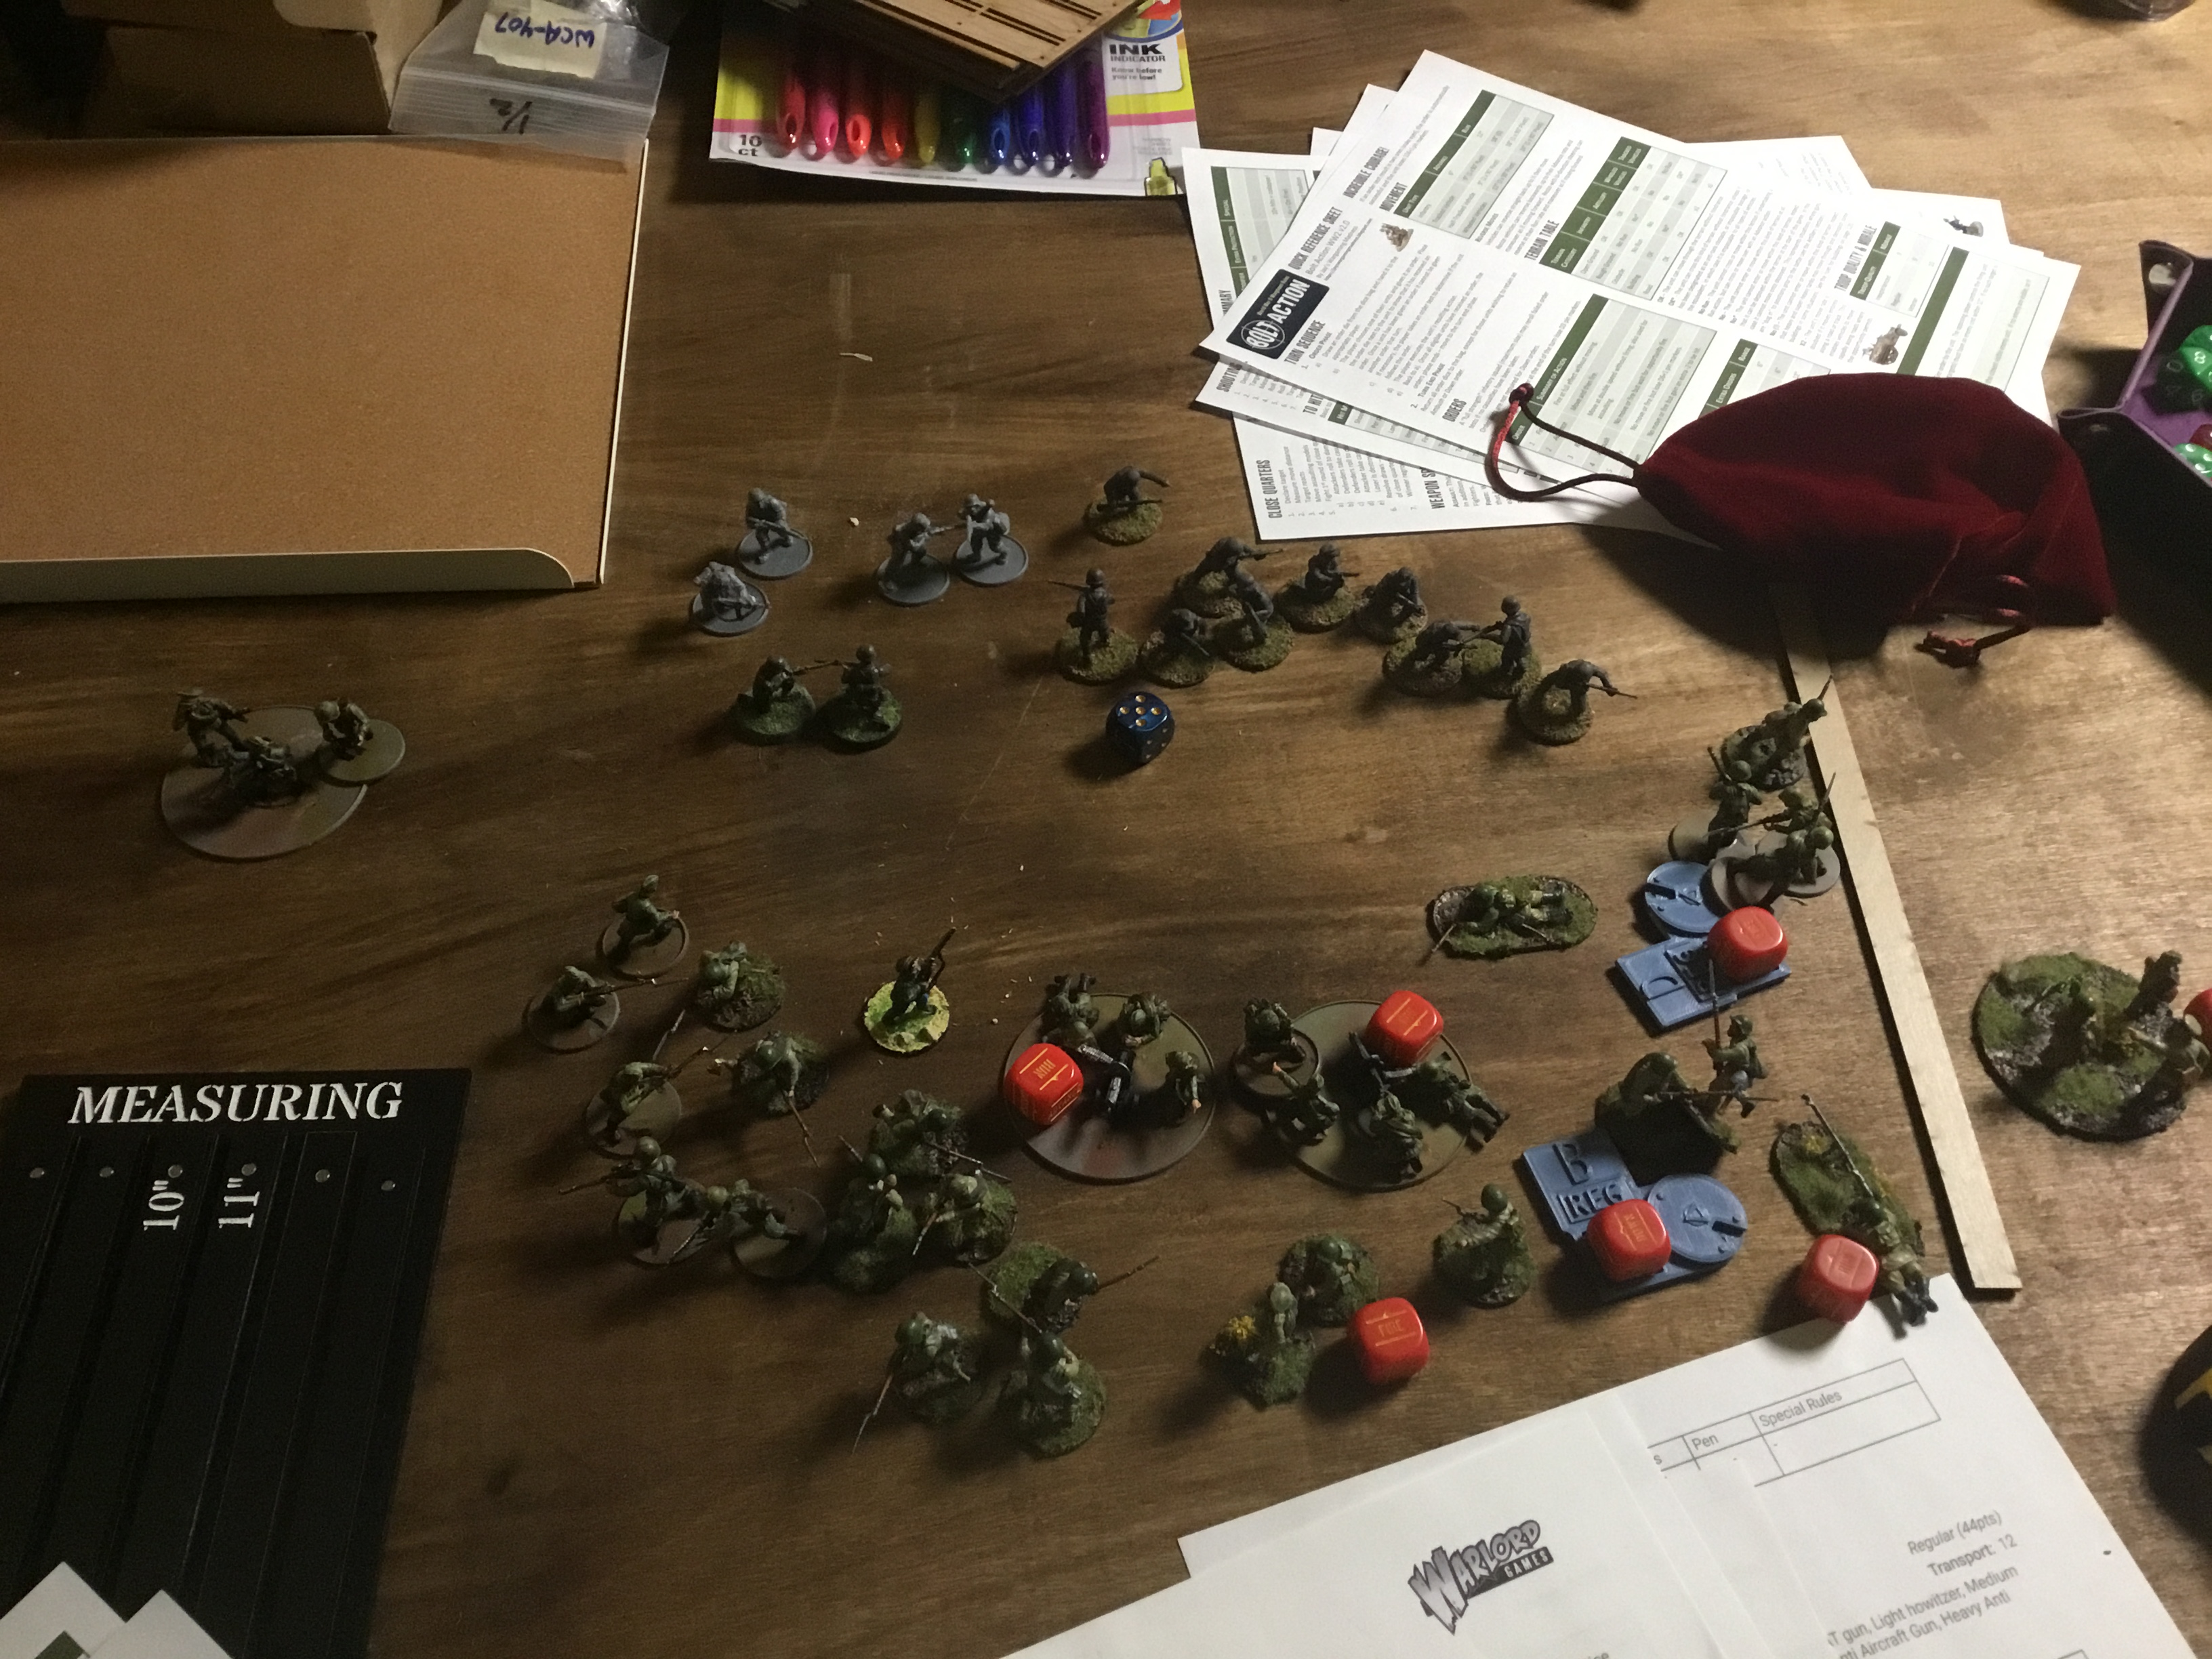
Round 2
The Germans continued their assault on the Russian convoy. Destroying another truck right at the base of the bridge. A very timely shot from the German AT gun. I said earlier that the German forward artillery observer would play a huge role, and he really did. He was the first unit the Germans brought in for Wave 2, and the artillery strike was beautiful. Well placed, hit on target, and pinned 6 units down at the center of the field. The Soviets were able to inflict a couple of casualties this round; they also moved their AT Gun so it could hit the tank and armored car. They also knocked out a half-track.
Round 3
The Soviets still had 0 units across the river, although two trucks packed full were moving hard toward the bridge and a couple of rifle squads. I determined to let the MMG and the mortars sit in place and try to provide some cover fire. In the photo, flames billowing up from the German Panzer tank. You should also notice a single figure lying on the ground behind the smoking white soviet truck. A lone AT man rolled a 6 to hit the tank, another 6 to damage the tank through its side armor, and finally, a third 6 on the vehicle damage table. This run of luck turned the game in favor of the Soviets. All units hit in the artillery barrage were still pinned and failed their order tests.
Round 4
The first Soviet truck crosses the bridge. The Commissar, the Lieutenant, and the sniper team all unload, giving the Soviets 8 VP. The Germans have destroyed 1 Rifle Team, 2 MMGs, 3 Trucks, 1 Mortar, the Dog Mines, and the Armoured car, giving them a one-point advantage. The Soviets will likely get 4 more VPs next turn as vehicles cross the river. The Germans were fully playing the game, sending their armored car on a suicide run to kill the remaining two veterans holding the side of the bridge the Soviets were crossing from. They also went in on the militia squad, which had successfully stayed down and pinned for most of the game.
Round 5
The last Soviet truck was destroyed on the bridge as it attempted to cross. The veterans did run across the bridge as their odds intensified, so 4 more VPs to the Soviets. The Germans knocked out another unit and immobilized the T34 tank. Their flame thrower team moved quickly towards the military squad, trying to eliminate it from contention. Still, the fuse has not been lit.
Round 6
It came down to the last two dice. The Germans were able to kill two riflemen who were attempting to remove their AT gun. The last Soviet activation lit the fuse on the bridge, but the Germans had a dice roll left, a natural 6, to cancel the bridge’s blowing. They succeeded. With the T34 and the rifle squad destroyed, the Germans ended with 13 VP compared to the Soviet 12. Had the Germans not diffused the bomb, it would have been a Soviet Victory.
Conclusions
For the Soviets, the militia squad, the veterans that held the bridge, the truck driver, and the AT Gun, plus the Garrison Rifle squad, all performed well and are up for a little more narrative follow-up next game.
On the German side, the armored car, the Heer Pioneers that saved the bridge, the Flame Thrower, and the Observer are also worthy of more follow-up and a bit of a story piece.
Soviets did not have any truly useless units; the inexperienced rifles didn’t do much, but they were not useless. The German medic was useless, as were the halftracks.
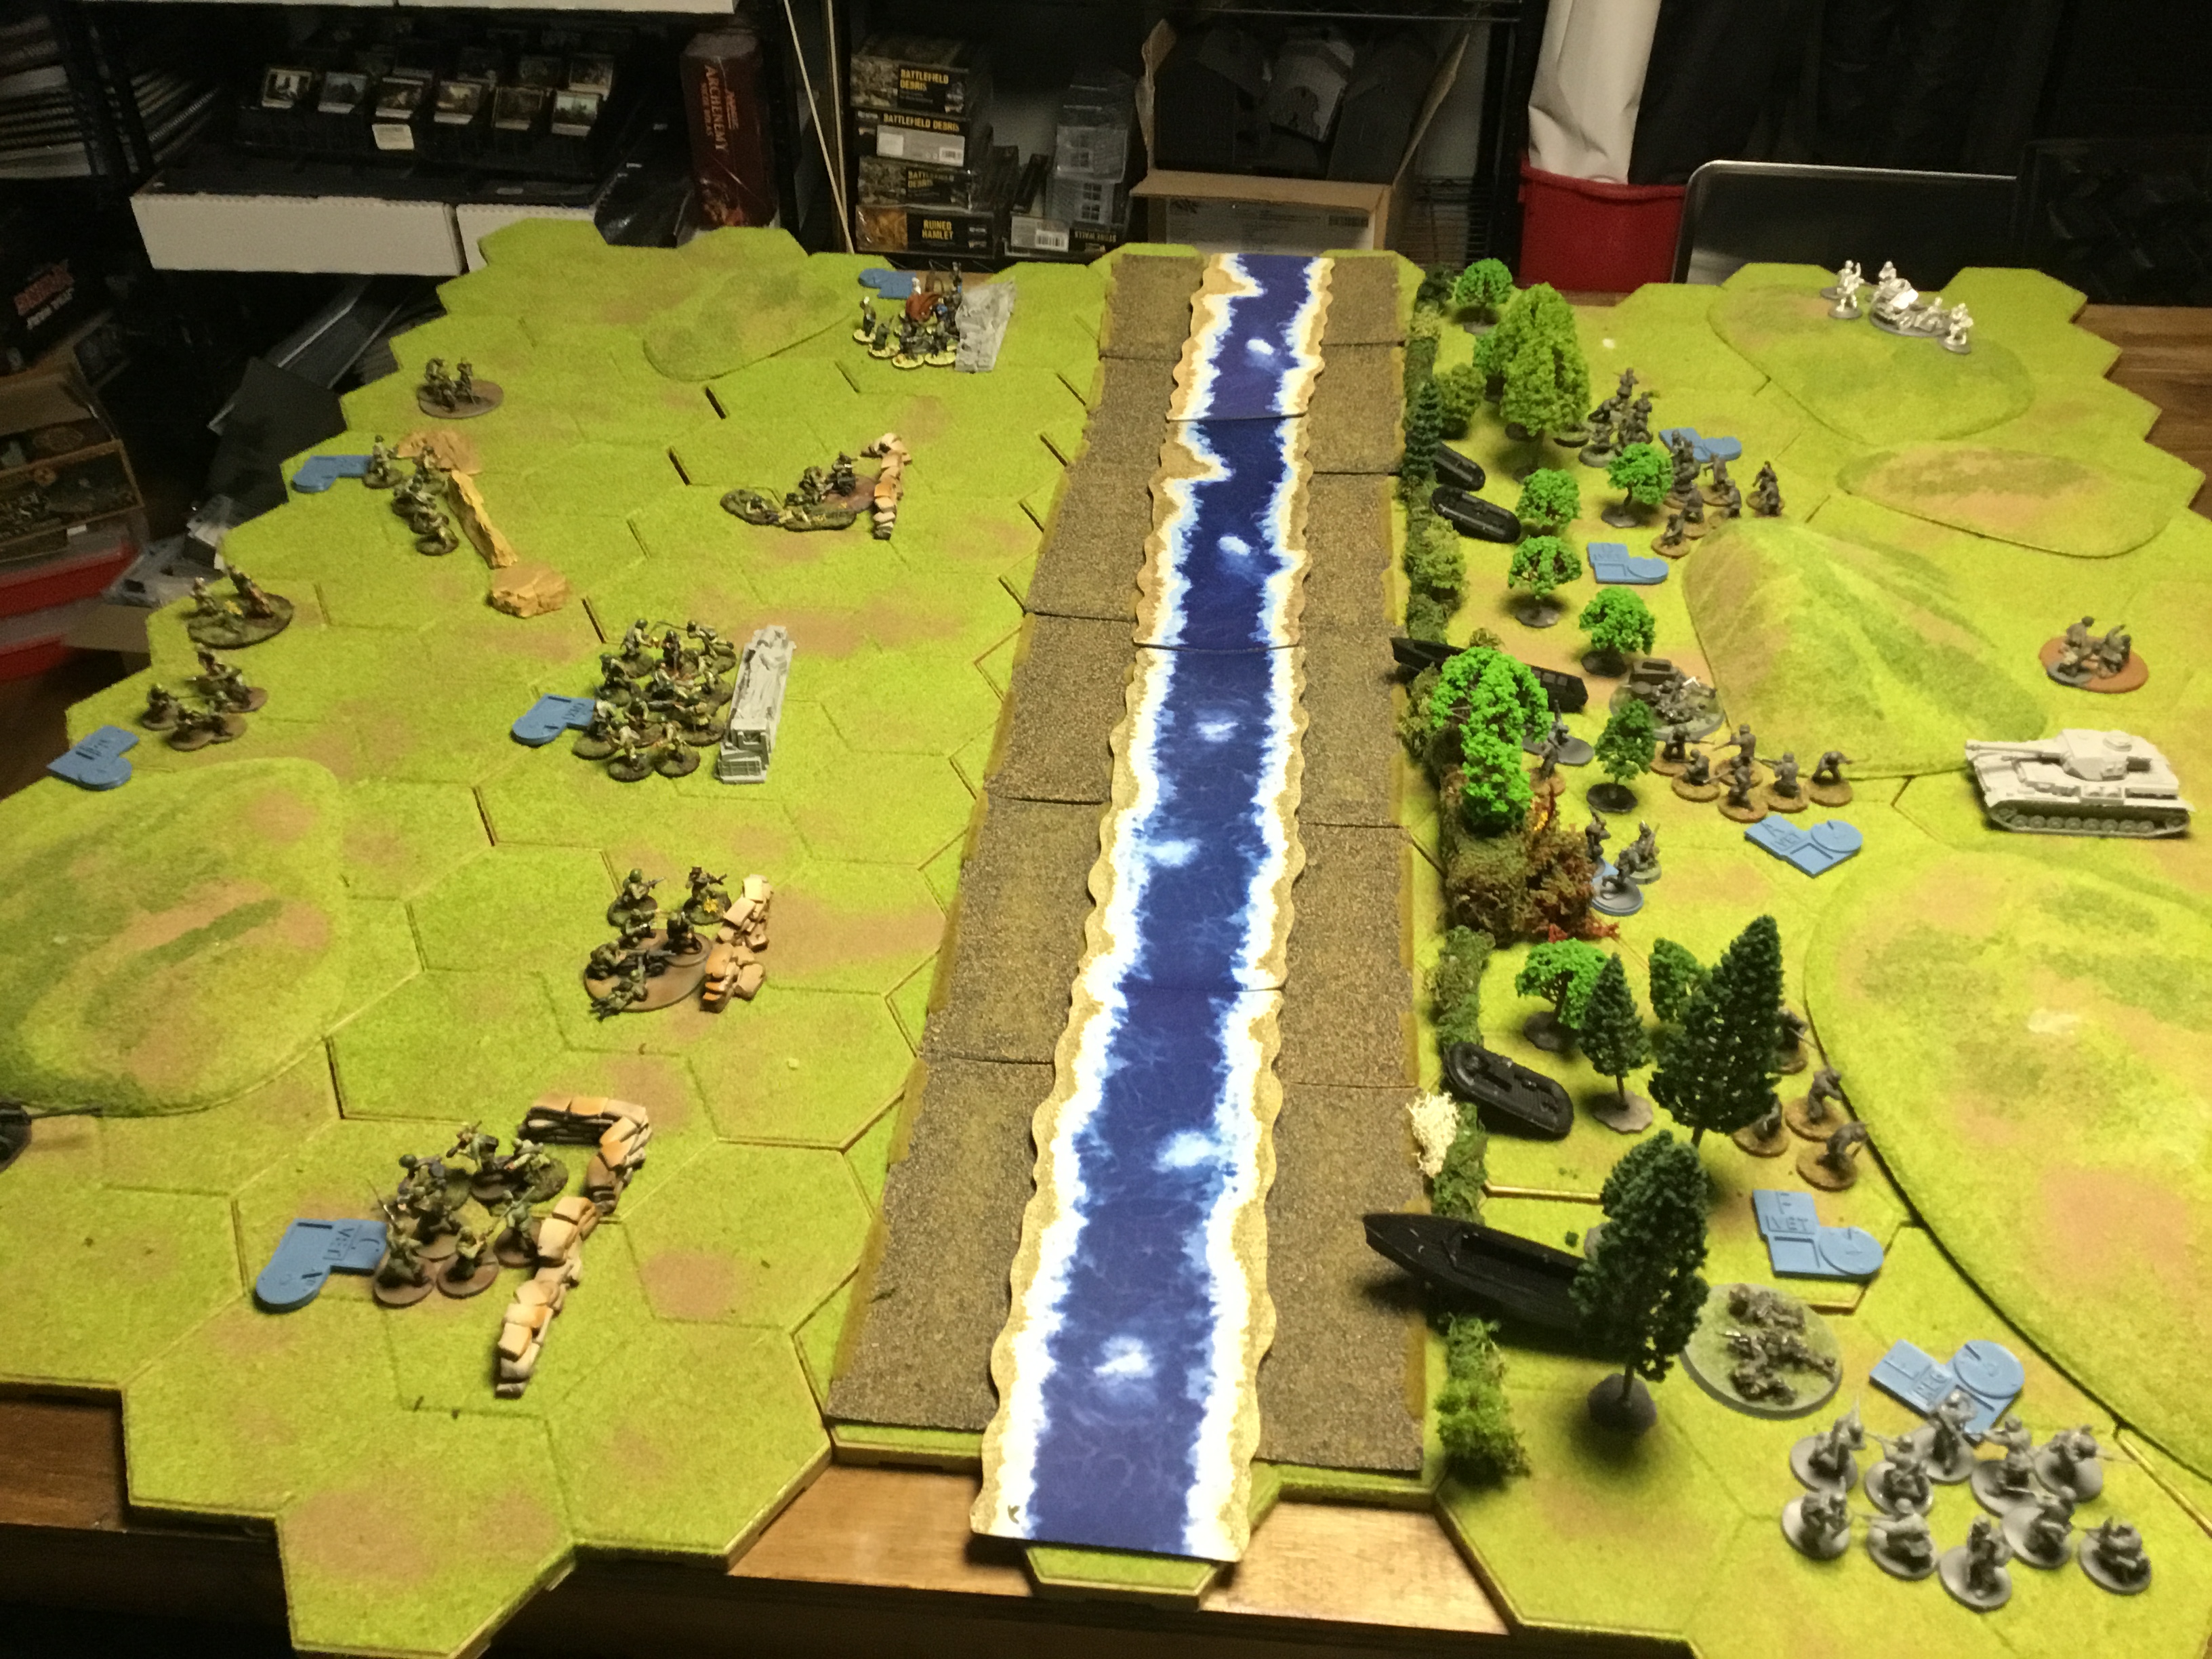
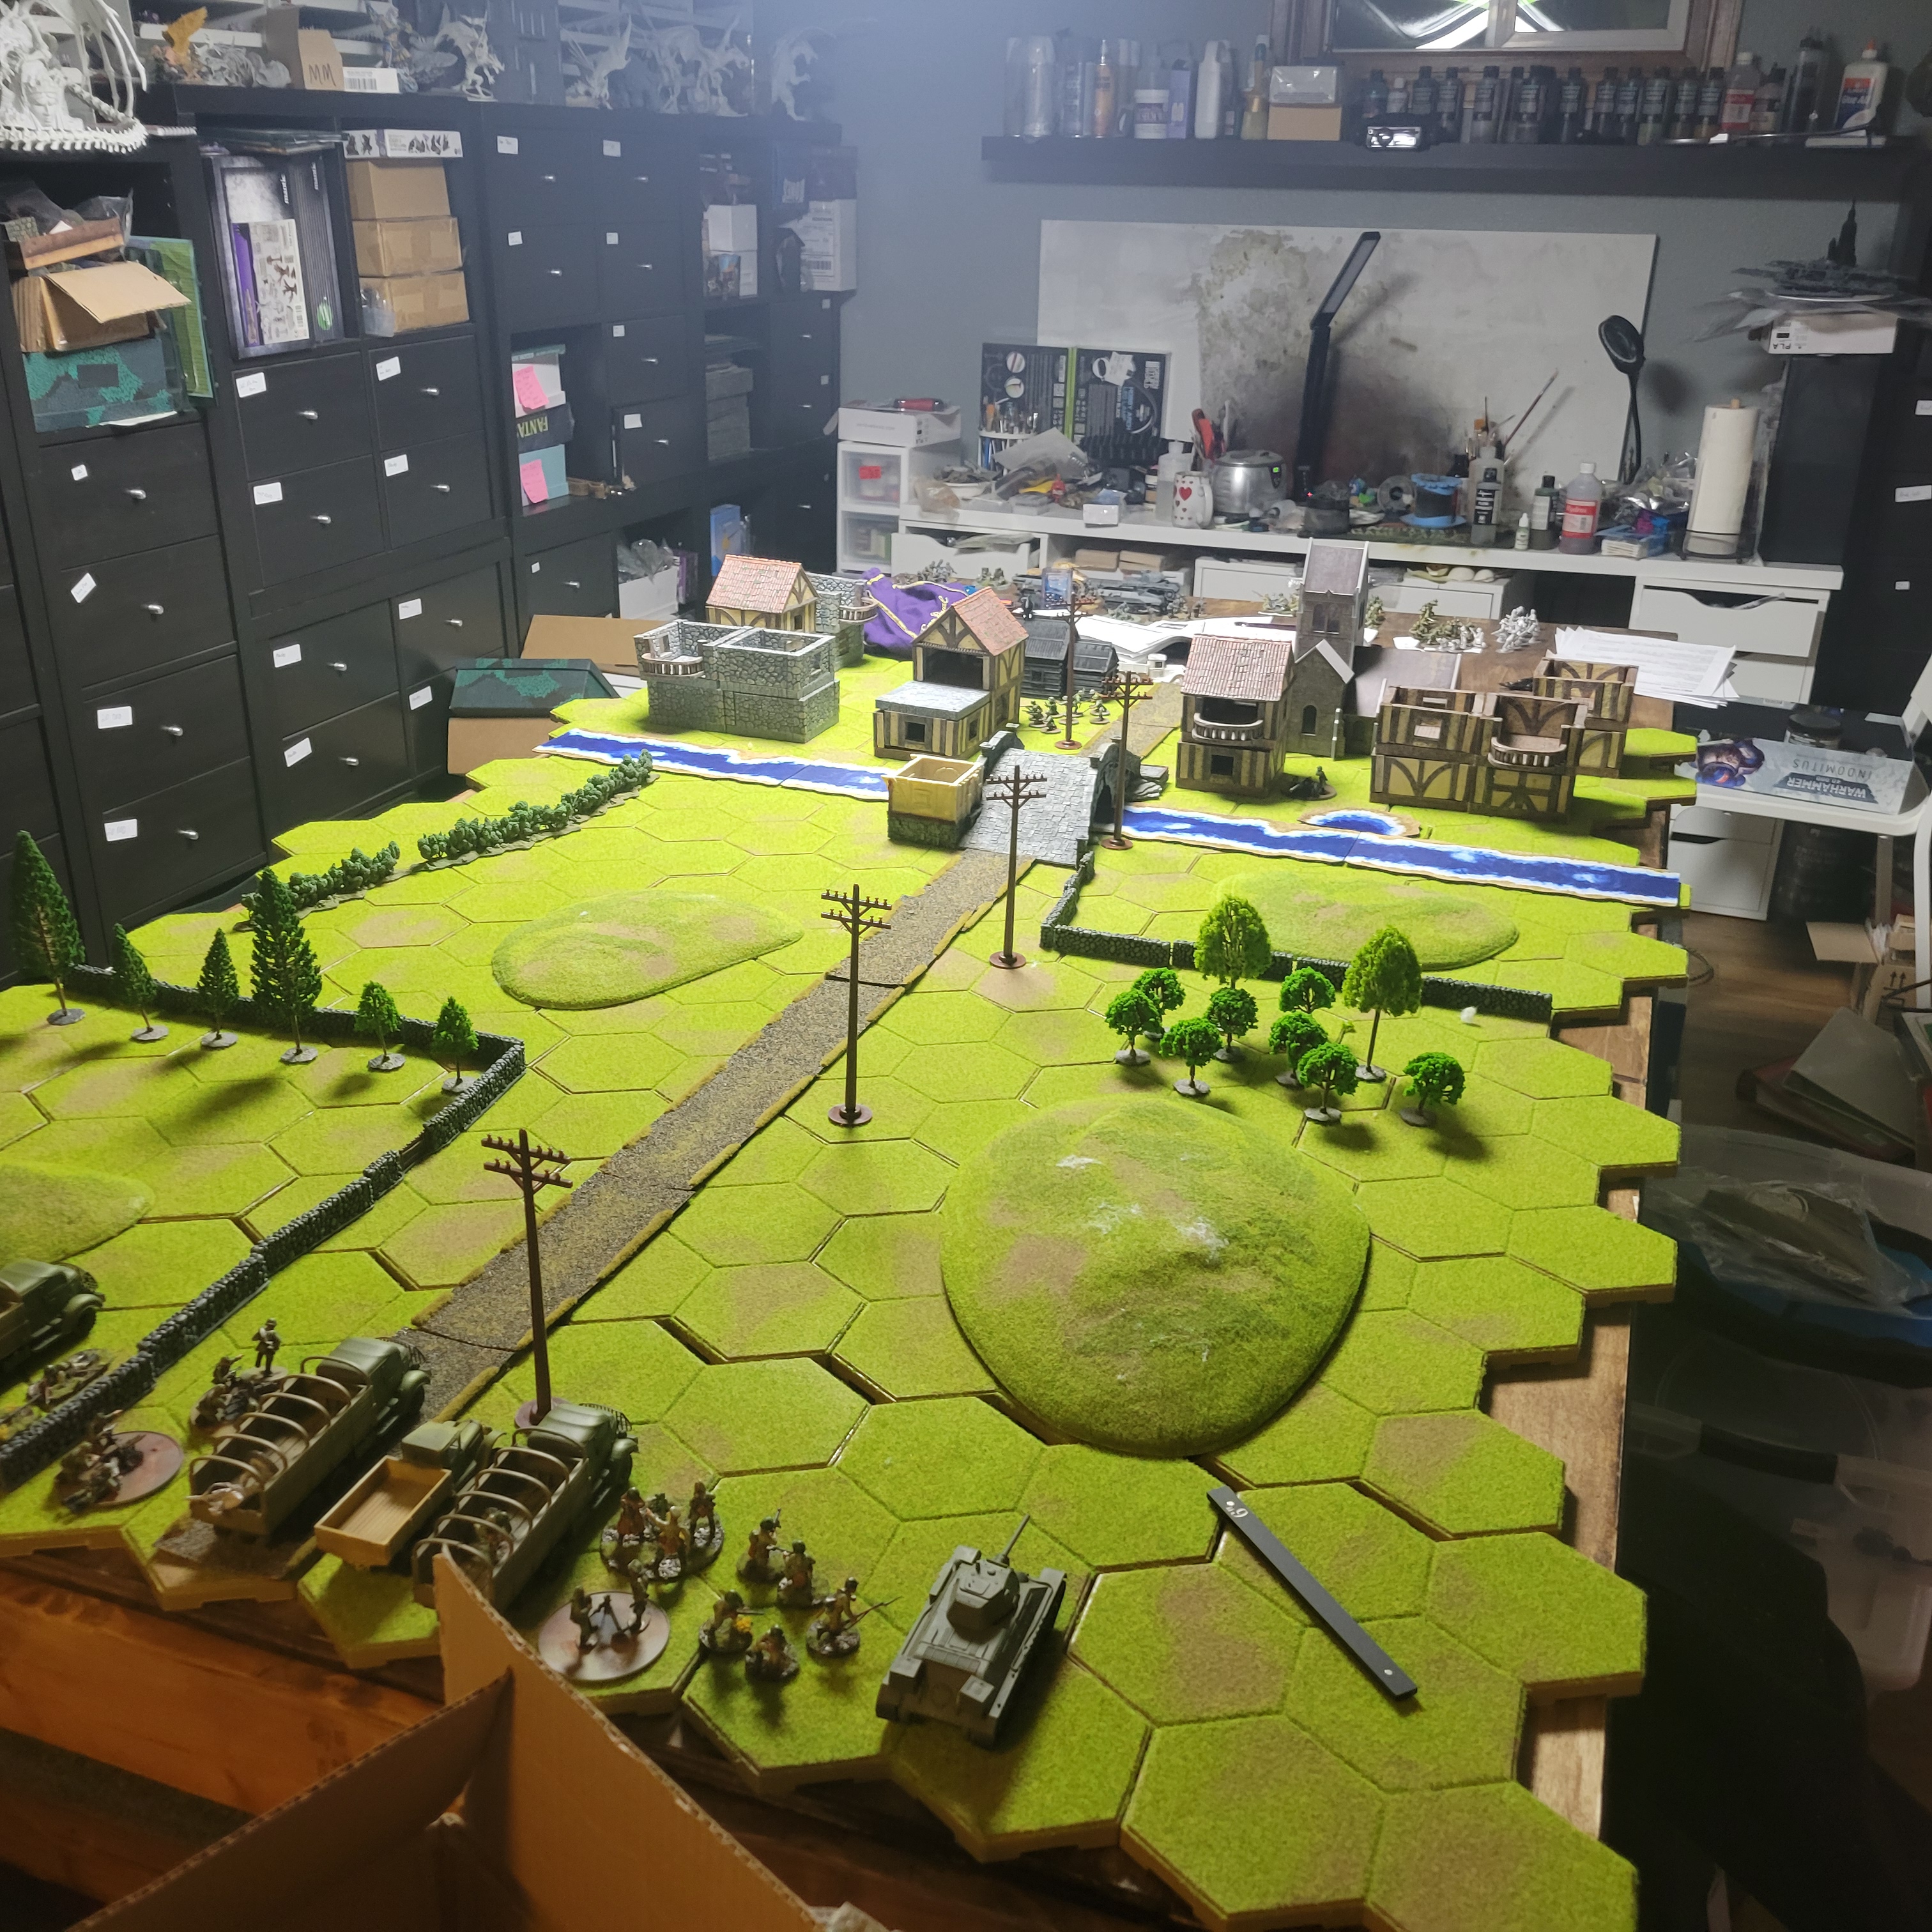
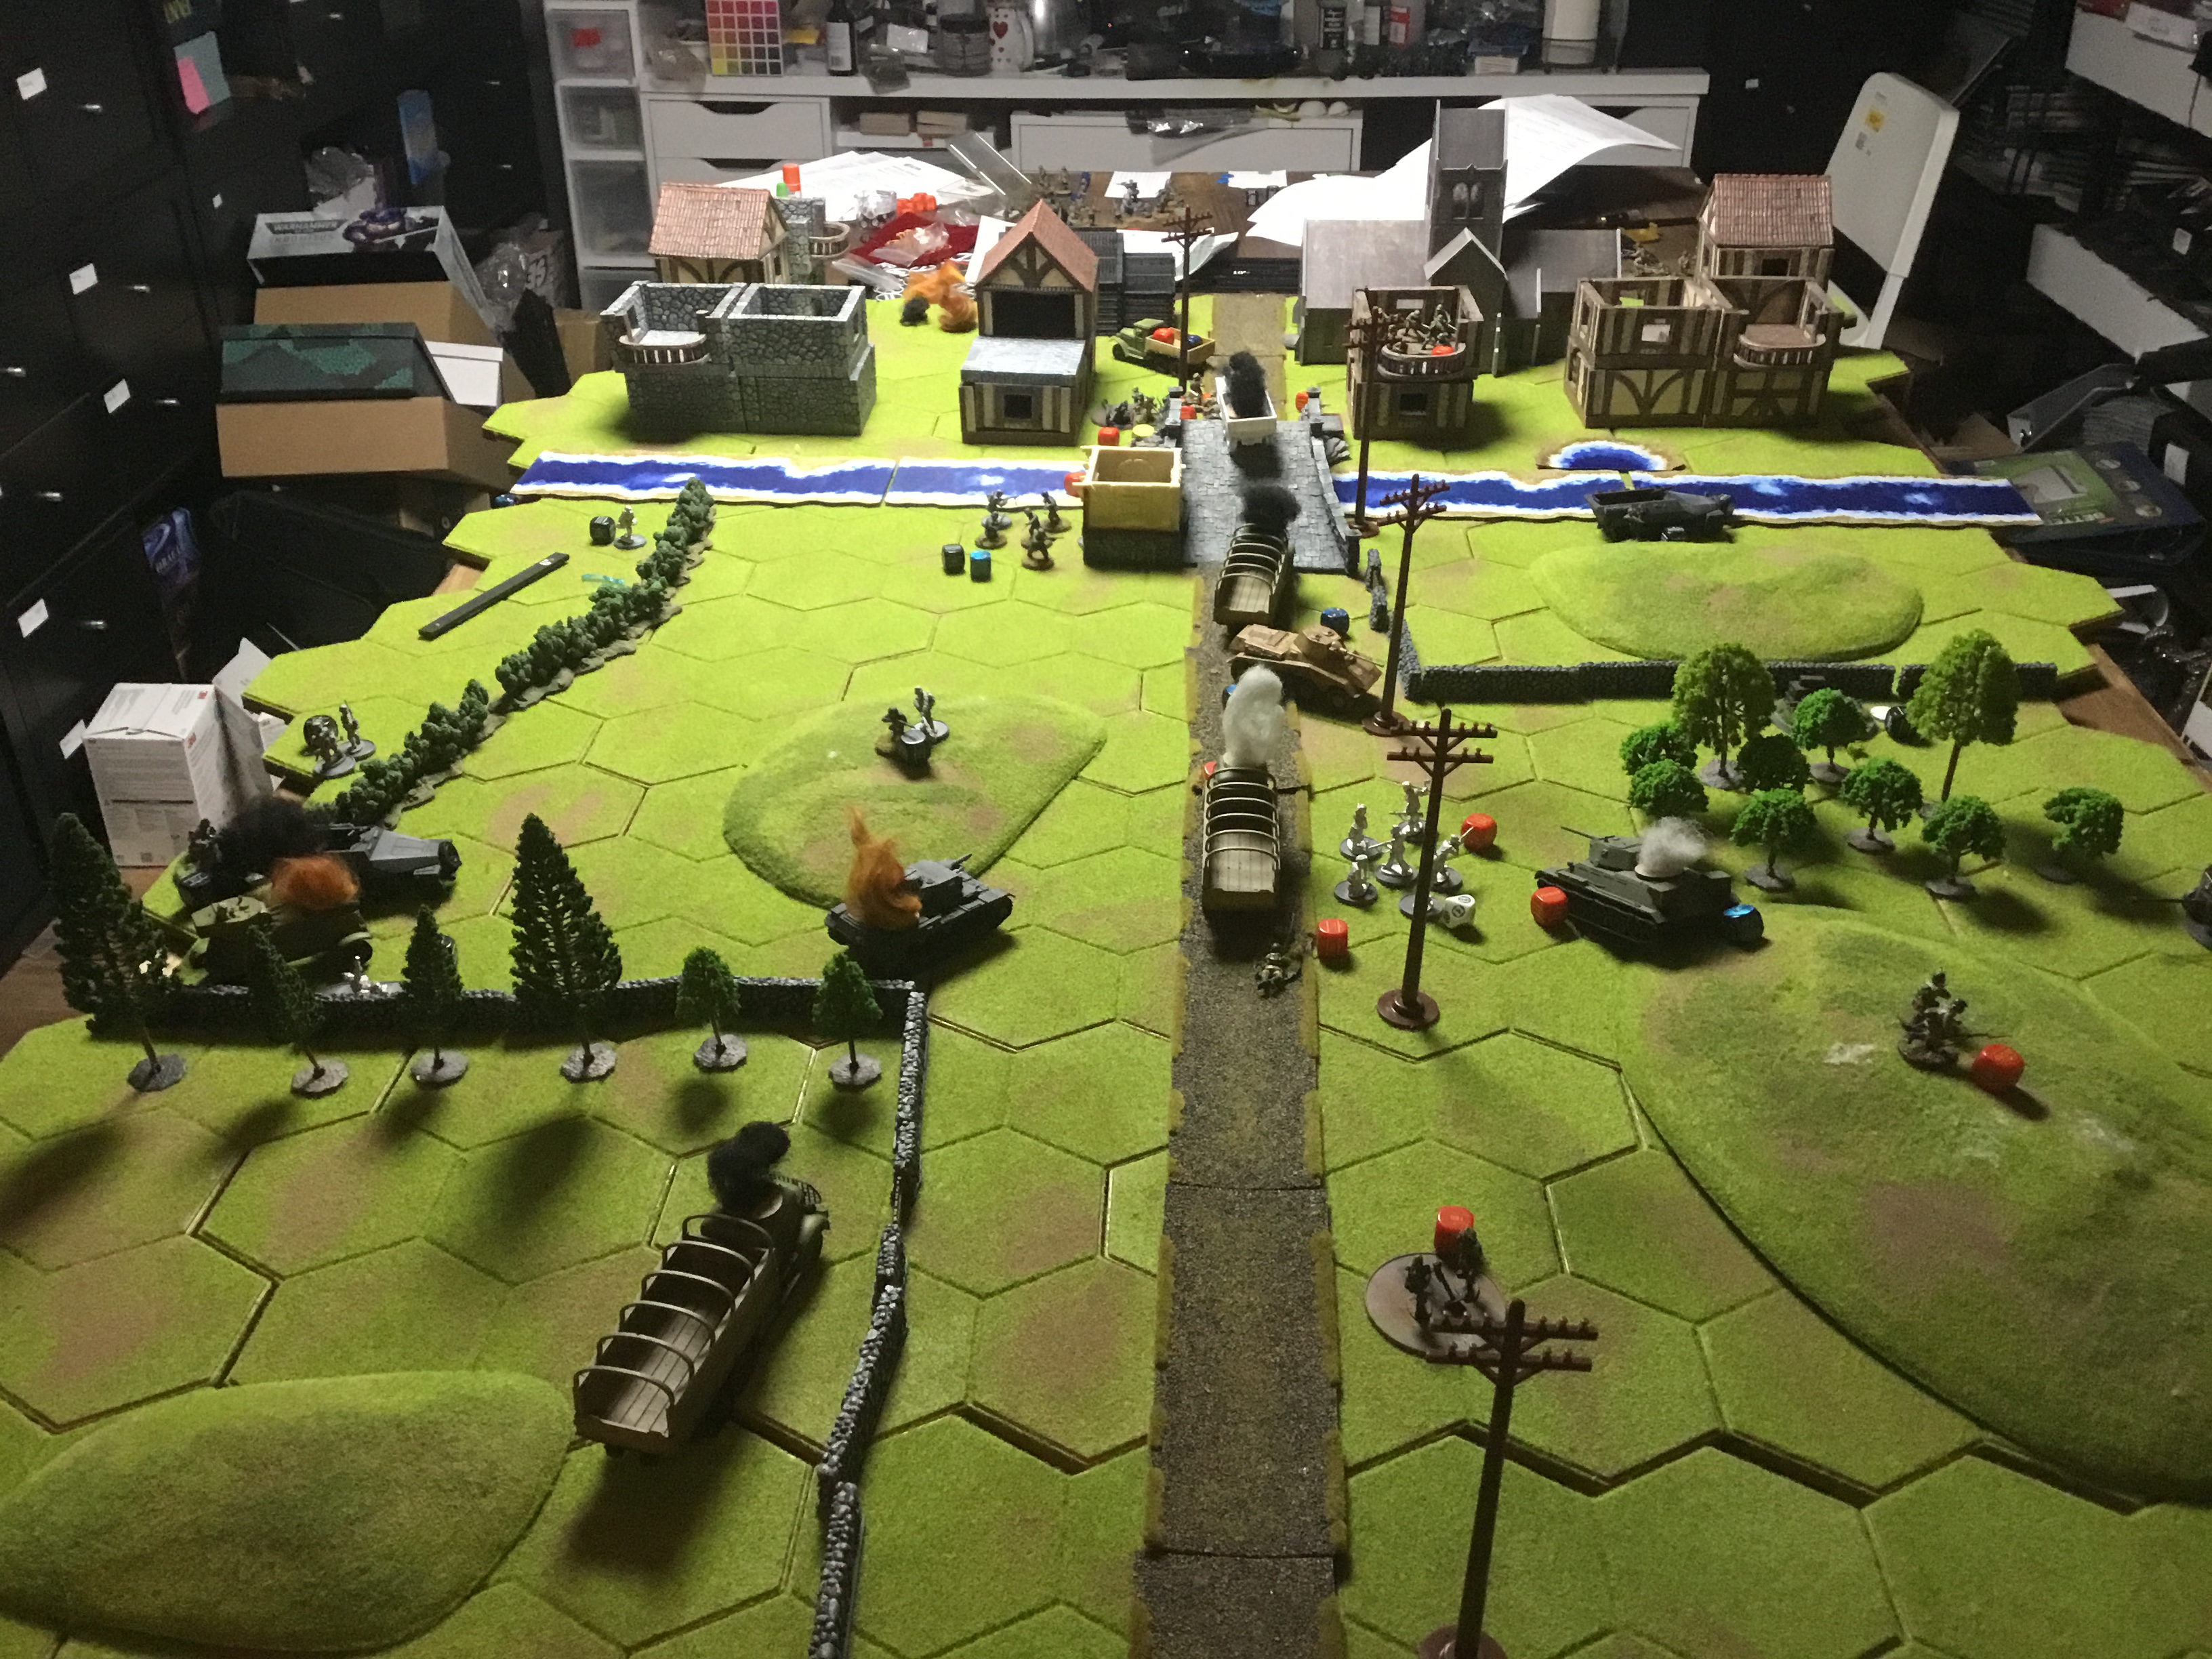
The opening battle in the Stalingrad Campaign is the Last Bridge Over the River Don. The main objective is for the Soviets to hold the bridge while their force retreats and then blow the bridge. Game is on a 6×4 table with a river running north to south. In the middle of the river is a small bridge. Eastern side of the bridge has a small village. Western side has a few hills and balkas.
Soviets can attempt to blow the bridge. The objectives give 2 pts for each soviet unit to cross the bridge, and the Germans get 1 pt for each destroyed unit and 5 if the bridge is intact.
For terrain, I intend to use my Kallistra grass hexes as a base with assorted hills. I have a river from Tabletop World. It should sit nicely down between hexes. The river is 6″ wide, however, and if that doesn’t work, I have a neoprene river set and a few bridges that should work nicely. I need about 10 small buildings for the town where Dwarven Forge City Builder should also fit in nicely. I have 3 or 4 buildings for variety that are a high quality cardboard including a church that will make good variety.
Here is the Soviet T34 on the bridge. This will work well.
The army lists are below. Both lists are 1167. I don’t have a good reason for picking this number.
Germans
1167
Gates of Stalingrad
Leutnant
50
Regular
Here infantry
90
5 Rifles 1 LMG 1 Loader
Regular
Panzgrenadier
97
5 Rifles 1 LMG 1 Loader
Regular
medic
30
Veteran
artillery forward observer
100
1 AR
Regular
Heer infantry
110
7 Rifles 1 LMG 1 Loader
Regular
heer pioneer
77
1 Rifle 4 SMGS
Veteran
mmg
50
Regular
medium mortar
60
add spotter
Regular
flammenwerfer
50
Regular
sniper team
50
Regular
Anti-tank rifle team (removed)
Regular
50mm pak 38
75
Regular
Sdkfz231
100
Regular
Panzer iii Ausf E,F
140
2nd MMG
Regular
Sdkfz 7 halftrack
44
Regular
Sdkfz 7 halftrack
44
Regular
I based the German list on what an advancing army might look like. Mechanized infantry with early war armor support. Decent equipment. I could have made the squad sizes a little larger which would have brought me up to 1500 pts, as well as a few trucks, but this should make for a decent fight. I think the game plays well at 1250 to 1500.
Soviets Don Volga
Rifle Squad
0
12 Rifles
Inexpierenced
2nd Lieutenant
50
SMG
Regular
Veteran squad
85
3 Rifle 1 LMG 1 Loader
Veteran
Rifle squad
56
8 Rifles
Inexpierenced
commissar
15
SMG
Inexpierenced
assault engineer squad
80
5 SMGs
Veteran
rifle squad
81
7 Rifles 1 Flag
Inexpierenced
rifle squad
49
7 Rifles
Inexpierenced
veteran squad
103
4 Rifles 1 LMG 1 Panzerfust
Veteran
Mmg
35
Inexpierenced
Dshk heavy machine gun team
49
Inexpierenced
Sniper team
50
Regular
Dog mines
26
Inexpierenced
Tank hunters
20
Inexpierenced
Medium mortar
35
Inexpierenced
Light mortar
24
Inexpierenced
45mm antitank
46
Inexpierenced
Ba20 Armoured Car
52
Inexpierenced
T-34
156
Inexpierenced
Truck
31
Inexpierenced
Truck
31
Inexpierenced
Truck
31
Inexpierenced
Truck
31
Inexpierenced
Truck
31
Inexpierenced
The soviet list is based on an army in full retreat. Supplies and such were not a huge issue at this point of the war. I was happy to give them full equipment. The soviet army was very experienced at this point as well which I reflected in the list.
Initial Impressions
Reading over the rules, it seems like the Soviets have a real challenge. You have to get as many units over the bridge as possible and still blow the bridge. The initial turn the fuse is lit you have a 1/3 chance of blowing the bridge. The next turn its 50/50 and 2/3 the following turn. You don’t want to blow it early because it costs you points, but you can’t wait till the last turn either. Although the game does continue until the bridge blows or the charges are defused. The way the reinforcements work for the Germans I want the bridge blowing turn 6.
Also I wouldn’t consider this a good introductory scenario for those new to Bolt Action. It is a pretty complicated fight with many rules and deployments.
Hobby Items
First and foremost getting the two forces fully painted. I have about 3 weeks from now util the floors are completed and I have a game room back. That easily should be enough time for 50 odd infantry and a couple vehicles. Right……. right. My Germans are largely complete already. Maybe 10 models. The Soviets need around 40.
I need to paint the river. It shouldn’t take too long. It is nicely textured. I have 10 pieces that are 9″ long and 5″ wide, 8 curves, a large stone bridge that is just wide enough for a t-34. There is also a mill somewhere which would be cool to do eventually. I think there are 4 river battles and it is a terrain feature in 3 more. I may also try the resin thing where I fill the river with resin to create a water effect.
Other hobby items. I will most likely 3d print a building or two. They will need painted. I also need to paint a few hedges that I have 3d printed.
Next time should be some painted models progress, after the weekend.
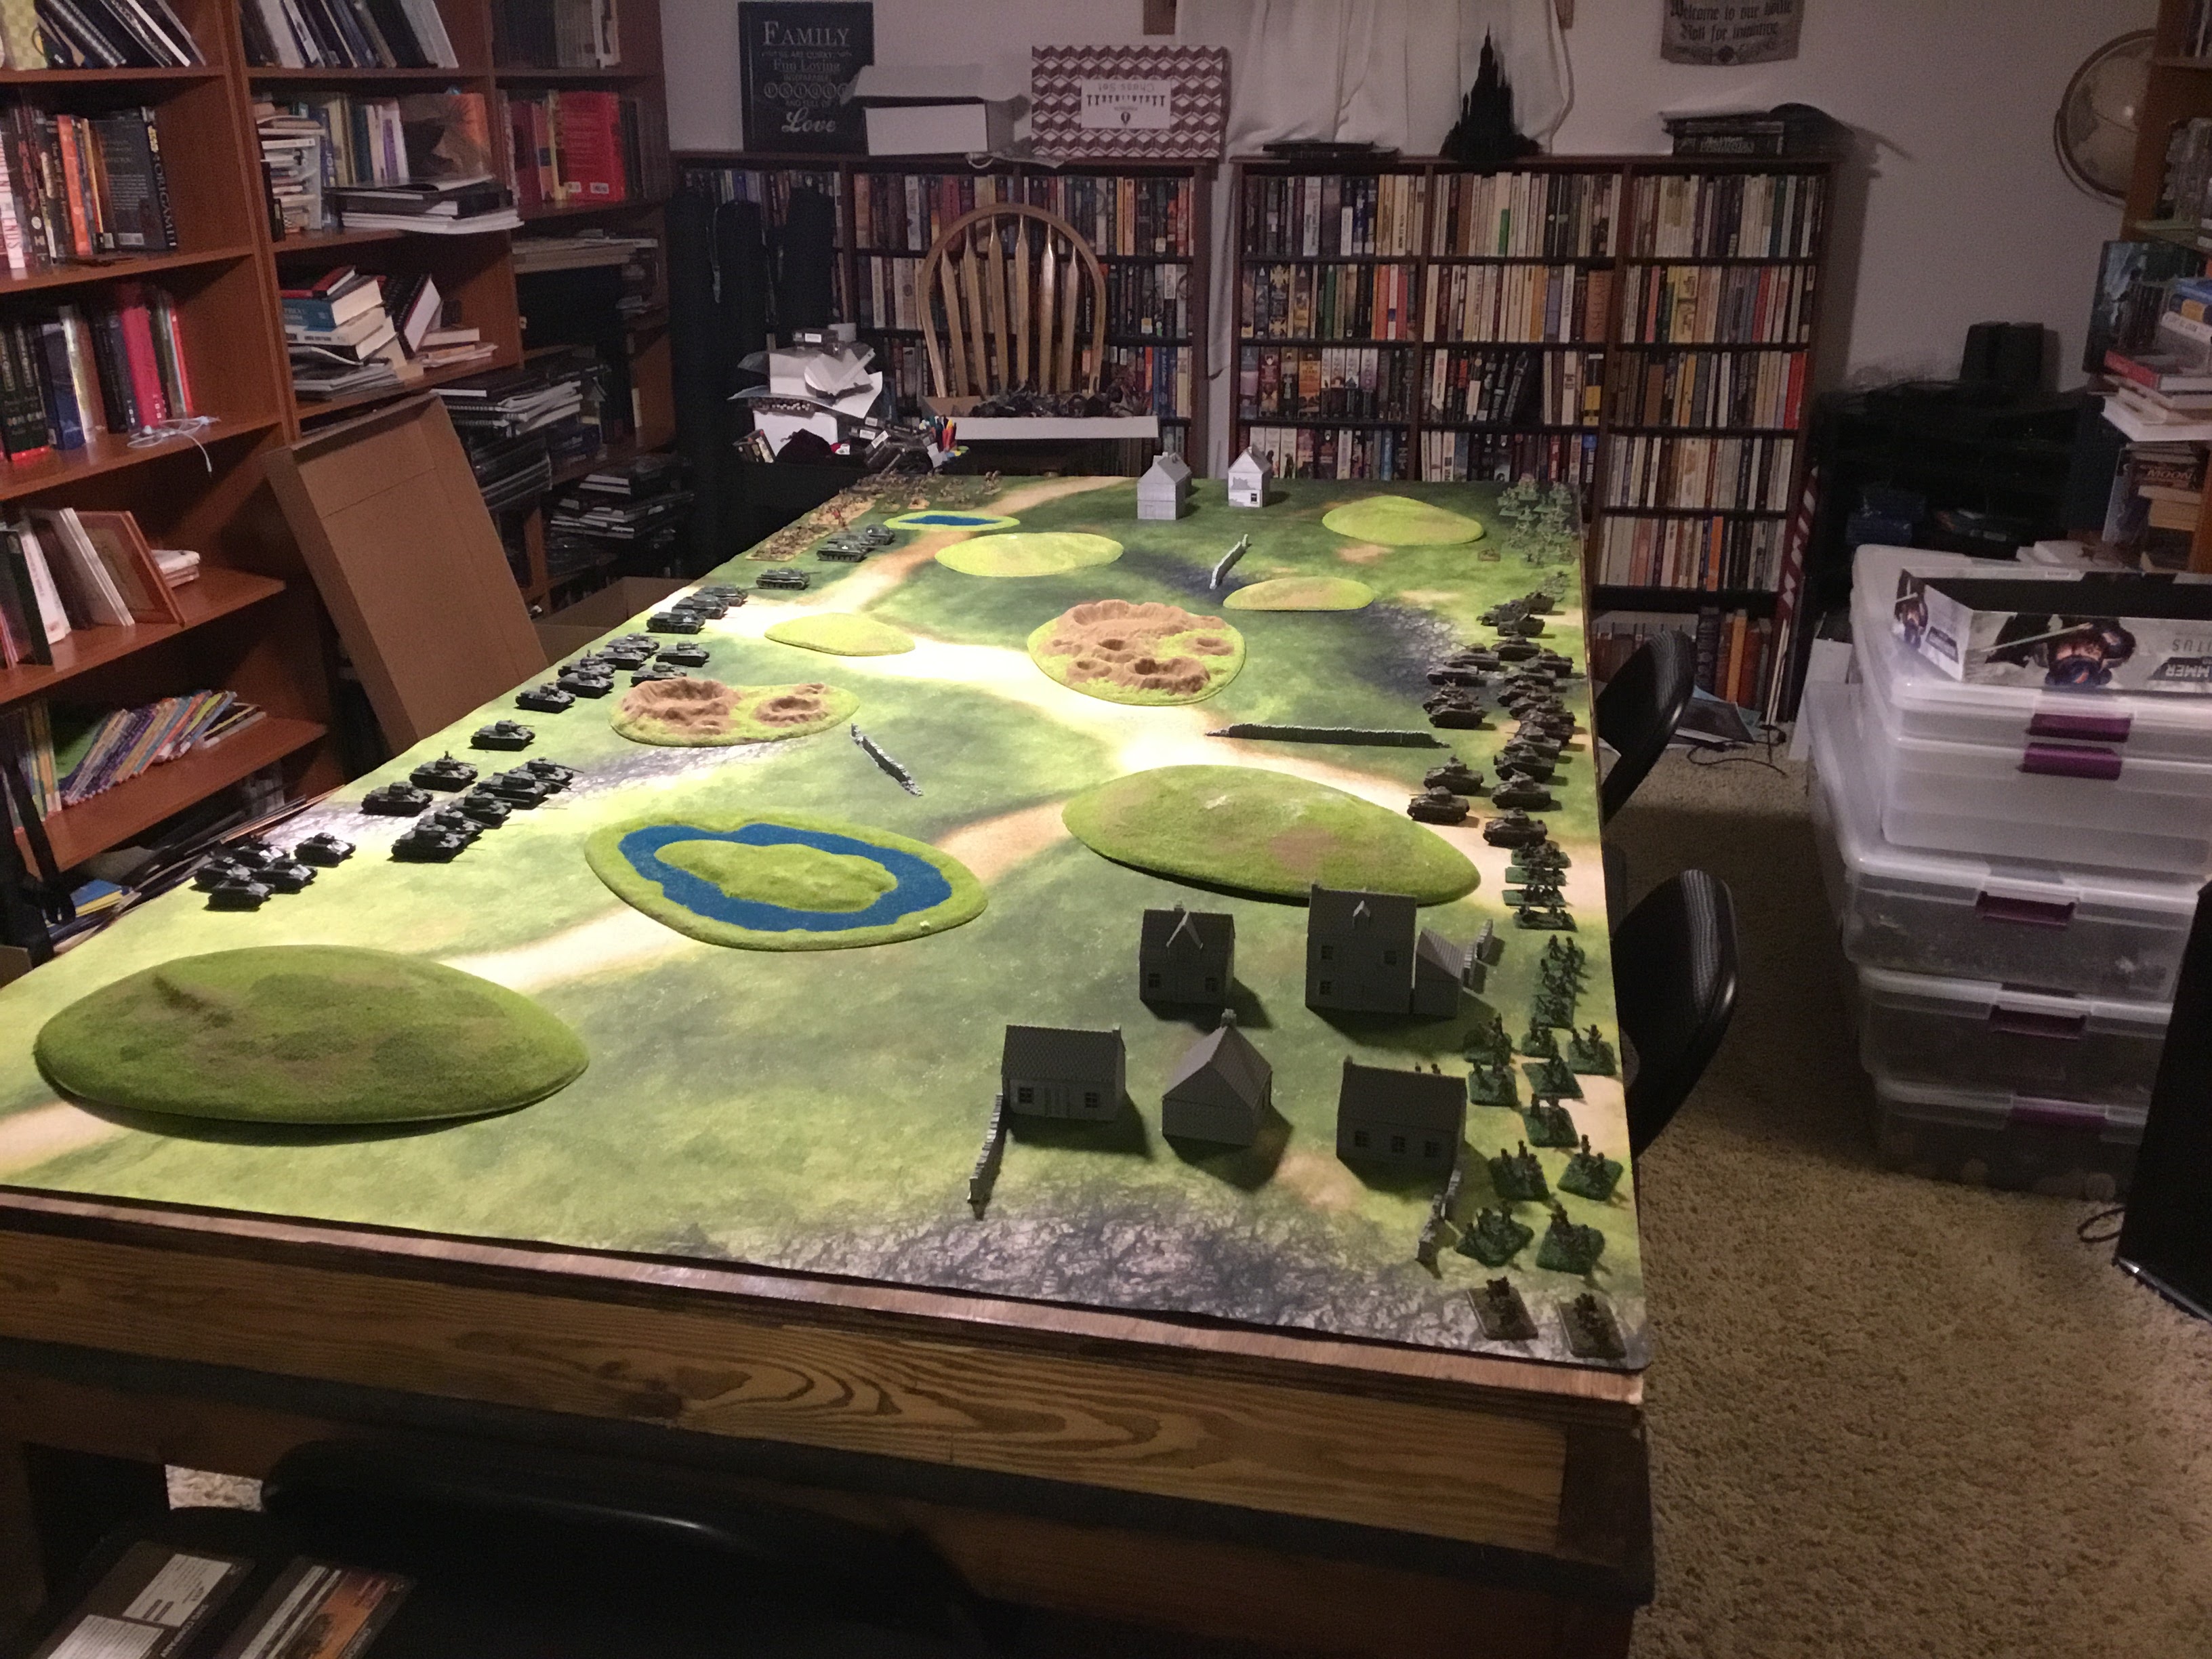
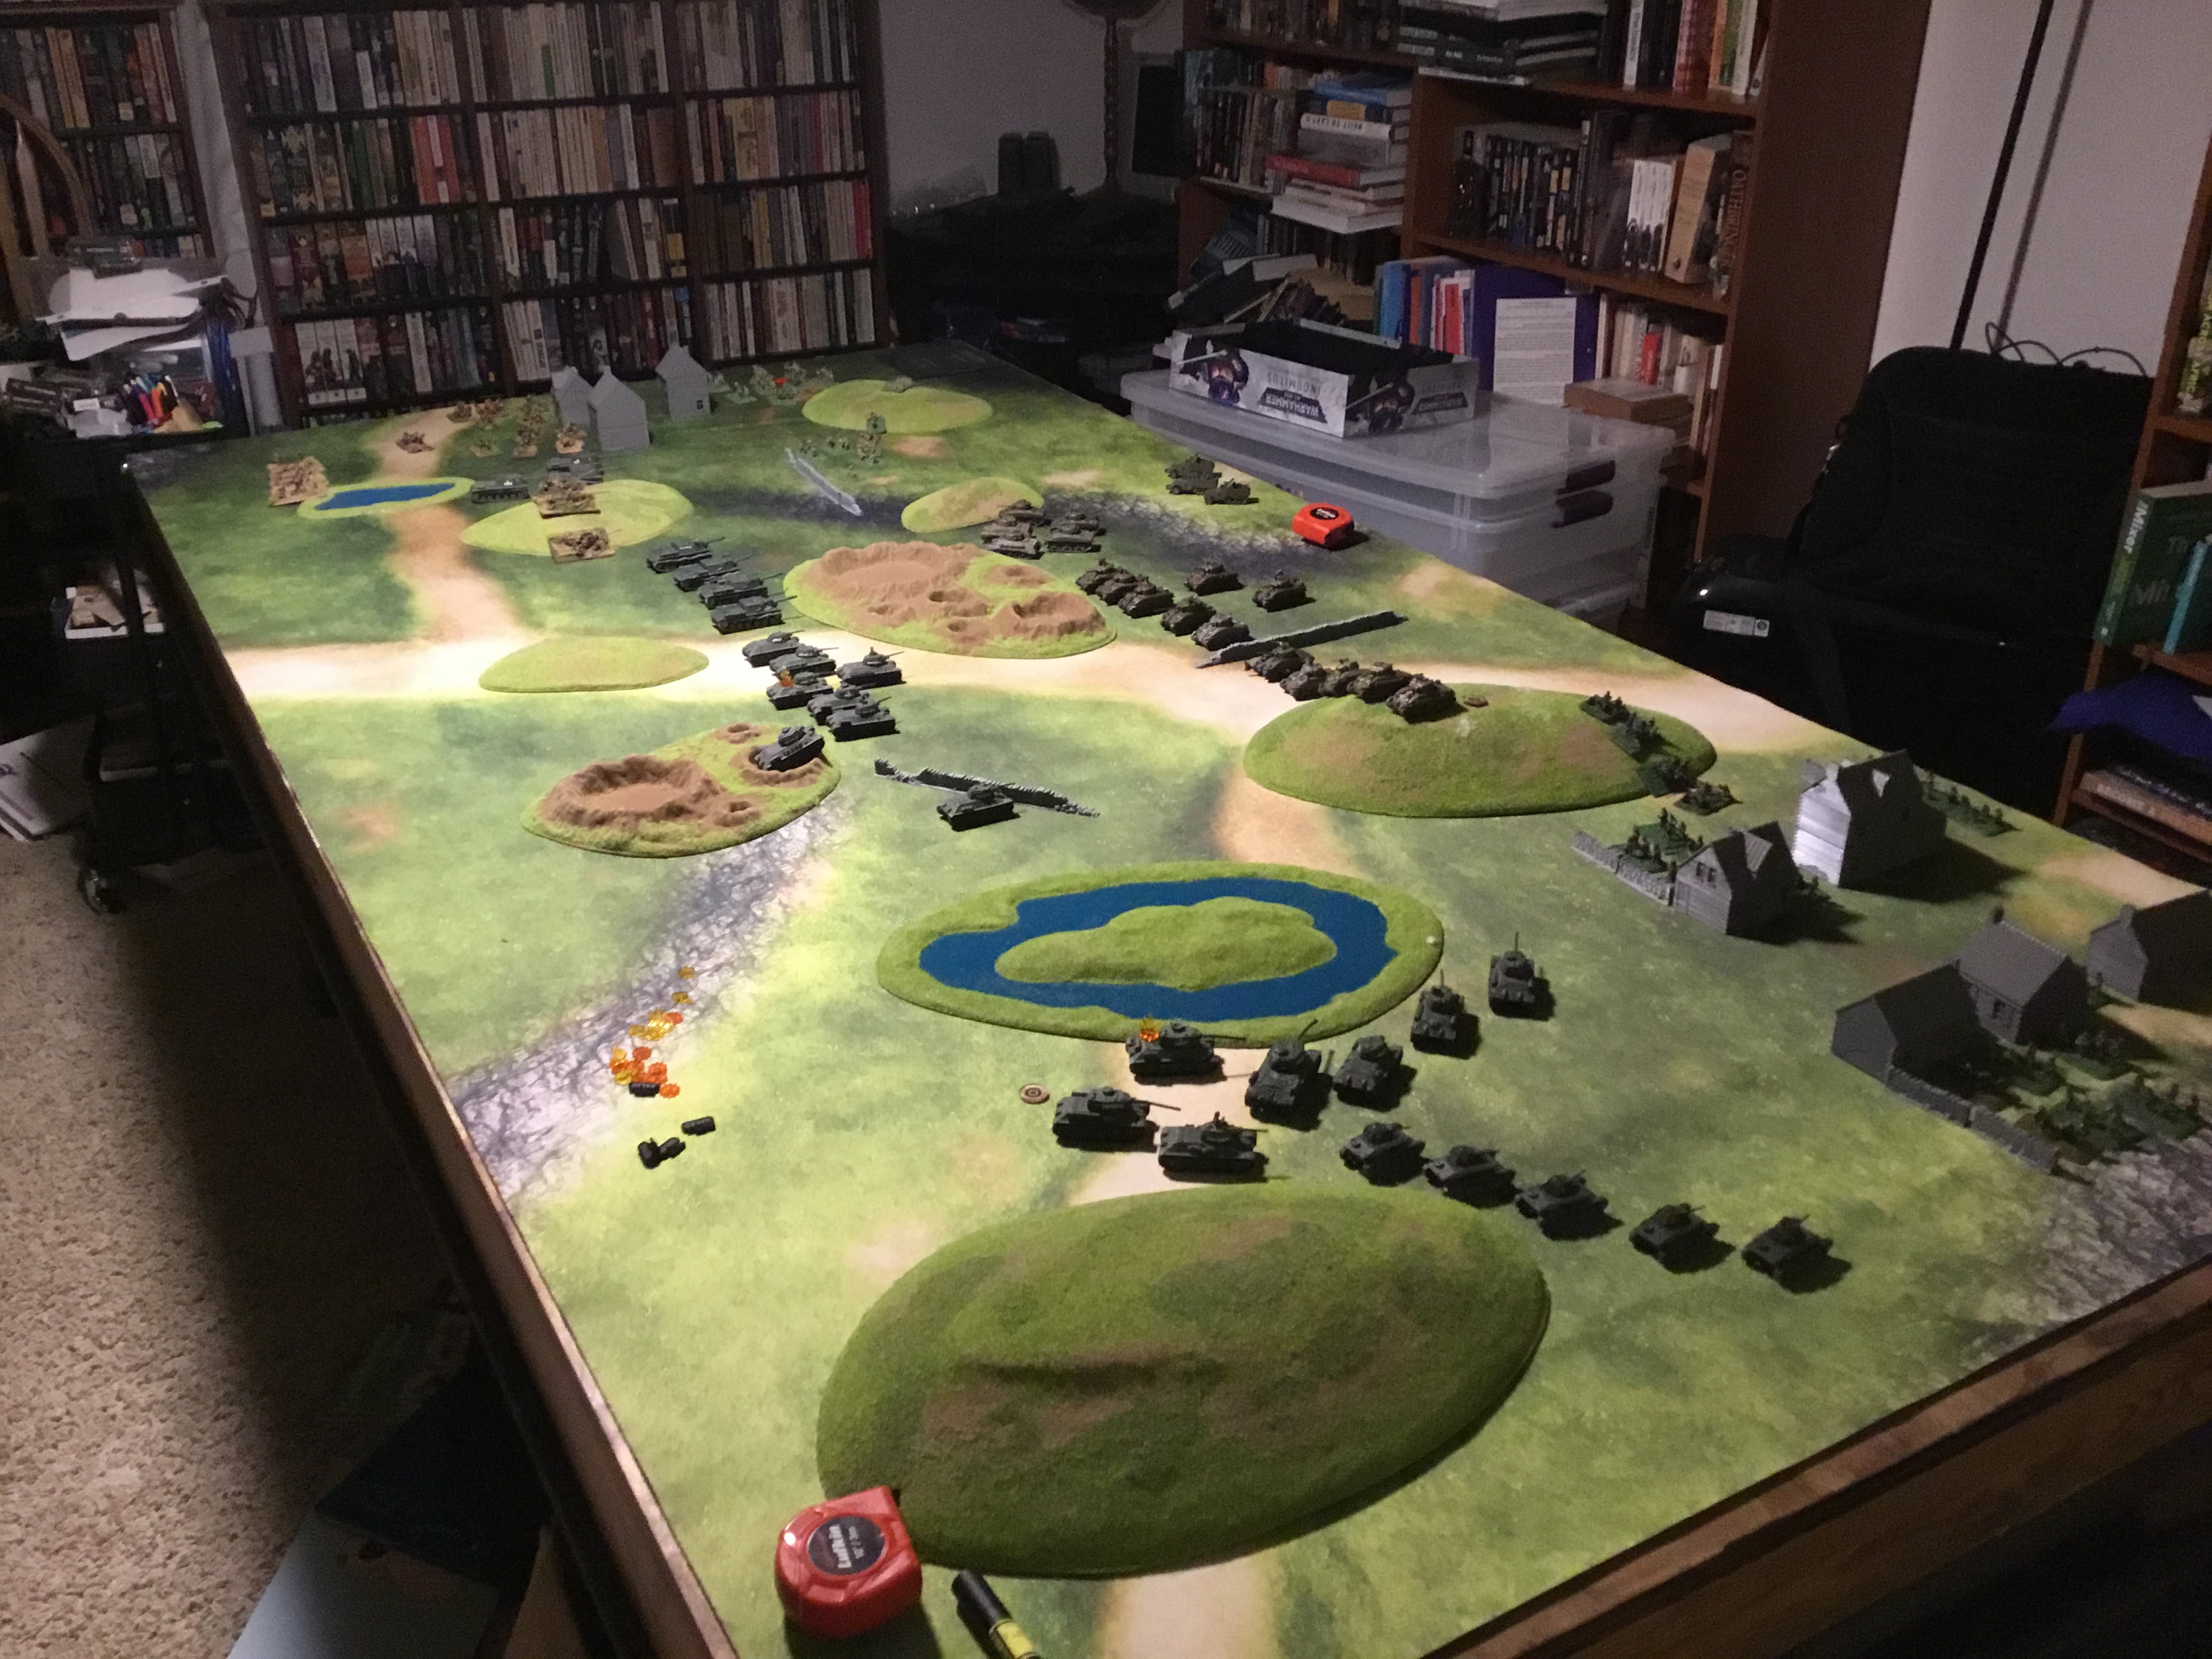
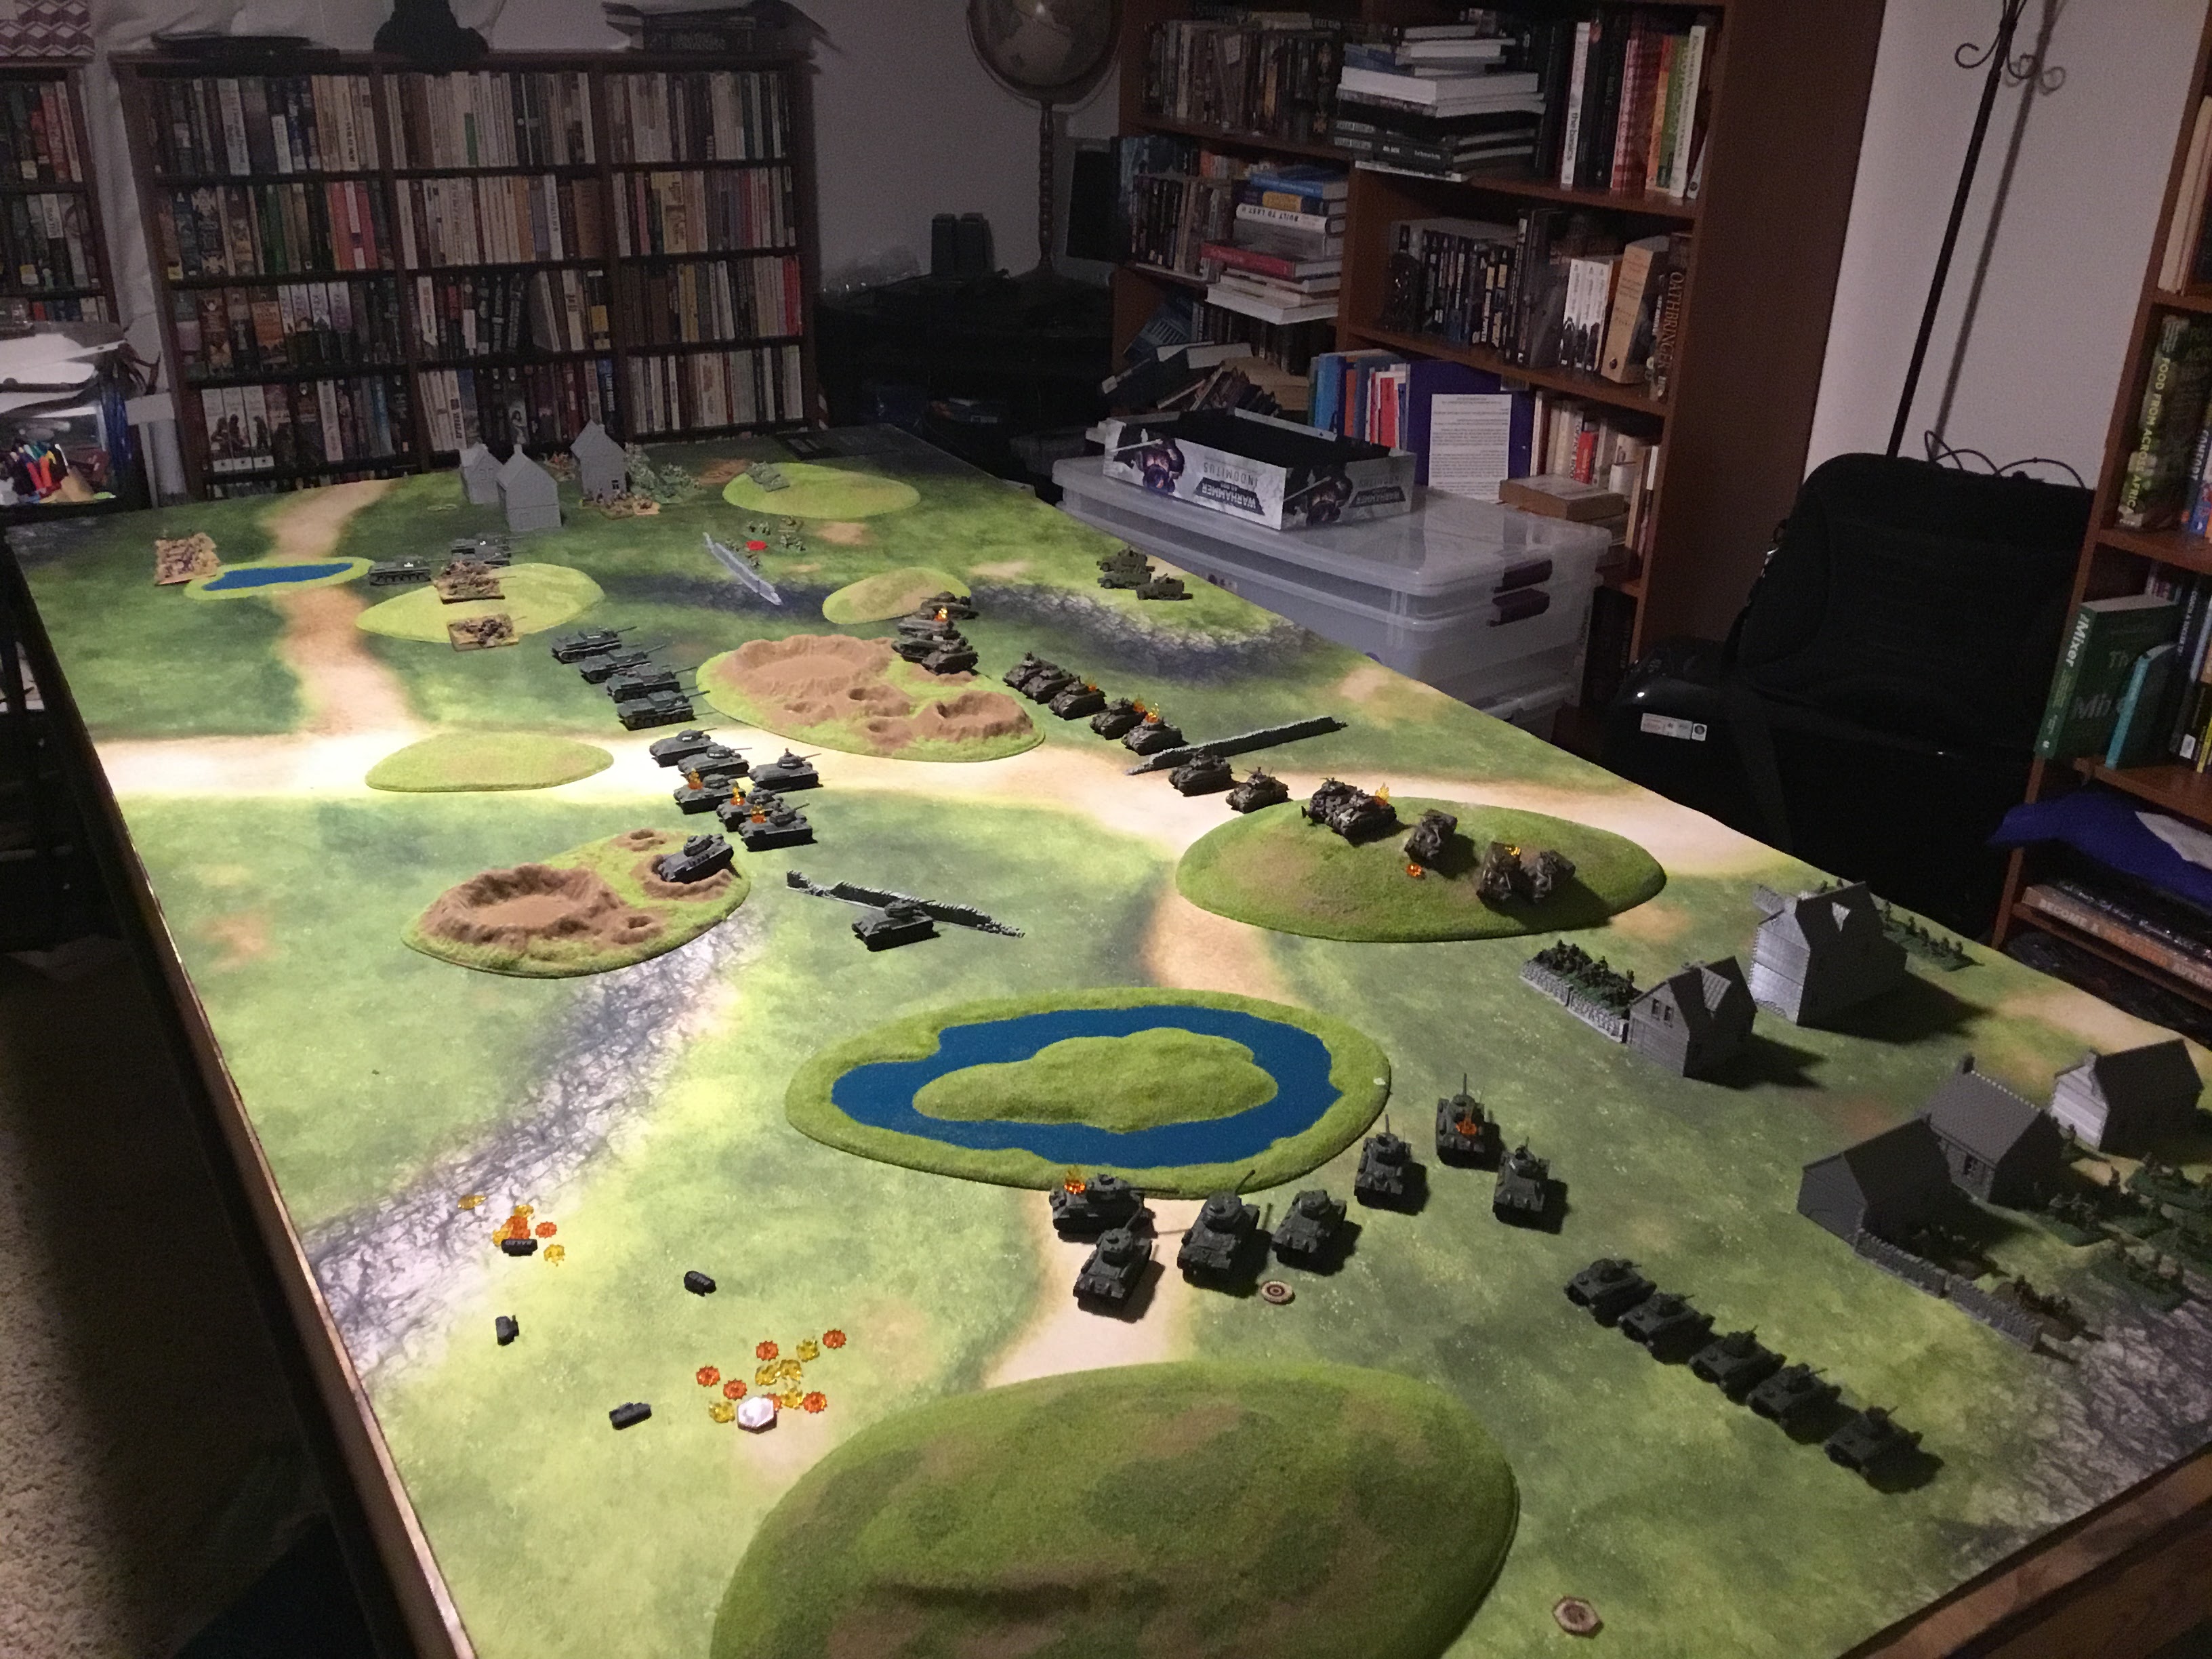
For whatever reason, I have never actually put my Flames of War models to the table. I have 5 armies, fully painted and angry ready for battle, but have never actually played myself. Over the next few weeks there are four battles scheduled so I can teach myself. The rules are vague as to how big of a table to use. How much terrain, deployment areas etc. I am setting up 100 pts on a my standard 8×4 table as such.
I have no idea how much space should be required. I have no idea what is a good list or a competitive list. I have read zero blogs and watched zero Youtube videos. We are going to take an adventure together.
Soviets
Americans
Churchill Guards Heavy Tanks
23
M4 Sherman Tank Company
61
HQ
3
2 HQ M4s
7
3 Churchill 6pdr
10
5 M4s
18
3 Churchill 6pdr
10
5 M4s
18
T-34 Tank Battallion
69
5 M4s
18
HQ
3
Rifle Company
39
7 T-34s
21
HQ 2 SMG Teams
2
5 T-70s
5
Rifles 7 M1s 1 Bazooka 1 HMG
8
7 T-34s
21
Rifles 10 M1s 2 Bazooka
9
15 SMG Company+1 Komissar
17
Rifles 7 M1s 1 Bazooka
6
3 82mm Mortar
2
2 81 MM Mortar
2
Light Tank Killer Company
8
3 T30 75 MM Assault Guns
3
4 45mm Guns
8
4 M1917 HMG
3
4 37mm guns
6
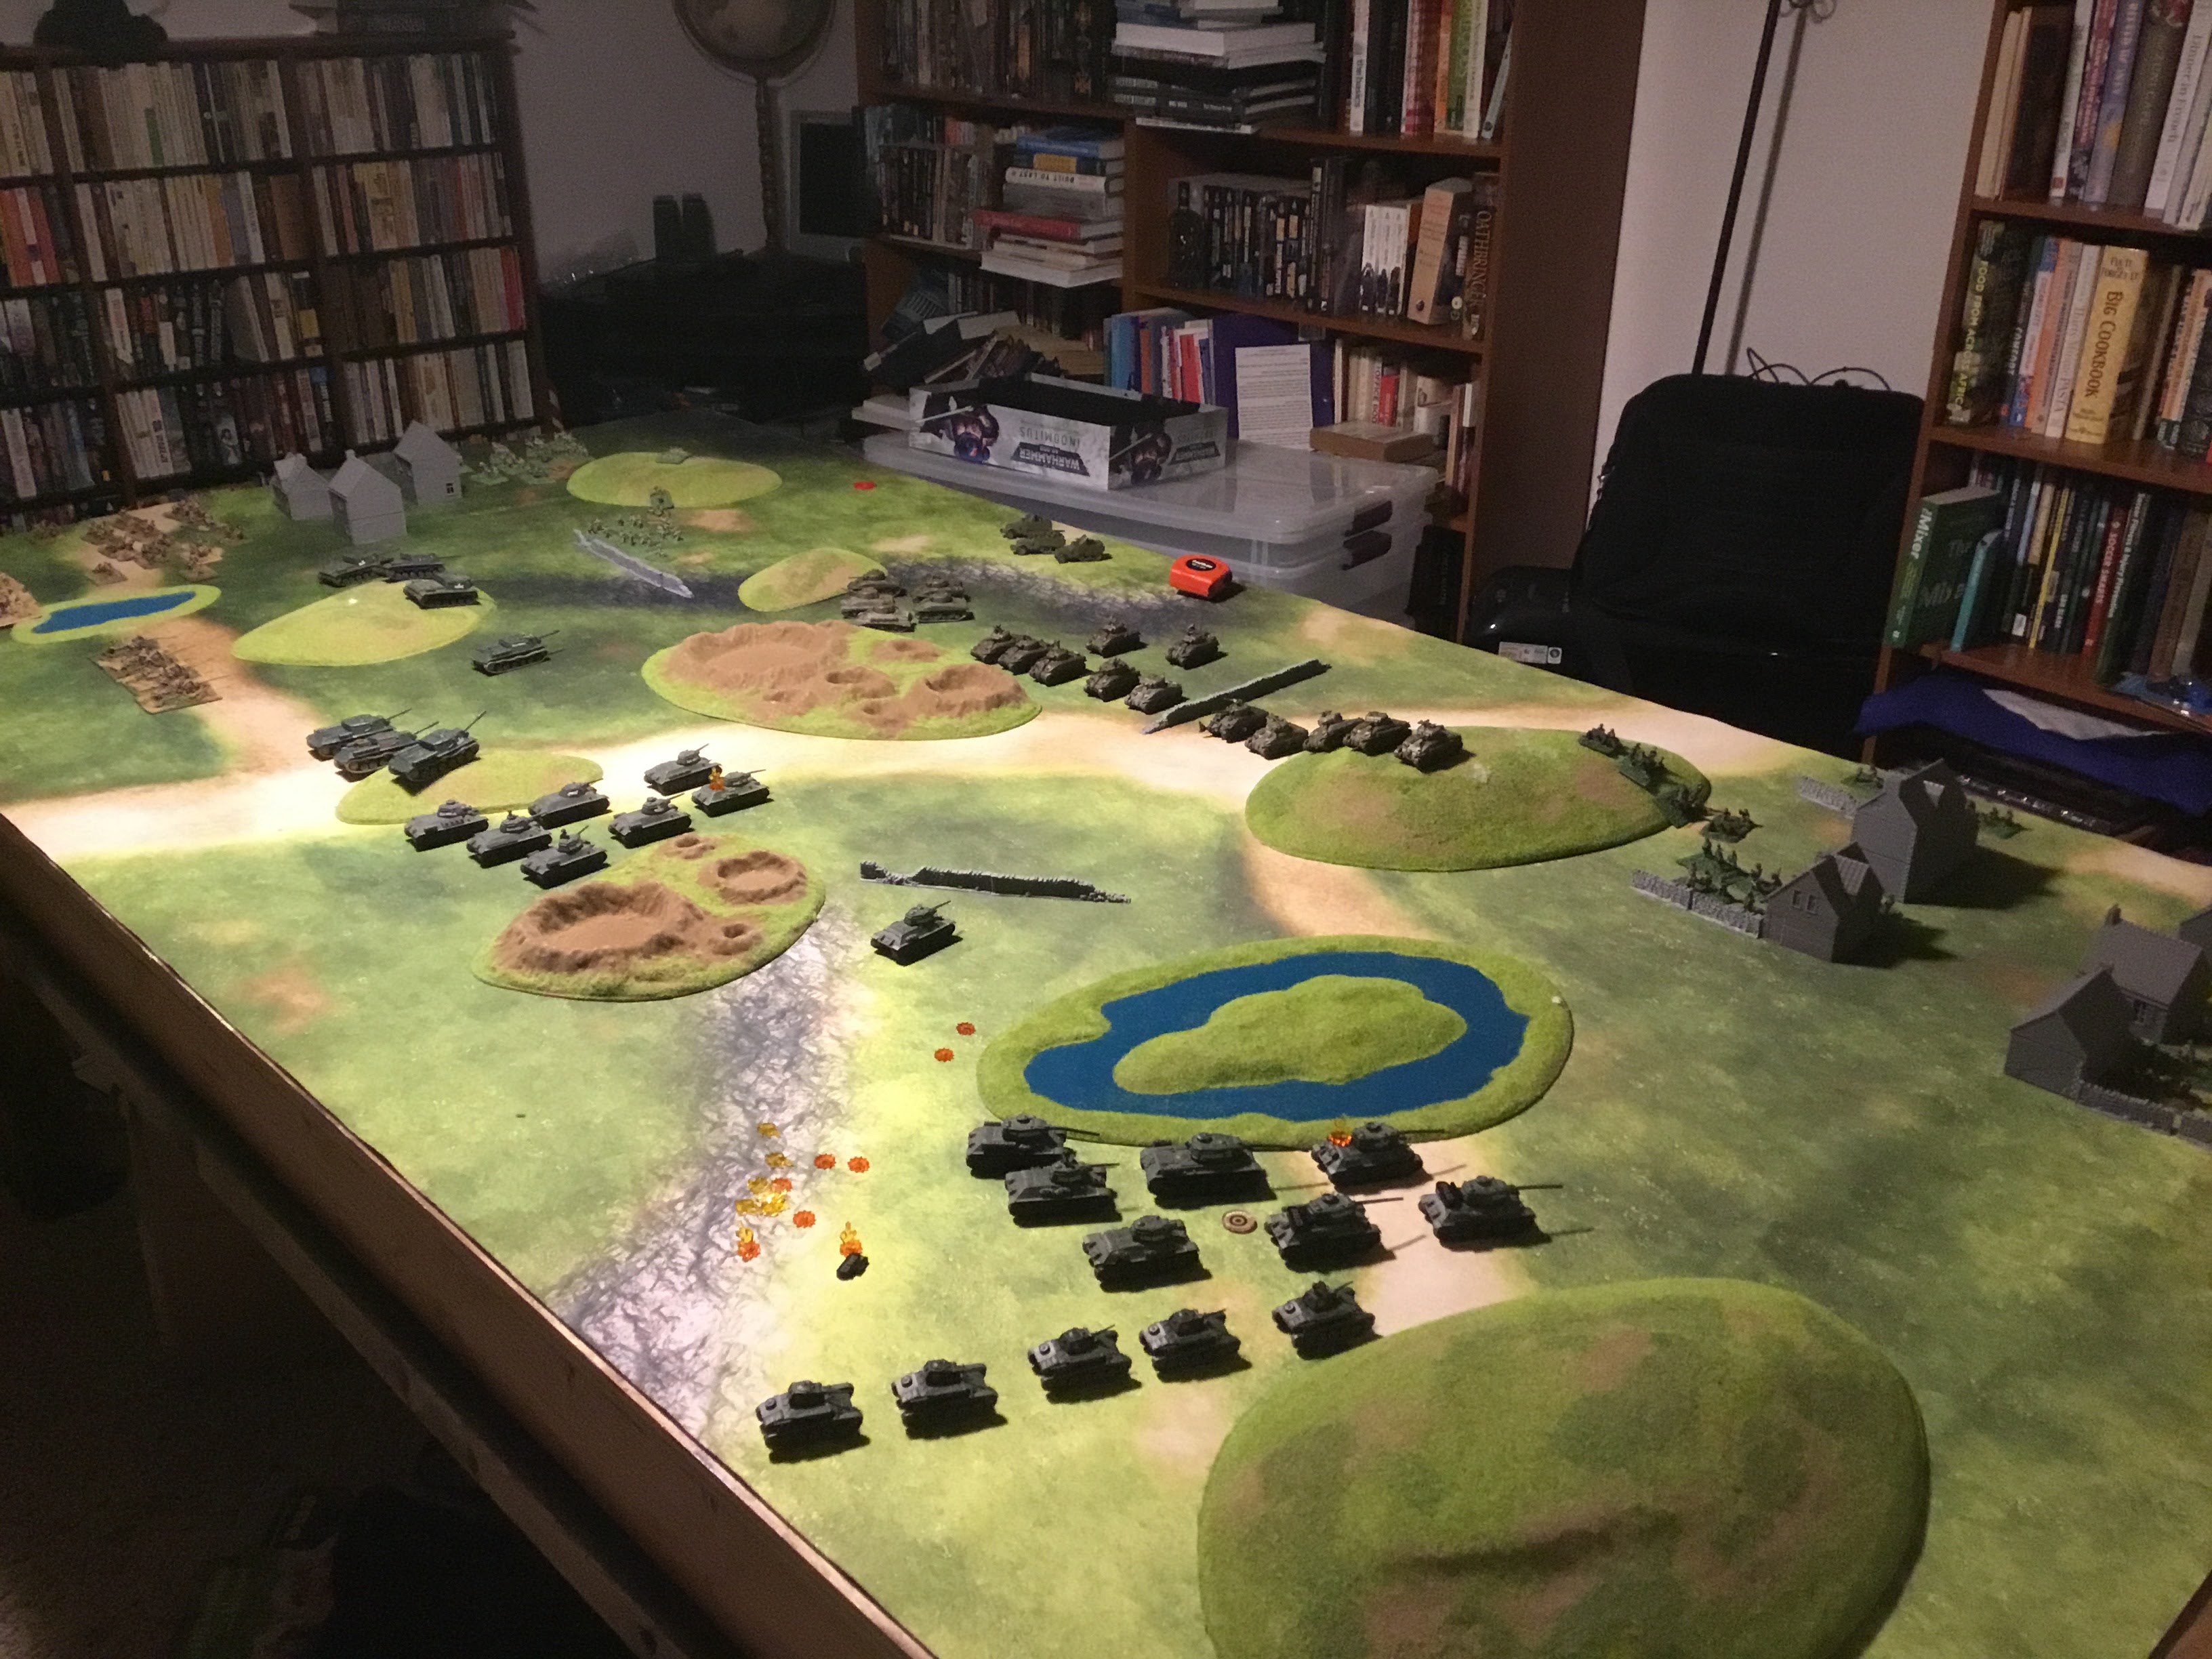
First movement for the Russians has been made. I only had the Mortars in range of anything, unfortunately I did not have an artillery template.
1 Week later I have an artillery template, plus a few dozen of the other sets of tokens you also need to play. The mortars killed a single set of the M1s. American go. The first few turns took a significant amount of time while I figured out the system. The whole when to save when to to save and other items were perplexing. I have watched several youtube videos and have a better grasp. The Americans did destroy a couple of T34s.
Turn 2 for both teams involved a ton of shooting and numerous tanks destroyed. At this point I think I have the basics of the game figured out. Artillery is very high-powered and can do a ton of damage to infantry. (no kidding) Tanks go up like popcorn making the battles very high-paced. Also any unit that is unsportted is at risk meaning you need well-rounded forces. A horde of infantry may take losses but can generally assault and stop a tank company. For either side I didn’t have much strategy, just kill and learn the rules.
Turn 3 resulted in a ton of damage to the American side. You can see most of the infantry defending the top village were assaulted and destroyed, all but 5 of the shermans were destroyed vs the soviets still having about 12 tanks left. I called the game here. I the soviets just had too much firepower and it would have been a blood bath.
What I learned. This first mission had very little depth aside from lining up units for one side or the other to their best advantage. Table set up is huge and I need to be better. I half hazard through down some hills and other terrain not thinking my next table will be better. I think the game is balanced I wish elevation played a bigger role.