The third Stalingrad scenario played very simply. 2 Armies with 1500 points. Each unit across the river gets you a victory point. The Germans will launch a preparatory bombardment, while the Soviets can begin dug-in. The Soviets also get 24″ of trenches. The battle is on a 6×4 table.
Results
Both forces managed to get 4 units across the river. The Germans destroyed 6 units, while the Soviets only killed 3. However, the 3 units for the Germans were worth more points than the 6 units for the Soviets. I called this match a tie.
The scenario played nicely as a whole. The units were forced to flow and move rather than stand and shoot like in other scenarios. Target identification was crucial. The Germans were able to stick a couple of units of Veterans on the Soviet side of the river for most of the game, and they were truly impossible to move. I didn’t like the lack of realism; turns 5 and 6 were just a mad dash to get as many units across as possible, while for the Soviets, this makes thematic sense. The Germans were a little more careful with their manpower.
Army Lists
Germans Kampfgruppe Reinforced
Soviets Tractory Factory Reinforced
| Germans | 1505 | Soviets | 1506 |
| Leutnant Reg | 50 | Rifle Squad Inex | Free |
| Panzgrenadier Reg | 97 | Senior Lieutenant Reg | 85 |
| Panzer IV B,C,D,E,F Reg | 175 | Militia Squad Inx | 35 |
| Panzgrenadier Reg | 108 | Militia Squad Inx | 35 |
| Heer Pioneer Vet | 124 | Frontnik Commisar Reg | 60 |
| Heer Veteran Infantry | 111 | Arty Fwd Observer | 120 |
| MMG Reg | 50 | NKVD Squad Reg | 113 |
| Medium Mortar Reg | 60 | NKVD Squad Reg | 155 |
| Sniper Reg | 50 | Naval Squad Vet | 119 |
| Anti-Tank Rifle Reg | 30 | NKVD Squad Reg | 80 |
| Medium Howitzer Reg | 85 | MMG Team Reg | 55 |
| SDFKZ 250/10 Reg | 135 | HMG Team Reg | 80 |
| Panzer IV Ausf G,H,J Reg | 235 | Sniper Reg | 50 |
| SdKfz 250/1 Reg | 75 | Flamethrower Reg | 55 |
| Tank Hunters Team Reg | 67 | ||
| Medium Mortar Reg | 60 | ||
| Medium Howitzer Reg | 85 | ||
| M-42 Anti Tank Reg | 58 | ||
| T-34 Inx Tractor Factory | 140 | ||
| Truck Reg | 54 |
Based on the scenario, I felt like having the Germans with a few elite sticky units would be helpful. For the Soviets. Numbers all day long. The NKVD and Naval squad would be my crossers, set up as reinforcements.
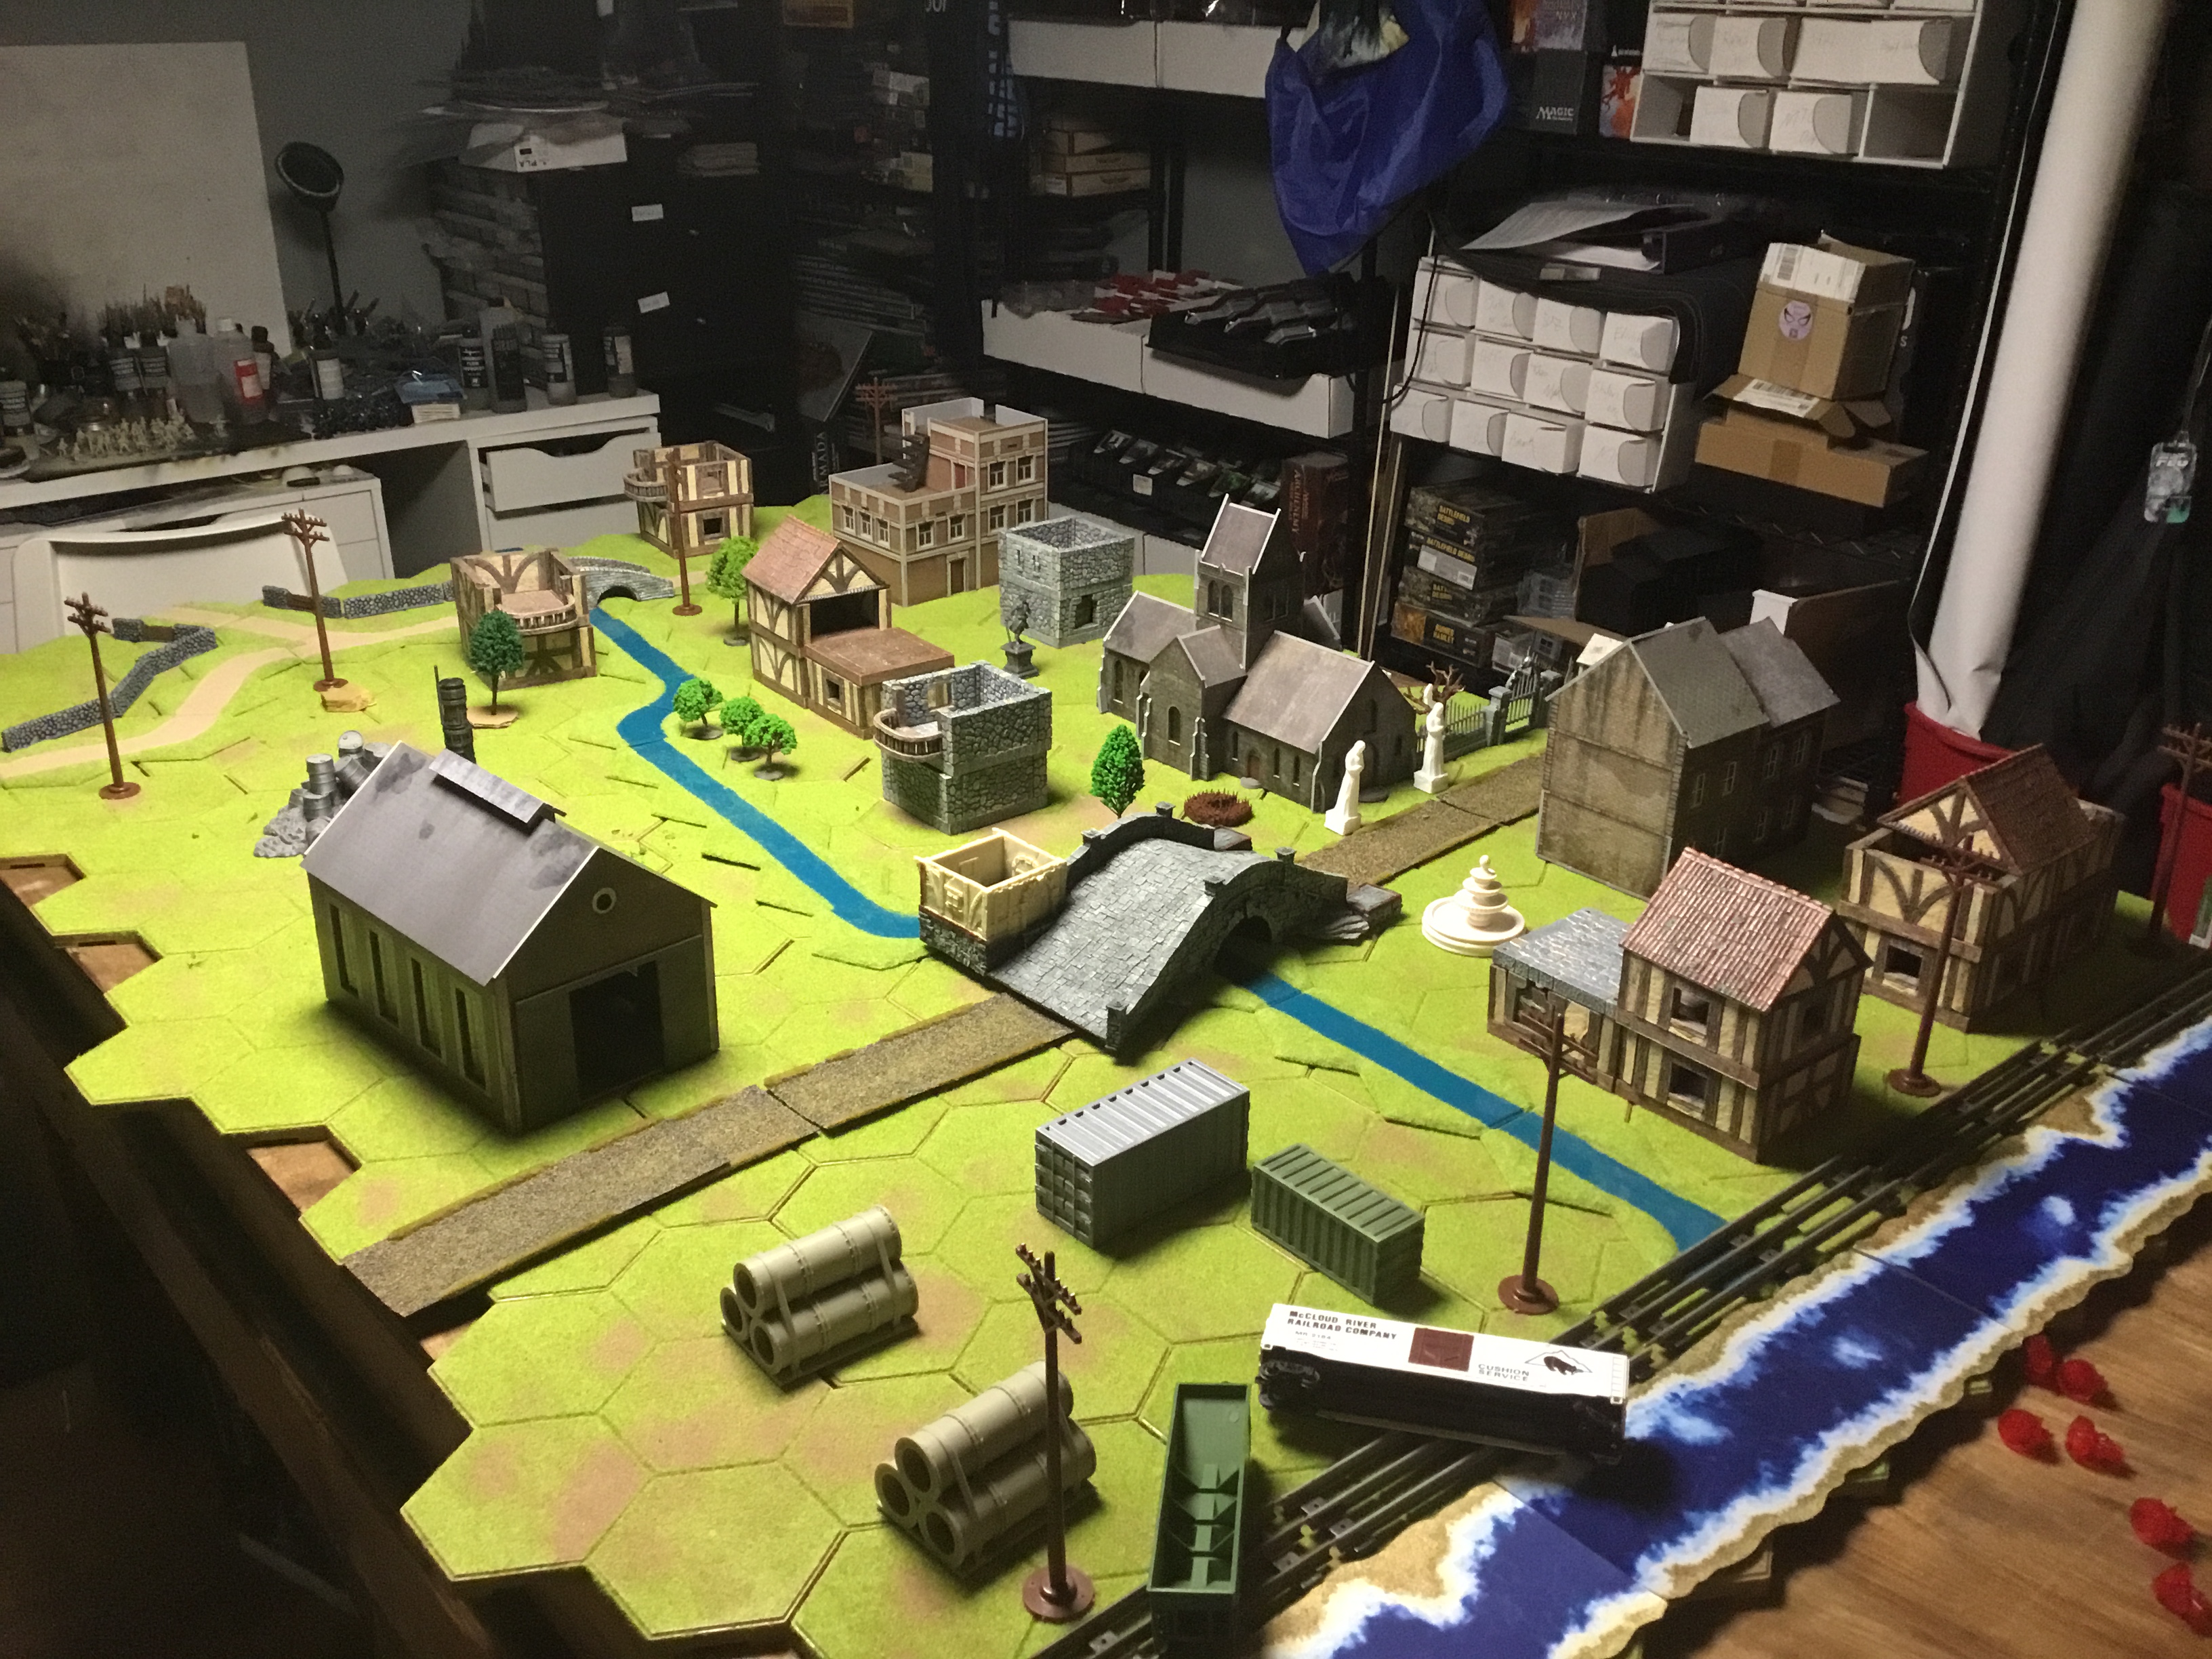
Table and Deployment
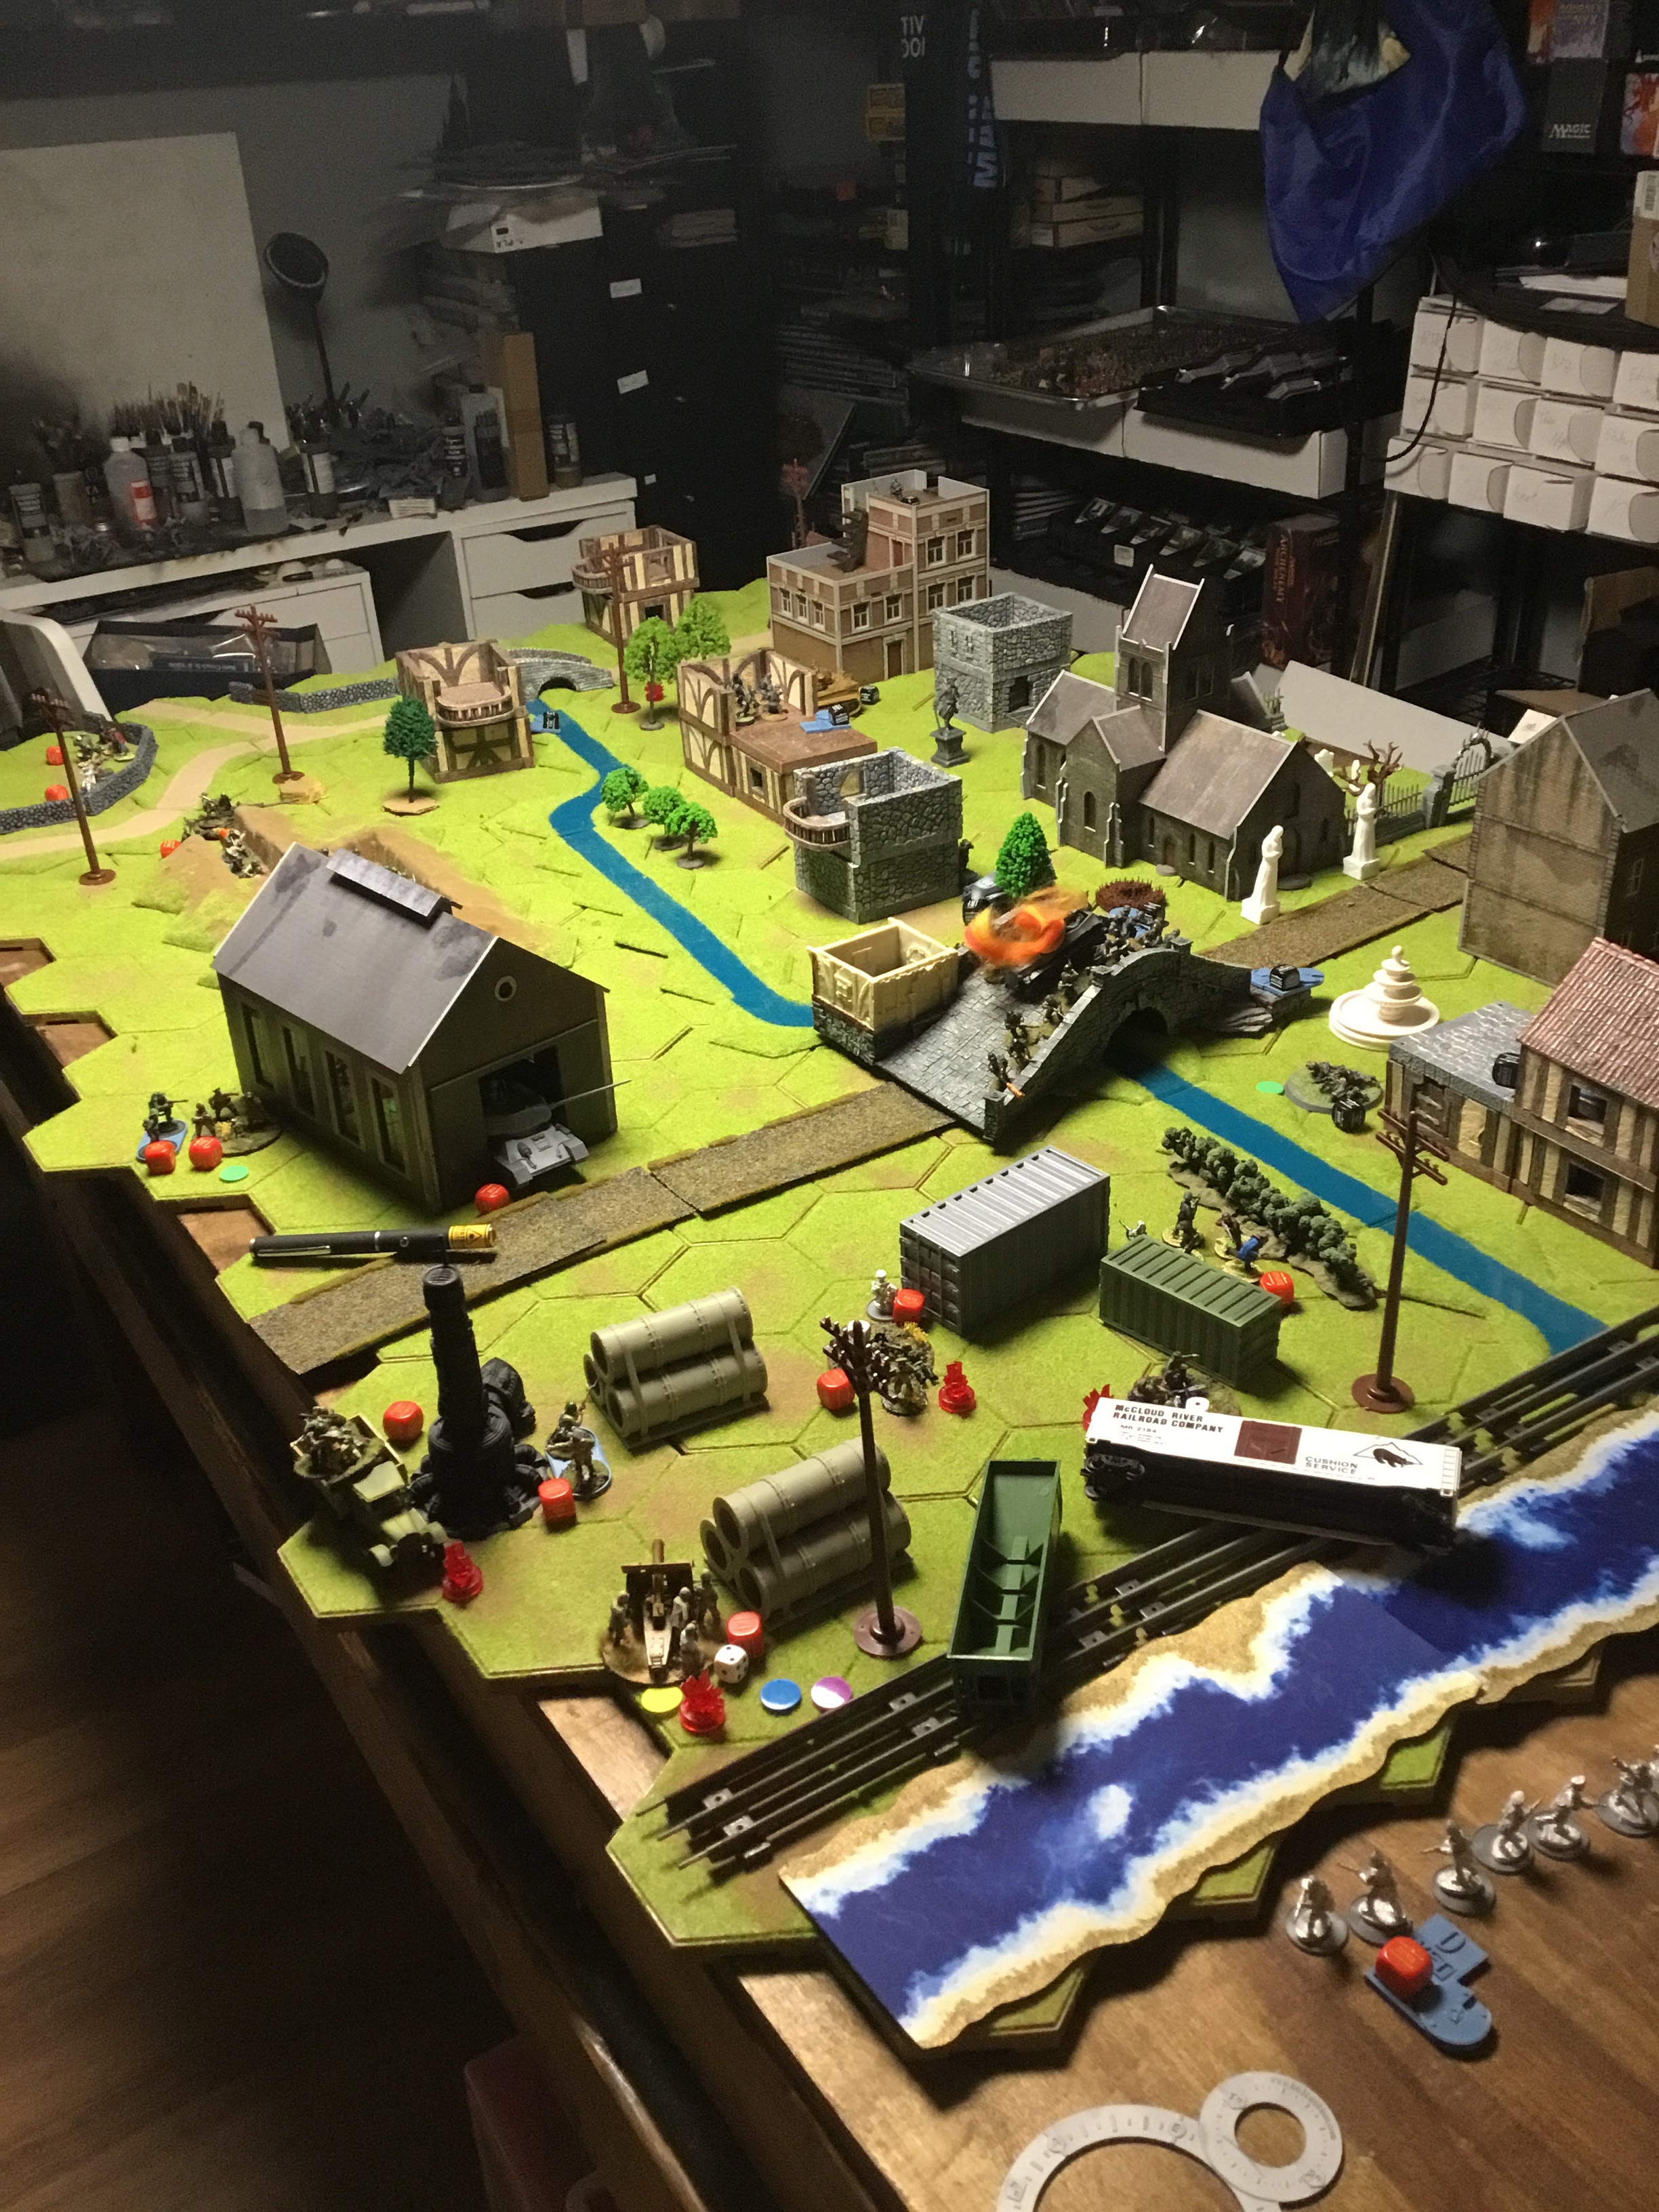
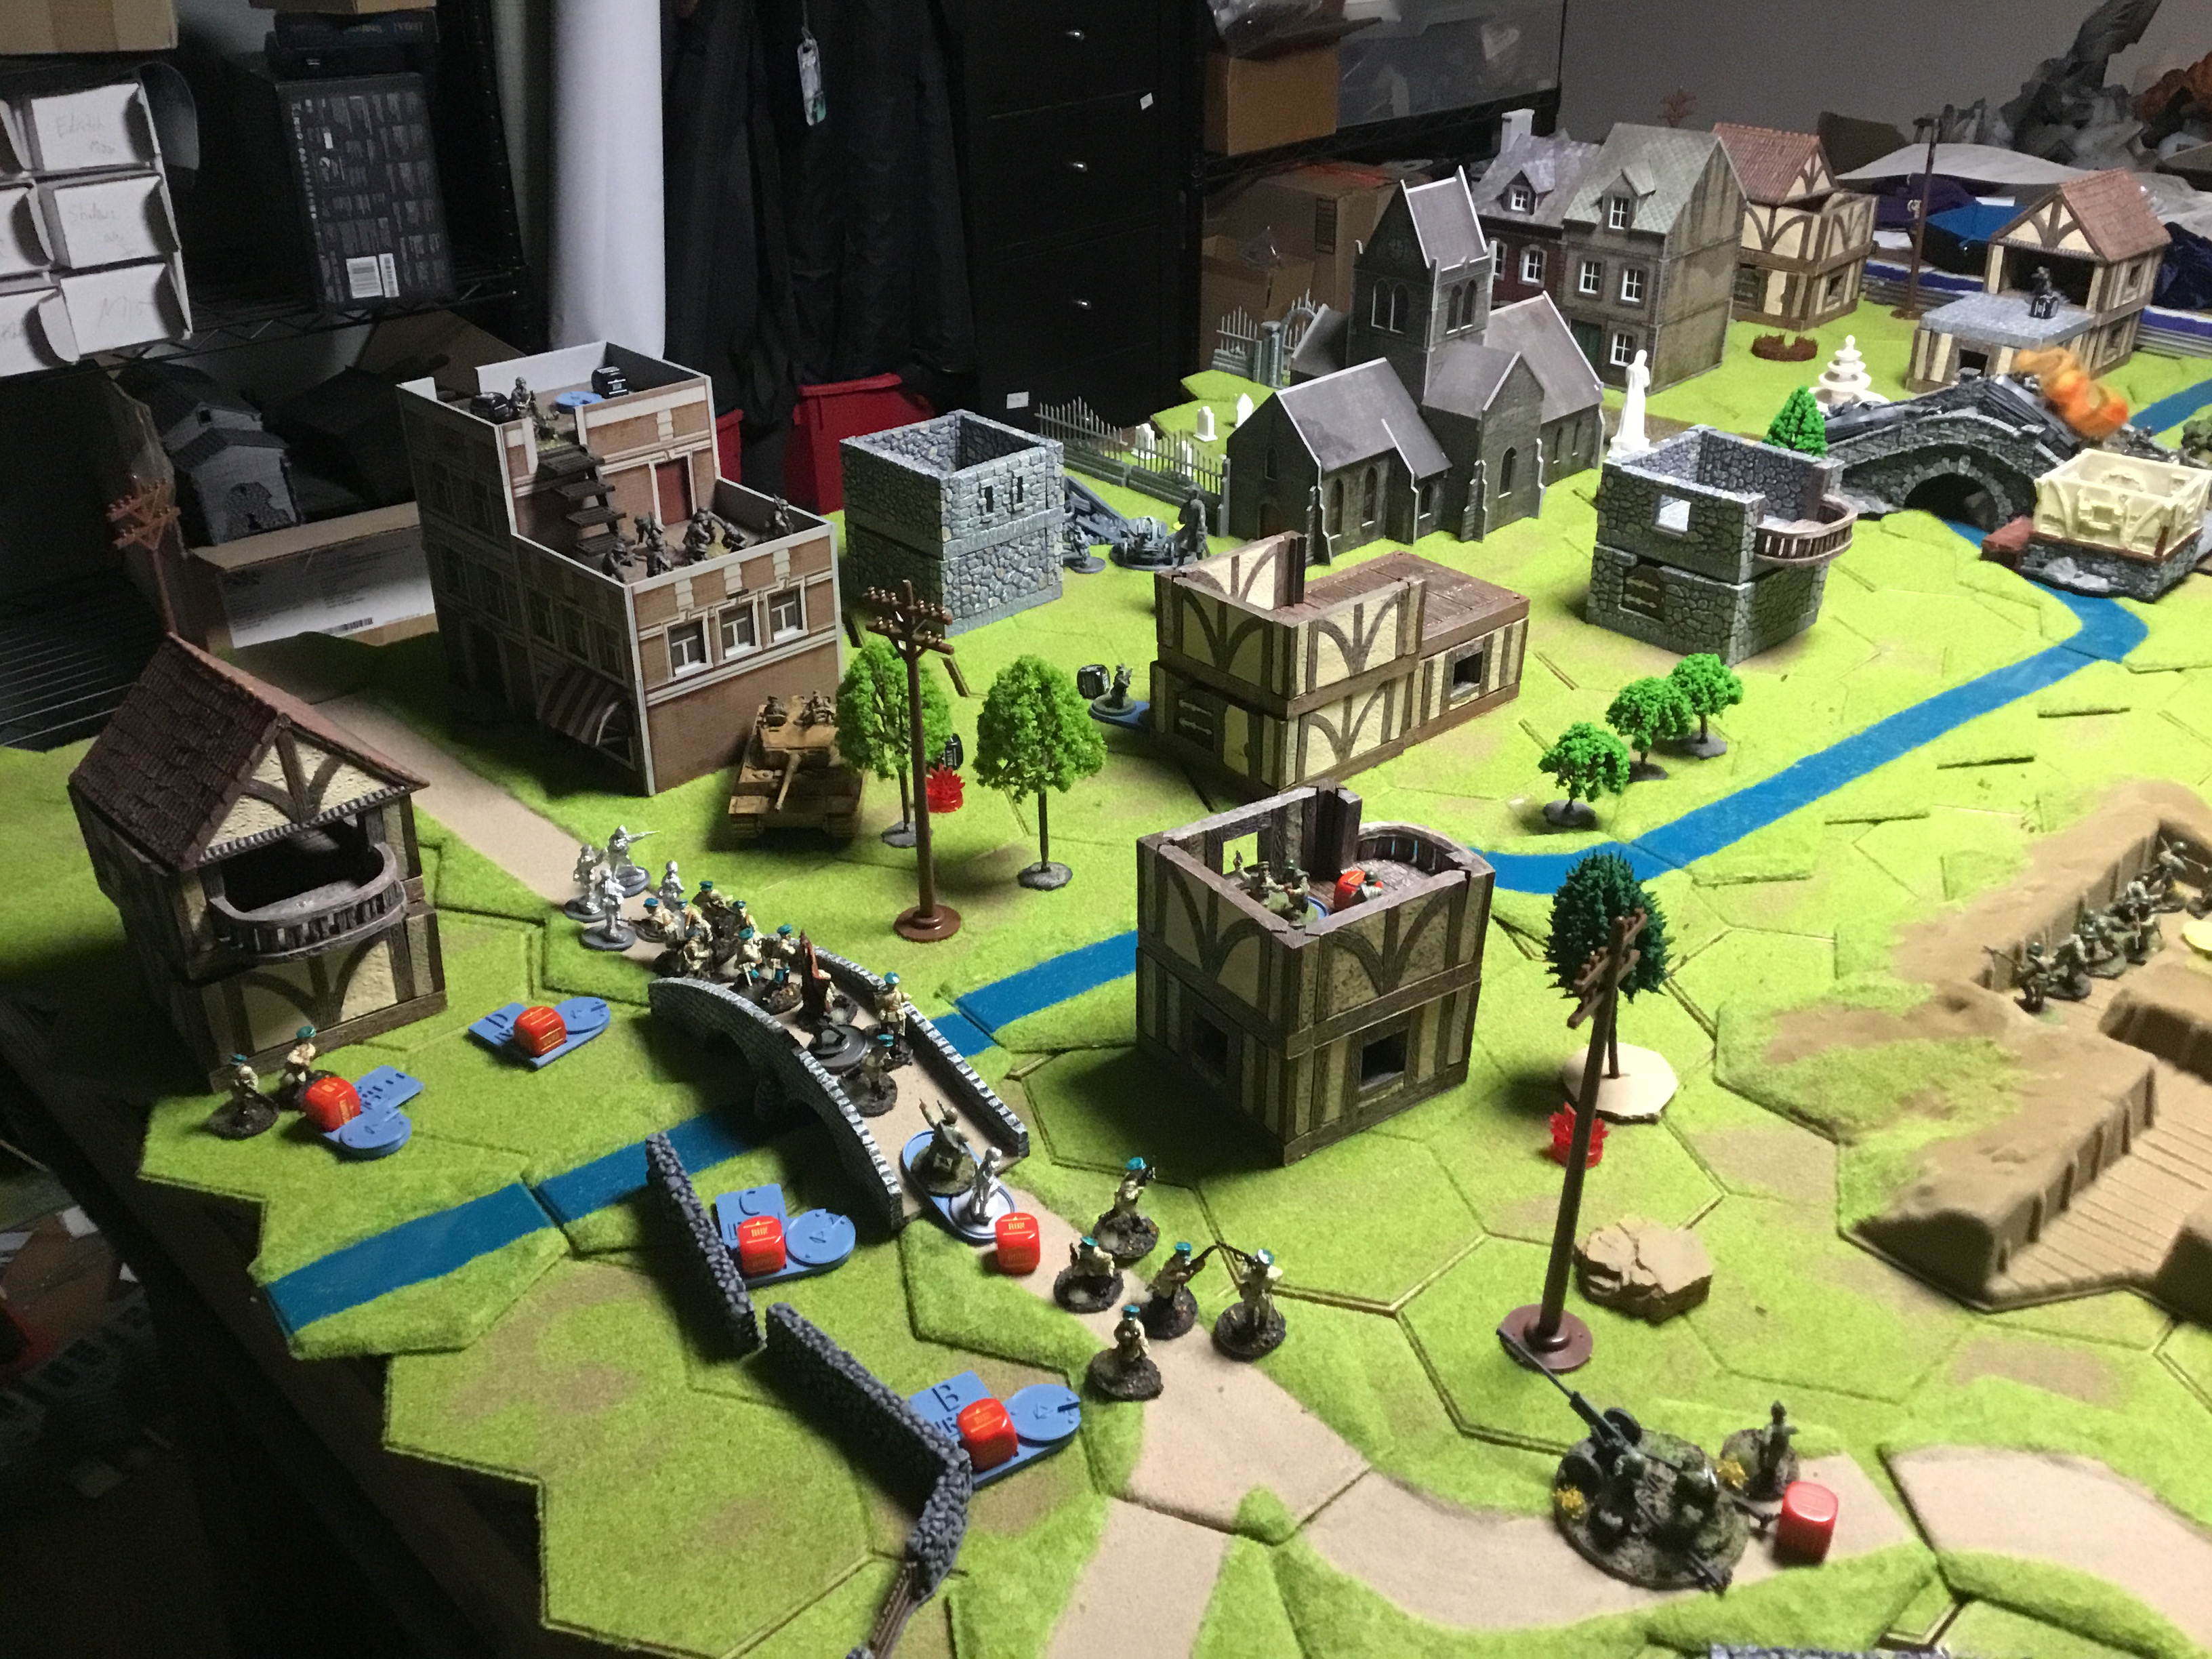
The table was 6×4 with a small river running down the middle. There were three crossings: a railroad bridge, a central large bridge, and a small bridge. The Soviets had industrial cover and trenches, while the Germans had an assortment of residential buildings. The river to the bottom is the Volga, a significant feature in the battle for Stalingrad.
The naval and NKVD squads will deploy to the top of the table in an outflanking maneuver. In hindsight, I should have had them flank from the bottom narratively. The Germans had many buildings with high sightlines, which were great for artillery observers and snipers. The German’s goal will be to pick off whatever units possible and try and overload the bottom table edge. The Soviets are all about numbers, running as many squads as possible over the bridge at the last minute.
Both armies deployed their units in as much cover as possible, with the German tanks taking up major sightlines.
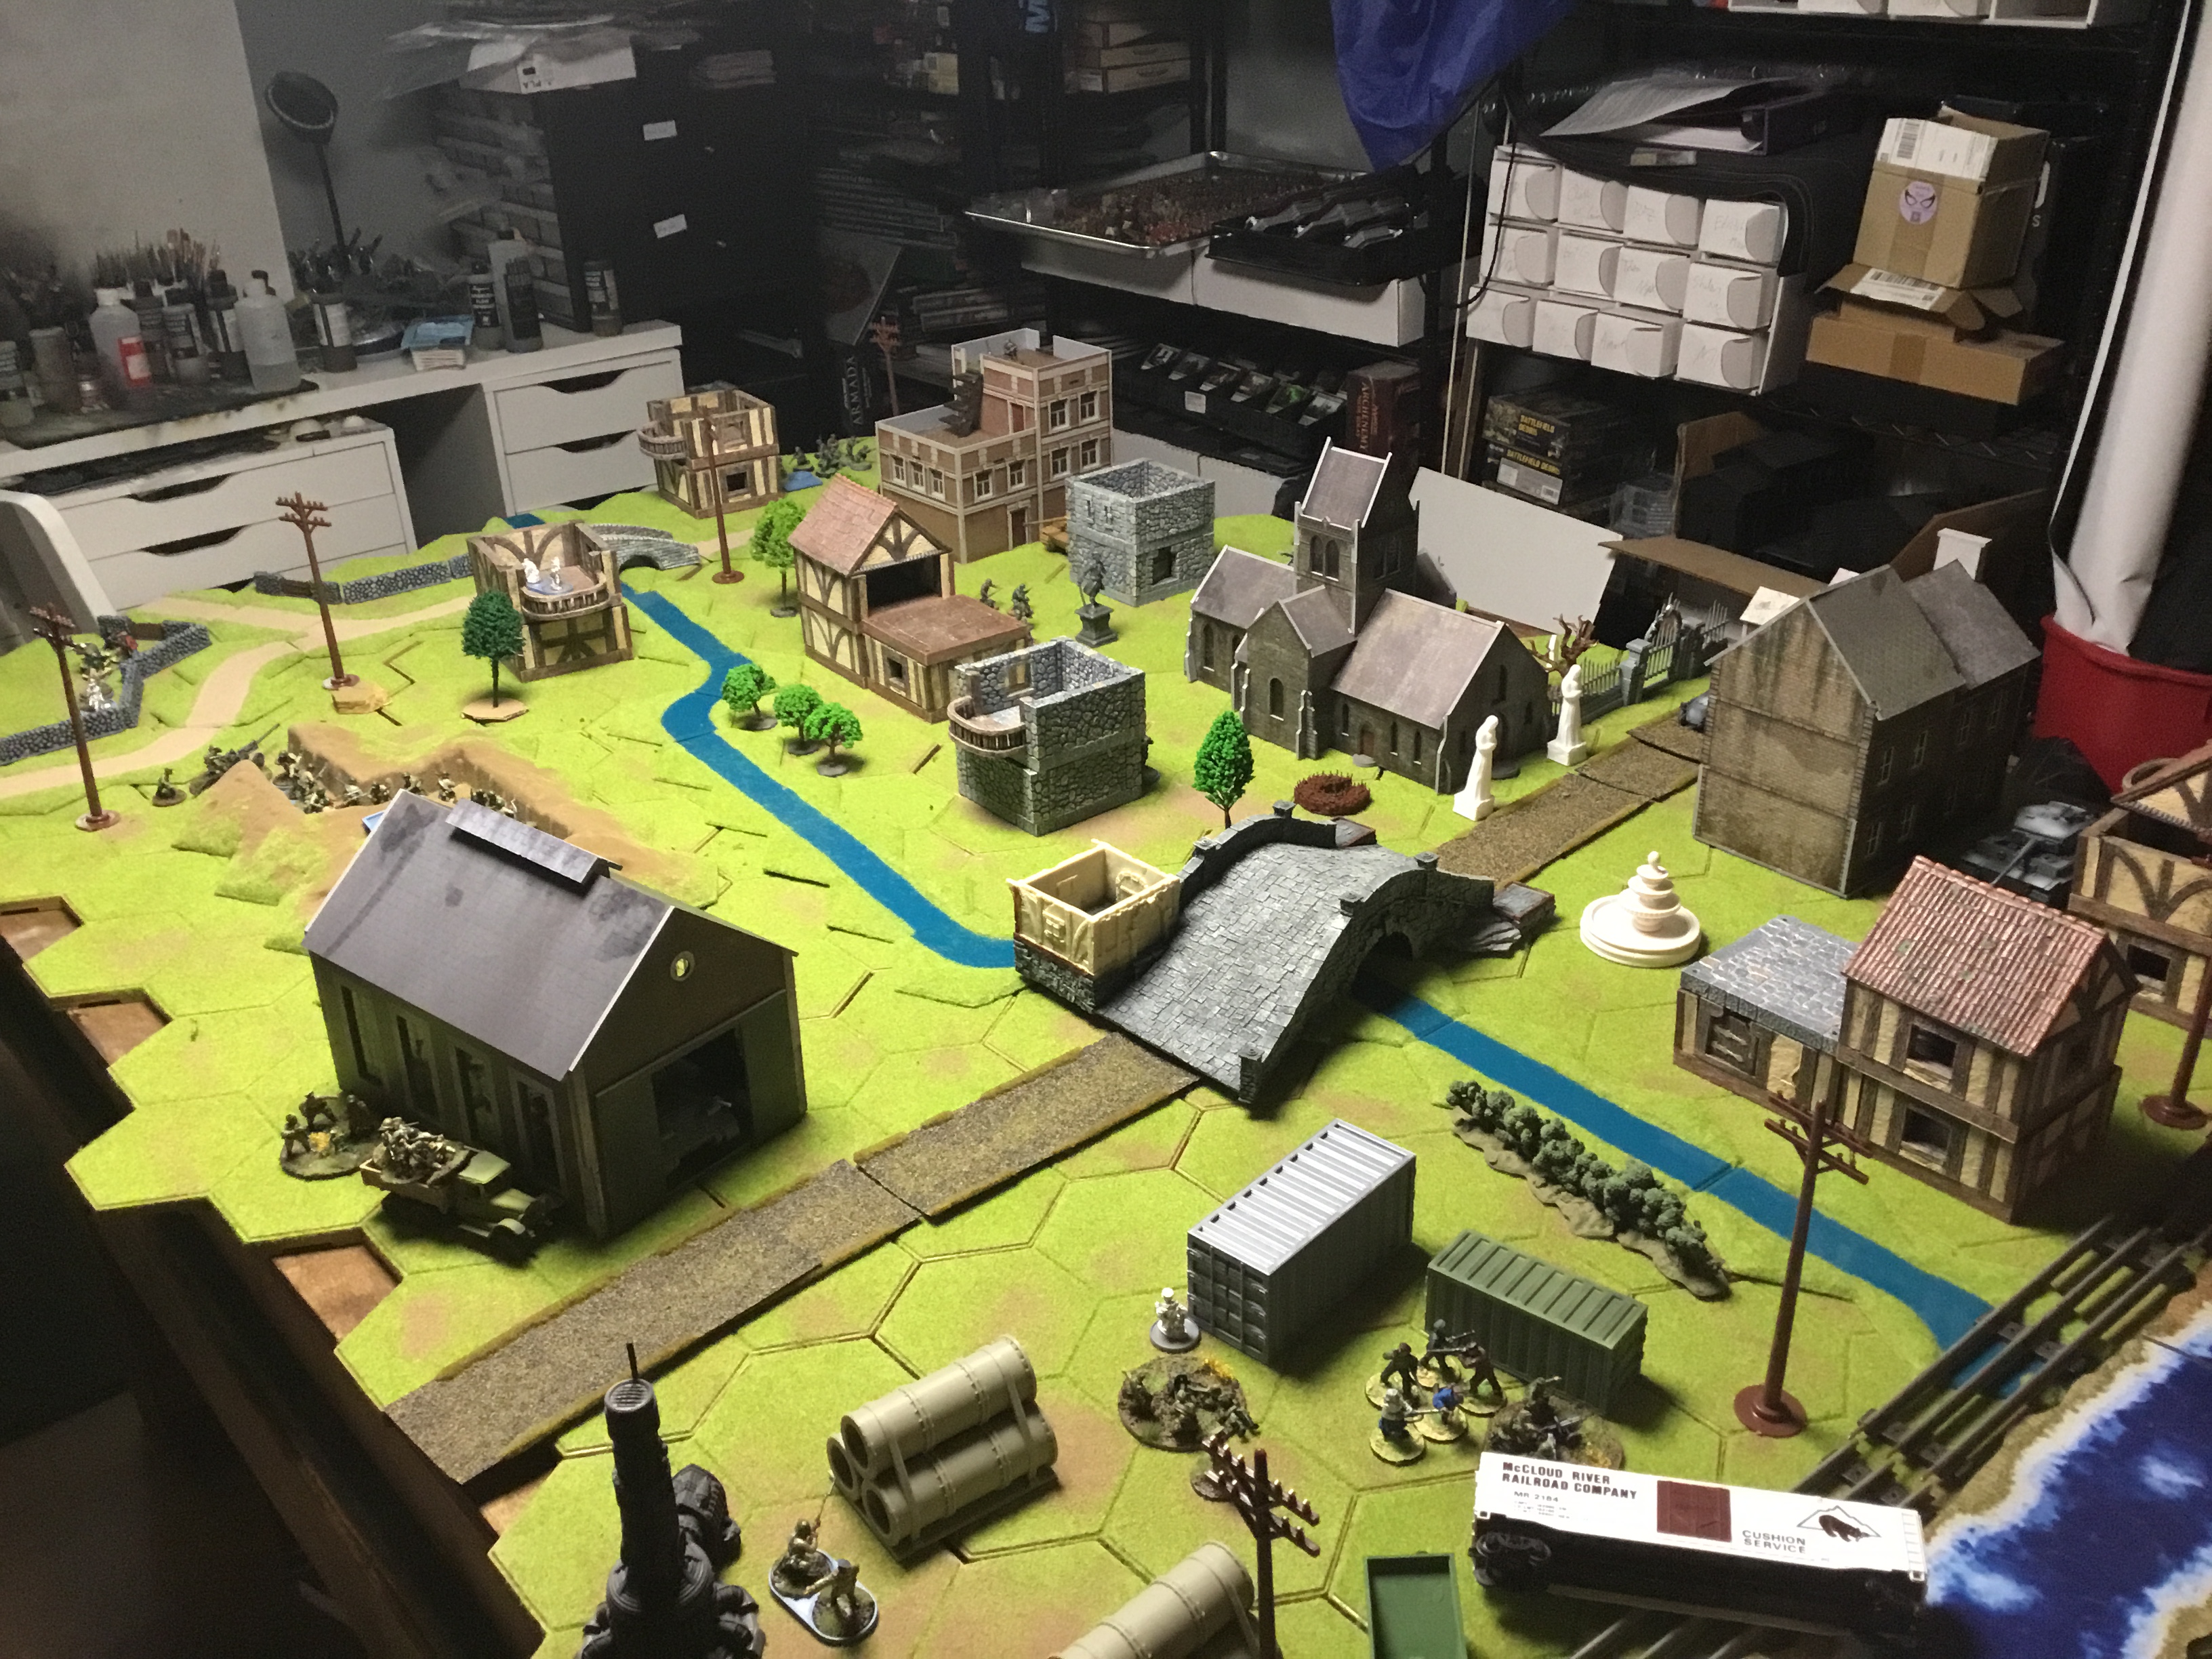
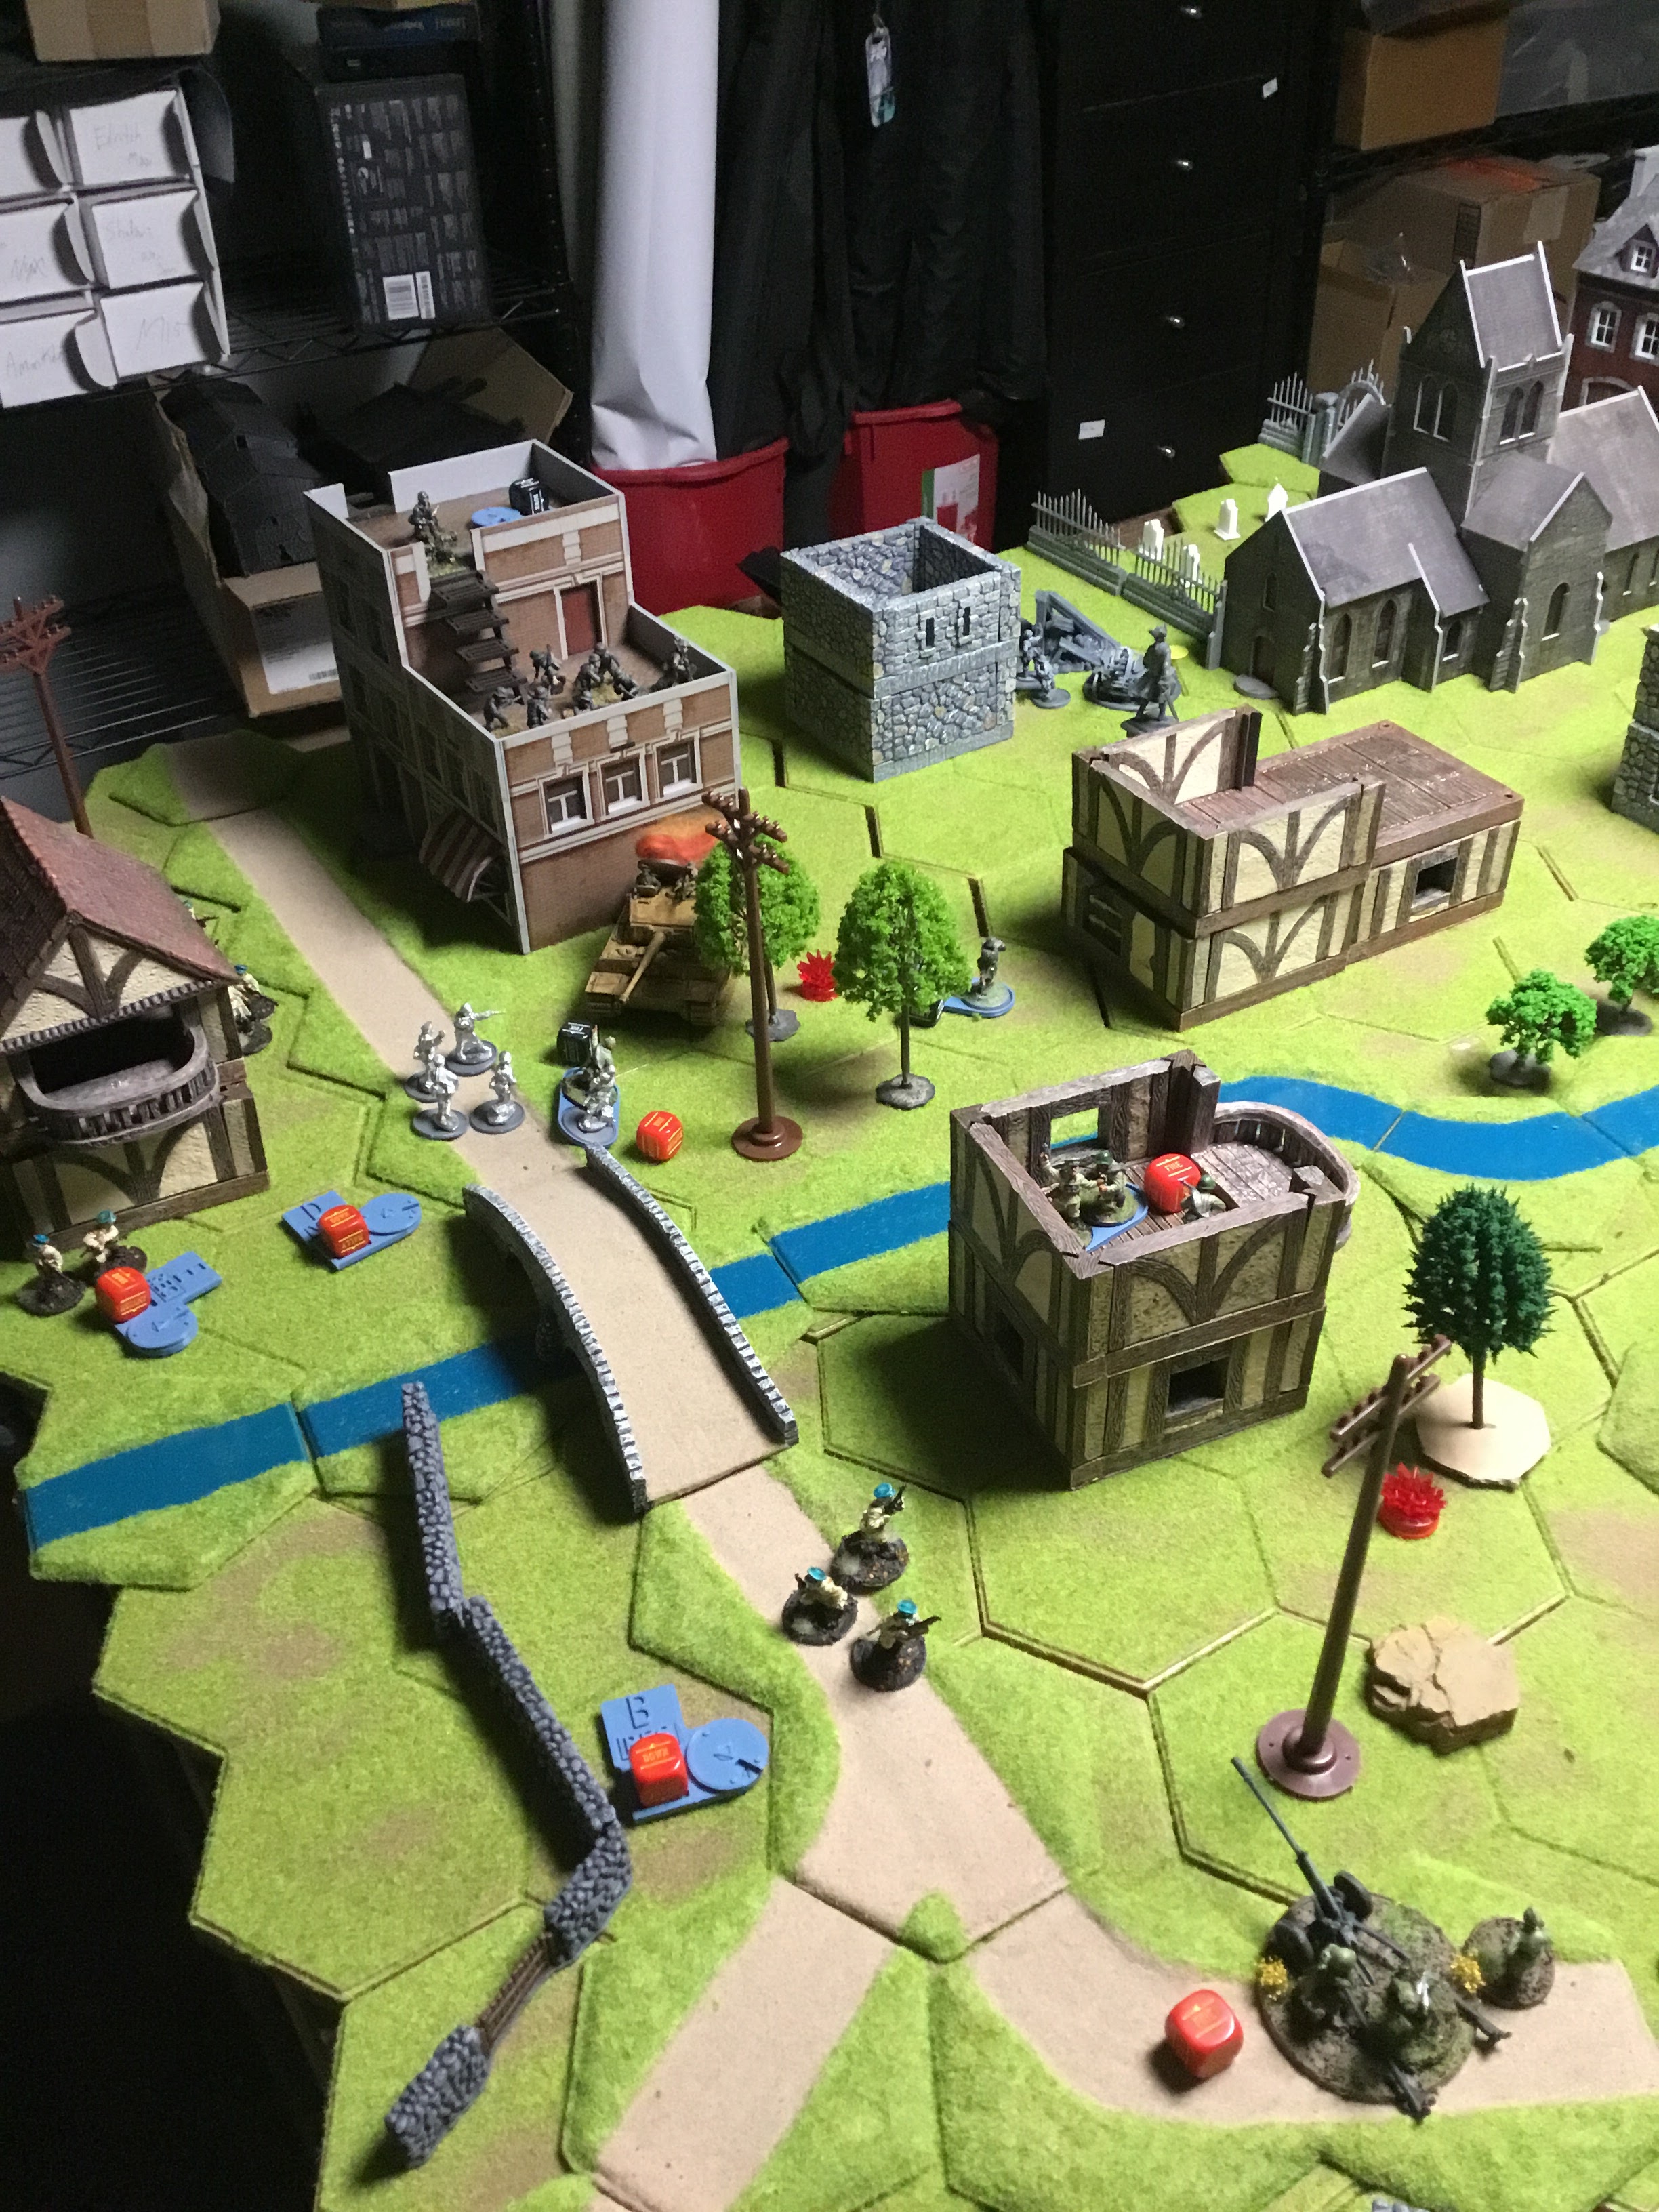
Round 1 was mostly positioning and clearing the many pins that the predatory bombardment had on the Soviet forces.

The German’s began their assault on the undermanned Soviet defenses, eagerly waiting their reinforcements.
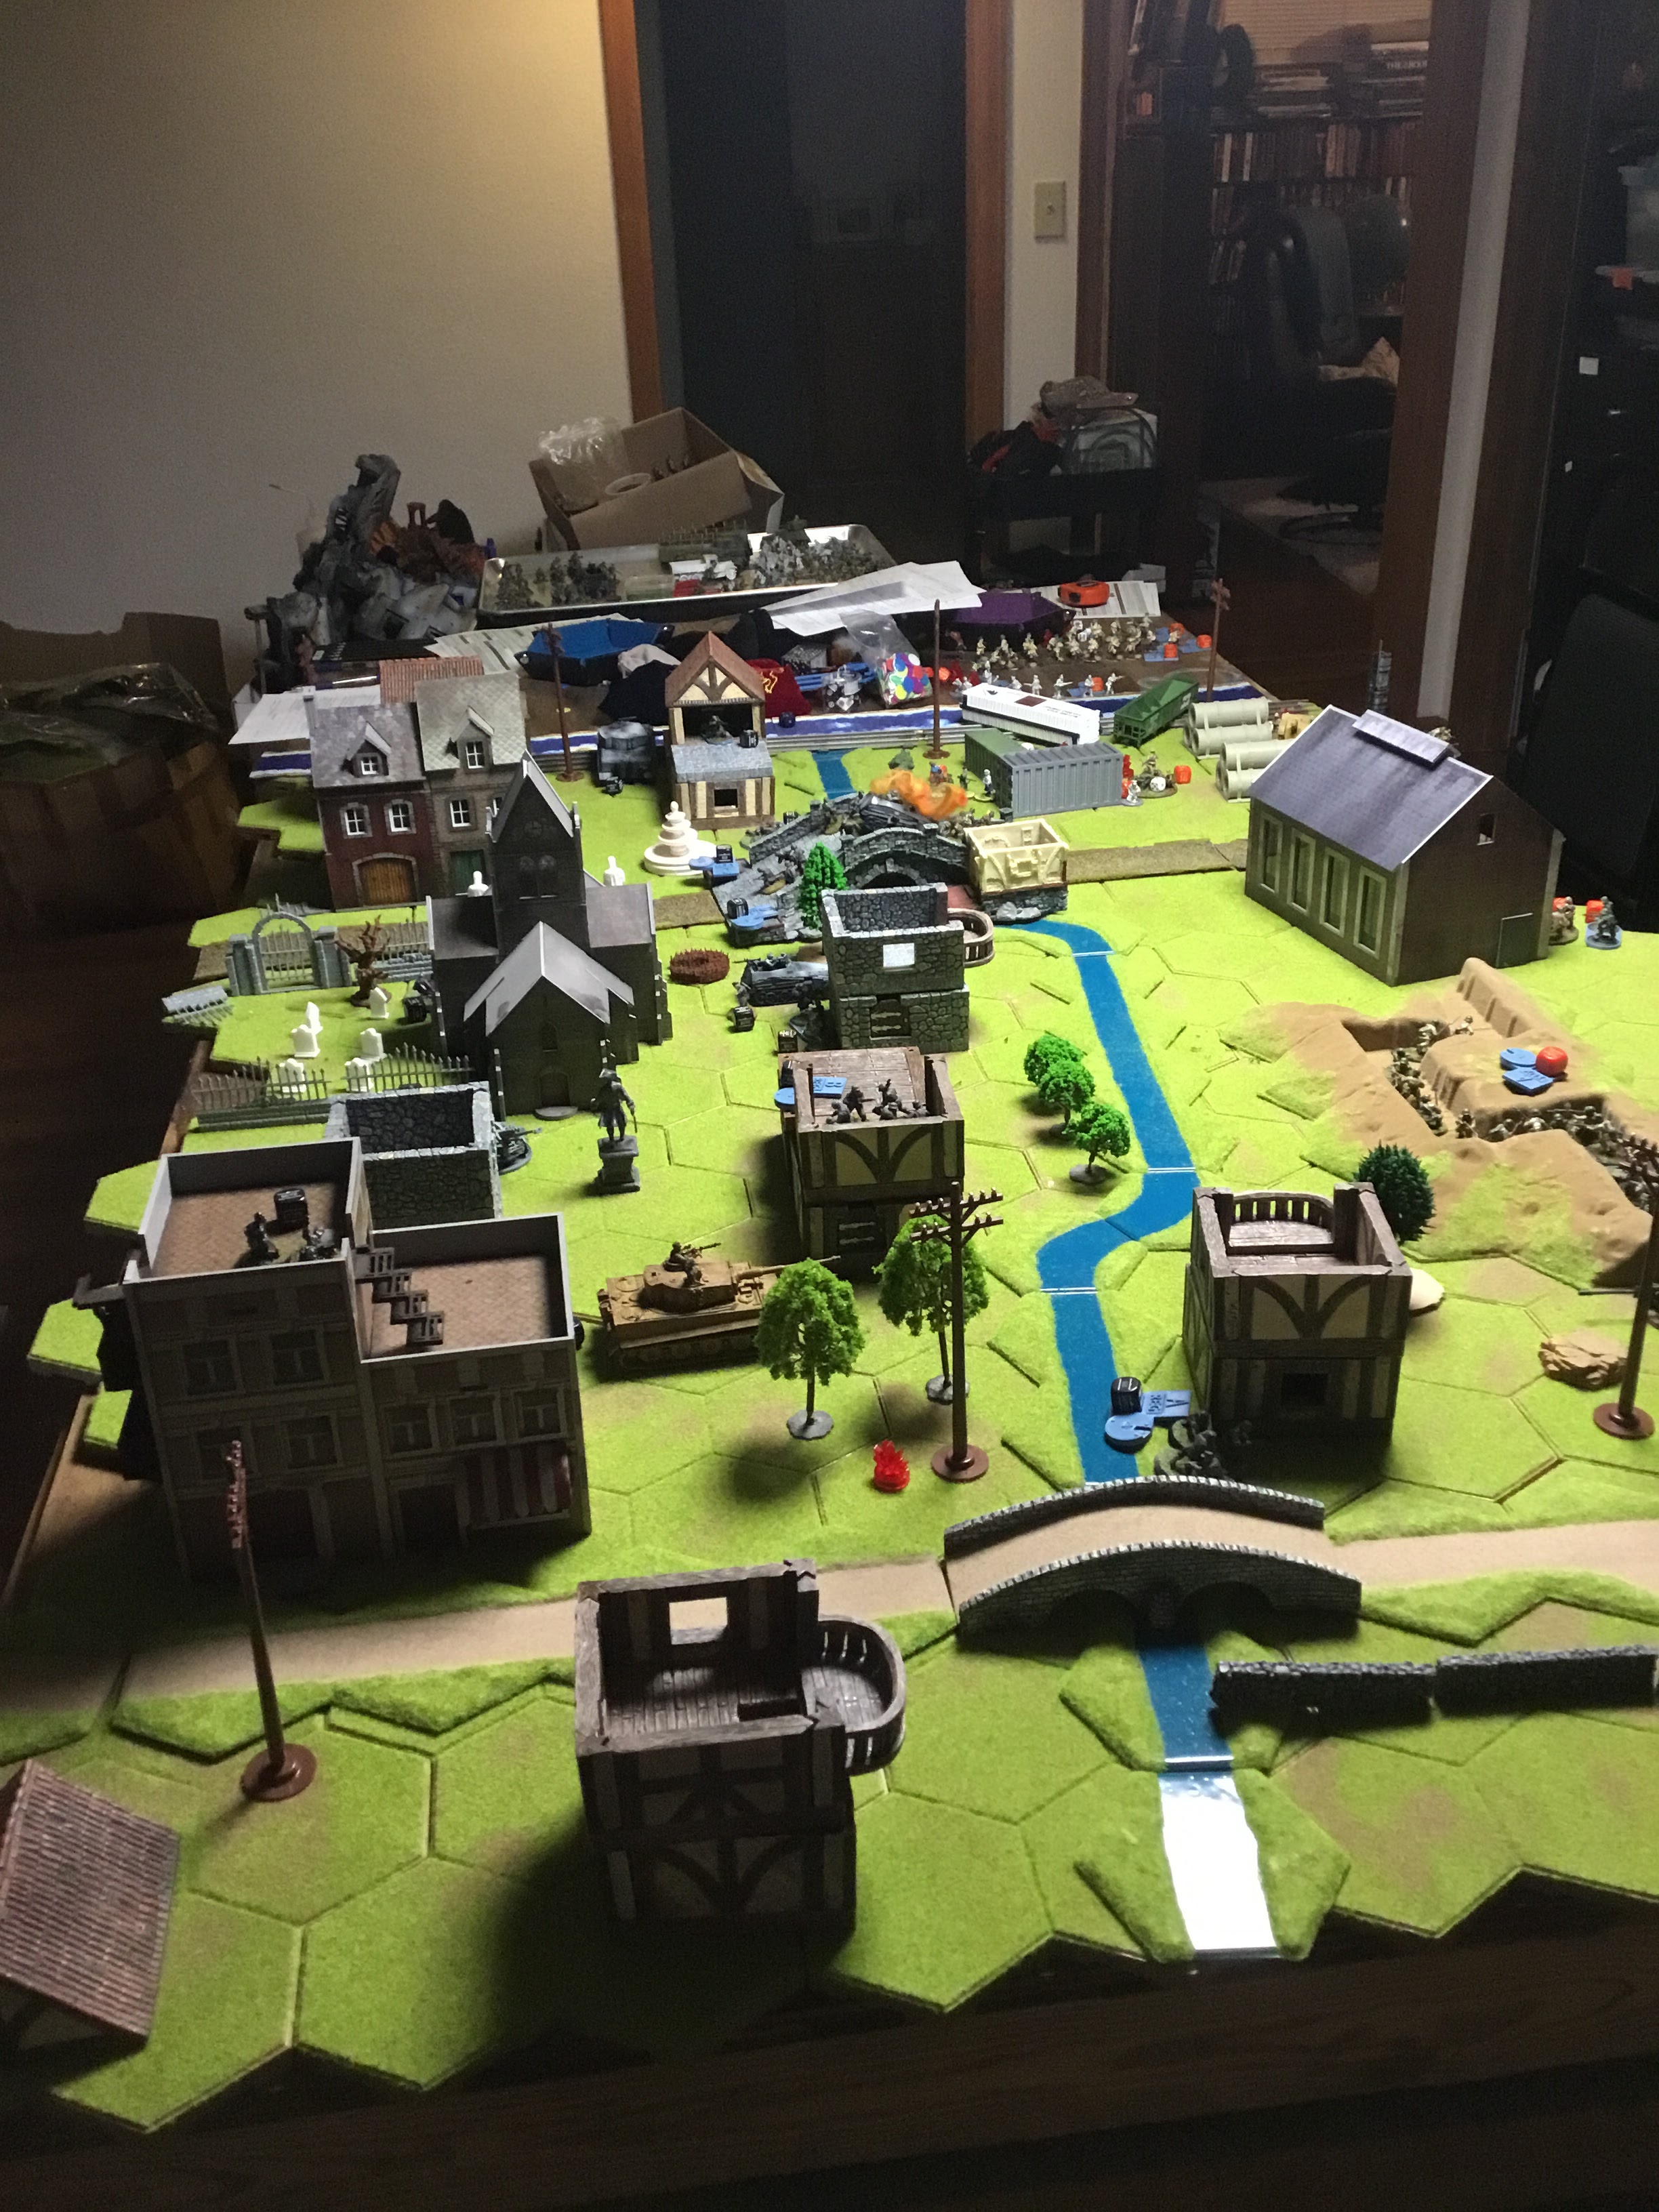
The Soviets fired back, pinning multiple units and destroying a mechanized platoon as it attempted to cross the bridge.
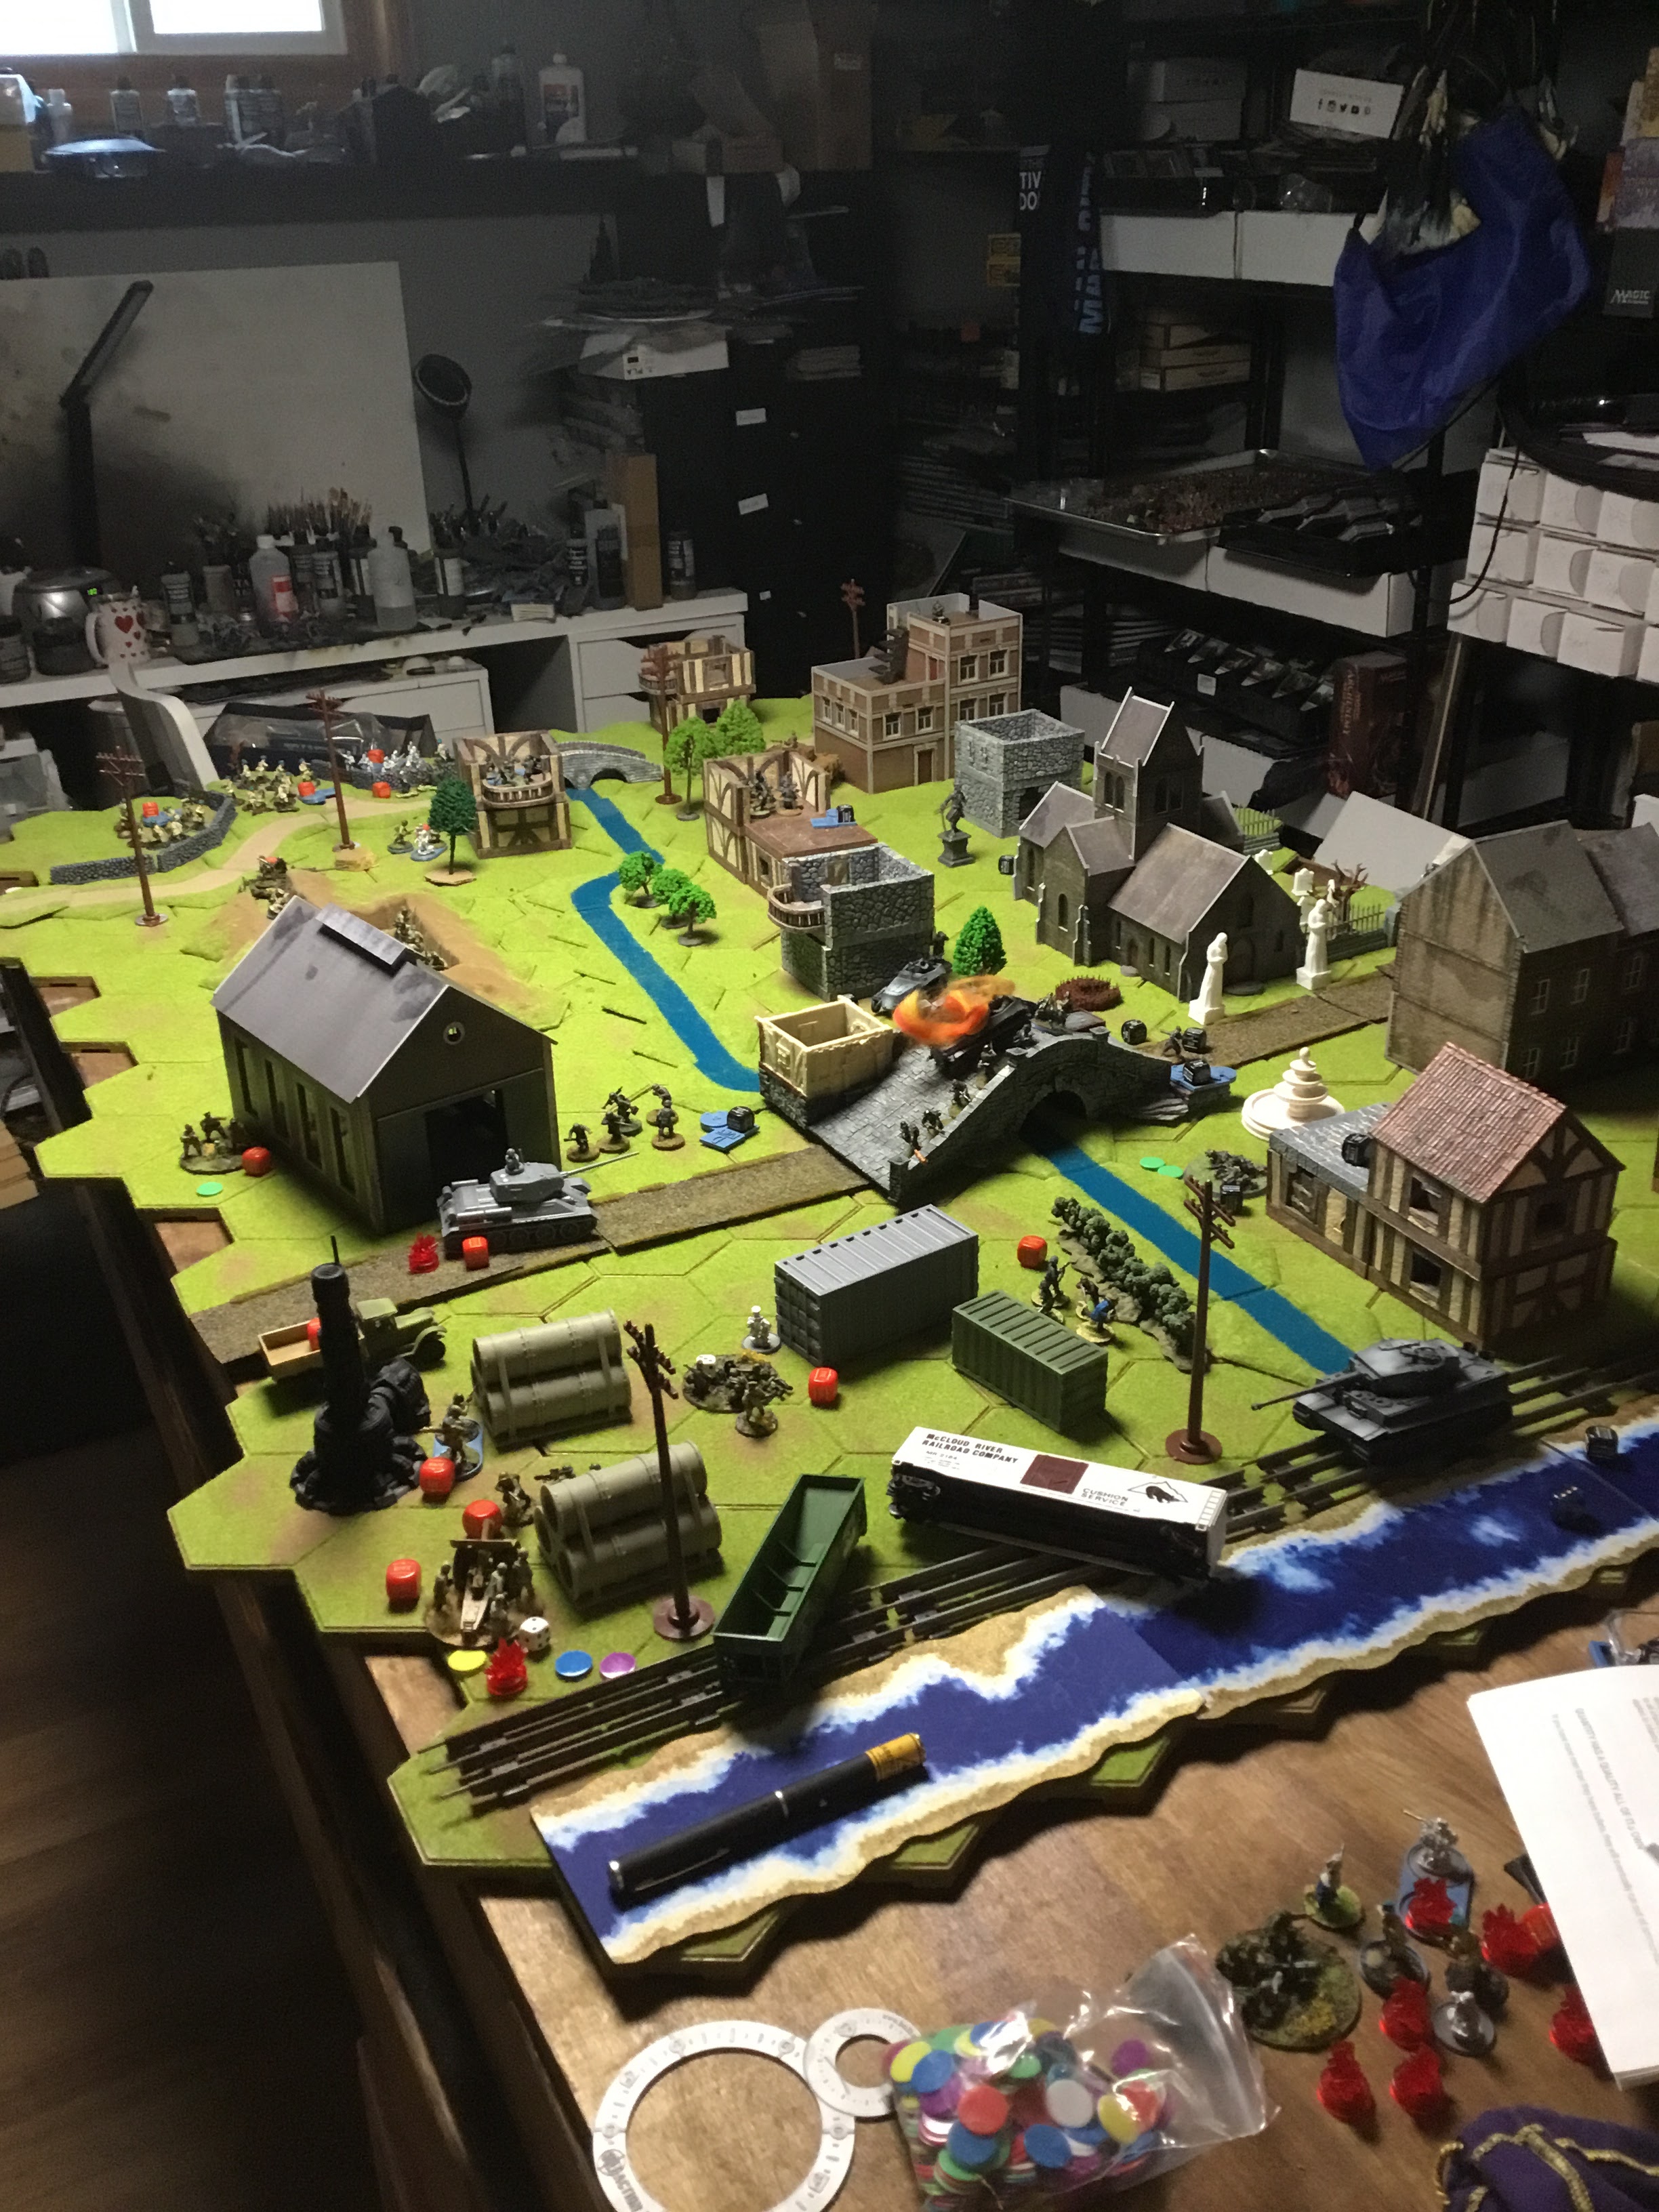
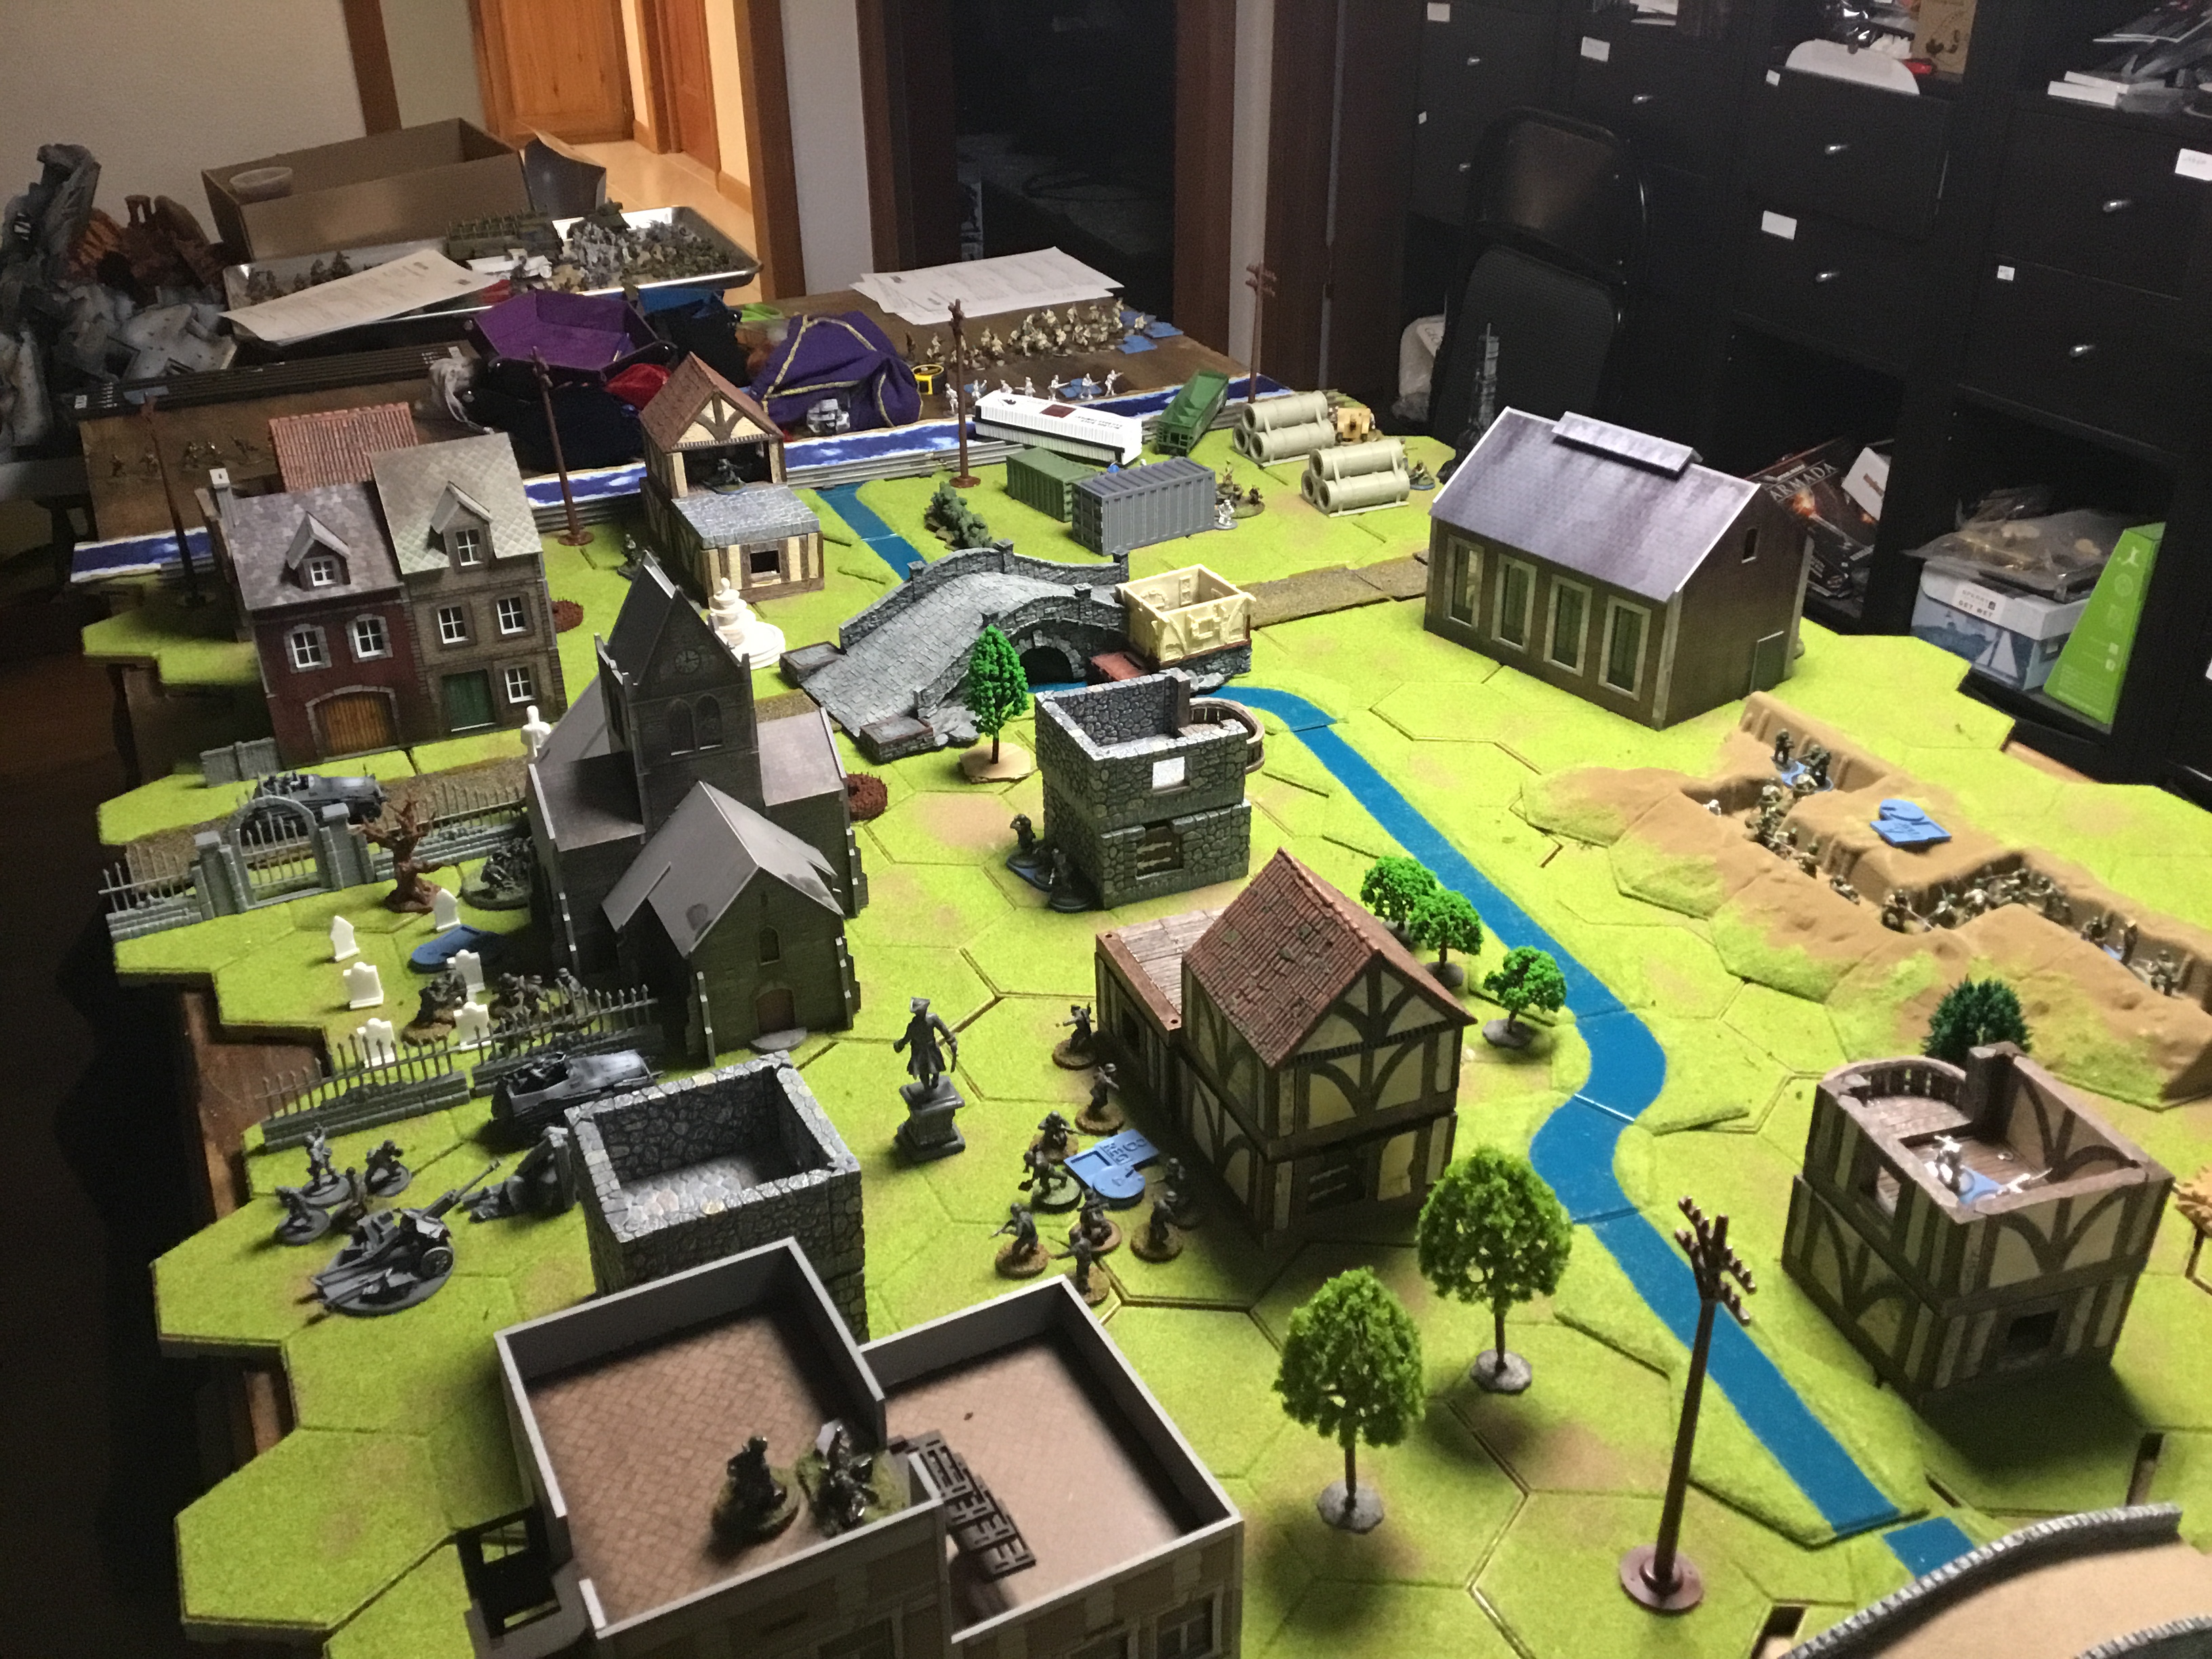
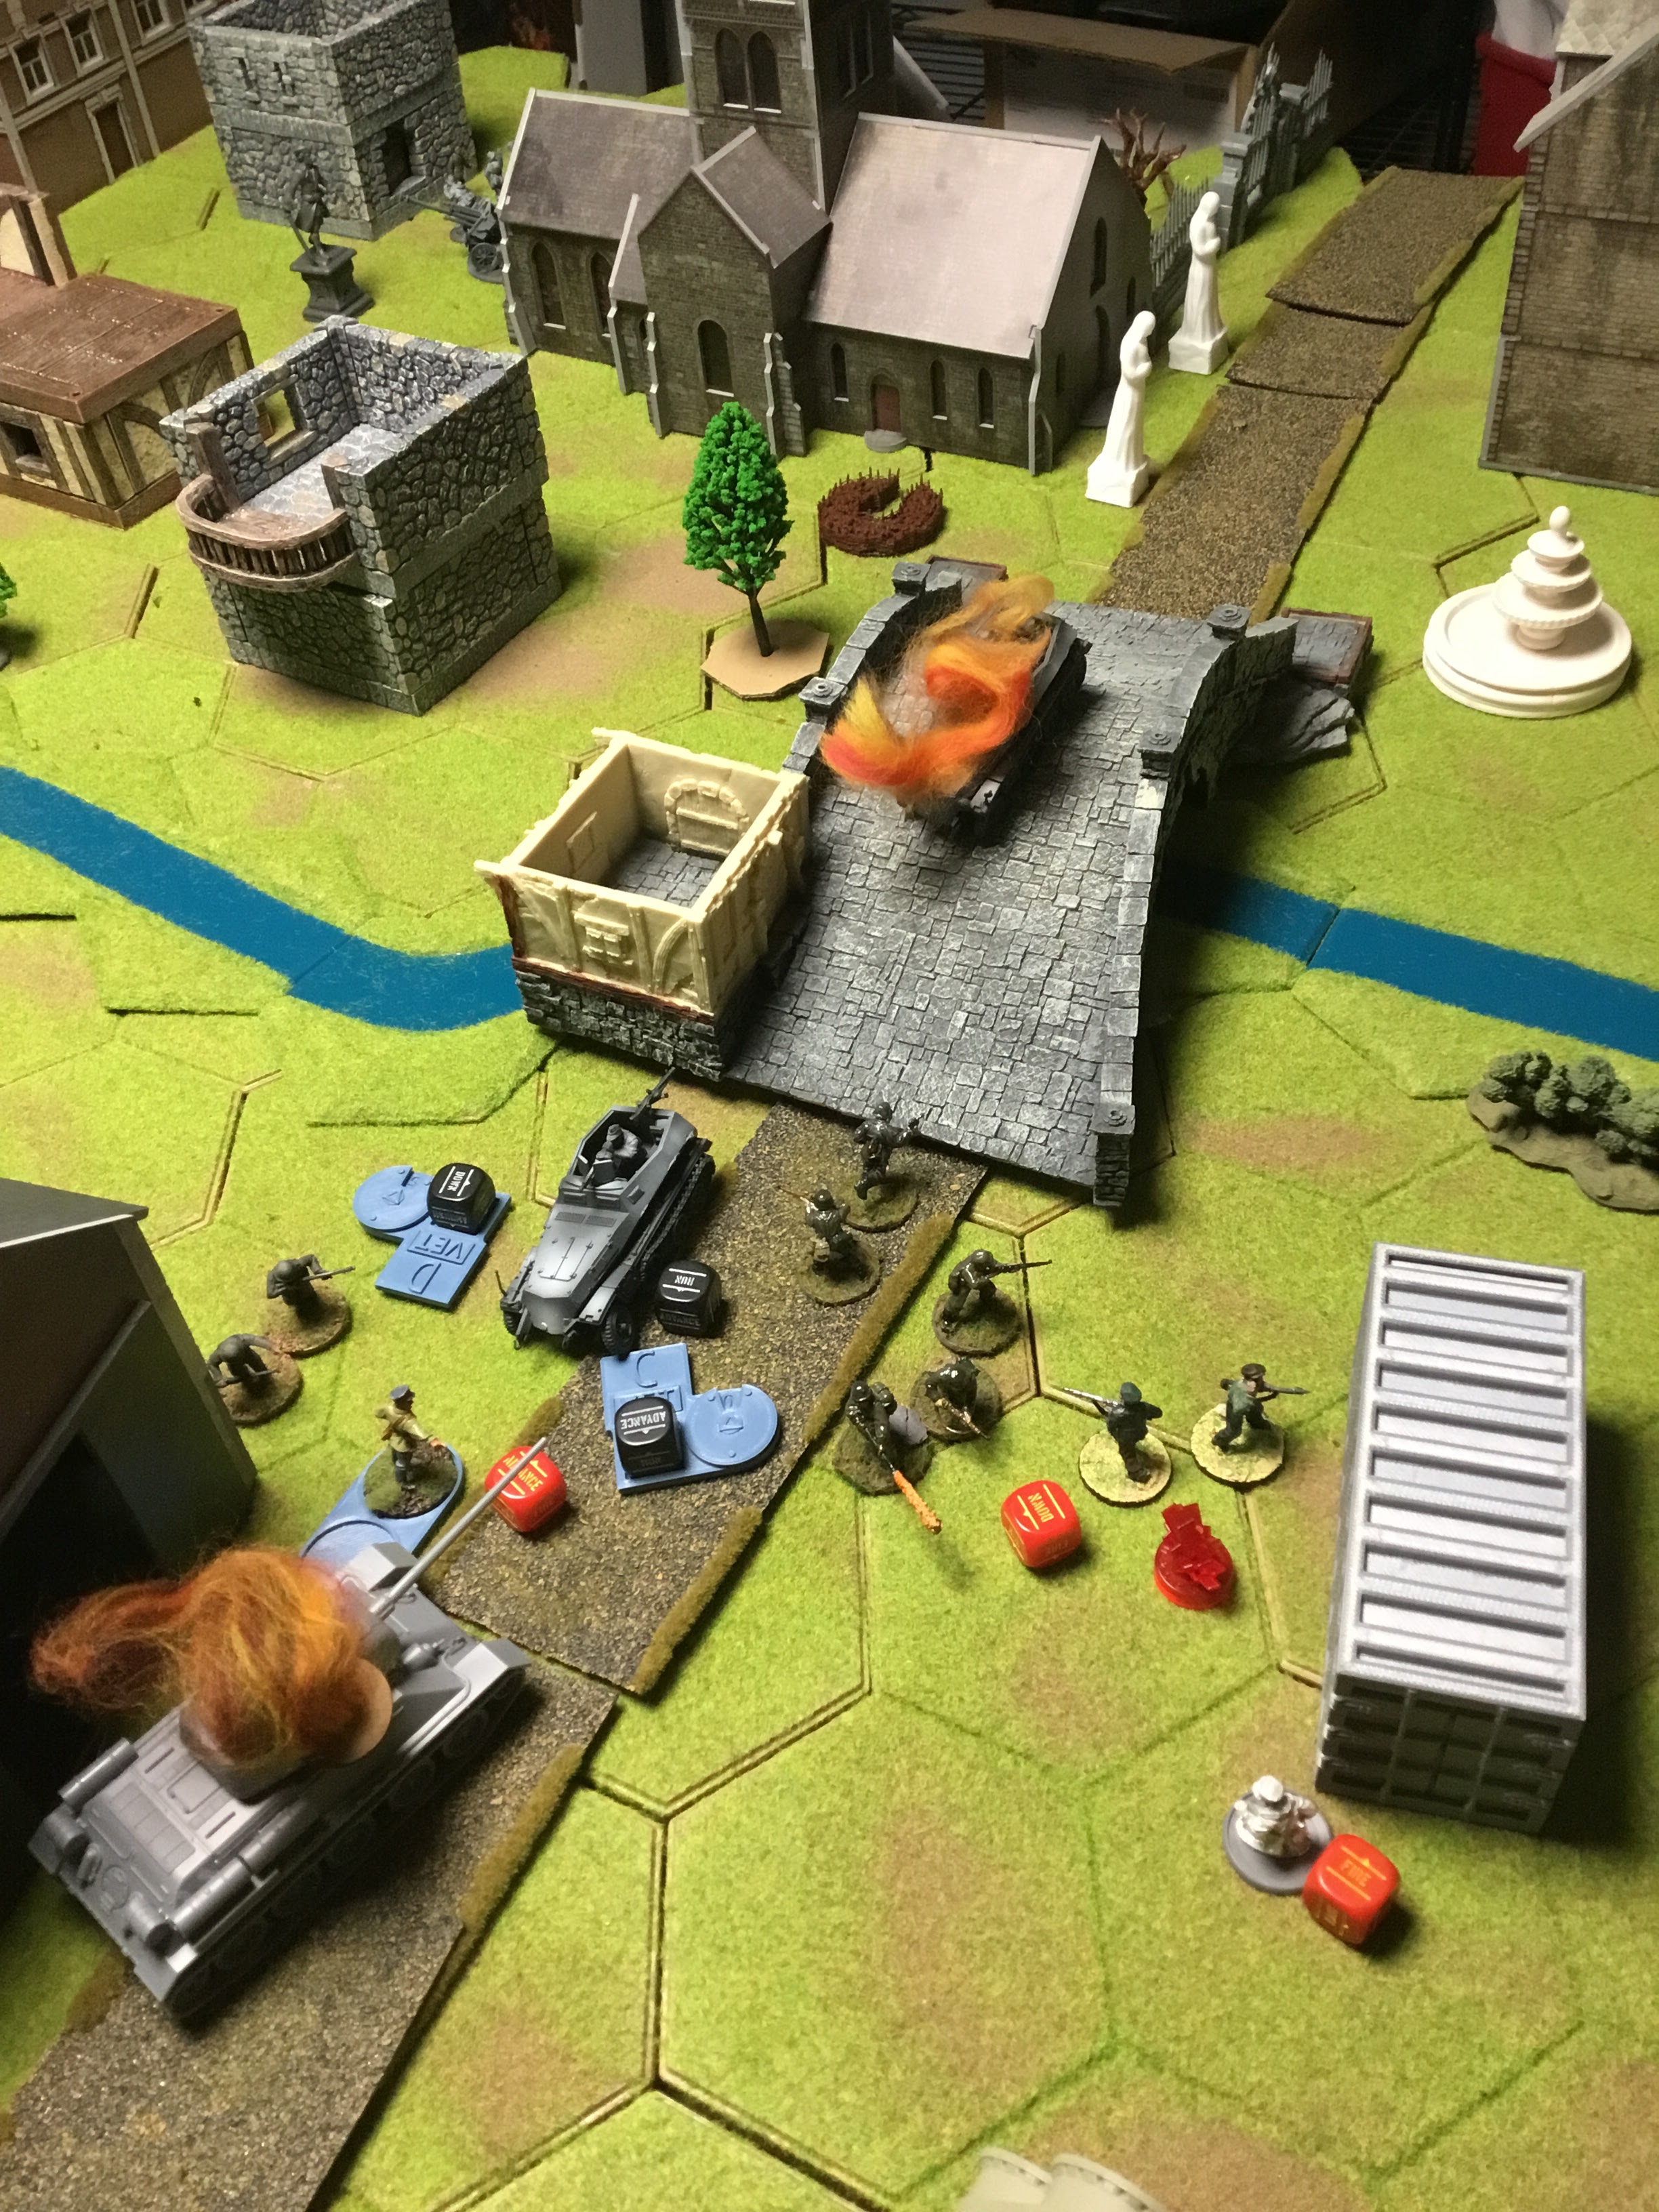
Round 3, the German tanks move into position. At the top of the image, you can see the arrival of the Soviet reserves, which were boosting their cause.
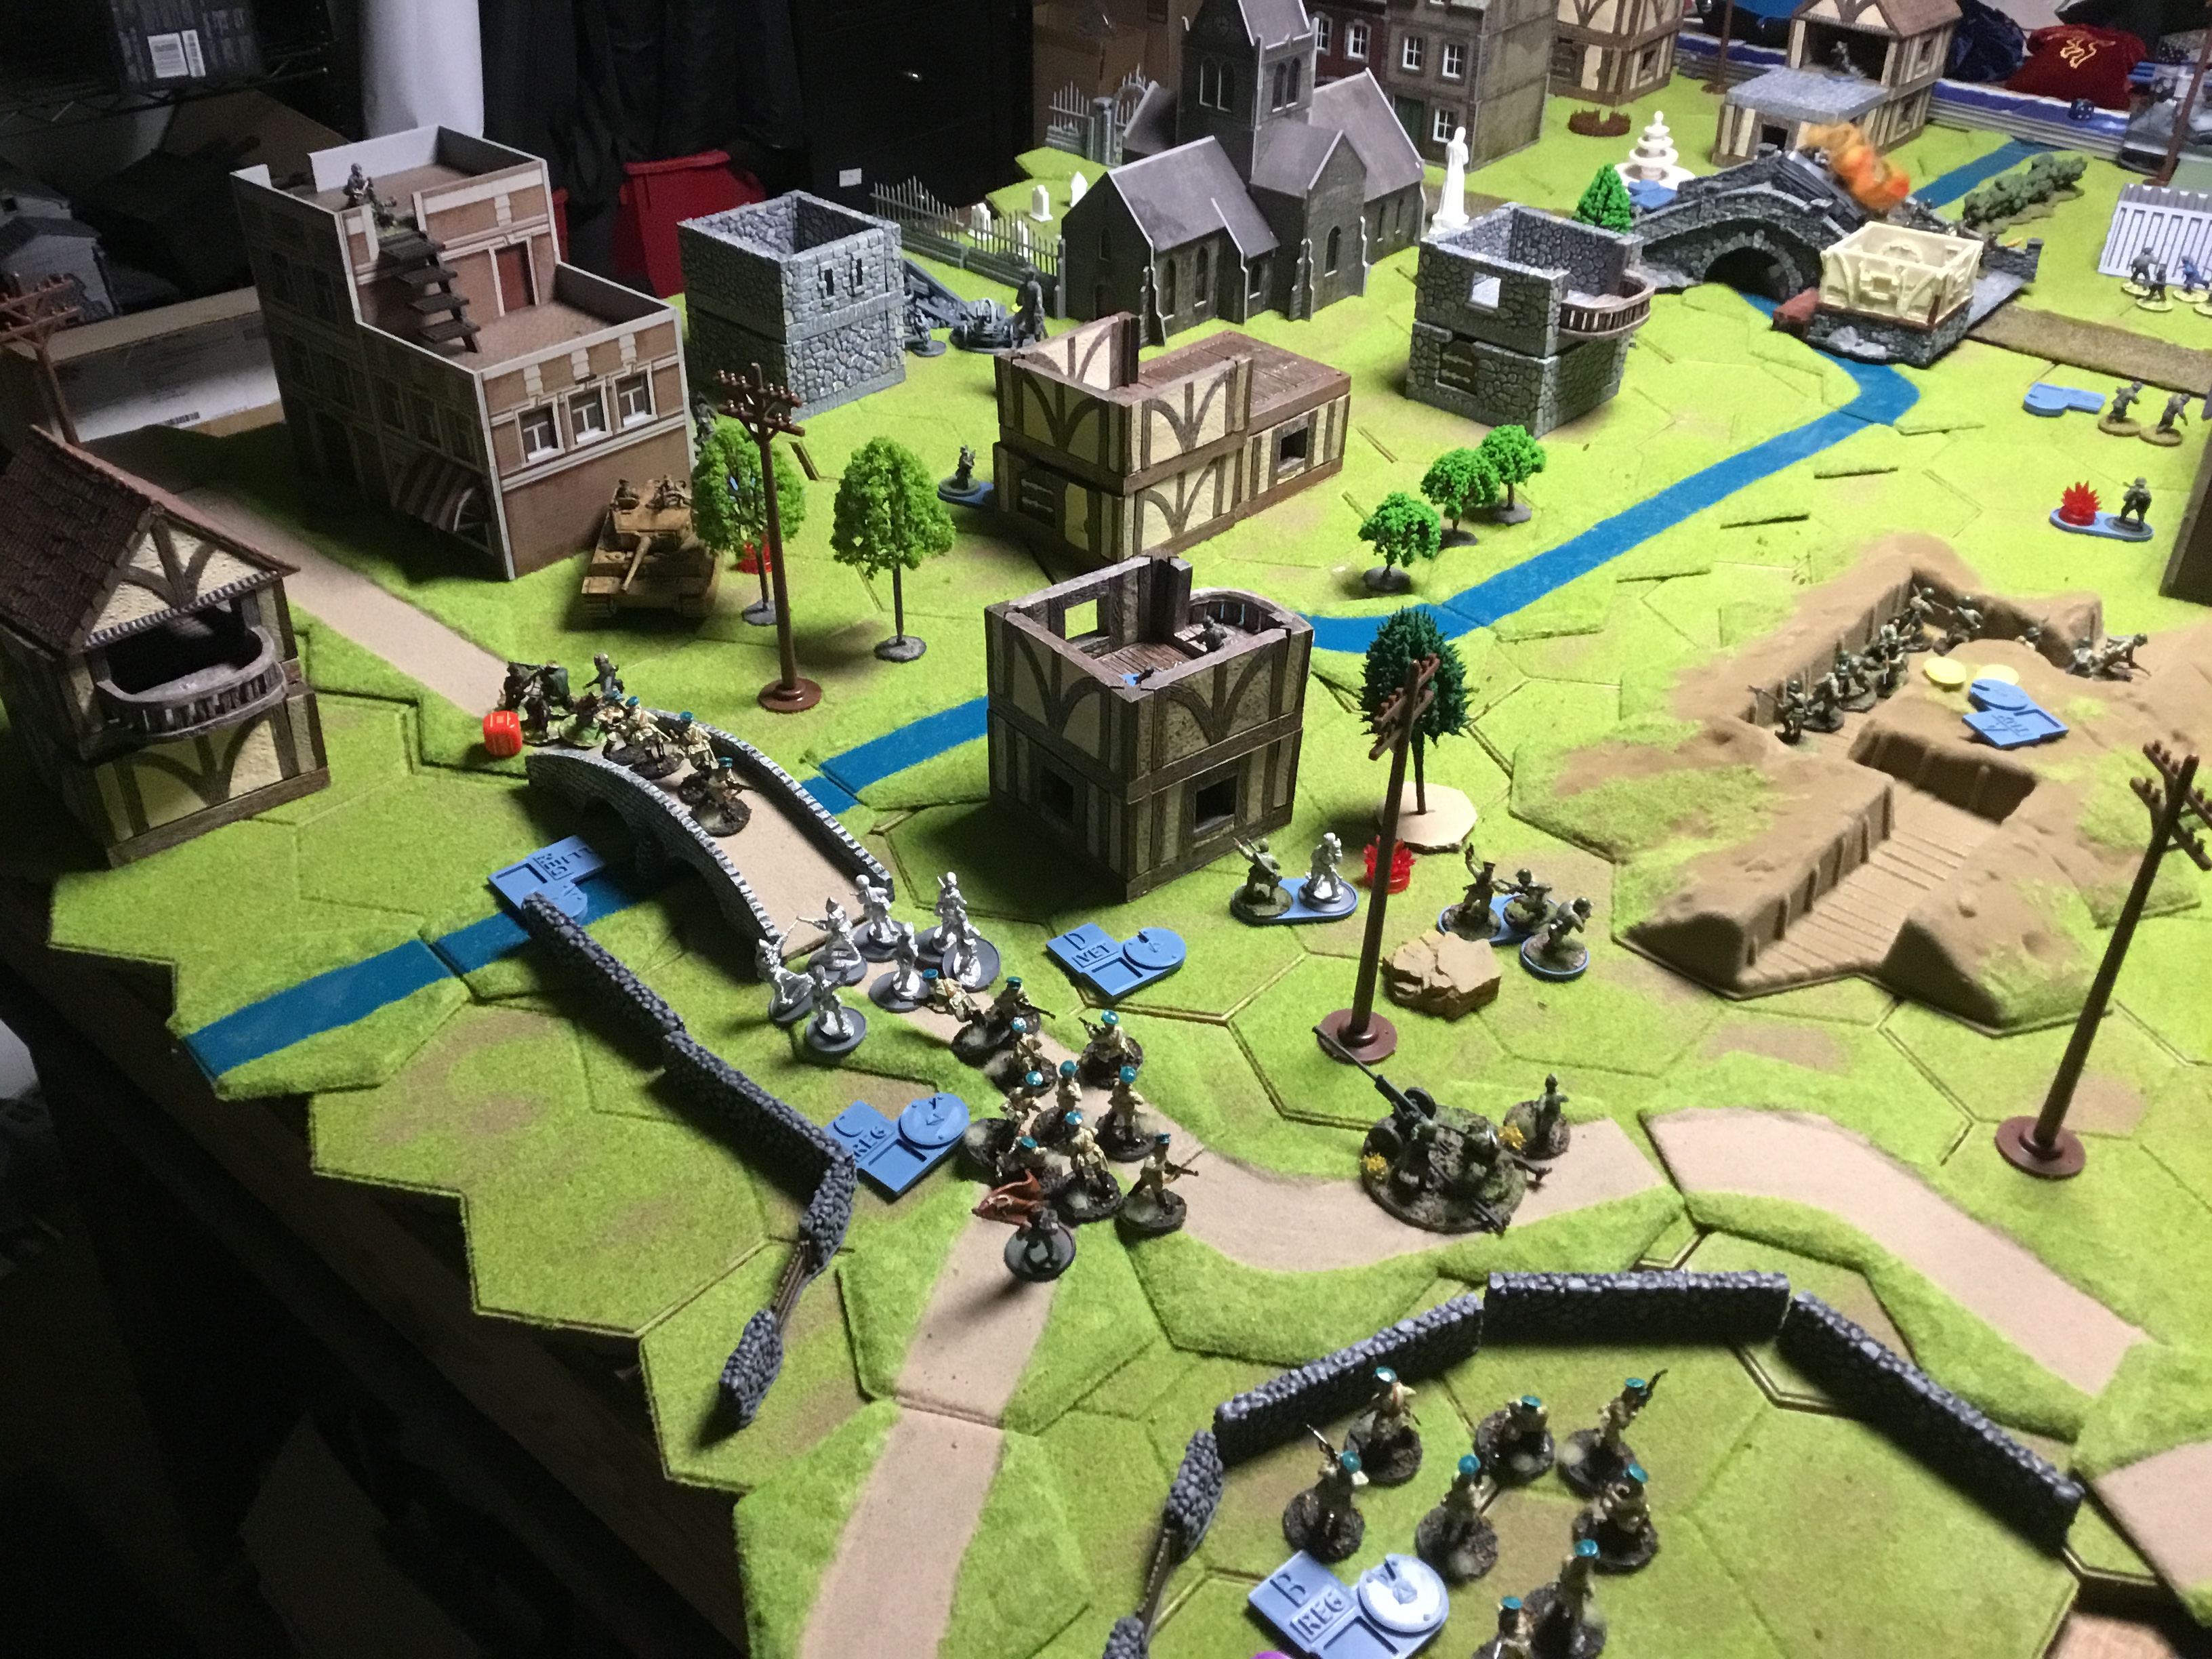
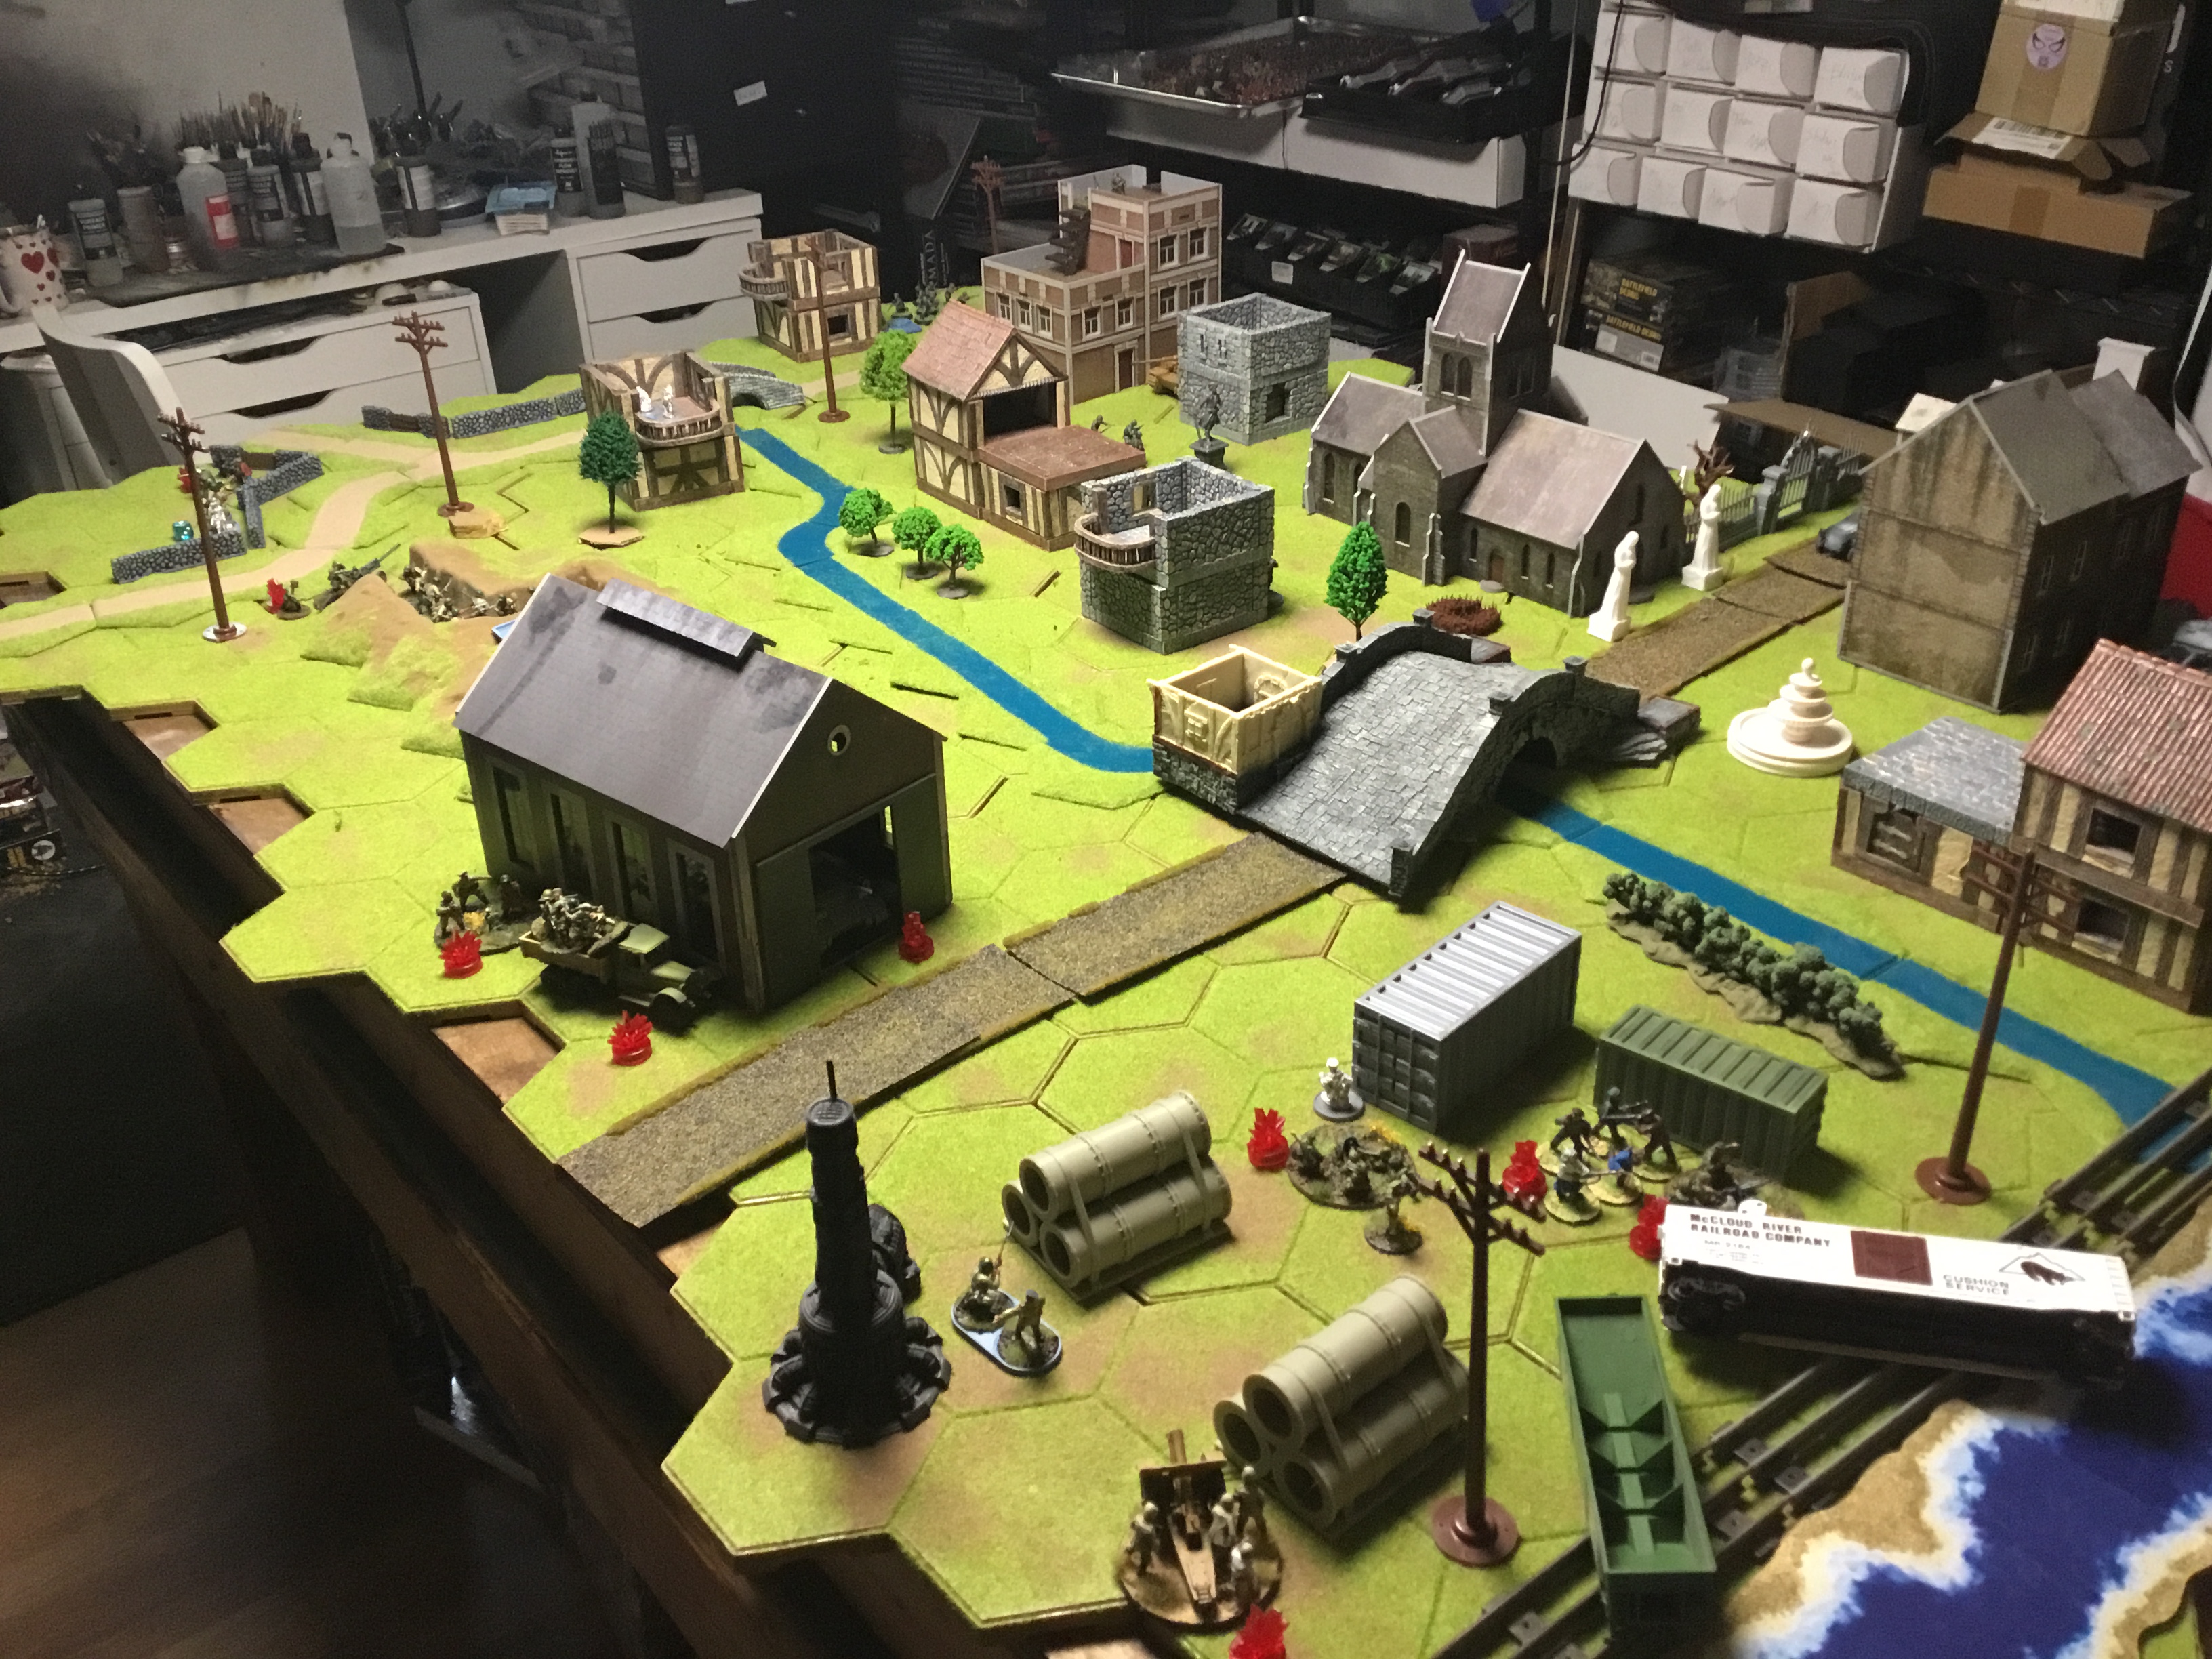
Rounds 4 and 5 were a mad dash across the river to grab as much territory before nightfall.
In the end, both forces took far more casualties than needed for a drawn engagement.

Such a stylish table!! Great aar
LikeLike